My K1C has been nothing more than a door stop as of late. The nozzle was constantly jamming. If the nozzle wasn’t jamming, the layers were shifting. I ordered a new nozzle to replace the current one which resulted in [CB2564] The Hotend is not heating as expected.
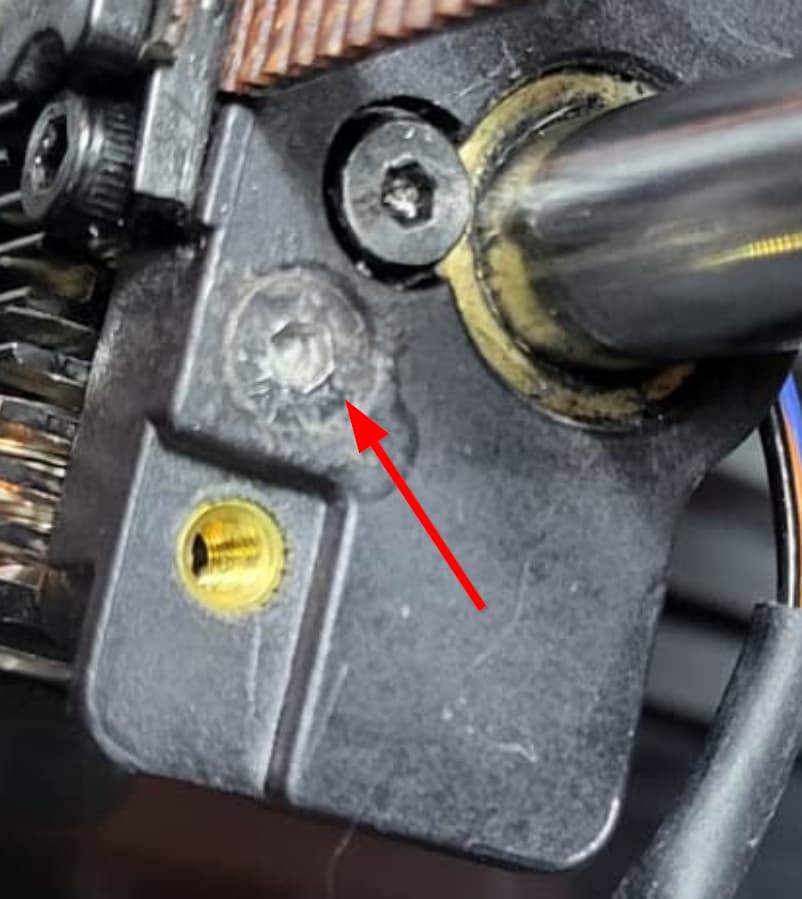
I spent a few days troubleshooting that. Reseating the wiring, but the issue wasn’t resolved. So I ordered a new heating block with hot end. Now one of the hot end screws is stripped on the side of the print head. I cannot get the darn thing to turn.
I’ve tried a rubber band, piece of foil, a vinyl glove. I’ve even tried hot glue. I don’t want to have to get a whole new print head due to one flipping screw.
From what you describe, I assume by “stripped” you mean the drive recess in the screw head is damaged and the screw will no longer turn, rather than the threads being stripped.
There are several ways to remove a stripped screw, but the best method depends heavily on how damaged the head is and how much access you have around it.
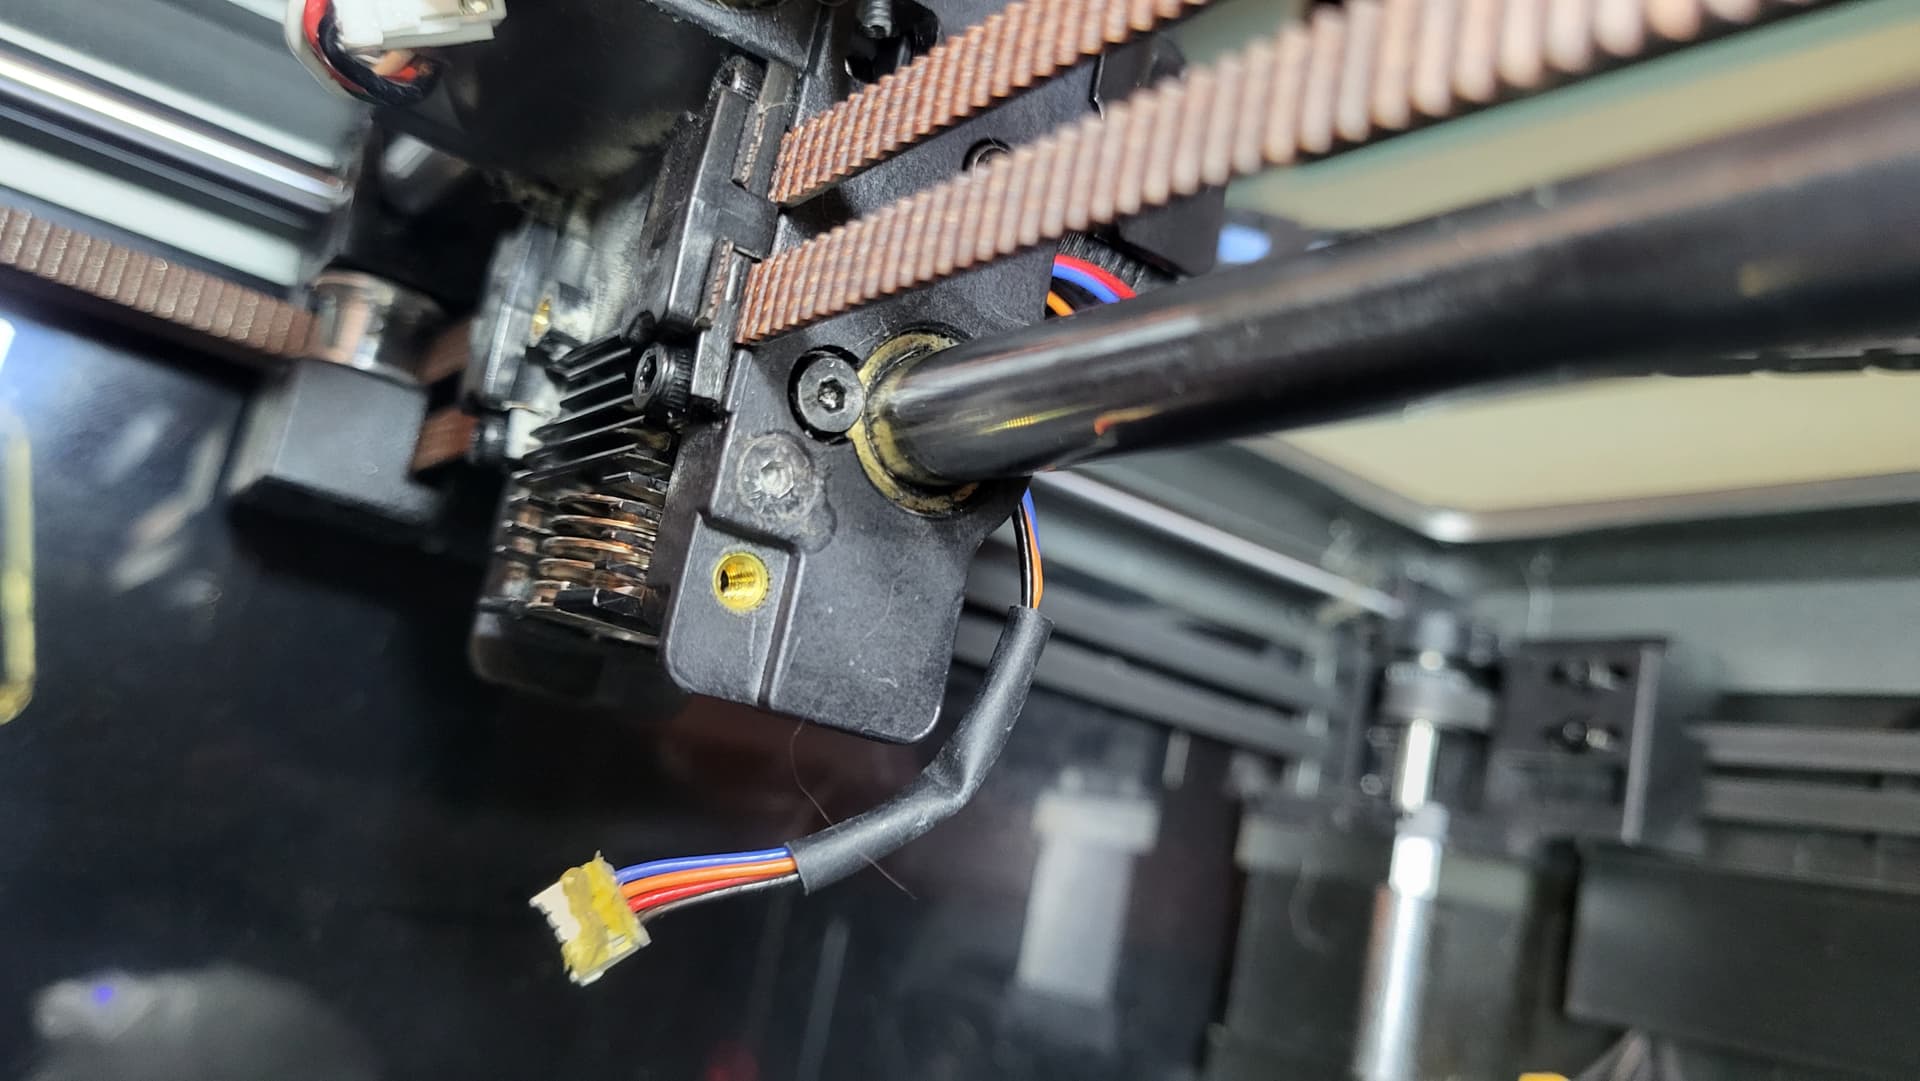
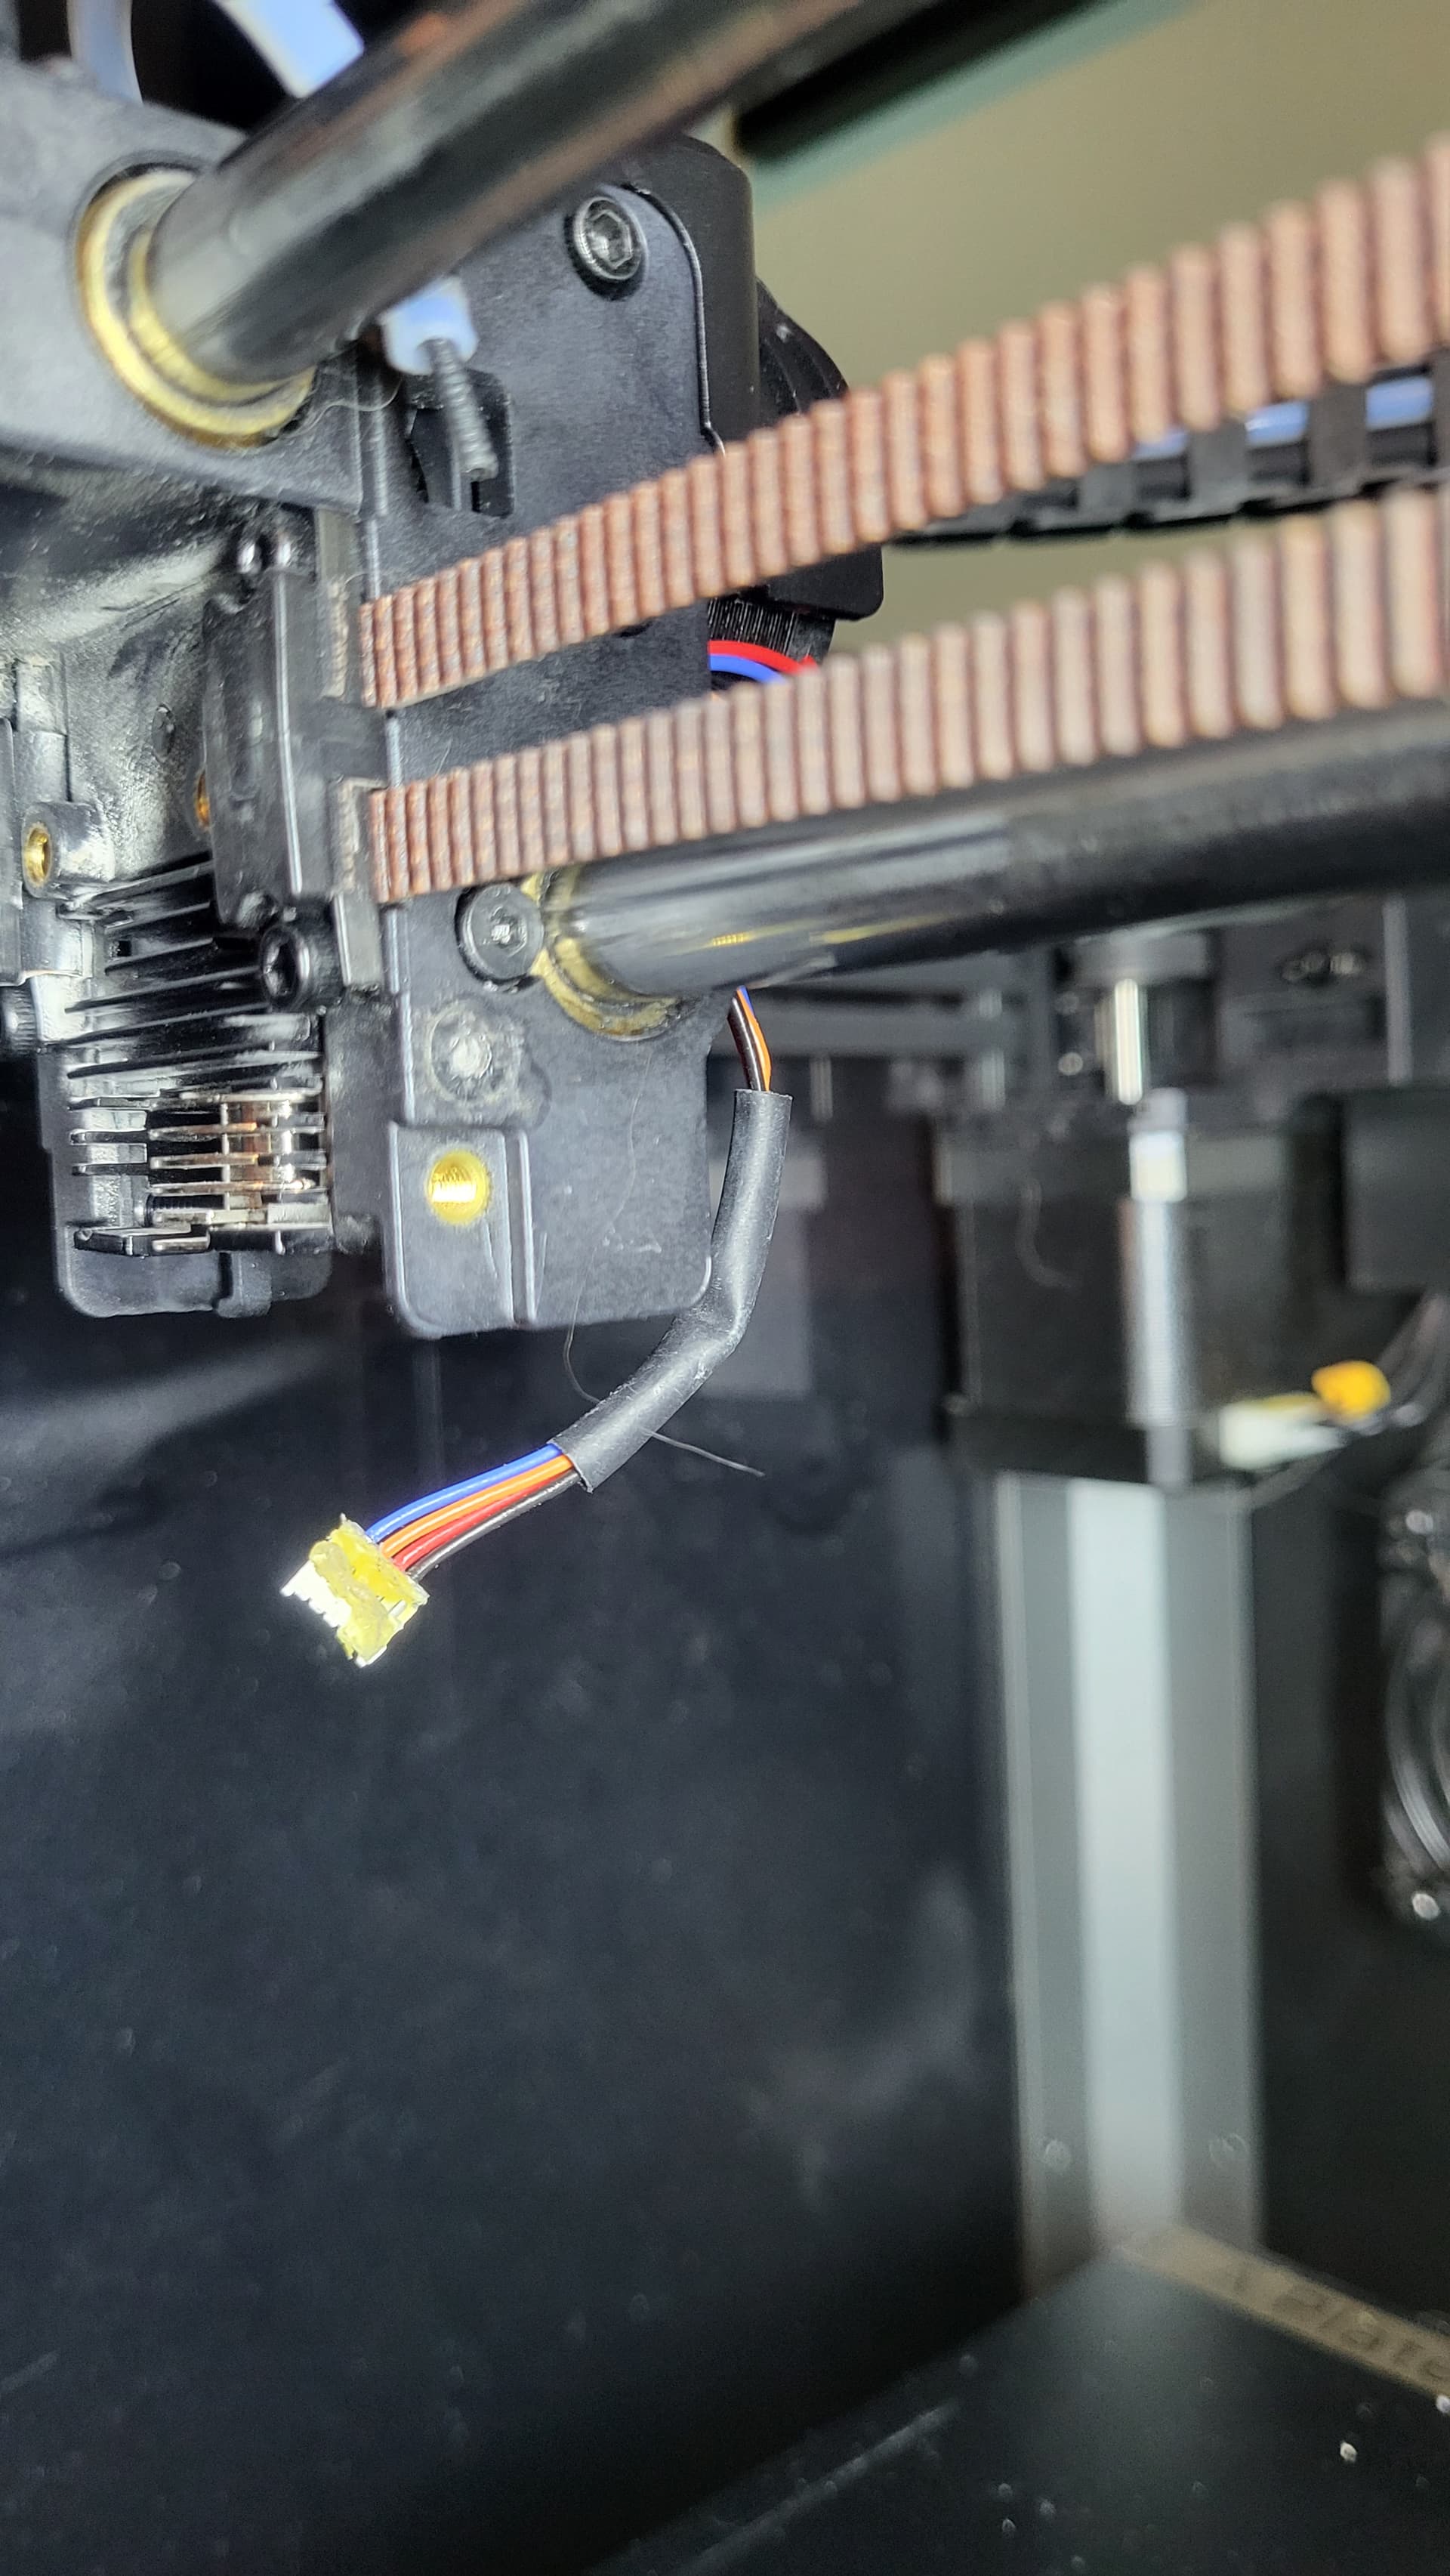
Can you post a clear close-up photo of the stripped screw, along with one or two wider shots showing where it sits in the print head? Different angles would help as well.
Once we can see the screw and the available clearance, we should be able to narrow this down to a specific removal method rather than having you keep trying things that may make the head worse.
Here is what I would try first. I’ve used both these methods and with patience and care, they both work.
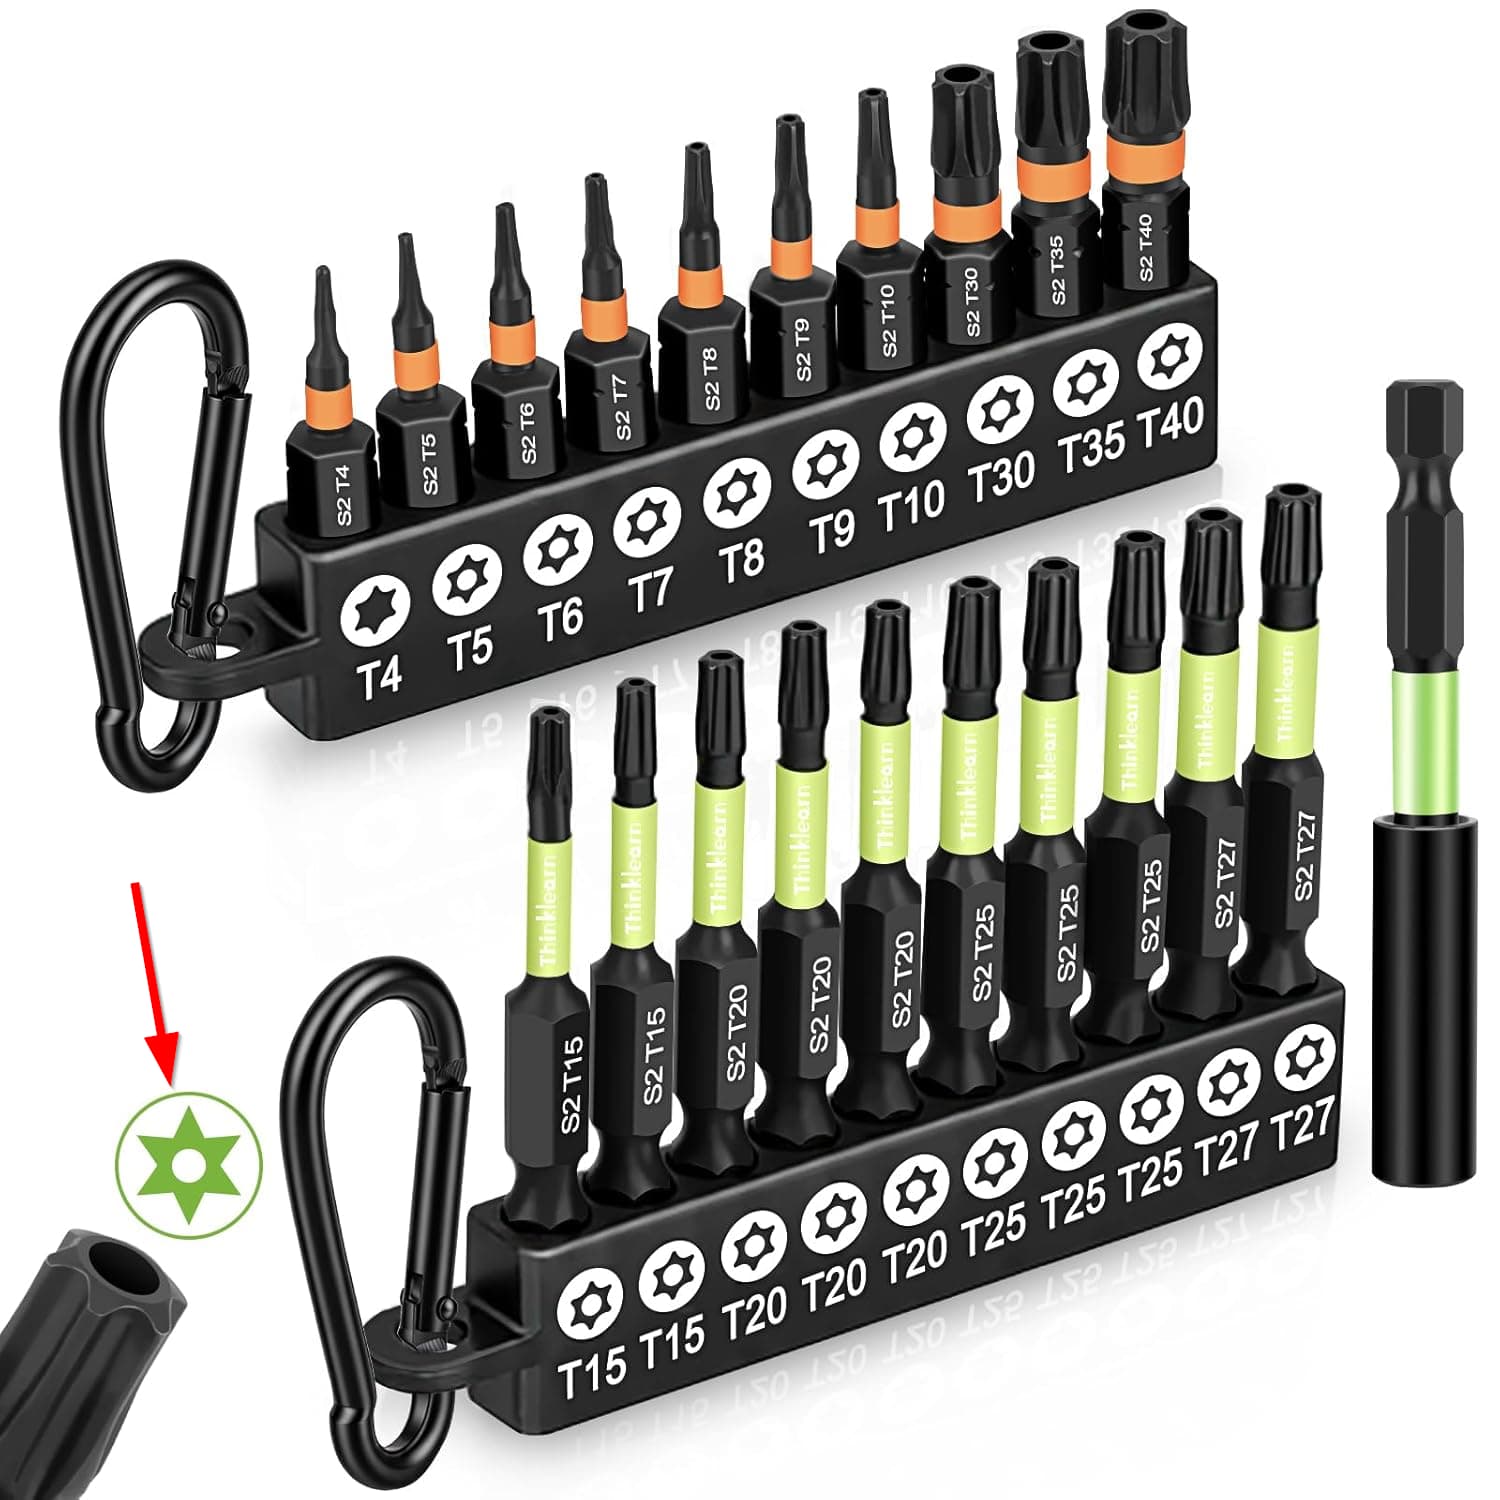
The original screw appears to use a 2.5 mm hex driver. I would try a T10 Torx bit. The Torx bit is slightly larger and its star-shaped edges may be able to bite into the damaged hex socket.
A kit only costs about $6.00 and gives you a variety of Torx sizes to try out.
Place the T10 Torx bit into the damaged hex socket and gently tap it in with a small hammer until it fits tightly. You can use the handle of a 1/4 hex driver to make the hammering a little easier given the tight space. Then try turning the screw out slowly. The idea is to get the Torx bit to bite into fresh metal inside the damaged socket and give you enough grip to remove the screw. Amazon.com : 1/4inch handle for hex bits
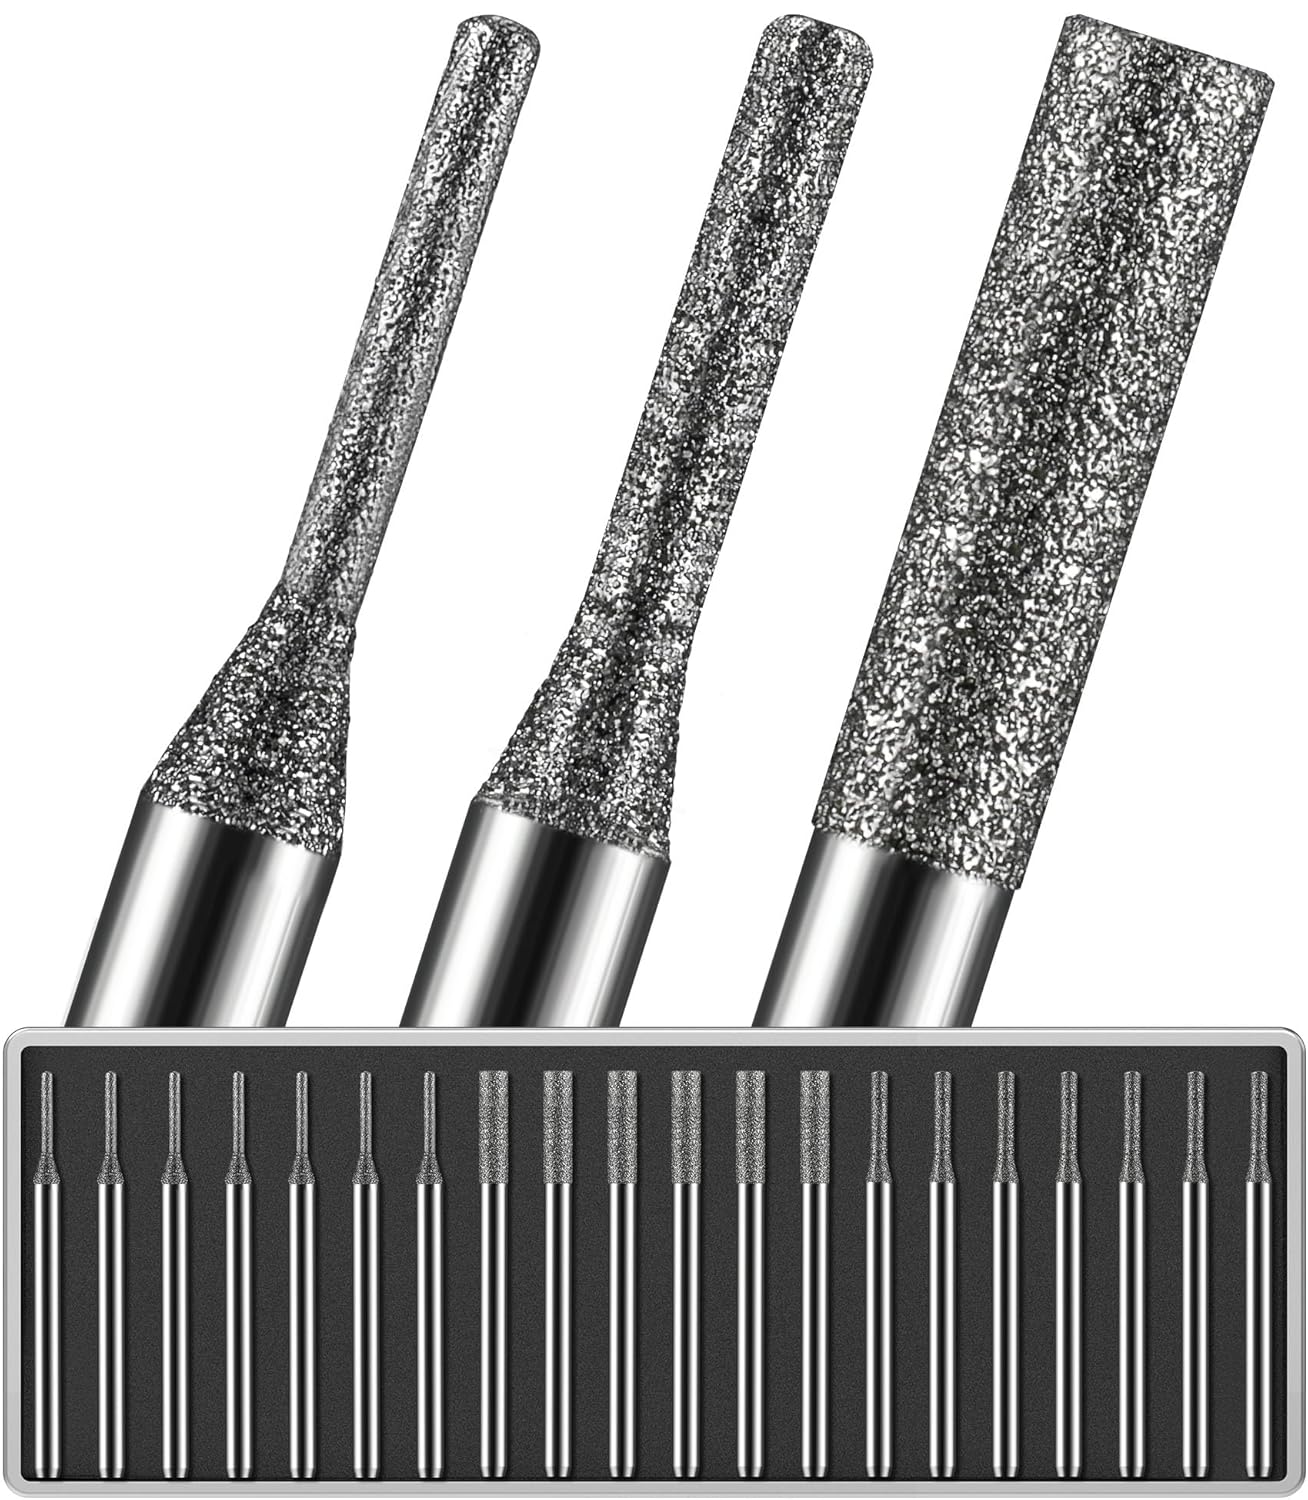
If that does not work, Method 2 would be to use a small diamond cutting bit and a Dremel to cut a straight slot across the screw head. Cut the slot just deep enough for a flat-blade screwdriver to get a solid grip, then try turning the screw out.