I’m printing a hotwheels track part for My son.
The size wasn’t fitting with my support and I REALLY HARDLY find the way to cut it with the Creality Print tool
Do you all use this software when you have to make some cuts ? I’ve found it really difficult to visualise, pass from a vision (top) from another… wasn’t able with the mouse to rotate around the object without having to do multiples clics into the menu on the left.
Do you have any advice to do it ?
I was willing to cut some parts (I was missing few centimeters to align the entire object to the support, so I had to make tiny cuts) but I wanted to cut at 45° not at 90, and without having to modify the position of the object, do you know a way to add a certain degree on the cut without turning the object ?
I’ll not have enough filament.
The machine stops when there is no more filament ?
Is it easy to recharge a new filament and continue the printing ?
I have those Amazon Filament, I have no clue if it is a different material than the one included in the printer (a white one of 12 meters), and I don’t know if the filament is larger or not (the Amazon one is 1.75mm black.
Don’t know if the degrees of melting is different, if i have to parameter differently or not…
Yes I’ve used that.
But how to cut 45° without modifying the position of the object in the 3D view ?
Here we are able to cut on 3 plans + 1 that is more userfriendly to make the cuts with your mouse.
But, once you’ve selected the line to cut, imagine the thickness of the object of let say 1CM, so you want a 45° cut in that line. How to do it without modifying the position of the object in the plan ?
TinkerCad, I’m trying to use it and imported the object. But I don’t know how to cut in it.
I was able to increase the size of it pretty easily but in my case this is not helping because it will modify the standard thickness, width, length of the object (he needs specific size to fit in the existing other parts).
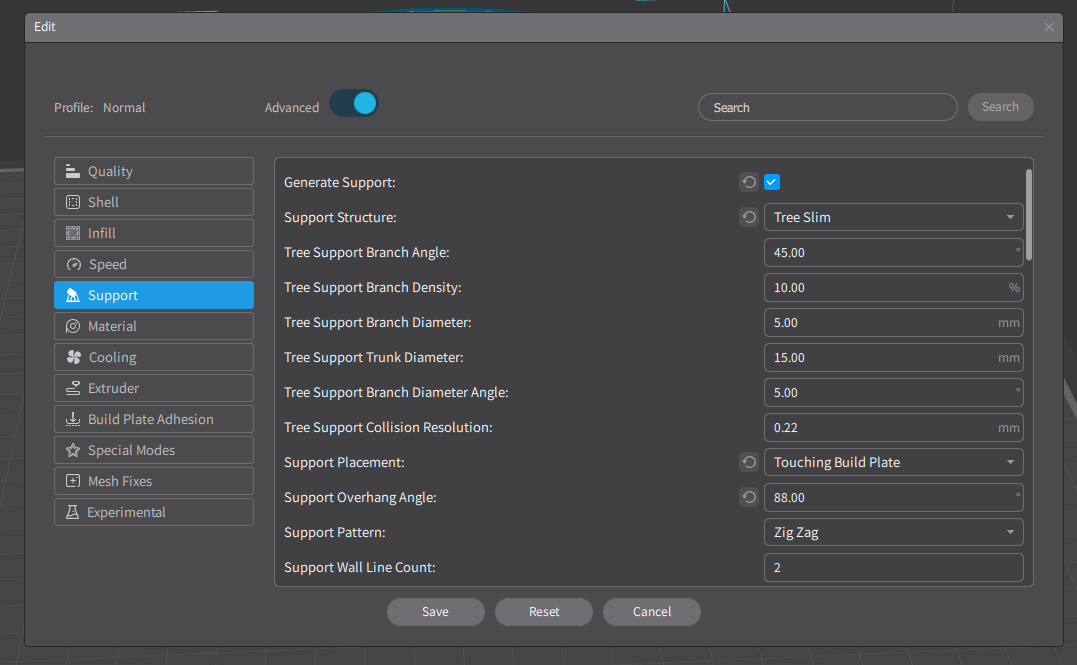
And by the way before printing I had this message saying it will not be “supported”.
What was the meaning of “support” here ?
Is that the really thin layer that came at the begining of the printing, maybe the part in Purple here ? (It is not clear, this tools is really not userfriendly in my opinion)
The supports are made when you have a print with overhanging pieces that need to have something printed under them so the nozzle is not just printing in thin air. If that makes sense…
In TinkerCad to cut something you select a model say a cube.
Place it on the screen.
select another model and set it to be “hole”
Resize that “hole” on another model.
Select all of them and click on “group”
The “hole” with cut a portion of the original model…
Anyways watch the tutorial. It will explain much better than I can…
1.) The machine should have a sensor to pause when filament is out.
2.) You then can put a new roll on and make sure it’s extruding through before continue the print. There should be something in the printer menu to retract or extrude when refilling another color or spool.
3.) Many companies sell filament. Starting out you could use PLA which is the easiest to begin learning. Nozzle temps vary but range from 190°C to 230°C. Check each roll to confirm. I usually run 220°C with a bed temperature of 60°C on a K1 Max.
It’s also a good idea to stick with known brands once you find one that your prints come out good.