Hi great forum and usually been a help.
My S1 Pro is just refusing to calibrate. I have it hooked up to a Sonic Pad. I have had maybe one half dissent print from this printer, it’s my second S1 Pro so I have experienced calibrating these before and let’s say it can be challenging, but this is next level and doing my head in.
It started with Pic_1 a first layer that would make Mr Prusa weep and then it went to poop. From hunting through this forum I realised it was over extruding, which I had checked day 1, it’s the first calibration I do.
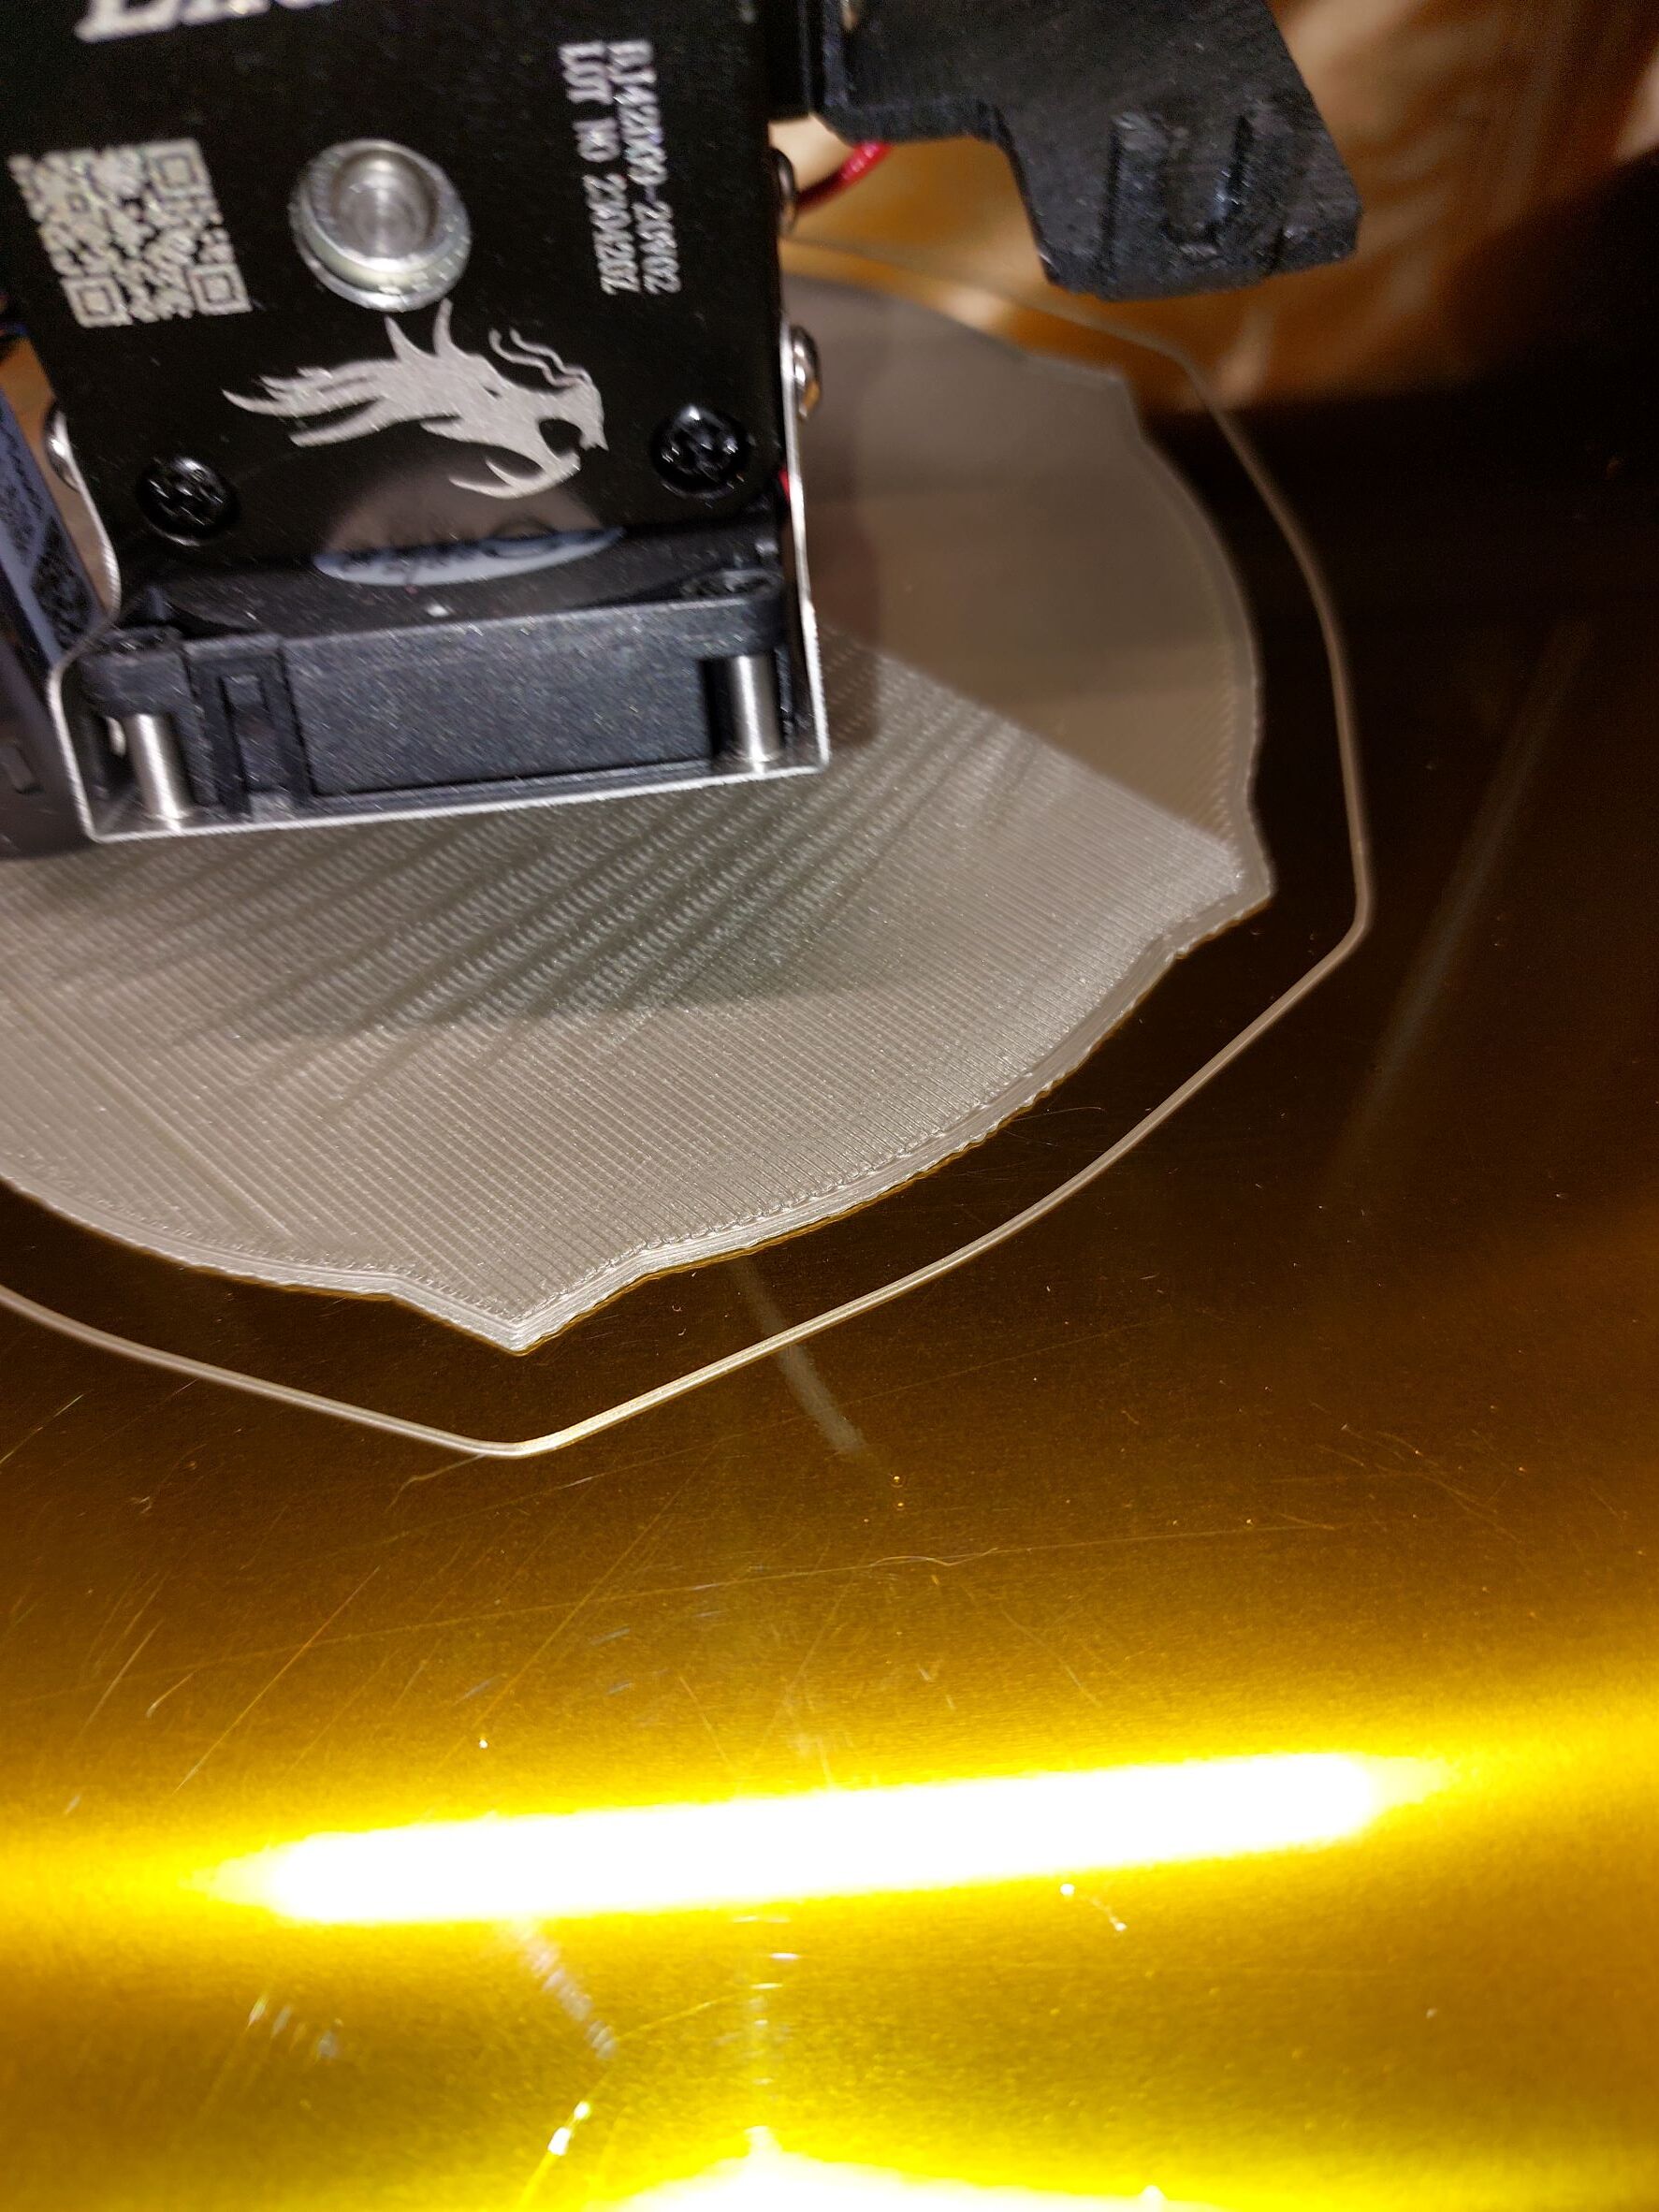
I let that one go for another couple of layers but stopped it after around 5 layers as this is what was coming out and the nozzle was dragging on the print, Pic_2
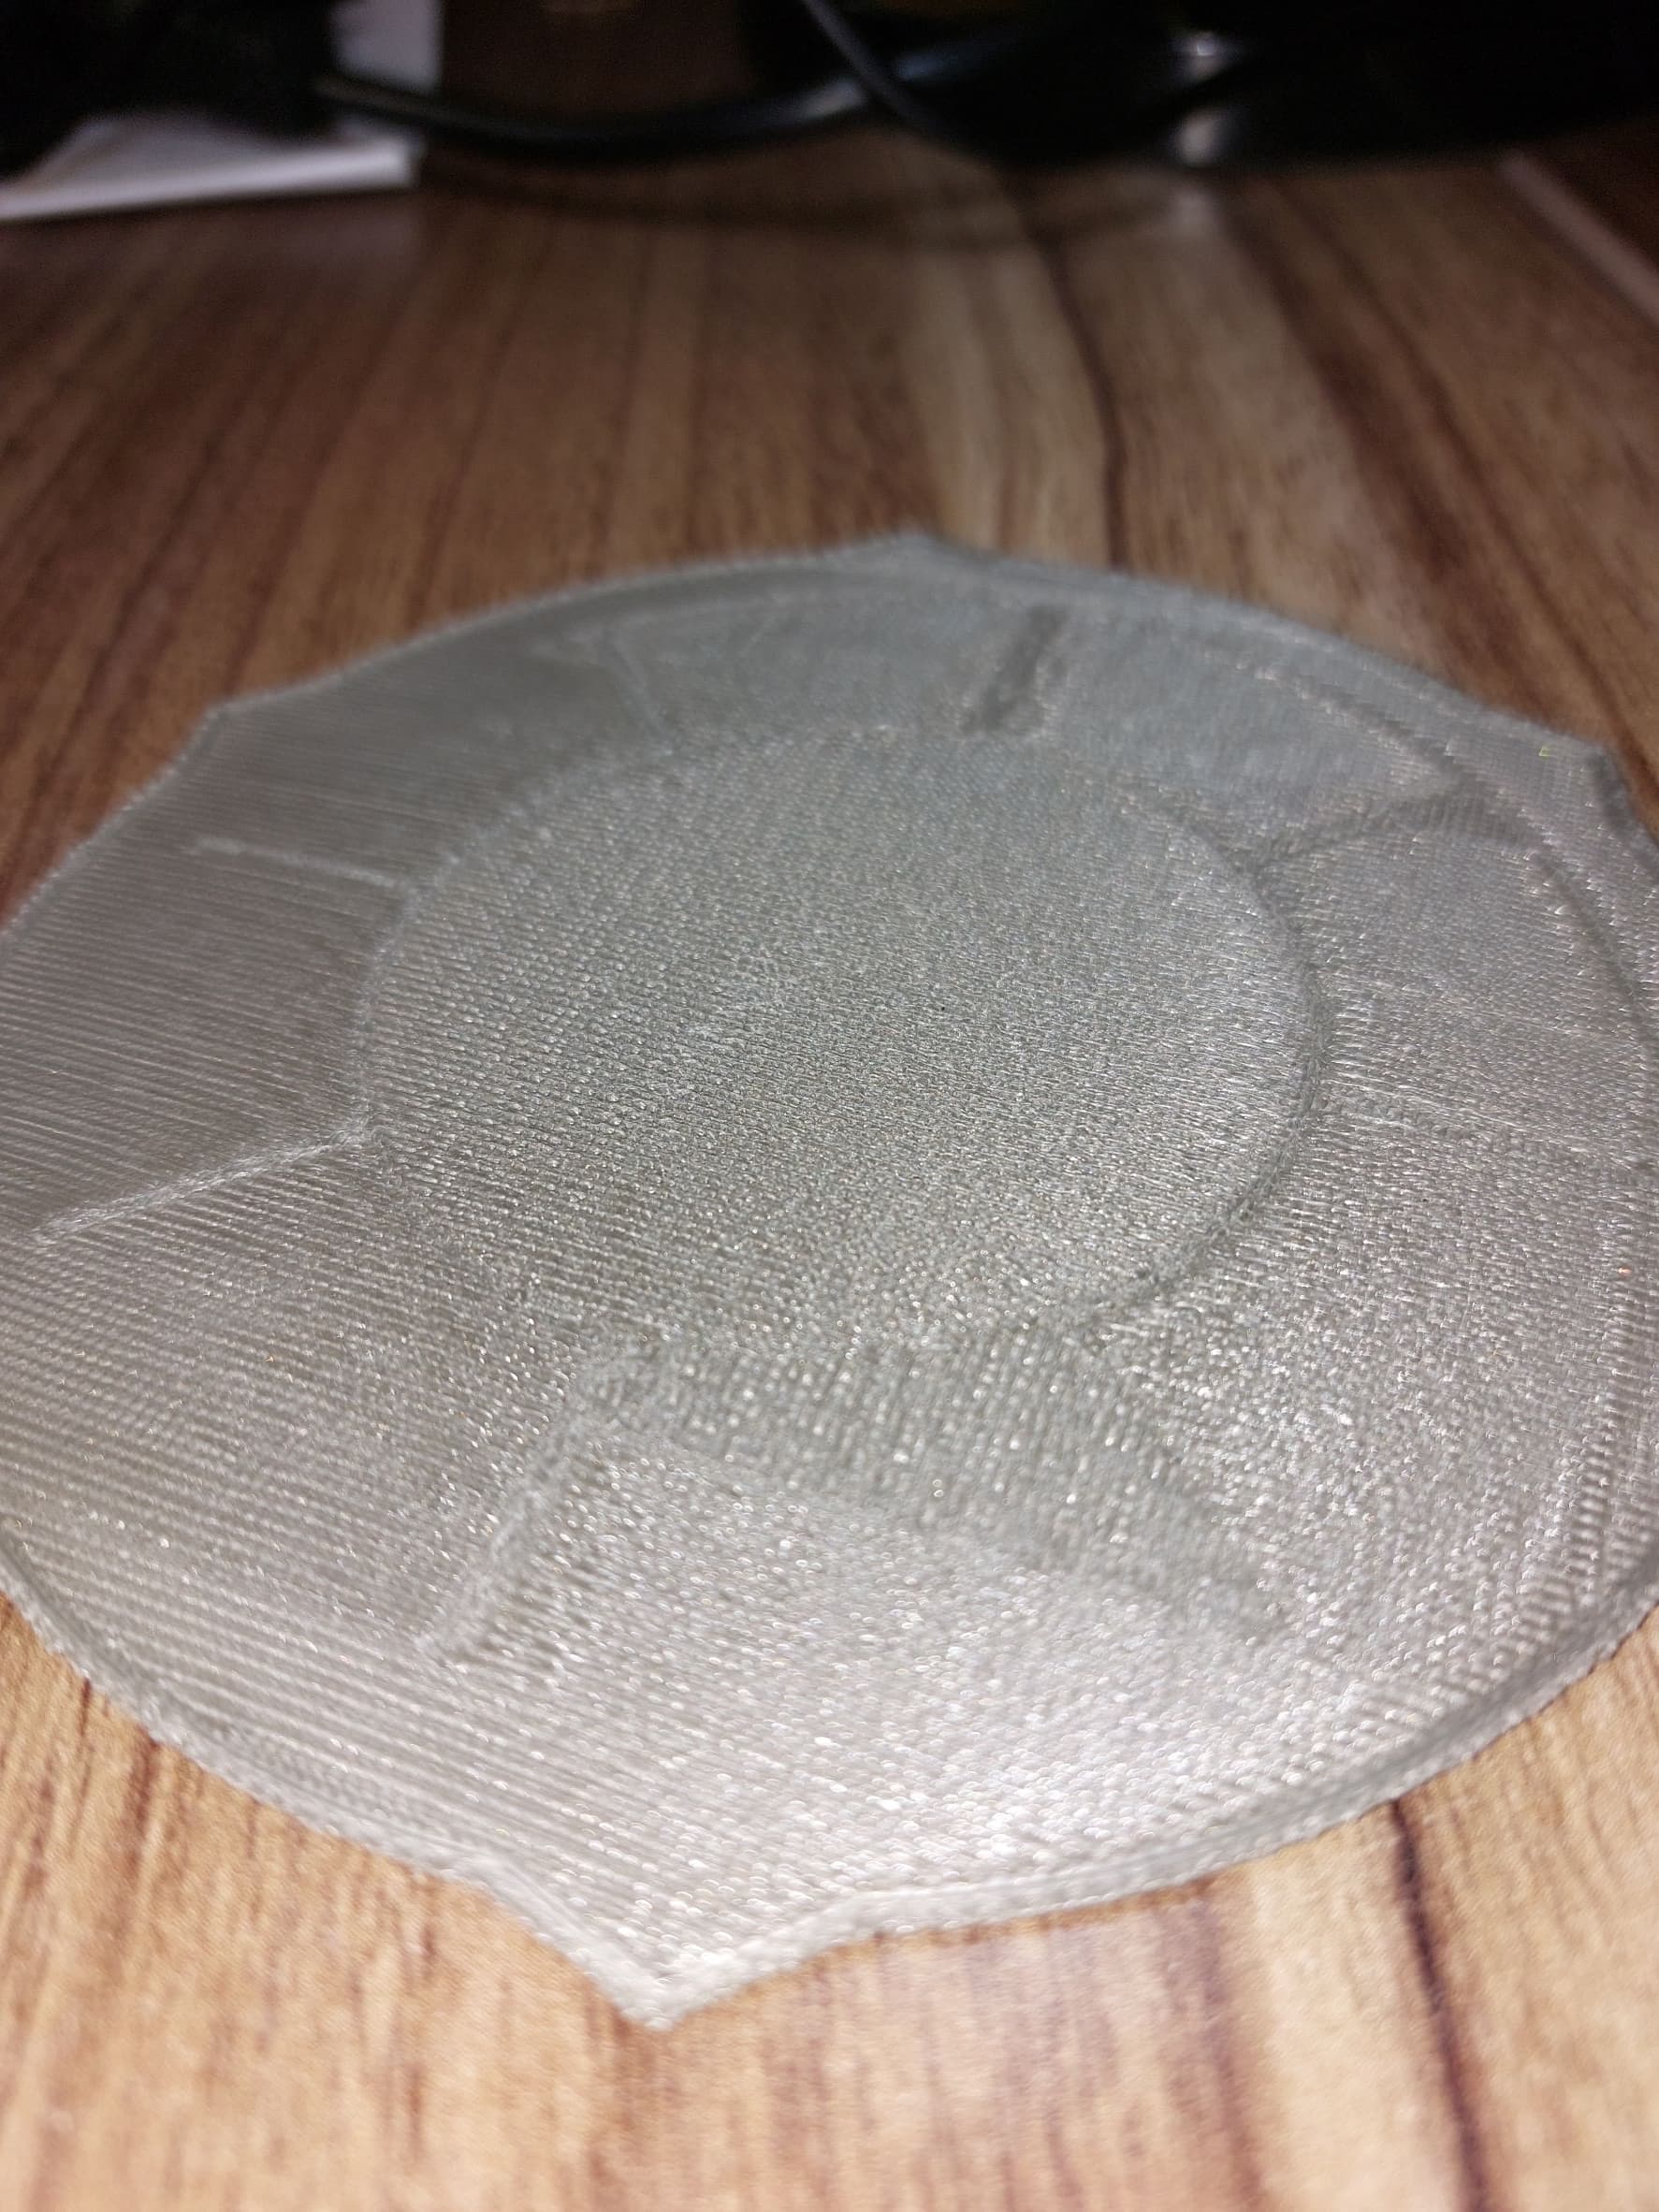
Less than optimal I’d suggest.
So after realising that it was probably over extruding I did the extruder calibration again, ejected 100mm absolutely bang on, so I designed a simply little print of two layers at 0.2mm and checked the results with a micrometer, Pic-3 is the result.
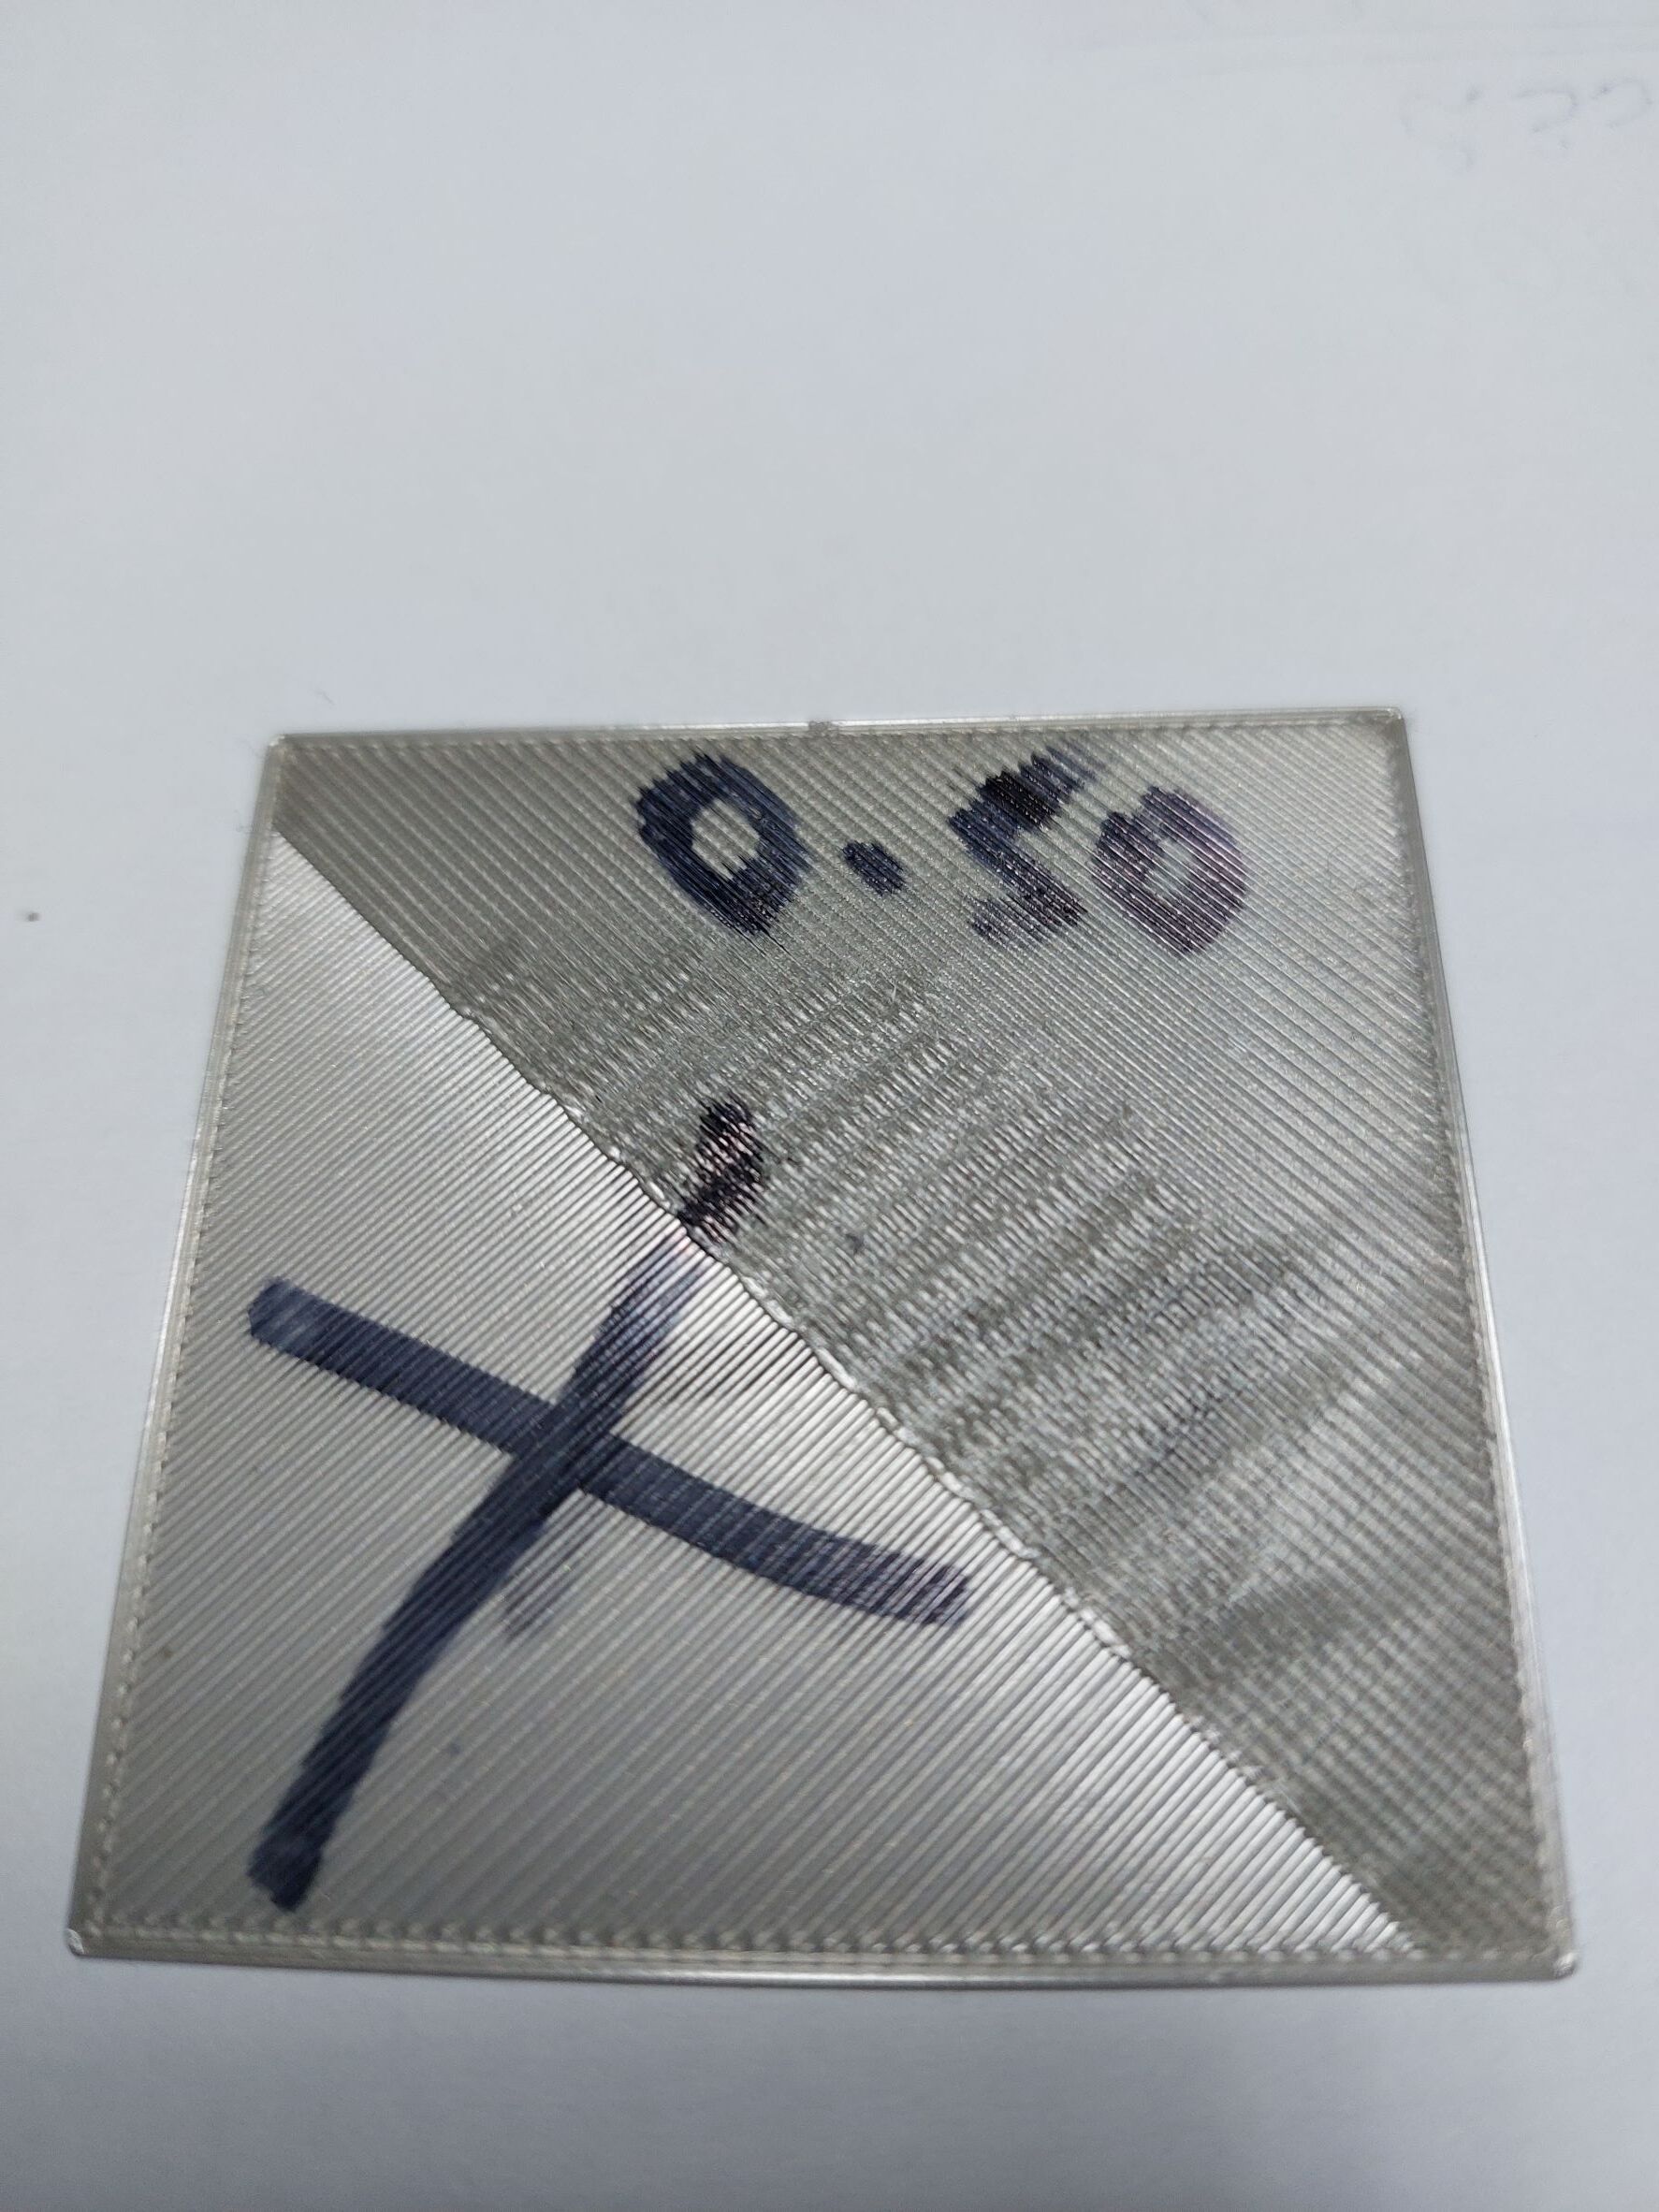
Shows the ripples and measured in at 0.50mm.
I thought I’d also check the Z height on each lift and after setting the micrometer up to measure the print head I found the Z was not anywhere near right. So I hit YouTube and sorted out how to adjust the rotation steps (or what ever it’s called on the Sonic Pad), pretty easy actually and I like the system. I had to adjust all axis except X, my one descent print was a calibration cube. So printed my little test pad again and under extruding but dead on height, bang on 0.40mm for two layers. I should have mentioned all the previous tests were done with PLA by the way. So feeling a little cocky out came the PETG, slight under extrusion on the first layer but bang on for height.
Then the ASA was loaded and due to the slight under extruding I thought I’d adjust the rotation steps a little. Pic-4 shows the results.
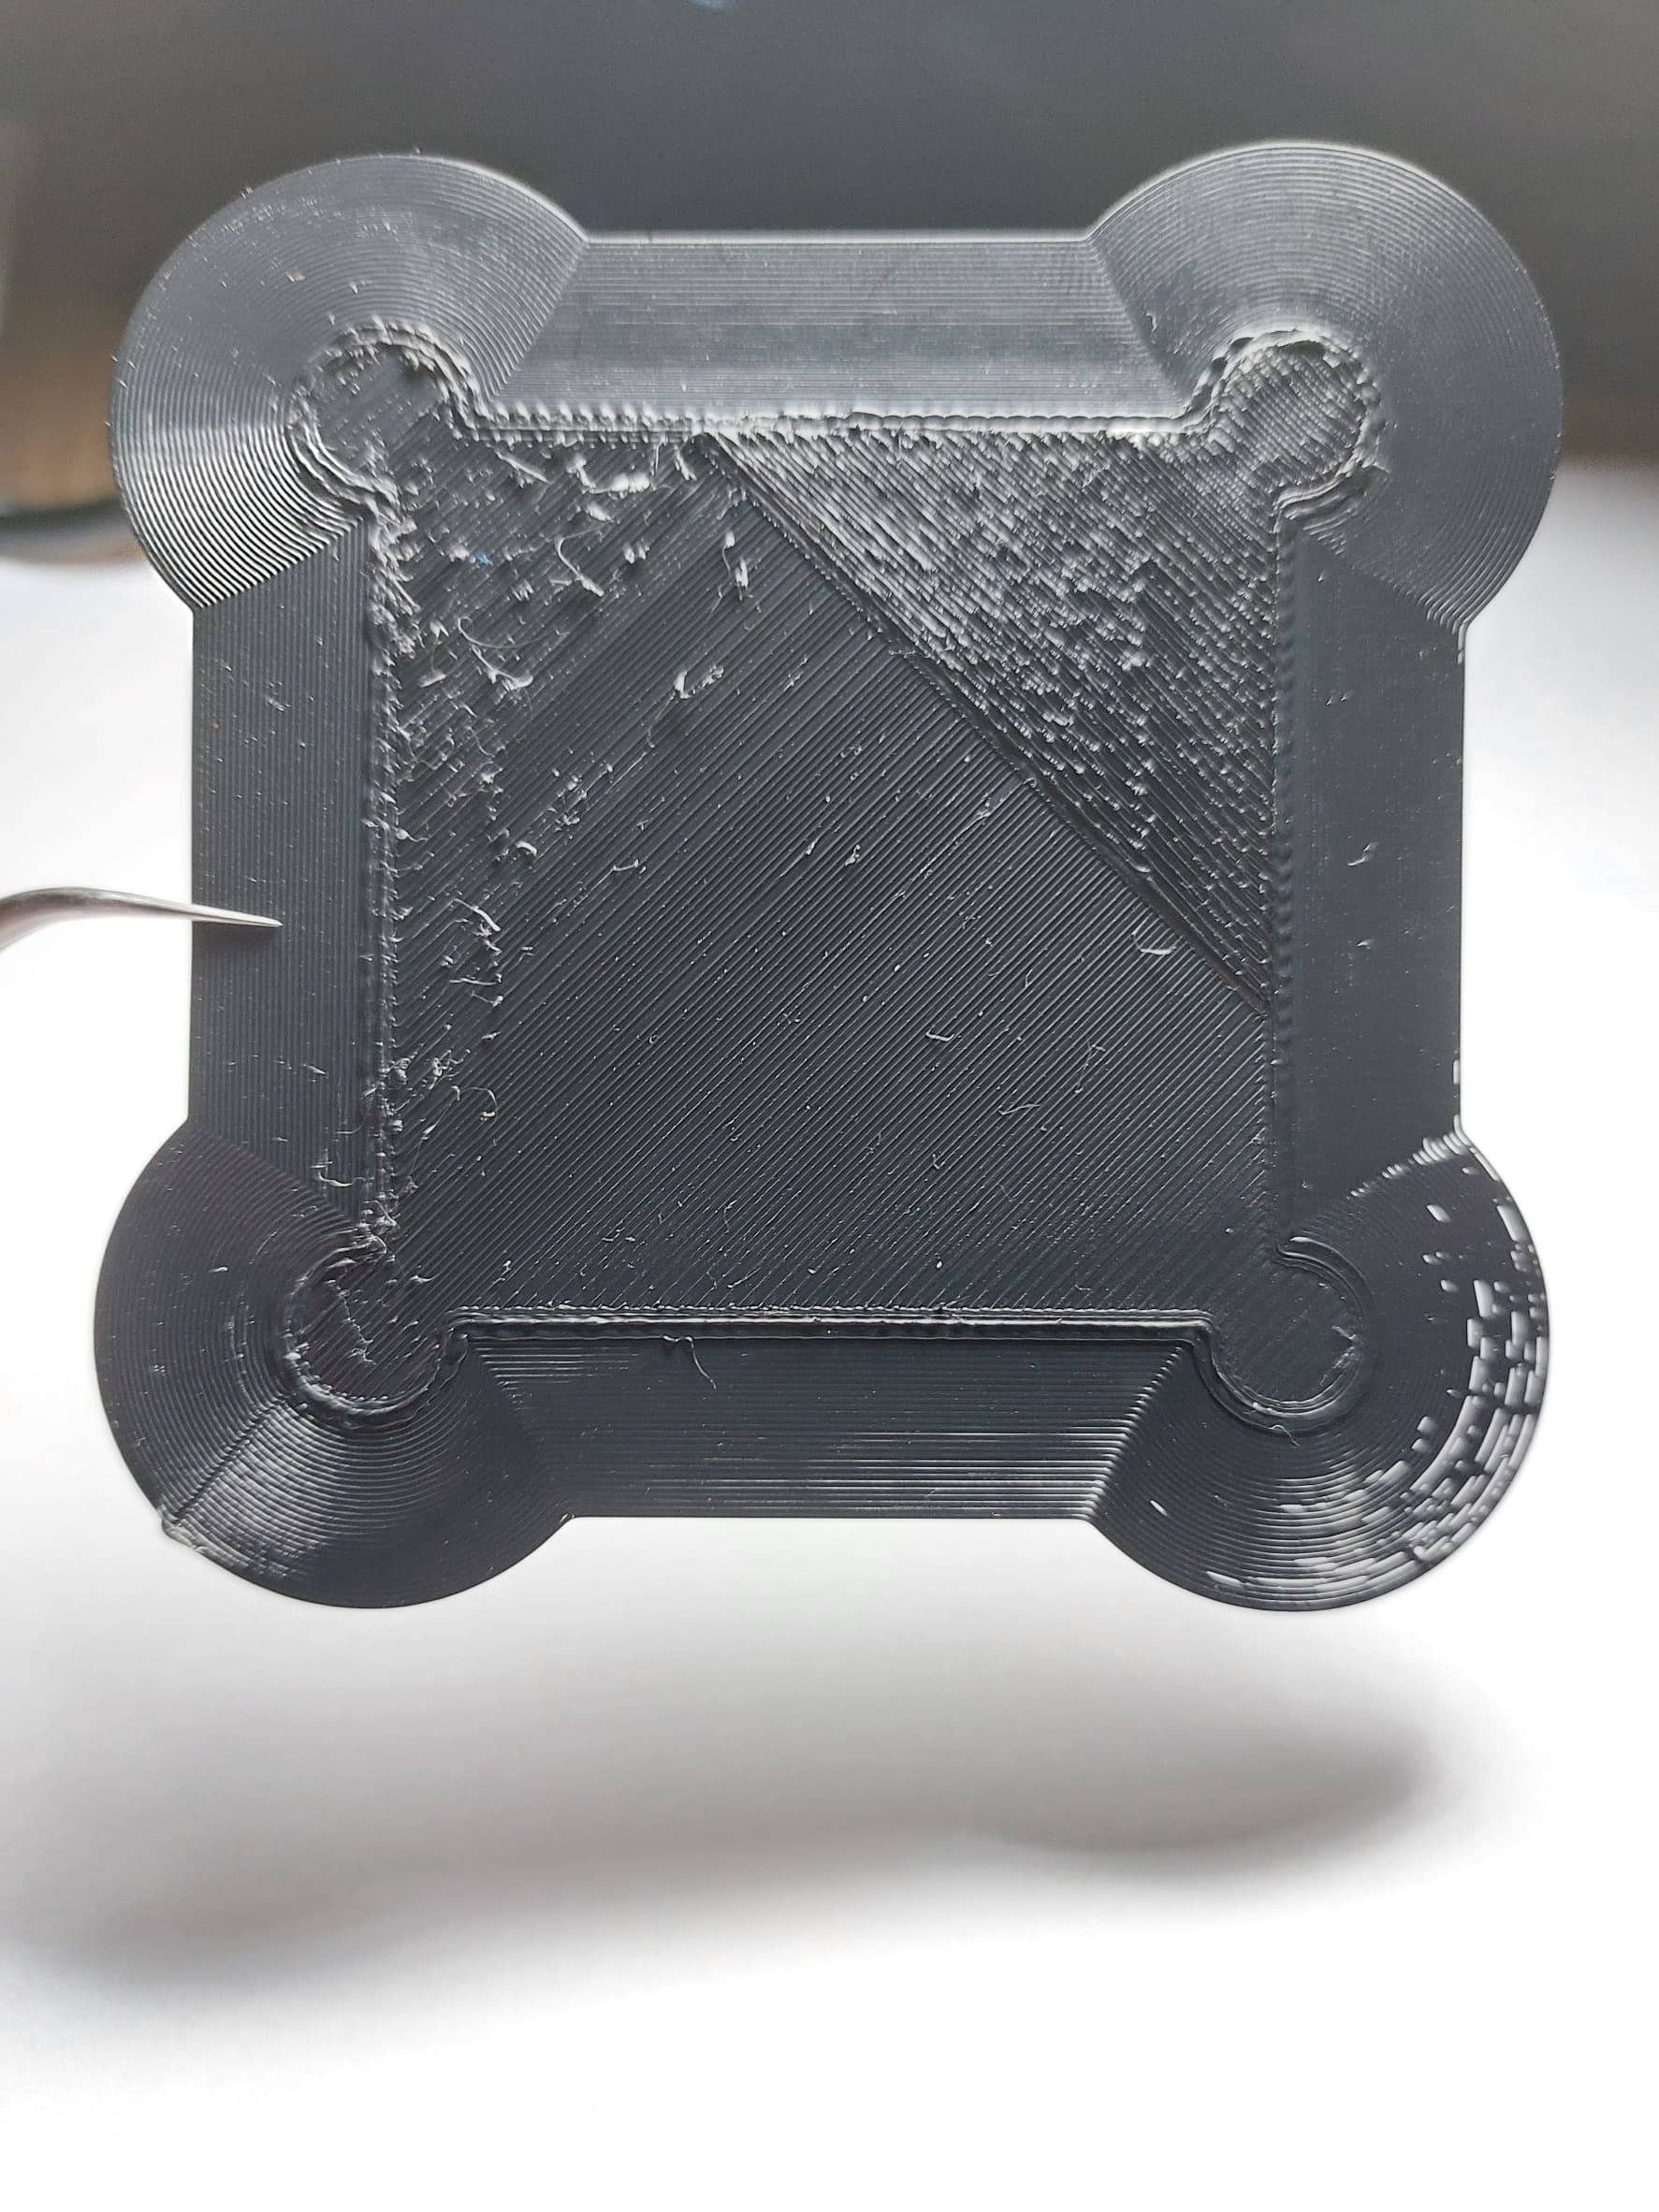
Now I think the blobbing is probably Hot end temp’ related (I’d like comment on that too). Athe time I thought it might have over extrusion so I dialed the rotation steps back and Pic-5 was the result. Same hotend temp as in Pic-4. And this is where my head started to spin! Under extruded badly bottom right corner and spot on, on the left side! Sooo back to the PLA, a little adjust on the rotation steps (.1) and this resulted, Pic-6.

A slight over extruding and tested with the micrometer shows that the first layer ranges from 0.19mm to 0.22mm with the top layer varying from 0.40mm to 0.45mm. I thought it didn’t look all that bad so I tried to print the item shown in Pic-1 and see how it went. Disaster pretty well sums it up. I had to stop the print at around 2.5mm as the nozzle was grinding on the surface. Pic-7 shows the result.
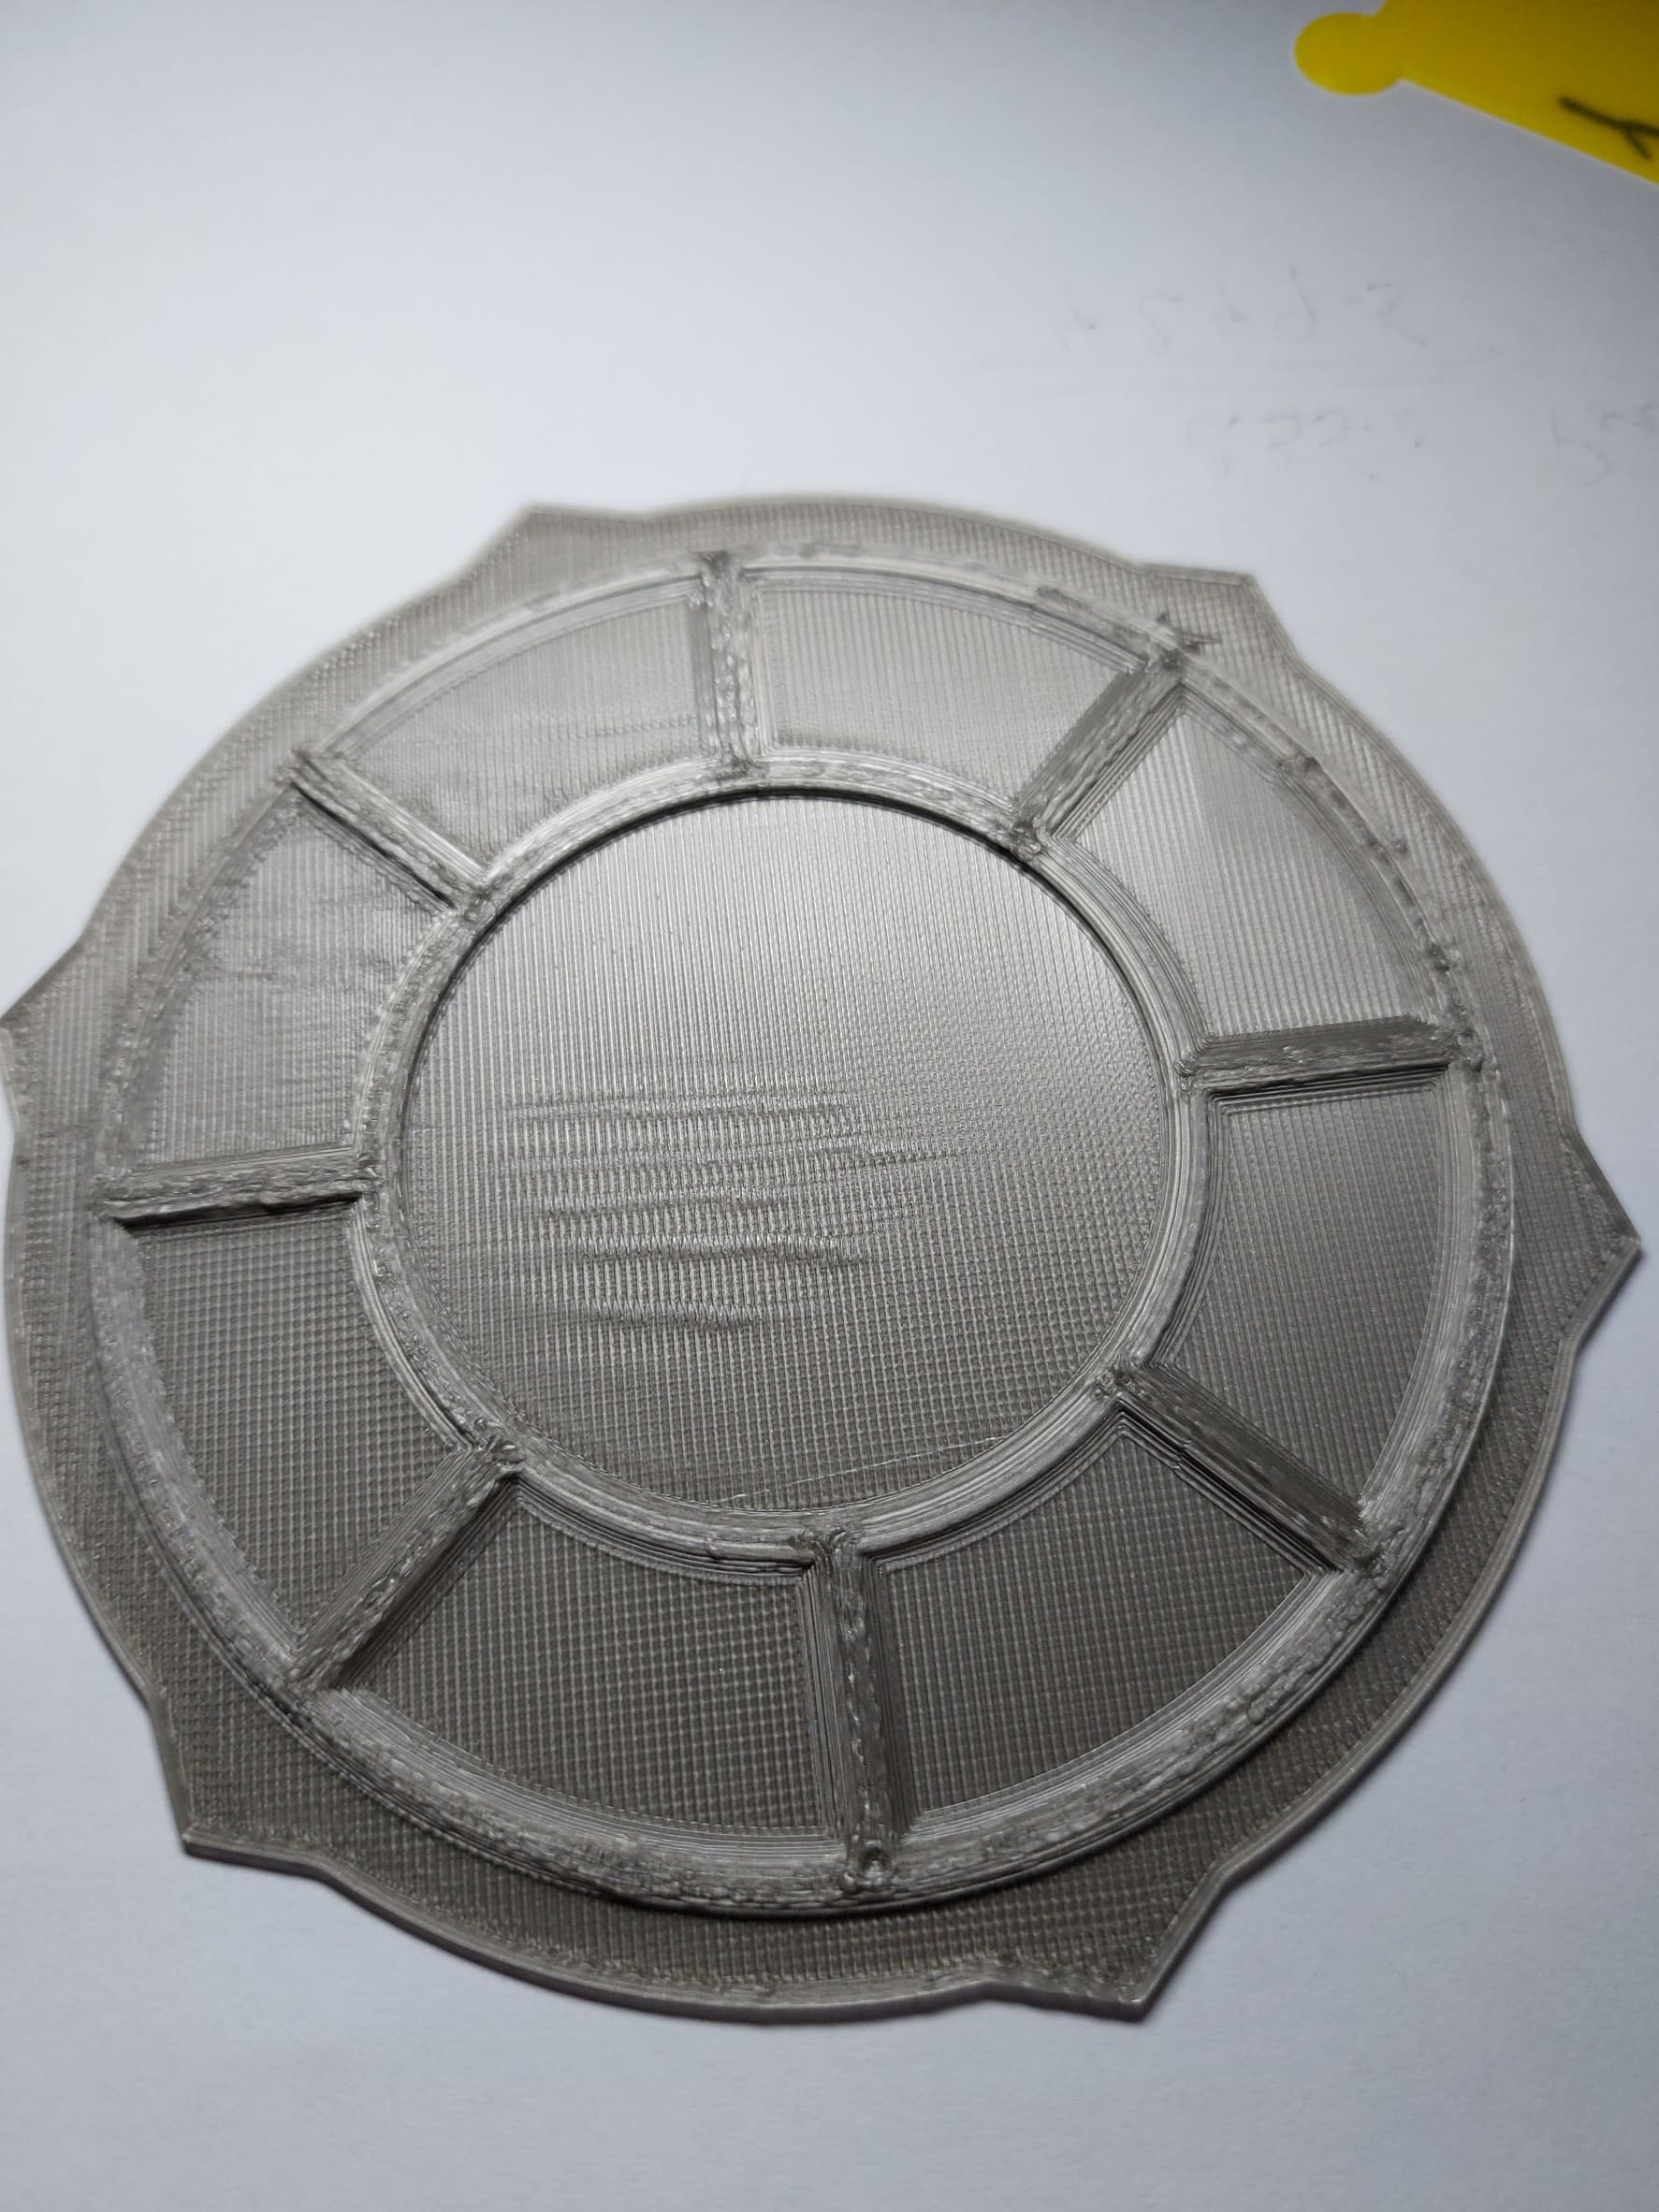
As you can see, not a print that you would brag about!
Any ideas would be greatly appreciated because this is a real shame. My first S1 Pro printed great, once dialled in. I’m kinda thinking of basically resetting the whole thing and re-installing the klipper firmware and see if that does any thing.
Sorry for the long winded post but this is really frustrating me.