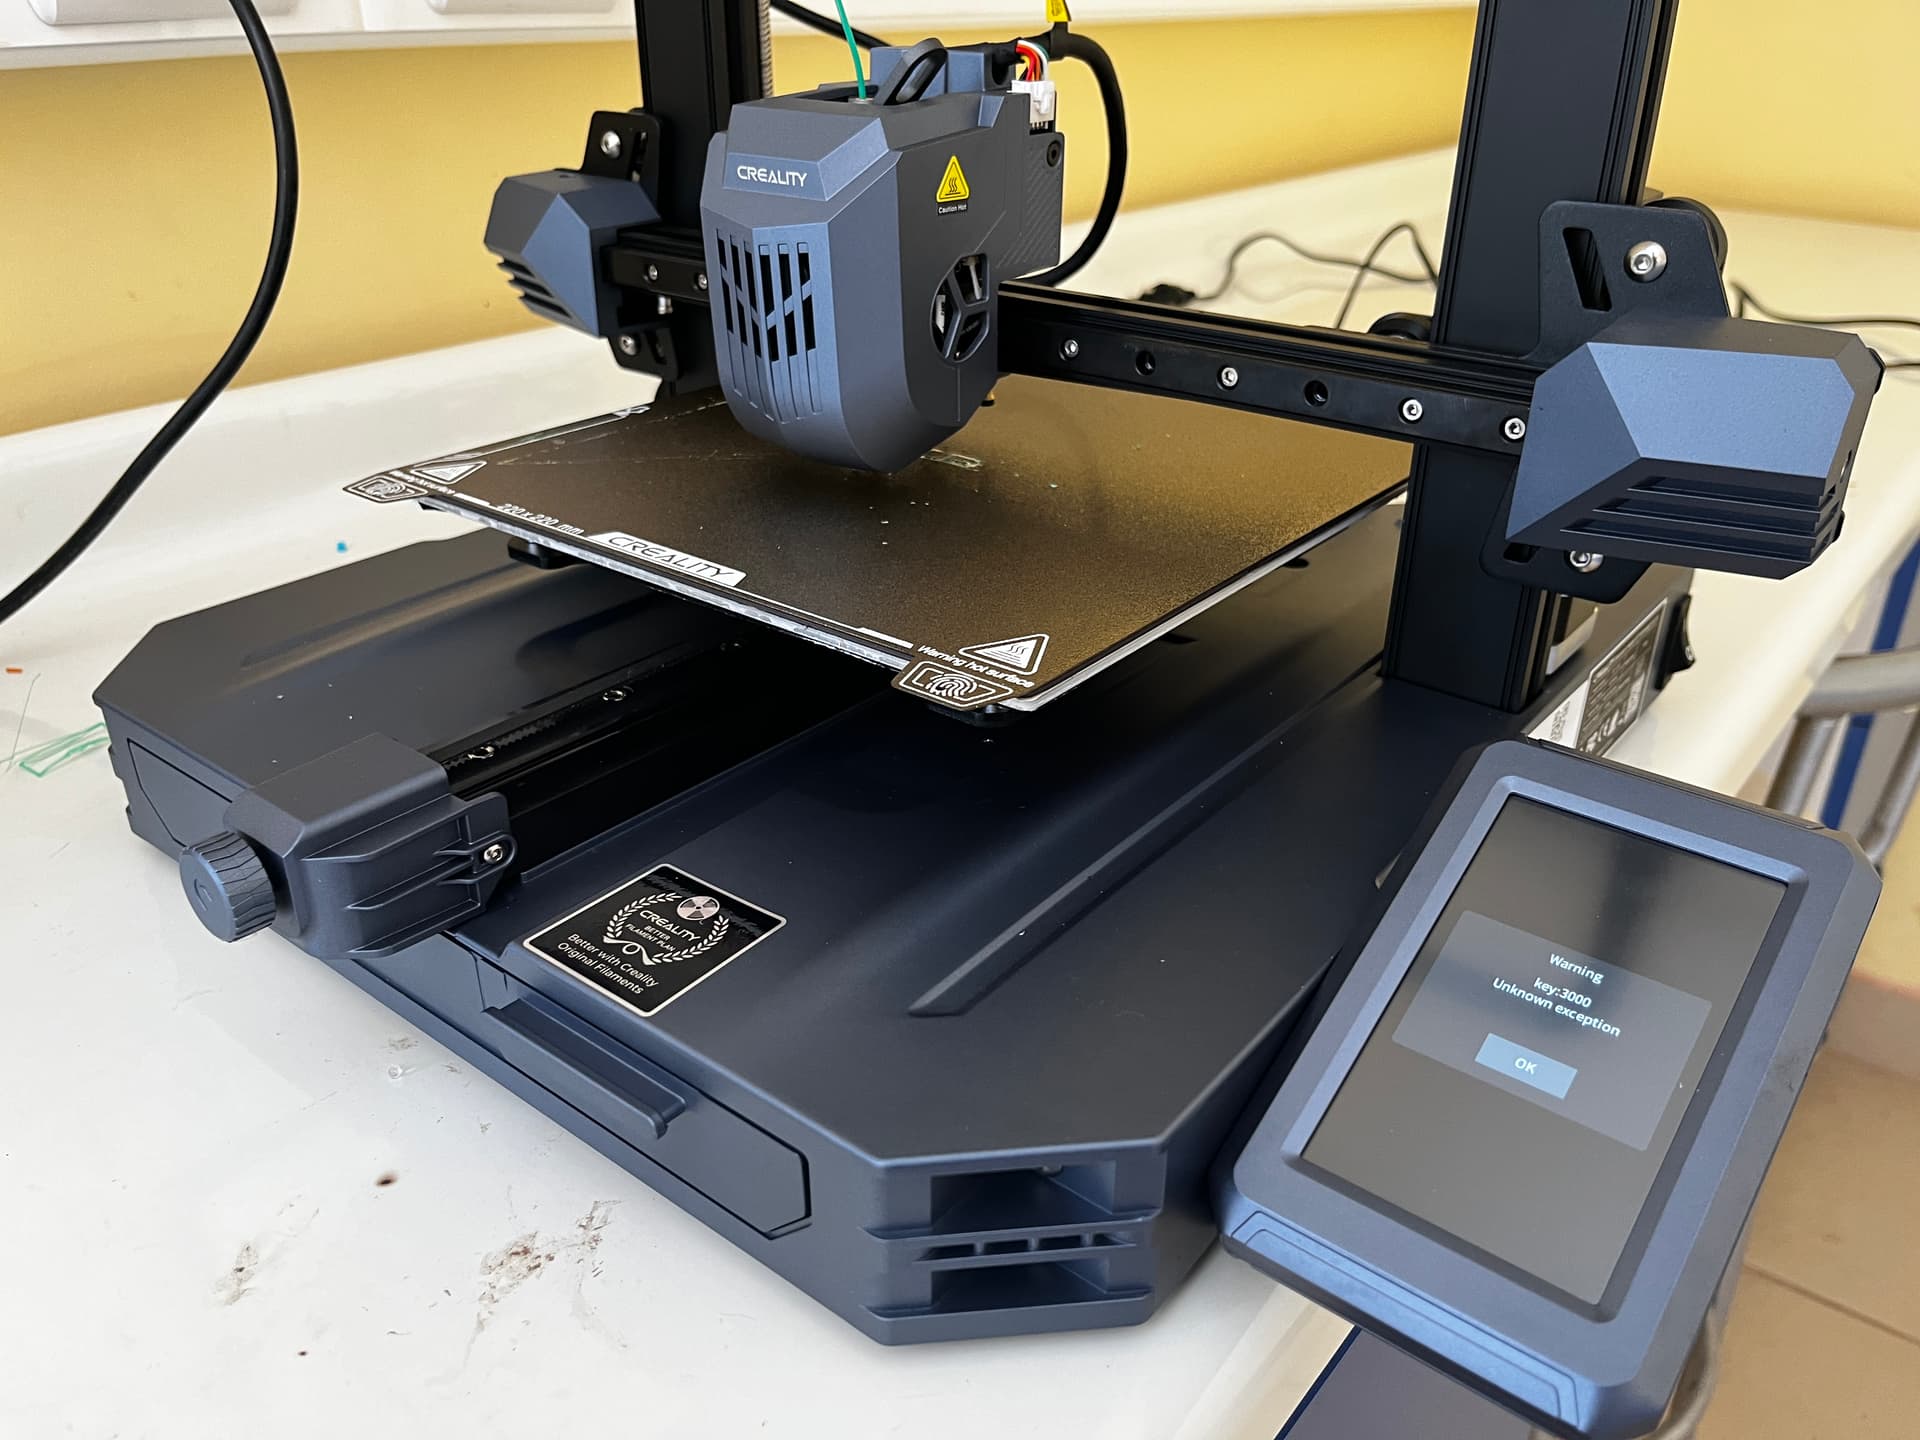
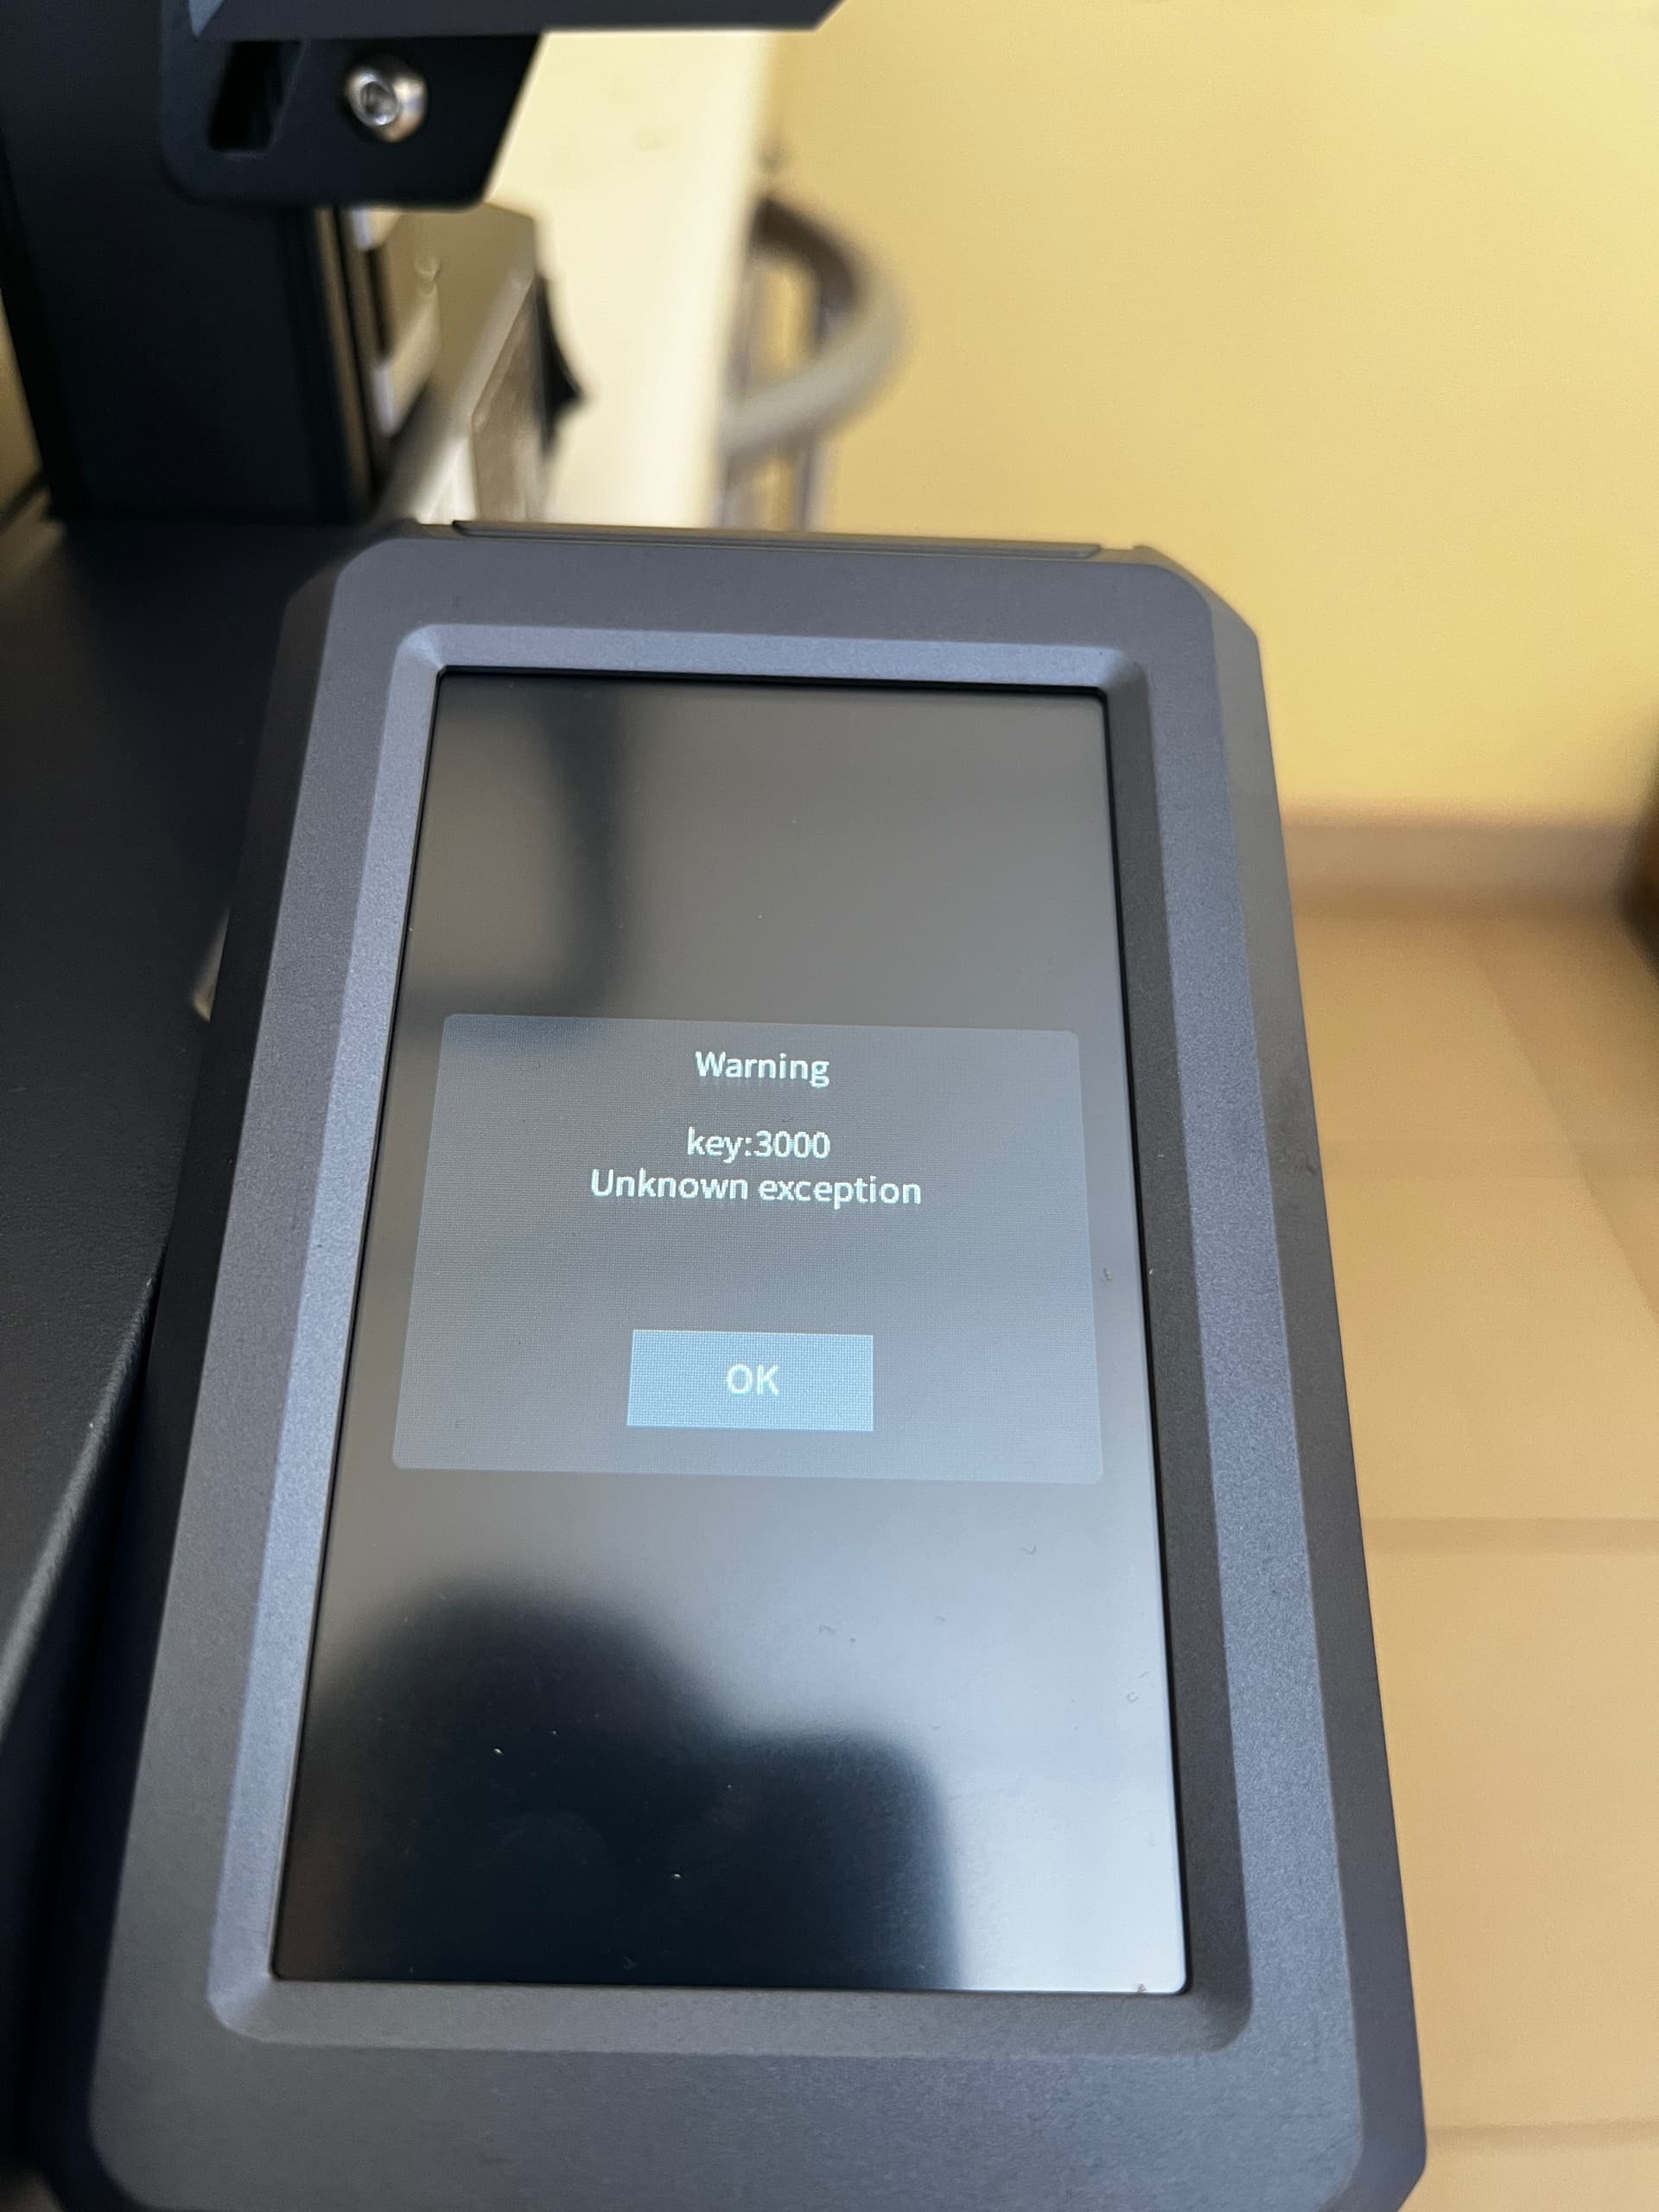
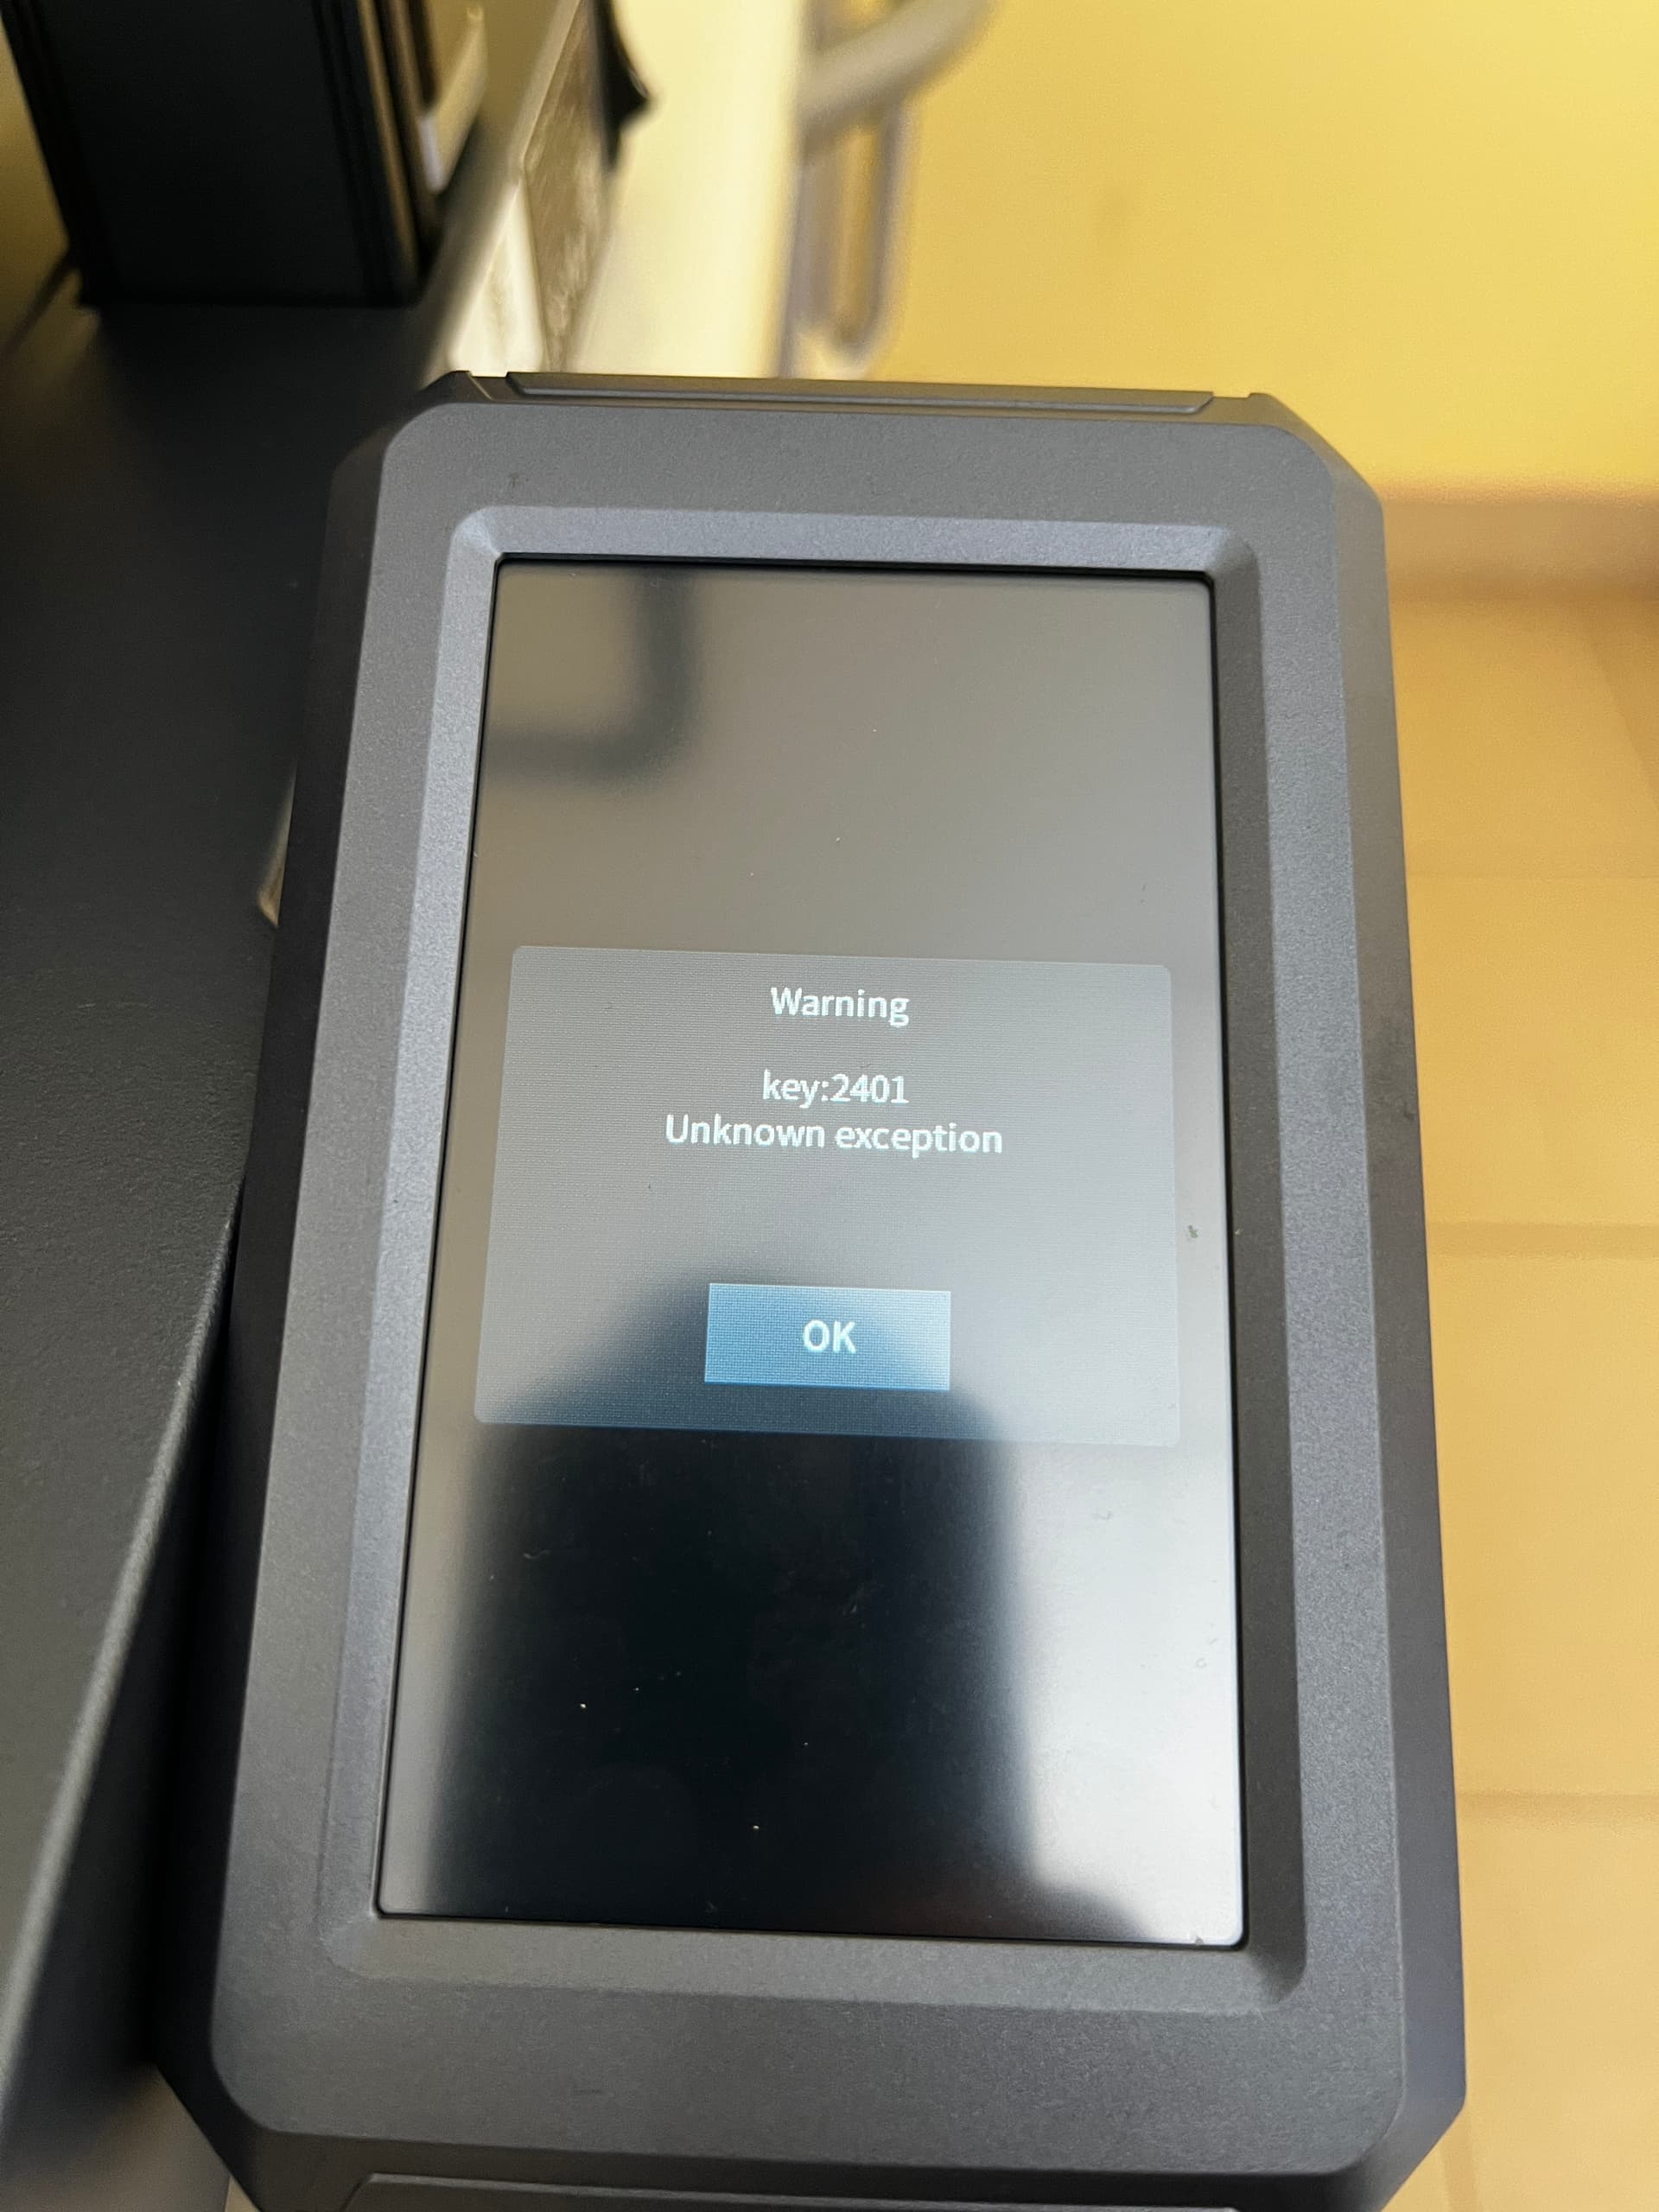
I just got a brand new CR-10 SE and after the first print (which failed) I keep getting errors key:3000 and key:2401.
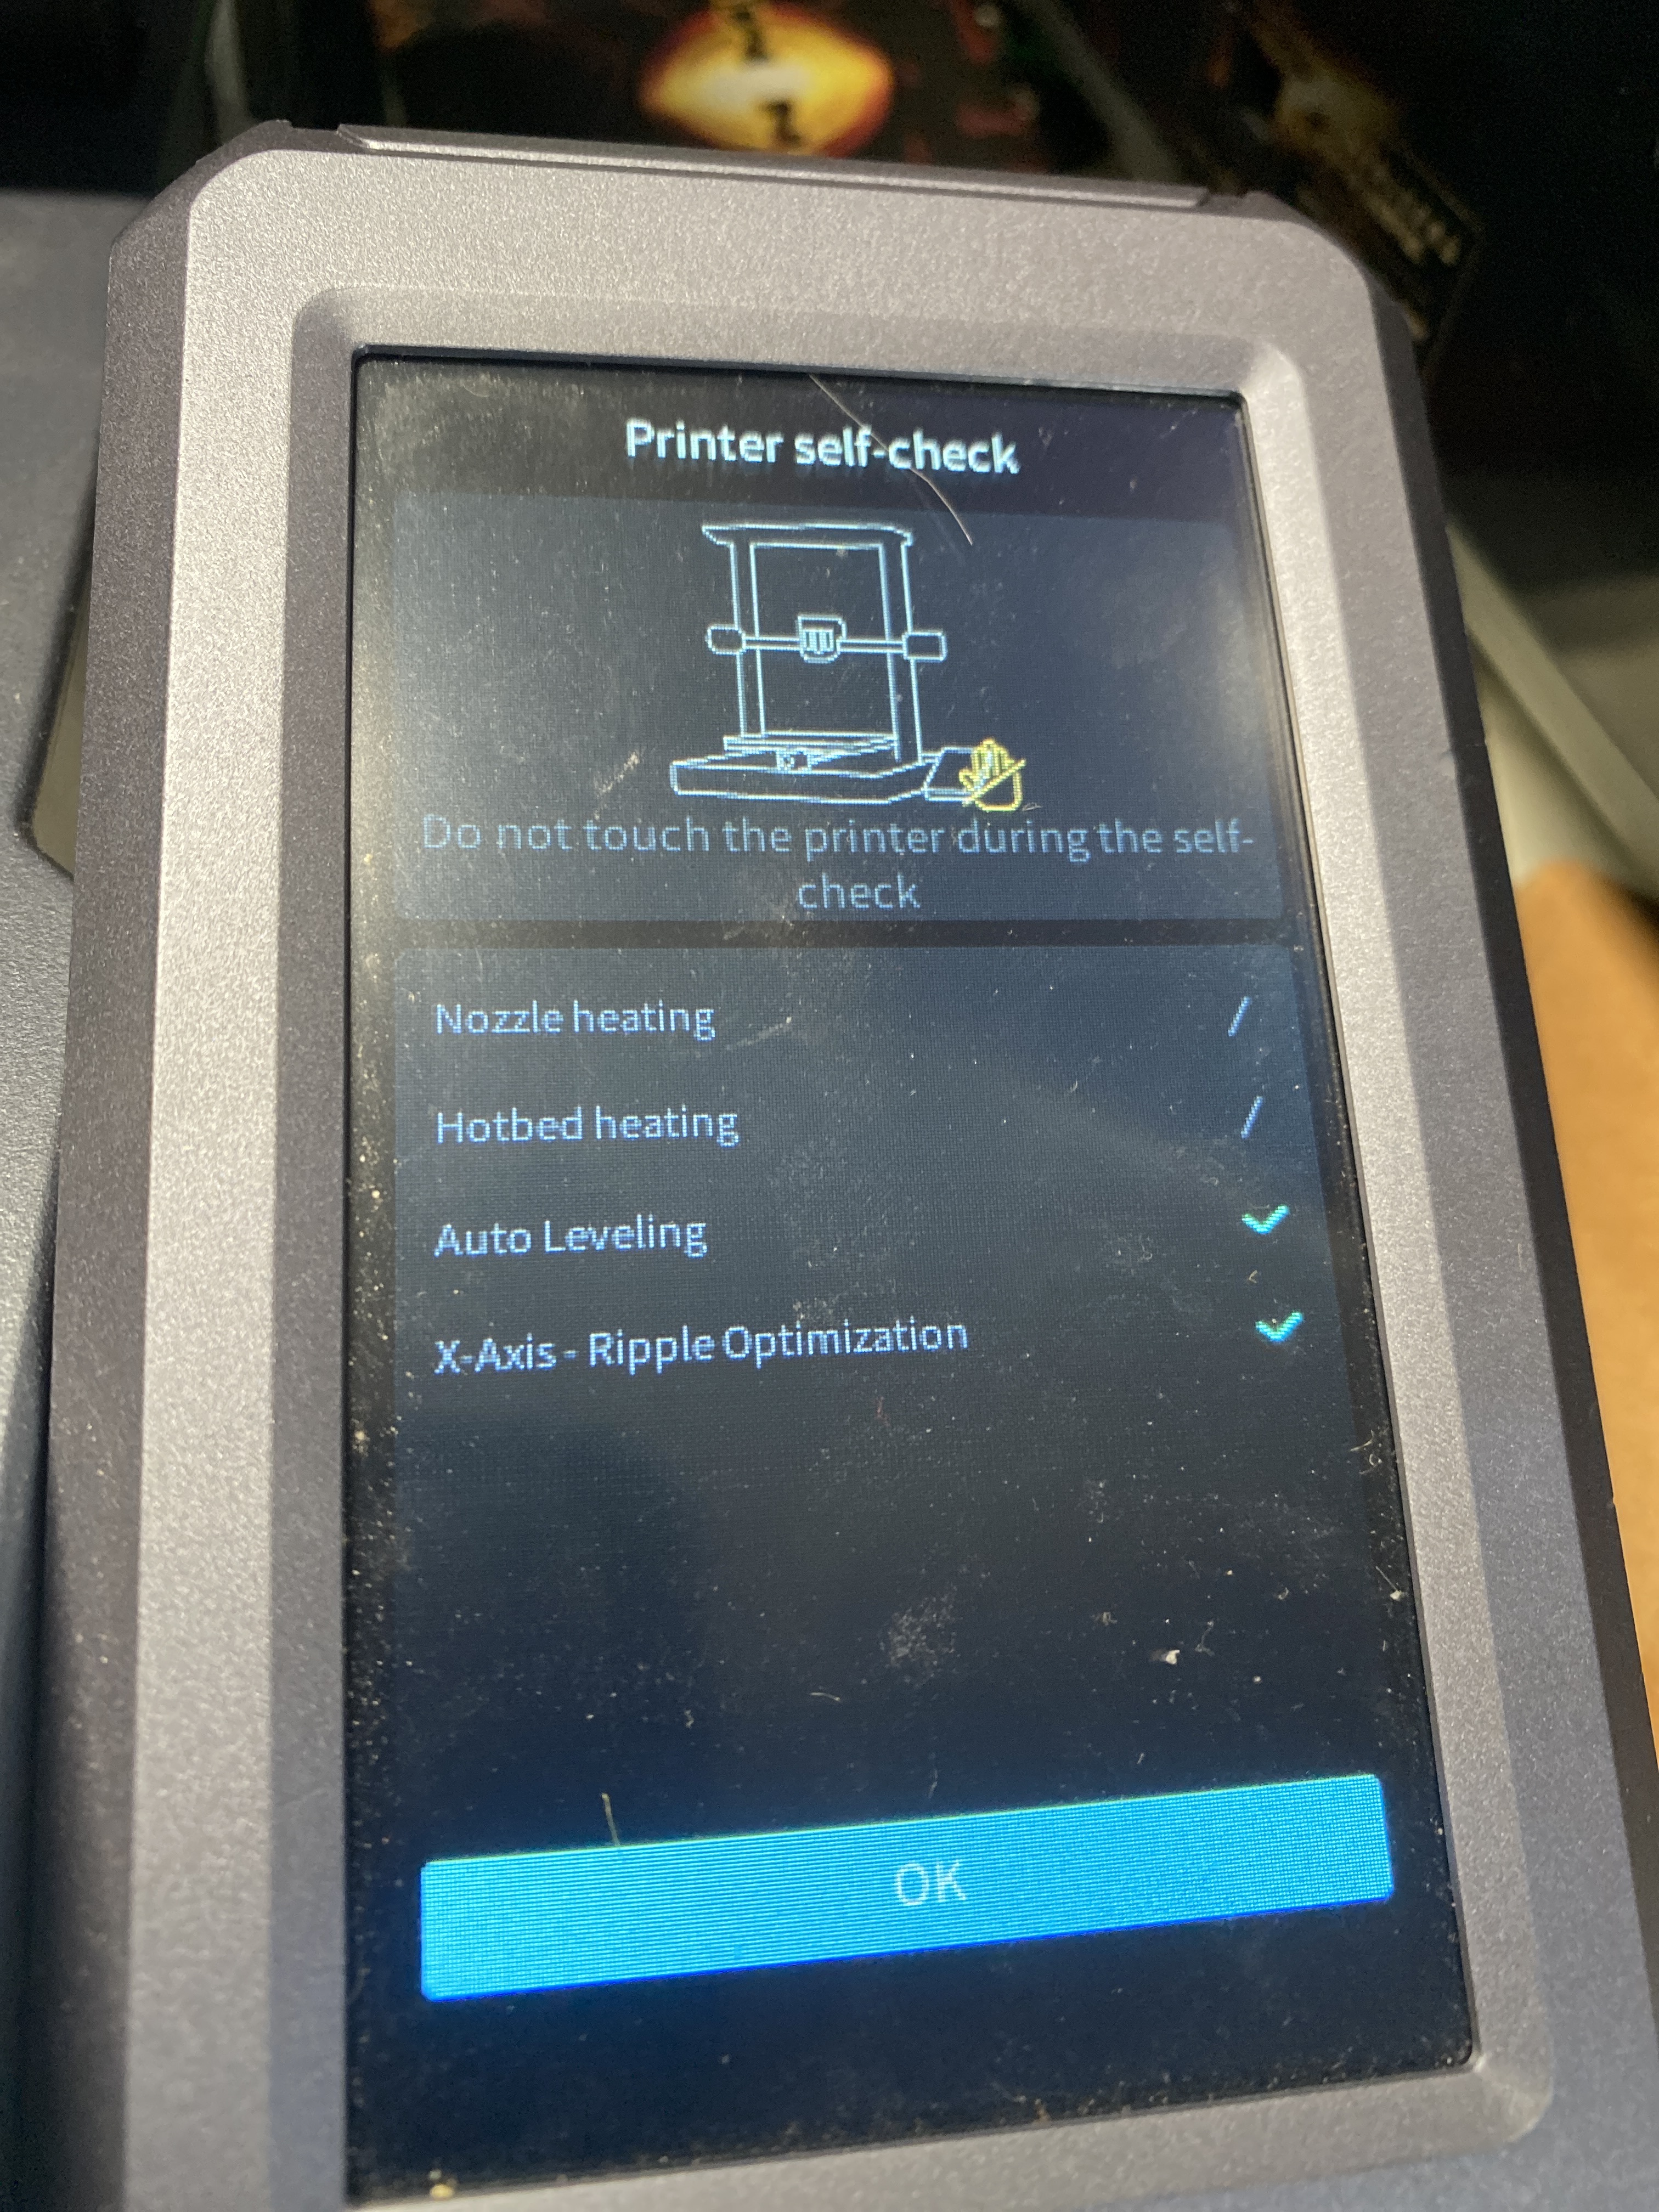
The first self-check and calibration test before the first print worked out well. Then, in the second print, when the calibration test was performed I got error key:3000 followed by error key:2401. The Auto Leveling Probe keeps failing.
I upgraded the firmware, checked the wires and finally applied the factory reset, thinking it could be useful.
Wrong! Absolutely a bad decision
Now I can’t even print since the print fails the self-check due to the autoleveling test. The probe works in the first two or three positions and then fails to keep that position and gets the same two errors when it’s in the center.
What can I do? I can’t understand why a brand-new printer fails so fast without any information to solve it. The wiki site CR-10 SE | Creality Wiki don’t cover those errors
Have you checked that the voltage selection switch is in the correct position for your region? These issues are usually a result of the switch being in the wrong position.
Any Official Customer Service in this forum? I still can’t believe a printer fails this fast. Ender 3 didn’t fail this level while CR-10s Pro gave me issues, but this is another level of lack of information and failure without modifying any parameter
Sounds like the printer may have a fault or have been damaged in some way during shipping. I would advise reaching out to support as they will be more than happy to help you. The contact routes can be found here:
I contacted Creality technical service and after 1 1/2 months I got the replacement of the damaged piezoelectric ceramic piece and now the printer works again. If you face the same issue, probably is the same case, so contact support.
Creality has realised it’s dropped a major one with this printer and instead of trying to resolve it they’ve just buried their heads in the sand hoping it will go away. Problem for them is they’re right, people will go away, to Bambu and Prusa. This is my very last printer from Creality. They rely on customers resolving issues they created in these forums. No-one from Creality reads these things, they just set up a forum and leave us to it. So until someone stumbles across the fix and posts it, we’re all screwed I’m afraid.
I found the solution. So I got same unknown error codes. Here’s what I did.
I took off the casing
unscrewed and unplugged the hotend, autoleveler and ceramic plate.
check all wires and fix any shorts or cuts with electric tape
place each piece back into the motherboard one by one.
each time I plugged in a piece, I got error to match the missing piece.
The answer is whatever code you are getting corresponds to the hardware that is giving an error.
once you made a List of each item code, plug all back in and run a system test. This will help you see which piece is not performing well or responding.
My problem specifically found was that the ceramic plate was installed upside down . Simple mistake that can cost you a good printer. The white glue section on the ceramic plate must be facing down or you will fail auto level. Also the cables because they are weak. I reinforced them with electric tape. Zip tie the cable together for less of a chance of tears.
This method with answer your questions for all hotbed bay part failures or connection issues. Internal boards is a whole different animal. But for now, this will solve your issues .
Remember
remove the all parts and inspect them
once inspected, plug them back in to confirm their error numbers.
find the specific error.
resolve issue by repair or replacing a part.
always run system test to confirm parts are working .
The reason you are receiving code due to the nozzle hit bed before bl touch. The bracket is crooked. By taking everything apart you probably accidentally fixed it.
I was having the same issue. To fix mine, no parts were removed. But I disconnected power, unplugged each communication plug, blew them out, ensured each wire was firmly pressed into plugs and reconnected each. Powered printer back up and so far so good. Printing like a dream.