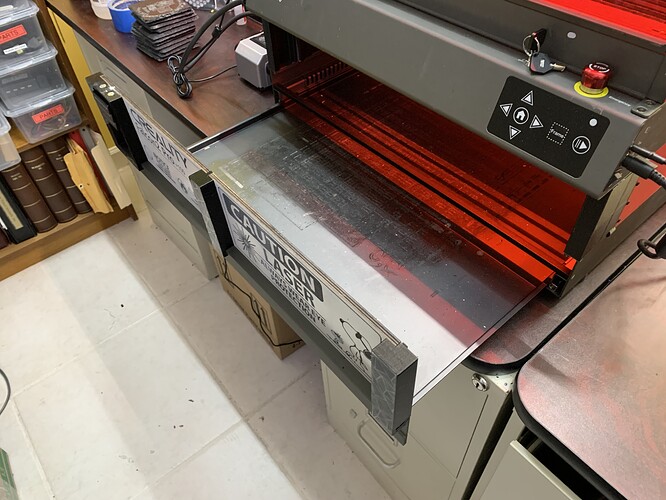
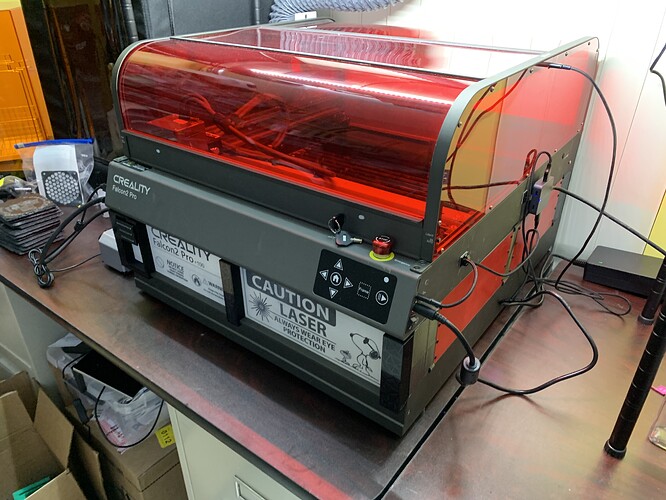
Möchte das Rotary Kit testen und muss dafür wegen der Objekthöhe beim Falcon 2 Pro die Schublade rausziehen. Kann ich den Sicherheitsmechanismus überlisten, damit der Laser auch bei entfernter Schublade arbeitet?
I used a translator to understand your question, so it might be something wrong that talks about a “drawer” - I’m not sure what you mean by that.
I can suggest just raising the laser engraver as much as needed so you can use the rotary tool. No need for fancy legs - just make sure it’s stable enough. Use books, wood, or whatever allows you to raise the engraver so the laser sits above the part you are trying to engrave. Of course, if this is something you’ll need to repeat, I’d find a more sustainable solution, but you should find an easy way to do this. As mentionned, just make sure the engraver is stable so it doesn’t vibrate when moving, which could ruin your engraving.
Good luck! / Viel Glück!
Google translation to English:
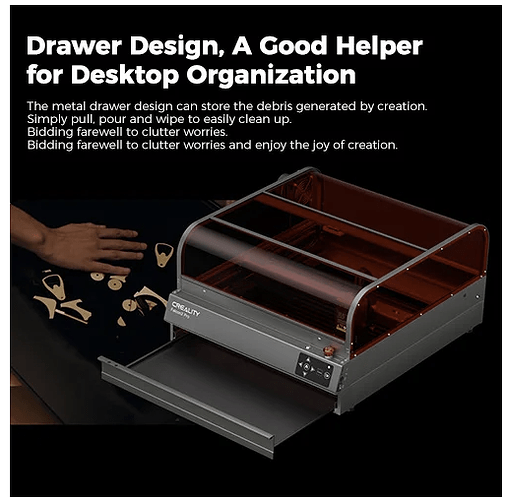
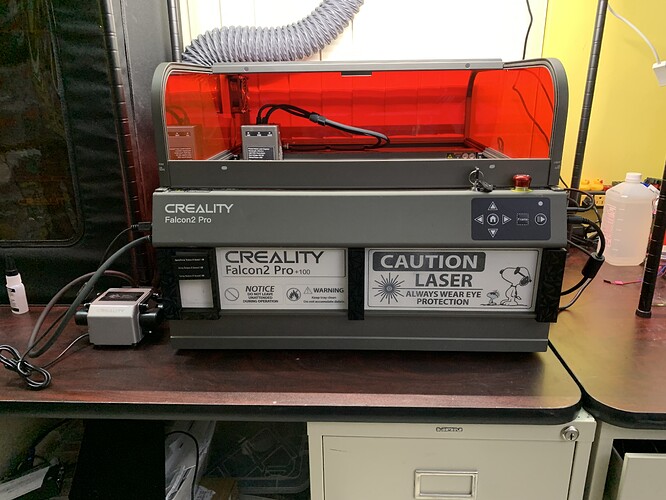
The Falcon 2 Pro is enclosed and has a drawer at the bottom of it.
Not sure how Creality envisioned this being used with the rotary tool and risers, both of which are mentioned in passing in the Falcon 2 Pro User Manual under the “Packing List → Optional” heading.
A bit of Googling and I found Falcon 2 Pro Rotary setup which looks like the Pro was not designed adequately to work with a rotary tool and some creative DIY solution might be required.
Hope this helps.
Thank you @Wet.Coast for the details!
As always, you shed some lights on stuff I didn’t realize.
That is really appreciated.
Now, I do understand what you mean - Creality didn’t really think their way through this.
I did regret at some point buying the “base” 22w unit and a separate enclosure, but now I’m kind of happy I did :).
The plan is to build myself a proper enclosure, using the orange plastic windows that came on the one I bought, and I’ll make sure to leave enough room for the rotary tool (the PRO one).
I’m just waiting for a special pricer to buy it - the cheapest I could find so far is this one:
https://www.amazon.ca/-/Creality-multifonction-Accessoires-cylindriques-baseball/dp/B0CGDGTSKM?th=1
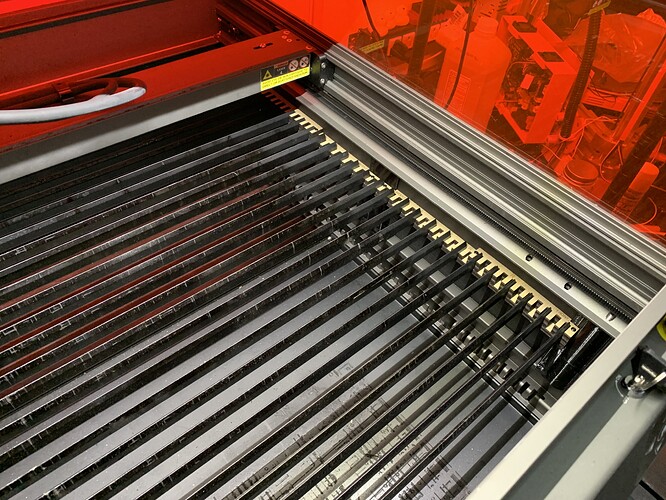
There are two switches inside, front left, you can use these to override the safeties, be very careful though, the laser will fire…
Ja, da ist ein Magnetschalter vorne links der erkennt ob die Schublade geschlossen ist, den kannst du überlisten.
Since they sell the Falcon2 Pro in a combo package with the Rotary Roller it should be compatible without jury-rigging something that disables the safety. The completeness and safety are some of the big selling factors.
This design flaw can be easily fixed, and this is the suggestion I sent to Creality. Have a removable panel in the bottom of the drawer that can be replaced with a trough that the roller can fit in. My suggestion would be to make it 150mm deep and the full width of the drawer. This would give the flexibility for a full-length roller and the ability to adjust the height of the roller with some type of legs. Putting some threaded holes on the bottom of the roller for legs would also be a good idea. This simple solution would solve the problem and a Falcon2 Pro R could be a version that includes all the accessories. A version R upgrade could also be sold.
I thought of another solution that doesn’t modify the tray and could be done by diy without a sheet metal shop. The drawer frame is held on by 4 screws. Just make a frame the same size and put it between the body and the drawer frame. This could be made of any stable solid material. Haven’t experimented with the safety switch so don’t know if it is on the unit or drawer frame but it would either need to be relocated or an extension wire added.
T.Taylor Manufacturing is in the process of making an over ride module.
Quick snap on install.
laser will fire with tray removed.
That’s easy to do and pushing the blue buttons does that but it then bypasses the safety features that make the pro so nice.
A great solution ![]() have you a Plan, and more photos that i can make the same Solutions on my Laser? i like that nice idea.
have you a Plan, and more photos that i can make the same Solutions on my Laser? i like that nice idea.
yükseltme kitini nasıl yaptığınıza dair detay eklerseniz çok sevinirim
it’s in my creality cloud account
Creality Cloud -Falcon2 Pro 100mm extension From DanBGold
It’s in my Creality Cloud account.
Creality Cloud -Falcon2 Pro 100mm extension From DanBGold
ttps://www.crealitycloud.com/model-detail/674e1e29e0e36f298cd02e35
The blue switches will override the safety. Making a device is simple as putting 2 magnets into a 3 d printed part but both of these solutions disable the safety that was the selling factor for the Pro.
