Dialing in the K2 Plus to a 56-Micron Bed Deviation: The Madness & The Method

So let’s taco bout it. Ever wondered what 56 microns looks like? It’s about:

• 1/40th of a Pringle’s thickness

• 8 red blood cells stacked together

• Half the thickness of a human hair

• Just slightly thicker than a bacterium

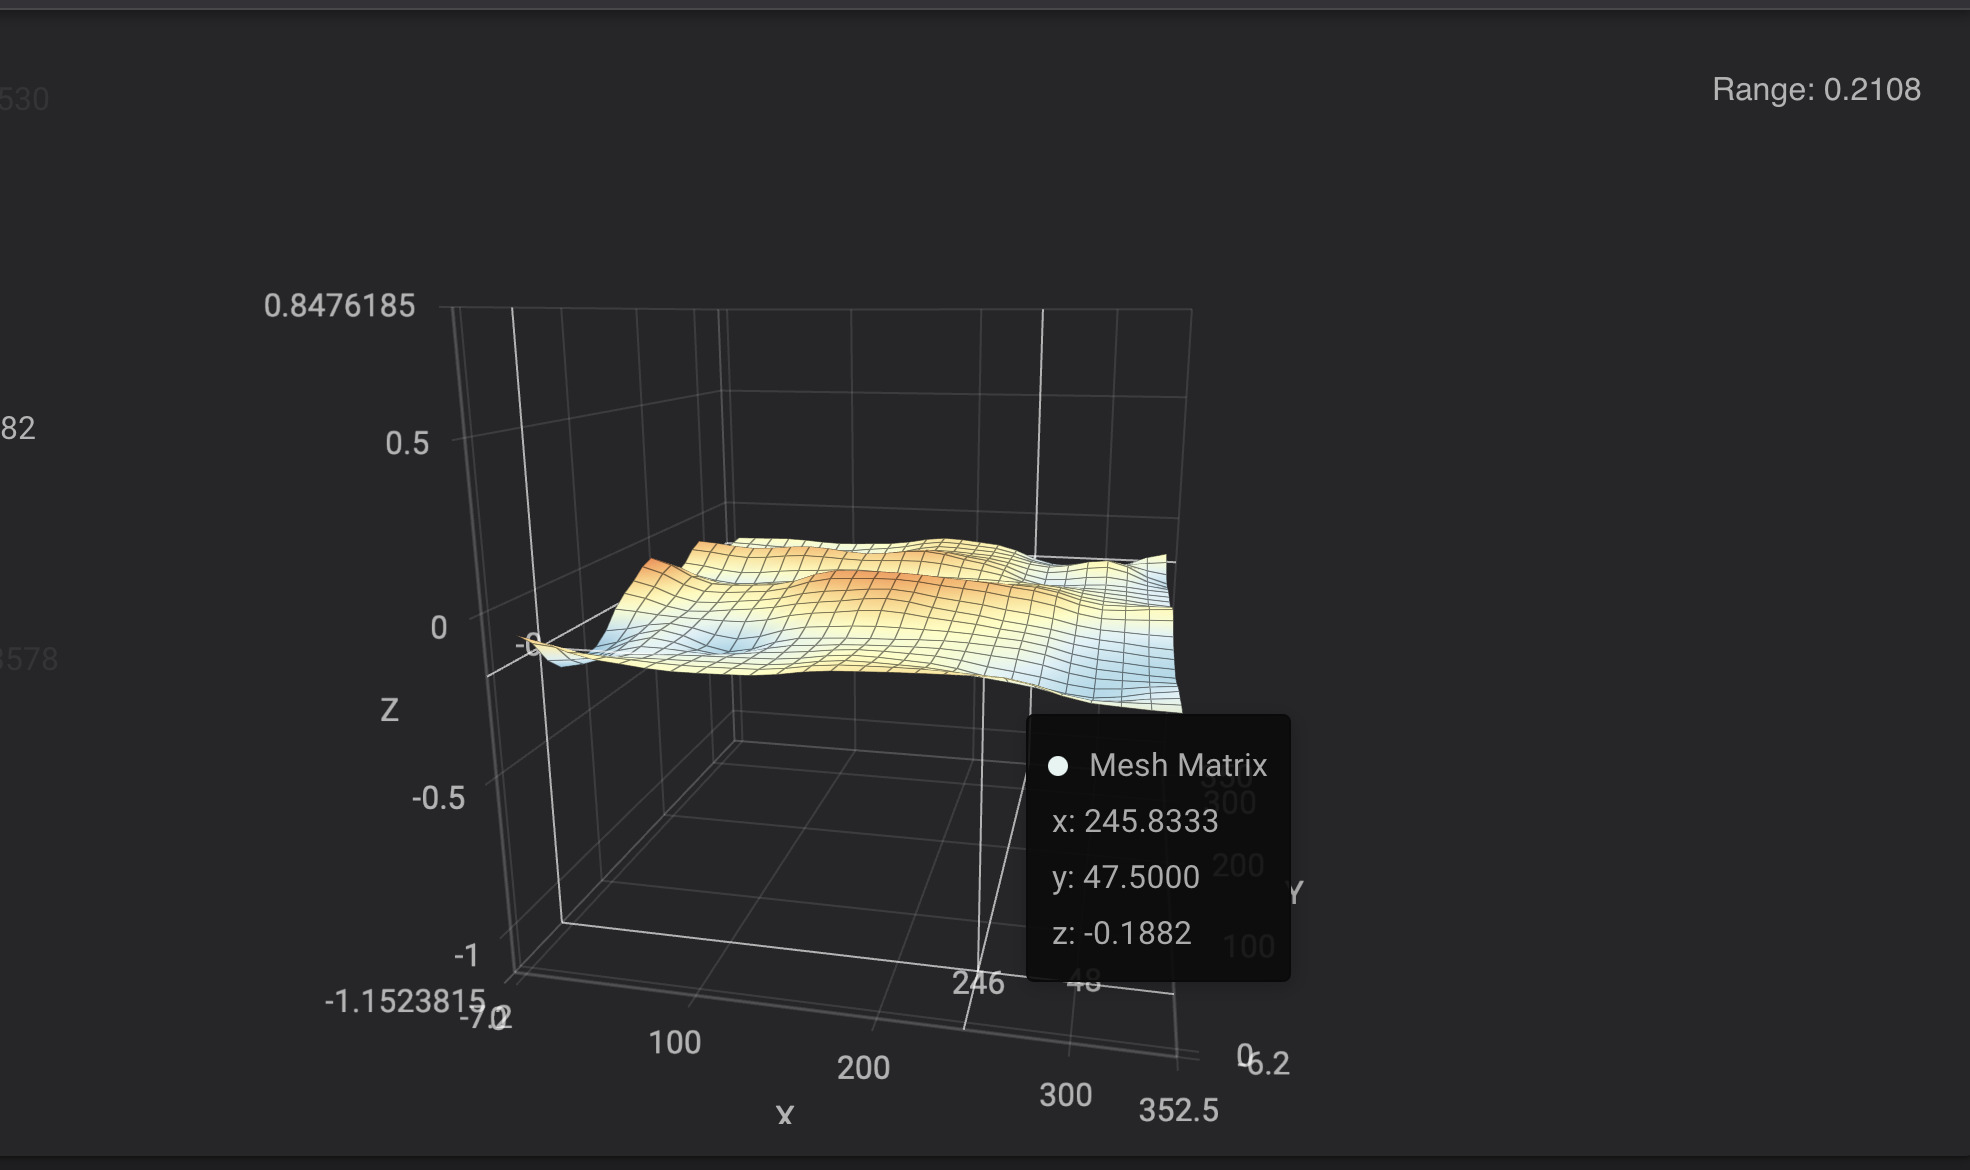
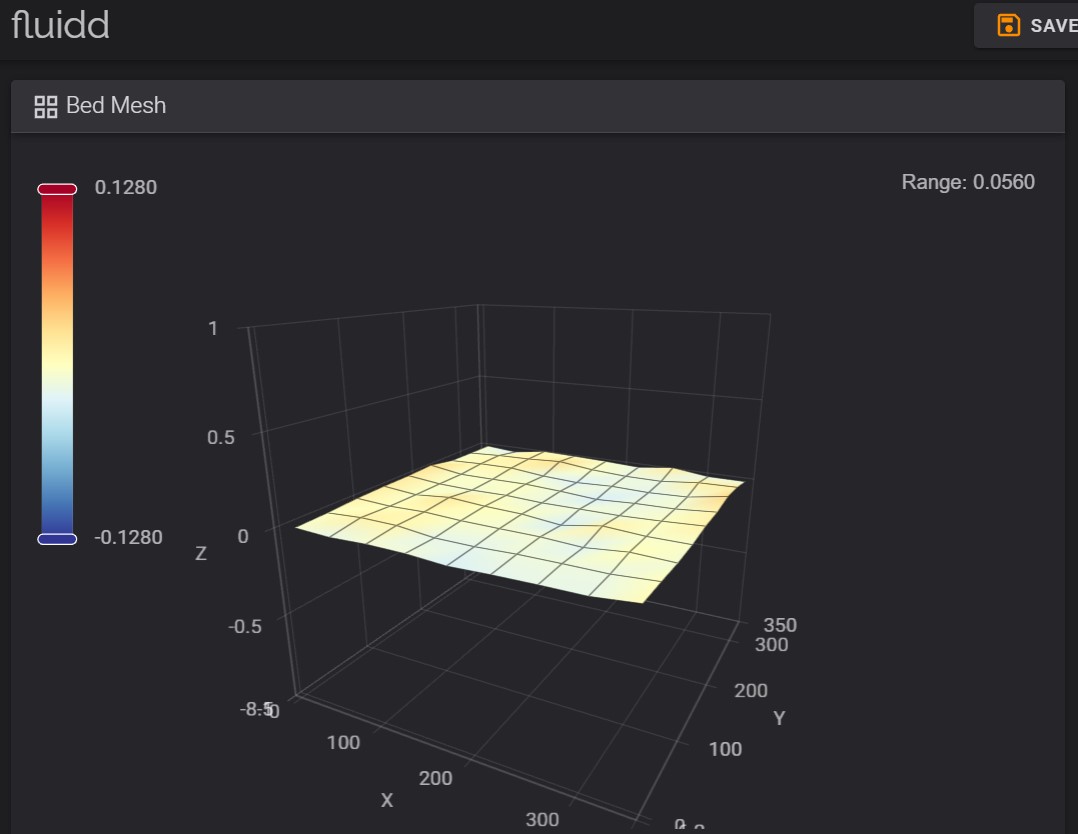
That’s the bed mesh deviation I managed to achieve on one of my Creality K2 Plus units after hours of heat soaking at 60°C—on a smooth PEI plate. On the standard textured PEI plate, I got it down to 67 microns (.067 mm), which is still ridiculously tight. What did I start with??? .89mm

How did I do it?

A combination of:

:heavy_check_mark: Stretched aluminum tape (precision layering at its finest)

:heavy_check_mark: Stolen Borrowed and quickly returned my wife’s Kapton Tape she uses for vinyl prints :shushing_face:

:heavy_check_mark: A sacrificial offering of burnt fingertips to Cuva and the FDM gods

:heavy_check_mark: A ridiculous amount of patience

:heavy_check_mark: A hairnet, and banishing my dog from my office… Yeah, a single dog hair can throw it off at this level!

This wasn’t just a one-off experiment. I’m currently working on a repeatable method and guide to help others dial in their bed to .25mm deviation or better, because let’s be real… getting that first layer perfect every time is a game-changer!

This is why I’ve been a little MIA the last few days, but trust me, it’s worth it. Stay tuned, I’ll be dropping a guide soon to help others push their K2 Plus (or any FDM printer) to the next level.

Let me know!!! Is this something any of you would like to see!? How dialed in is your bed, and what’s the wildest trick you’ve used to get it there?

4 Likes

Hello Iron3Dad,

Very very cool :+1:

I would love to learn how you manage to (and reproduce) such a result.

Impressive to the max :open_mouth:

Cheers.

1 Like

Very impressive bit of levelling but is the K2+ that bad at compensating? I have 3 Enders (V3SE, V3KE, 5+) with levels ranging from 0.3 to 1.1 but they do a full bed first layer no problems.

1 Like

Hi @Bonfireman ,

I might be wrong, but I think it might have been the challenge rather than need :thinking:

Cheers.

1 Like

Thank you @Bonfireman and @Radical_Data! :smile:
Hahaha, yes, it was more so for the challenge than the need! Once I got it under .2 (which wasn’t too hard), I thought… I wonder if it’s possible to get it to .1? And it kinda just grew from there!

I see a lot of complaints on here about unfixable bed level problems, often coming from self-proclaimed printing gurus. I, however, am definitely not a printing guru… but I wanted to see how level I could make it. Took some tricks I learned from time spent with my V1 Ender 3 and picked up even more lessons with the K2 and its absolute unit of a bed.

Also… The included Creality scraper is dangerously sharp. Ask me how I know. (Spoiler: My fingertip is now the first human-printed layer. :face_with_head_bandage:)

If I’m being transparent, the only time I ever had issues with the .89 mm deviation was when it printed on the edges.

I’m in the process of replicating the steps on my garage K2, but long story short:

  1. I created a stencil of the probe points in Fusion 360 and used it to mark and check them on the bed with a Sharpie.
  2. I got those points pretty close to even using tape and foil.
  3. Since I couldn’t find a dial indicator mount for the K2, I designed one myself.
  4. Then, I used it to cut the tolerance within each probe point grid-square.

Material adjustments:

  • Kapton tape gives me .03mm wiggle room.
  • Stretched aluminum tape lands around .05 - .07mm. I believe this range was related to its quality.
  • In some areas, I had to cut out tiny sections of aluminum and backfill with Kapton.

This has been a ridiculous experiment, but I’m excited to see if it’s repeatable within reason.

I’m down to one Ender 3 at the moment, the OG V1 that got me started. Neighbor has the SE now😔. But that’s ok! It has gone to a better home, and I have… ‘Hi’ hopes that the V1 will be getting a sibling in April. :smirk::joy: