Ender 3 v2 + 4.2.7 motherboard + sprite extruder pro + cr touch + nebula pad

Hello, I’ve just adquired a 4.2.7 motherboard, nebula kit, sprite extruder pro, second z axis and cr touch.
I’ve mounted all but when arribes to auto-calibration extruder comes out of the plate and collides with it.
If I come back to original screen it seems to work.
Does is possible to install 4.2.7 + sprite extruder + nebula pad + cr touch???

I’ve found this guy:

Install files:

but he installed it all with 4.2.2 motherboard.

Thank you for help.

1 Like

Hey, I’m facing a similar issue, and I can confirm that it’s definitely possible. The support team told me that the Sprite Extruder Pro is designed for the 4.2.7 motherboard, and the Nebula is for 4.2.2 (where’s the logic in that?) and that both upgrades can’t be installed together. However, I have an Ender 3 V2 Neo, and I currently have both upgrades installed, and they work fine. Right now, I’m dealing with a software issue because the CR Touch on the Sprite Pro is positioned differently than on the standard Neo, so I’ll need to tweak the firmware. But to answer your question: yes, it will work, just expect a bit of tinkering. :wink:

I’ve ordered the nebula kit again. I’ll tell you how it goes.

Alright, so I watched that video you sent me. I’m really happy with the results. Of course, the settings from the video don’t quite match my Ender, but after a bit of tweaking in Fluidd with the ‘printer.cfg’ file, everything works as it should :wink: Let me know how it worked out for you, and feel free to ask if you need any help. I’ll help out if I can!

Hello,
I have Classic Ender-3 with board v4.2.7 + Sprite Extruder + CR touch… and Nebula Pad is waiting in box… The video looks promising…
Just before i will start to make an upgrade from standard “Bue LCD” i need to clarify few things…
Because I am Linux enthusiast tweaking via ssh + managing printer.cfg is not unknown for me.

  • In Case of Rollback - Is the standard SD reflash working to return back to FW for Blue LCD setup?
    I have in use FW Ender-3_HW4.2.7_SW2.0.9.03_SpriteExt_H300.bin is version which is working well and thaks to it this is “Return point FW” for me.

  • Nebula require to flash FW on board with “Nebula_Pad.bin” which will kick out Nicely working FW And will prepare board for FW upload from Printer selection on Nebula Pad during 1st start.

Video is based on March version of FW…
I saw some videos where Expert menu is available to enable ssh access - is this feature included within last version …V1.1.0.27.img?

One idea comes onto my mind:
Use Nebula Pad - choose Ender3 + CR touch + board v4.2.7 (Sprite Extruder is not in menu)
Check fluidd for available option to manage printer.cfg If not
Then use Expert menu … open ssh and try to reach this file via ssh… if this is even possible without using modded FW…

If the ssh will allow me to make changes then:

1st modify E steps to Sprite Extruder value 429 or some value around this number…
2nd modify max temperature To have full range.
3rd modify Z probe offset / location of CR touch vs nozzle is totally different.
4th If possible modify bed size from 210x210 closer to original 220x220 dimension.

Dan

Well… Nebula Kit + Sprite Extruder Pro + Cr Touch in 4.2.7 motherboard working perfect. In my case my only issue was set up bed size and nozzle and probe position properly with right values and all fits as expected. After trying klipper, going back to marlin is out of my mind.

Hi,
what about access to config files… is modification possible with latest firmware from web or i should flash rooted FW version available from video description to be able modify offsets/bed size?

As you wrote Dani - Klipper = definitively img from video link is needed right?

Dan

Hi Daniel_Zeman, yes if you follow the steps in the video, as it is a rooted firmware, you will have access to all config files with fluidd and mainsail:

Thanks for quick reply…
I will try it over weekend then I will let you know about the results.

1 Like

Hey thank a lot for supporting me. Nebula Pad is now working perfectly.
I like this tweaking to bed mesh etc…

Now i have everything calibrated… so 1st print is in front of me.

Great! Glad to read that.

Hi. I already have nebula pad installed with root firmware. Printer Ender 3 pro 4.2.2. I also have cr-touch installed. 1) To make the sprite extruder work properly I just need to fix the print.cfg file by adding e-steps and rotation_distance and everything will work?
2) the sprite extruder has a board, how did you connect the cr-touch to the printer board or the extruder board?

Hi Vad_Che
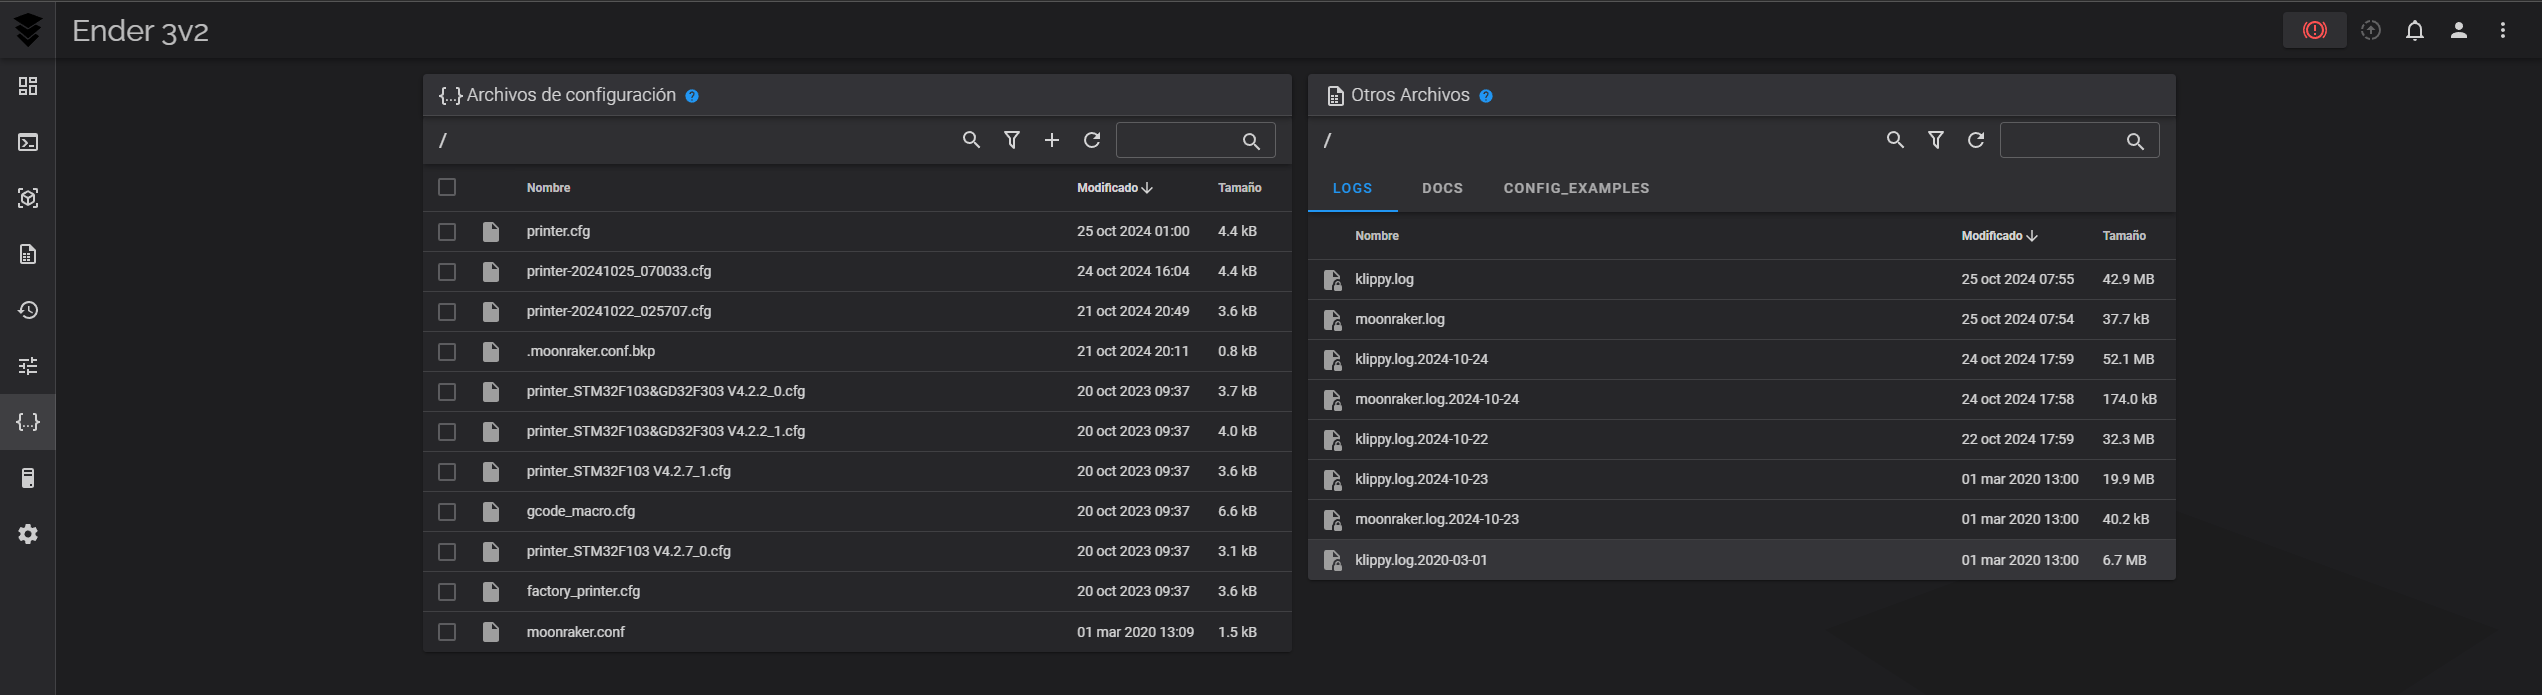
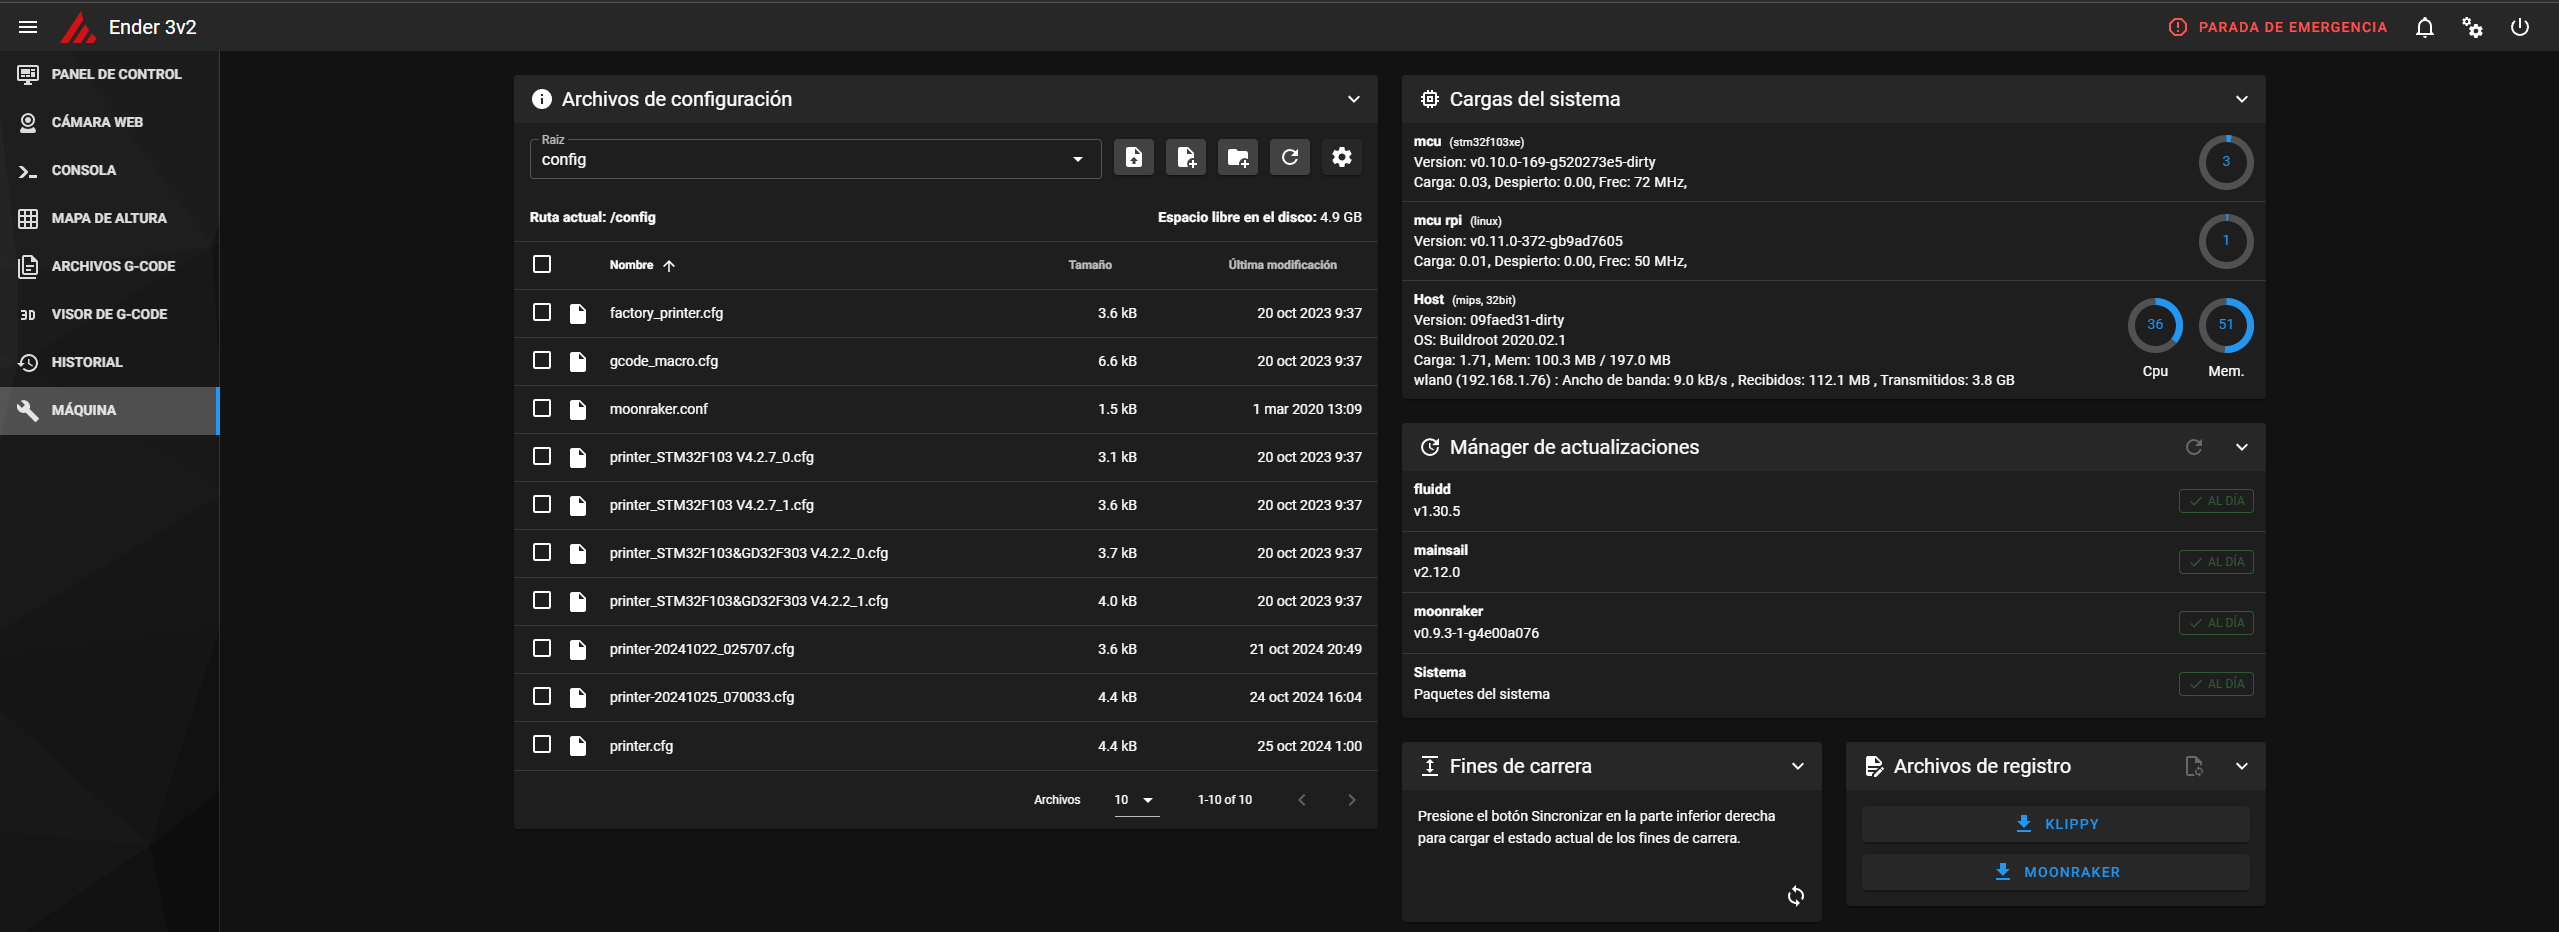
I am using fluidd to manage my printer but choose your own.

A1:
You have right.
Nebula pad with root brings you full control above everything around hardware control so yes printer.cfg is the key. AND with this comes BIG responsibility. Think twice before you will make any adjustment, check klipper documentation etc… whatewer you do is at your own risk.

During 1st startup skip wizard with calibration. Otherwise you will hit bed with nozzle.

Step 1 - Adjust cr touch XY vs. nozzle offset in bl_touch section. In mine case with kit fan mount plate values are X 41 and Y 31 for an example.

Do you own measuring 1st on all steps.

Check safe bed home coords and set values to center of bed. For start XY values around 100 are enough. With 0 you vill hit bed.

After save and restart homing procedure will start to work safely.

Step 2 - perform Z offset calibration
Check value in printer.cfg and set it to 0.0
Nebula Pad menu offer you good interface for it. Fluidd has this possibility too with smaller microsteps.

Step 3 adjust bed size within XYZ axis sections
Here you will need to be careful to not go so far with values. Expect lot of save and restarts. Check mechanical limits, and perform fine tune by units of milimeters Otherwise XY motors and belts will suffer… try to minimize it as much as possible.
In my case i am using minus values for XY starting position because end stop with 0 and Sprite geometry are outside of bed.

Be careful with X axis and top screw on carrier. I shortened mine to be able go far begind right plate. Thanks to this I have got full 220x220 range.
If you are ok with max of 205 mm on X keep it as it is. Or you can do this anytime later.

Step 4 bed mesh coords
Same as for step 3. You can reach area outside of mechanical stop.
Count with bl touch coords and take these into your calculations.
Tip: Set corner coords to bed knob screwes if your printer have these.

Slow down velocity on z axis to slow down Z axis approach while cr touch is performing bed mesh calibration for better accurate results.

Step 5 Fine tune of safe bed home
According to the new geometry from step 3 take into count with bl touch coords adjust real center of bed.

Step 6 perform manual bed level with paper
You can do it from Nebula Pad interface or from fluidd

Step 7 extruder E motor calibration
Standard test with extrude of 100mm filament and caliper measurment. According to results modify E step section value.

After these steps your printer should be calibrated from mechanical side.

I recommend you to perform thse calibration prints:

  • Flow cube to measure over/under extrusion I have to set 0,94 in slicer for PLA and PETG wit 0,4mm nozzle.
  • Pressure advance tower - stock value 0,44 works well for me but if you want to have max precision you have to perform it for each spool.

Prepare your macros in separate file an create include for this file in printer.cfg
Start with START PRINT macro. Follow klipper documentation how to prepare this file and how to intergrate it with slicer. Then END print…

Nebula Pad has own macros but i do not like the start macro whrere nozzle is preheated with Z at 0… etc…

A2
I’ve bought kit where short cr touch ribbon cable was included. In case that you do not have it use the long one delivered with CR touch.

Good luck, hope that you will find out this reply as useful for you.

1 Like