Totally agree with that. Also noticed that lifting a finished print off the bed before it has cooled, so it is at its most adhered will throw the levelling out of whack even with extra strong springs.
I’ve been 3D printing for years and have done a lot of research online and that is the first time I’ve heard that. I should have come here long time ago. I upgraded the springs and leveling knobs. What do you think of silicone bed mounts? Do they make that big of a difference?
That’s good to know too. I have a magnetic bed. Usually I pull that off of the bed and then take the print off. Does that matter? Or is pulling that off mess up the bed leveling too?
I checked the extruder steps tonight following the instructions in your link and they are right on. They were as close as I could measure with my calipers allowing for slop on the width of the sharpie to mark the filament. Now it is time to level it manually (good old paper) and then adjust the z-offset setting.
I have installed the silicone spacers on my Ender 3 V2 and now find that I very rarely ever have to re-level the bed as the silicone spacers keep the adjusters tight so that they dont tend to come undone easily.
Glad to hear your extrusion tests all went well. Hopefully once you have re-leveled everything you should be all good. You may need to adjust your z offset when you start printing ![]()
Extrusion set correctly, bed freshly leveled, and… there is no z offset for the Ender 5 Pro. It is not in the software and it is not in the machine OS. There is a screw post and nut on the bed that hits the Z limit switch. You are supposed to adjust that. I have it as high (or low depending on how you look at it) that it can go and it isn’t enough. I have to relevel the bed and then raise the bed using the bed leveling knobs while keeping it level. I did a test print and it turned out pretty good actually. What a hassle. I suppose I could load the version that has the BL touch because there is a z offset added then to account for the BL touch. I have it so I could hook it back up again but ugh. It should not be this hard. I upgraded the firmware on the printer and loaded the latest software and still no option. I checked and mine has the 4.2.2 silent board with the 512K CPU.
If I search for “off” or “set” in the visibility settings in the software there is nothing to even turn on.
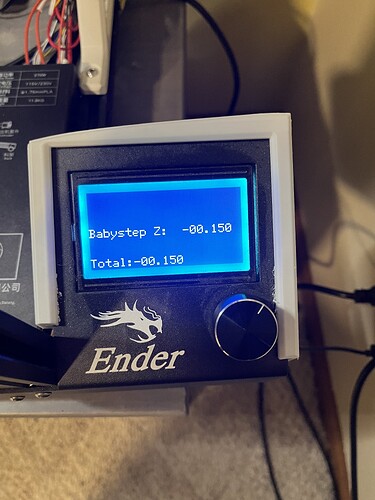
I found once the print starts you can do baby steps but it would be nice if I didn’t have to do that every print.
I had similar issues… and found two things… i was doing my zoffset with nozzle cold so there was some PLA effecting results of that and leveling… but biggest change was using PrusaSlicer instead of cura.
It has settings for Ender5S1 and works fine in superspeed mode.
It could be that the slicer you are using does not have z offset compensation or it could be that it was never added for that printer due to the changes needing to be made on the printer itself.
Yep the z offset adjustment generally is only available once you start a print. Once you have set the z offset and the print has completed you would just hop into the menus and store the settings. That way all future prints will use the same z offset that you specified ![]()
Not sure this will apply to your machine but I had similar (major) 1st layer adhesion issues. Even with auto calibration and manual Z adjust my 1st layer consistency was 50/50 hit or miss and it baffled me (because I’m new to this type of printing). I tried temp of nozzle and bed, Z adjust, speed, flow…basically everything. Then @jimandyen and I got to chatting in a thread I started and (thankfully) posed the bed level question. I didn’t even consider this aspect because I thought “auto calibration” with a sensor should be spot on, right? Wrong.
Check out this post: Stil having first layer issues. Not sure what next - #14 by Lensman
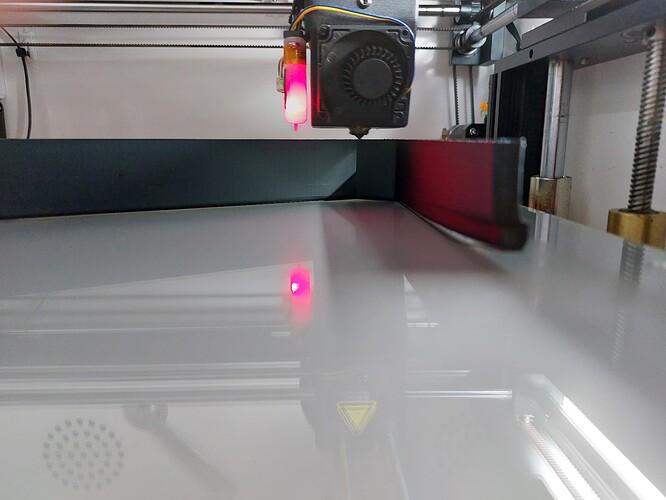
I found my Y level was off by 0.5mm even with auto bed level and auto Z adjust. I shimmed the Y and now, while not perfect, my first attempts with the shim have consistently stuck. There is still an issue with Y because you can clearly see the difference in my photo where the adhesion is much less.
I (we) all know how frustrating this is, especially for a greenhorn like me, so I just though I would share this in case it applies to you too. Good luck & hang in there! ![]()
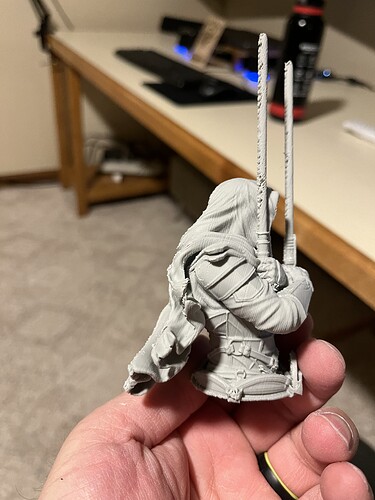
Thank you all for your suggestions and tips. It has helped. I have been able to print but not as cleanly as I used to. It’s good enough for things for now. I’m adding some modifications to my setup. The last few parts should embers today. Here is a picture is a print I’ve recently done.
The printer is a 3040 Pro.
Bed Temp is 60 deg c
Nozzle is 210.
PLA
I lays down the first layers okay but at about 3% the end starts to lift and shift. I put a layer of glue stick down to aide in bed adhesion.
Any thoughts.
Actual bed temp is 50 measured. Set at 60. Could that cause lifting?
Lifting of prints can be a result of numerous things, most often its caused by grease or debris on the bed, this can usually be avoided by cleaning the bed with IPA or warm soapy water between prints.
If the model has a beveled/filleted edge then it can sometimes lift due to the lack of contact with the print bed and the way the air hits the underside edge of the fillet, quite often a brim or mouse ear brim should prevent that from happening.
The bed is cleaned and levelled between prints, trying to avoid simple problems. Maybe try another slicer program.
Glad to hear the bed is cleaned regularly, you may also find that you might need to lower your z offset fractionally to help properly squish it into the bed to help with adhesion.
I lowered the bed setting to 55.
Nozzle temp 207
Black PLA
So far so good.
25 hr print.
Applied glue stick after bed had warmed.
Glad to hear you have found a solution that works for you ![]()


