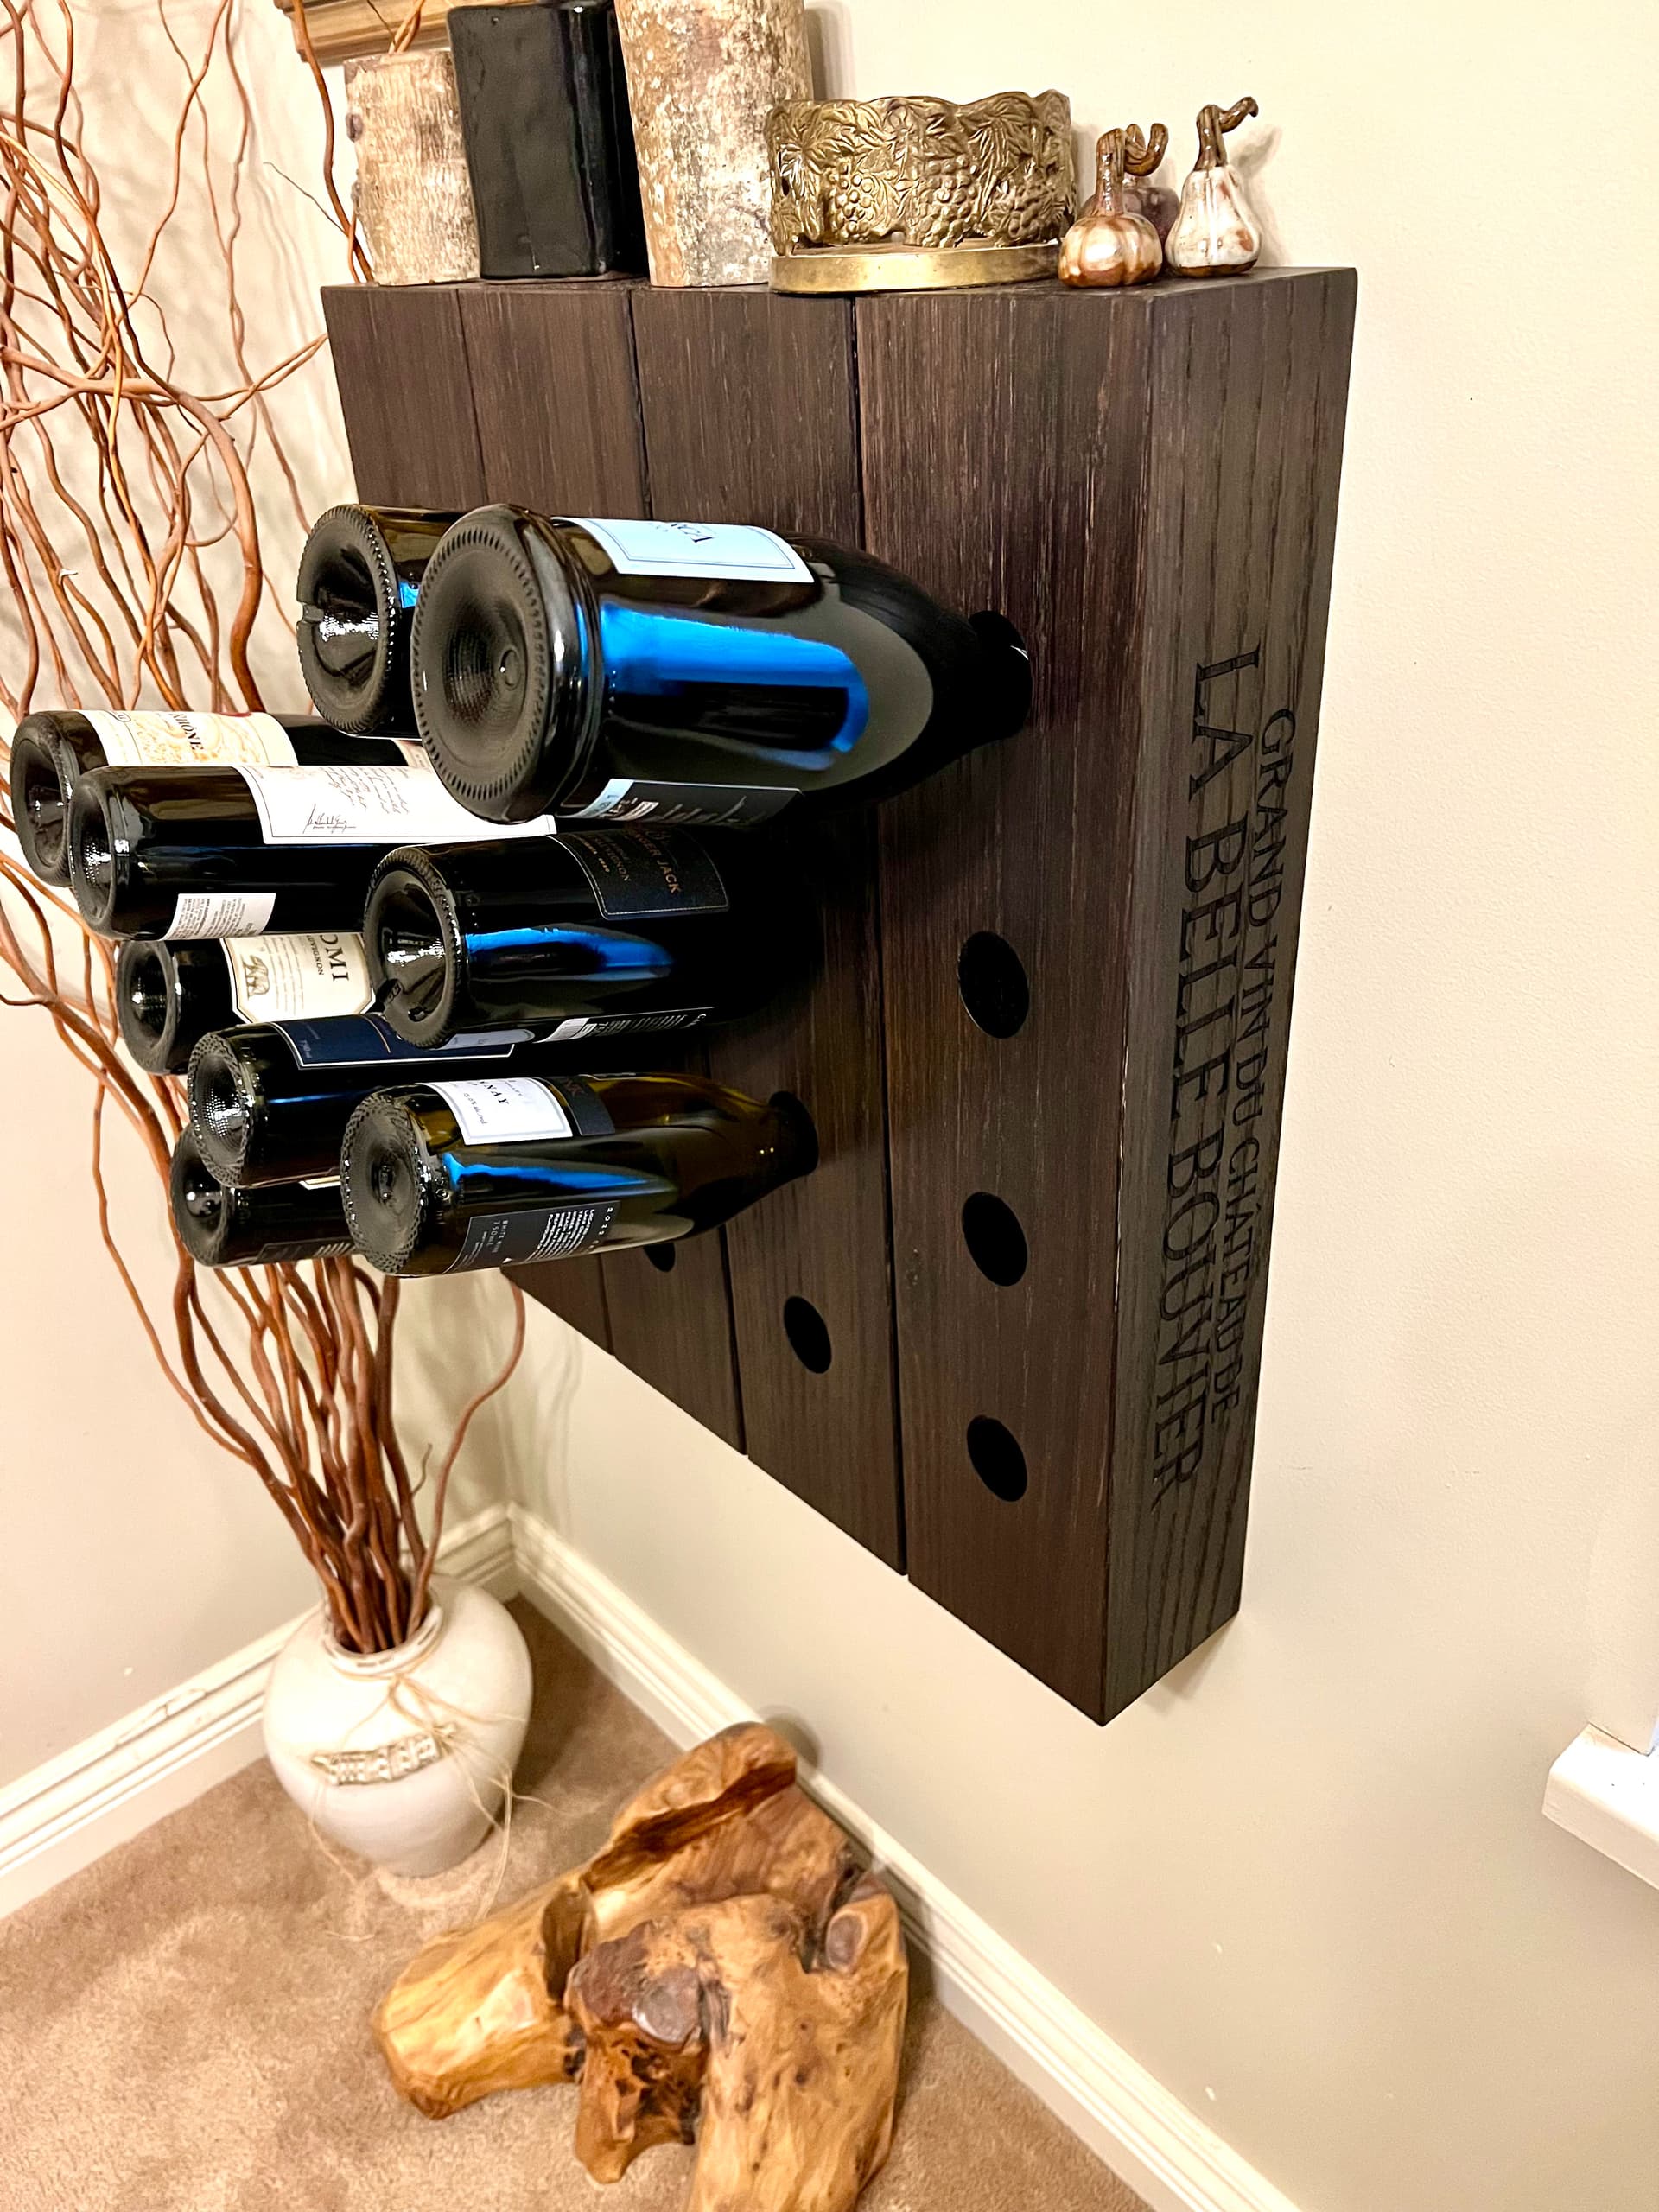
I just thought I’d share a recent project where I engraved text into red oak. The project was a Christmas gift for my wife - a wine rack for the wall.
The text is 380mm wide by 67mm tall. It was burnt into 18mm thick red oak. The job time was approximately 45 minutes to complete. The same engraving was done on both sides of the wine rack, so 90 minutes in total.
I wanted a very crisp engraving so I duplicated the text layer and did one engraving “fill” mode layer and one “line” mode outline layer. The engraving “fill” mode layer was configured to burn about 0.5mm into the wood. The “line” mode outline layer wasn’t meant to cut through the wood but only cut just under a millimetre or so into the wood. Speed and power settings were determined by doing many test runs on scrap offcuts of the same wood used in the project, just using a few letters as samples.
In this photo, you can see some of the letters have completed both the fill and outline, while others have only had the fill done so far. This was shot as the job was running.

Once completed, the letters were very crisp and exactly how I wanted.

The red oak was ebonized with a vinegar/steel wool solution. The engraved letters absorbed the solution more and blackened nicely.

I thought someone else might benefit from the 2 text layer fill/line technique if looking for a similar result.