I have had my Falcon 2 for a couple of weeks now but only just been able to spend any time with it, I have noticed that my test engravings have been coming out skew, the outer frame is square but I can see that the arm the laser fixes to isn’t parallel with the frame, is there any information out there on how to realign.
Hello @Booster,
Wecome… Glad you could join the Creality Forum…!!
I found these videos that might help you… I watched them also so maybe I could learn something… ![]()
2 Likes
Thank you for the response jimandyen, Its more a hardware issue that I have, the travel arm that the laser unit connects to isn’t parallel with the rest of the body, the outer frame is square however, just thought someone may know which screws I need to slacken before I start tinkering.
Once again thank you for your response.
I see what you are saying… Ok… Hopefully you can get some help. Lots of online videos too… Have fun with that machine…
Let us know how it turns out… ![]()
@Booster First of all, I don’t have this issue, so it’s only a suggestions, not some fix that I did try myself.
…this being said…
Be gentle - take care not to force anything. Screws shouldn’t be too tight - when tightening a screw, hold the allen key by the short side. If you use the long side, you’ll have too much “power”…
Standing in front of the Falcon 2:
A. From right to left, just behind the front of the machine, there’s a rod with 2 cogwheels at each end through which the belts pass on each side - it’s this rod, with the motor in the middle, that manages the laser’s back/forth movement.
B. On each side of the device, you’ll see an oval hole with a screw in it - this is the screw to secure the tensioner and prevent it from moving once adjusted.
C. At the rear of the unit, there are 3 screws (vertically) on each side. The top 2 are for securing the frame - the bottom one is for the tensioner.
First of all, I’d check if the frame itself is square. Use a carpenter square or something similar that you are sure is square and check all corners. Or you could have the laser cut a piece of thin wood like the one that came with the device - that should create a proper square piece even if not parallel to the front ![]()
Alternatively, you could mesure the distance between the front-left + back-right corners, and do the same with the front-right + back-left corners - your 2 measurement should be identical!
If the frame isn’t square:
- Release the 2 frame screws on each side on the back (See C above)
- Try to gently move the frame to be square and tighten back one screws from each side, but don’t tighten too much yet.
- Play with the other screws and move the frame if necessary to try to get as square as possible.
- Once satisfied that your frame is really square, tighten the screws trying to keep the frame as is - try not to screw all this hard work

- Once all is screws are tightened up properly, check the frame for squareness - repeat steps above if necessary…
If/when the frame is square and you still face the non-paralelism of the arm and front of the unit, here’s what I’d suggest :
- Choose one of the sides to work on - you shouldn’t need to do it on both sides.
- Loosen the screw securing the tensioner (see B above)
- Using the bottom screw at the rear of the unit (see C above), release the tensioner enough to allow you to “jump” one or more teeth on the gear (see A above) and move the laser arm parallel to the front of the unit.
- Once you’re happy with the alignment, apply tension with the bottom screw at the back - try to give the belt the same tension as the belt on the other side of the unit.
- Re-tighten the side screw (B) to secure the tensioner and prevent it from moving.
Let us know if it works.
5 Likes
Thank you for an excellent and very indepth reply, I had already taken the bull by the horns and managed to fix the problem myself, like I said earlier my frame is ok for square and the issue I had was with the laser arm being out of alignment, I removed the travel arm completely this was held in place by two larger screws at each end of the arm, and allowed me to easily lift it off, I then removed the tension on the belt by slackening the screw at the rear of the machine, the distance from the front frame to the blocks on each side that the laser arm fixes too was 3/8” out of alignment so I passed the drive belt around the cog in the direction needed to equal the blocks, then retightened the belt and rescued the laser arm, everything aligned perfectly and I am very happy with the results, if I had to do it again I probably wouldn’t remove the laser arm but just slacken the four screws,
Cheers
2 Likes
So glad to hear the machine has recovered after surgery… ![]()
Maybe post some pics of the machine and what you create if you get a chance…
Try not to have too much fun… ![]()
Hola podrías subir un video explicándolo, estoy muy interesado ya que tengo el mismo problema, y creo que puede servirle a mucha gente. Este error ya lo tenia en mi Falcon 10W y sigue el error en mi nueva Falcon 22W , no entiendo como Creality no soluciona esto.
Hello, could you upload a video explaining it, I am very interested since I have the same problem, and I think it can be useful to many people. I already had this error on my Falcon 10W and the error continues on my new Falcon 22W, I don’t understand why Creality doesn’t solve this.
Hi Zolt. I have done what you suggested up until the “jump a few teeth” part. Could you explain how this is done.
Thanks
You need to slacken the belt enought so that you can turn it a few teeth in the right direction to bring your axis parallel to the frame. The belt needs to turn freely so it can “skip” a couple teeths on the cog wheel of the motor.
Let me know if this is better explained.
Hi Zolt,
I did what you suggested through a combination of yours and help with what Booster did but I am still having problems. As you can see by the attached pic my laser still isn’t engraving square. Please help.
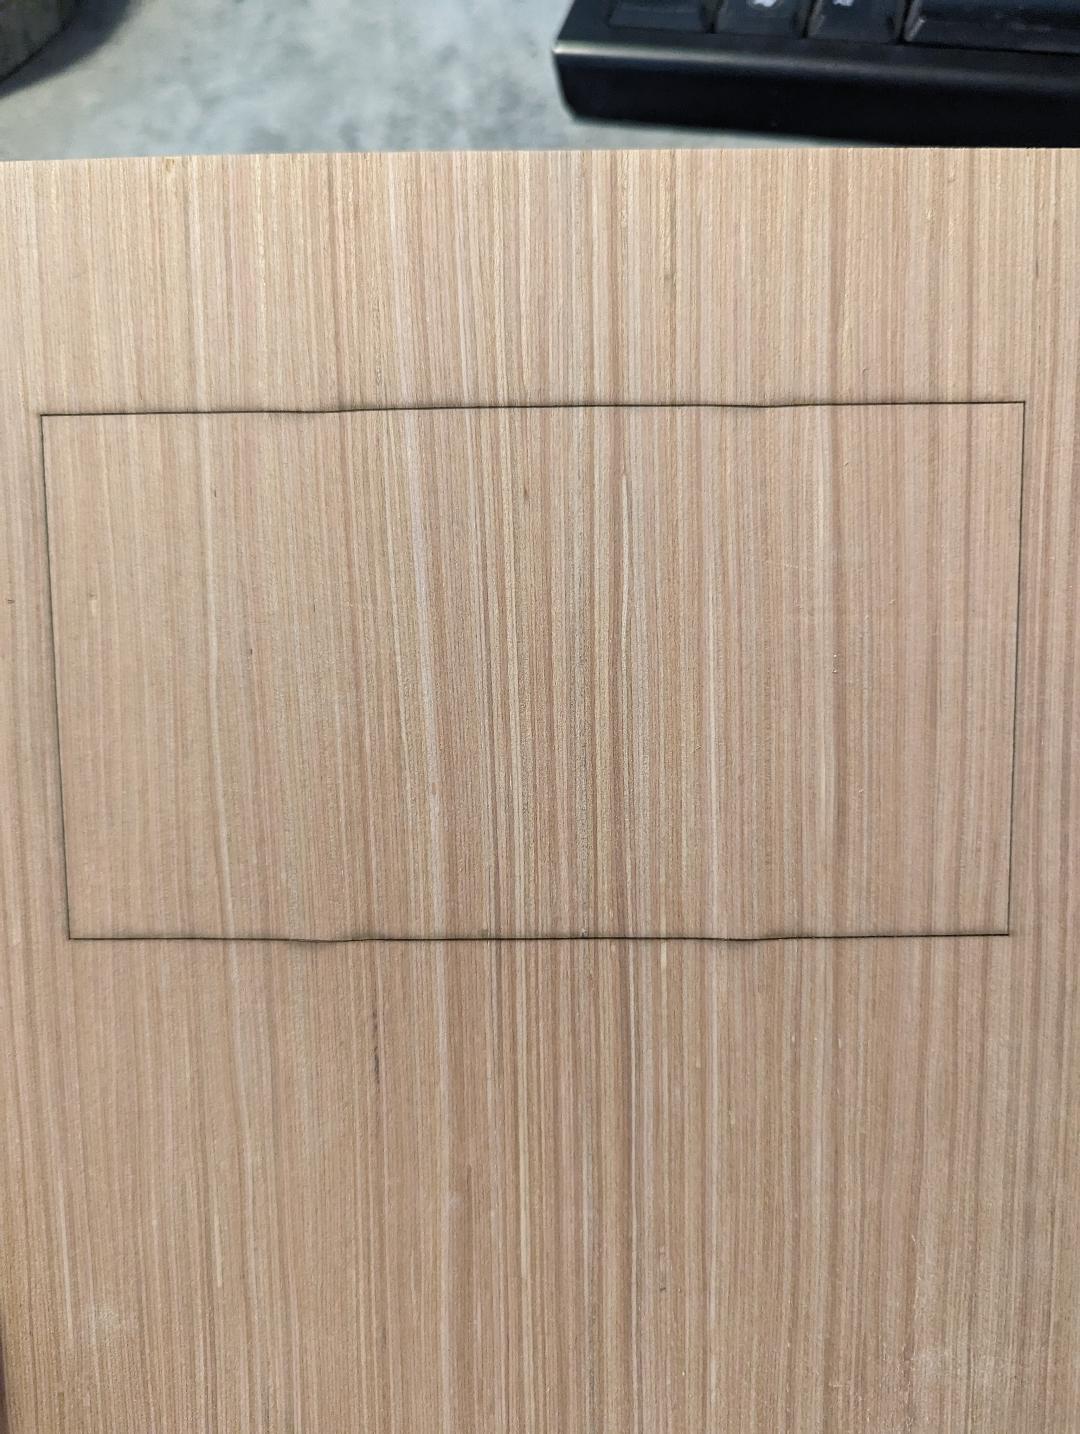
From your picture…this is my interpretation…
The fact that the same crooked cut repeats with identical pattern tells me you probably have something wrong with the rubber wheels on the carriage.
Here is what I’d do to troubleshoot:
- I’d try to remove the carriage to inspect the wheels as a first step. If you need to change any, these are pretty cheap all over the internet.
- I’d also inspect the groove they roll in to see if there isn’t any metal part that could have affected the wheels.
- Finally, I’d probably play with the front nut (I believe it’s called eccentric nut) so it’s just tight enough so you don’t have any wobble when trying to move the carriage, but slack enough so you don’t squeeze the wheels too much.
Let me know how the inspection went, and/or if you found the issue.
1 Like
Just to add to this topic, I discovered today that I had exactly the same problem as Booster…!
That’s what I deduced from a skewed square engraved on a test piece of cardboard.
ie: one corner of the ‘square’ was 91deg the other was 89deg.
Then carefully measuring the frame I saw that the Laser arm was not parallel with the front of the main frame.
I did the same as Zolt suggested and what Booster did and managed to square the travelling arm!
Seems like others are coming across this problem which must be a factory assembly issue.
2 Likes
Great to hear previous posts helped!
That’s why we are here - spread the knowledge so you don’t have to reinvent the wheel all by yourself ![]()
Hello All,
I am new in the forum, but Im very happy, because I get my brand new falcon2 yesterday, wich has the same problem. It seems to me this is a common issue, and unfortunatelly the factory does not write anything about the frame adjustment.
Im still learning English, so I if I make some mistakes, sorry.
I try to follow Zolt’s instructions, and I hope I will manage to repair this mistake. Dont you know if there is a youtube video how to do it? I can see a lot of buyers have this issue.
Im glad to know this group and I will let you know what happened.
Finally I managed to adjust both the frame and the arm too, according to Zolt’s instuctions! Thank you! Only one remark, I had to loosen the upper and lower screws in the corner of the frame, to be able to adjust it to perpedicluar. Thanks one more!
1 Like
Happy to hear this!
Welcome to the forum and to this wonderfull new world that opens to you ![]()
1 Like
I think your instructions are great and give a lot of detail. Mine came with the arm noticeably askew. I needed to do some research and watch some videos to determine if this was a design or a problem. I figured it was a problem and after some test prints, I was able to see it was definitely a problem as the prints were askew.
I fixed it in a much simpler way by doing the same thing I do to fix my Z axis on my 3D printer. I loosened the 2 locking set screws on the left-hand gear with the head all the way to the right. I then pulled the arm to the front using 2 identical glue sticks (that’s what I was told to use on my 3D printer) as stops on the left and right sides. When it was tight, the glue sticks were snug I tightened the set screws. Remove the glue sticks and it’s all done.
1 Like
I’m so glad I came across this post as I was having the same problem with the gantry not being straight, but after moving it over a couple of teeth, it is now cutting squares with 90 degree corners. However, circles are still very slightly elliptical, so when doing something like a clock face on slate, the ‘12’ marker is touching the edge of the slate while the 3, 6 and 9 markers are all where they should be. Any ideas how I would correct this? Thanks.
Here is the afterUploading: PXL_20250102_174232820.jpg…