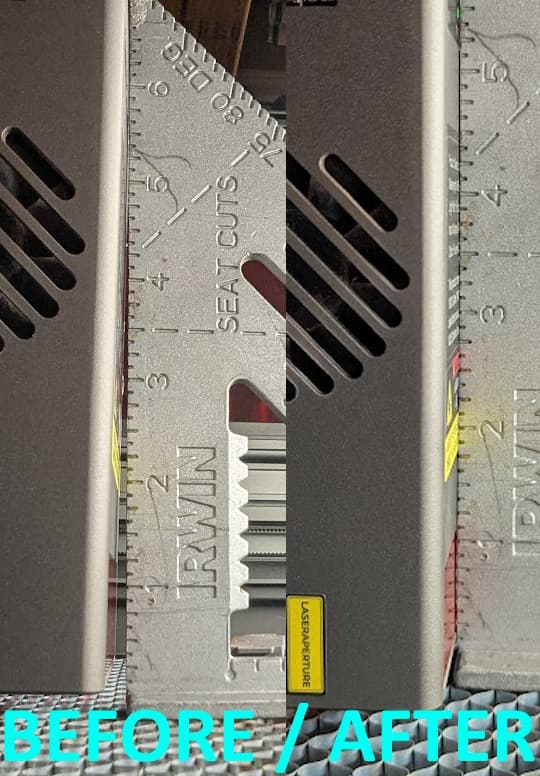
I needed to ensure my laser head is perpendicular to the surface where my material will sit since I plan to cut pieces of wood to inset in a design in the future and cutting non-square edges would be an issue with a tight fit, minimal seam.
Ordered this shim set: https://www.aliexpress.us/item/3256807619219859.html
You can get .1mm, .2mm, .3mm shims, etc. I opted for 0.1mm shims to best dial in my situation.
This is the pack I bought:
https://www.aliexpress.us/item/3256807619219859.html
Bolt removed using a 3mm allen wrench. In the end, I added (7) 5mm x 8mm x 0.1mm shims(also called thin washers) between the bearing and the stock washer to the bolt that’s used to mount the bottom pulley of the laser carriage. Your adjustment may be different. I guessed and started with .6mm of shims and had to add one more .1mm shim for (7) .1mm shims total to bring the laser head perpendicular to the bed.
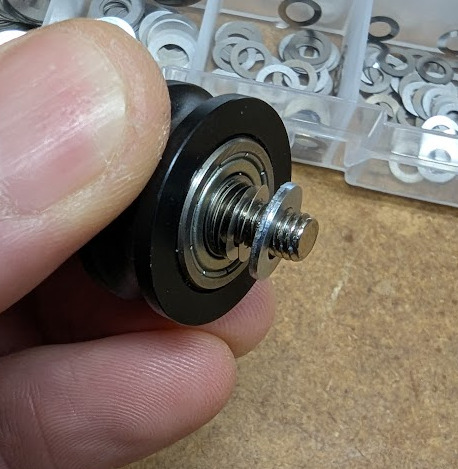
You’re adding shims to the red washer area to push the bottom out once secure.

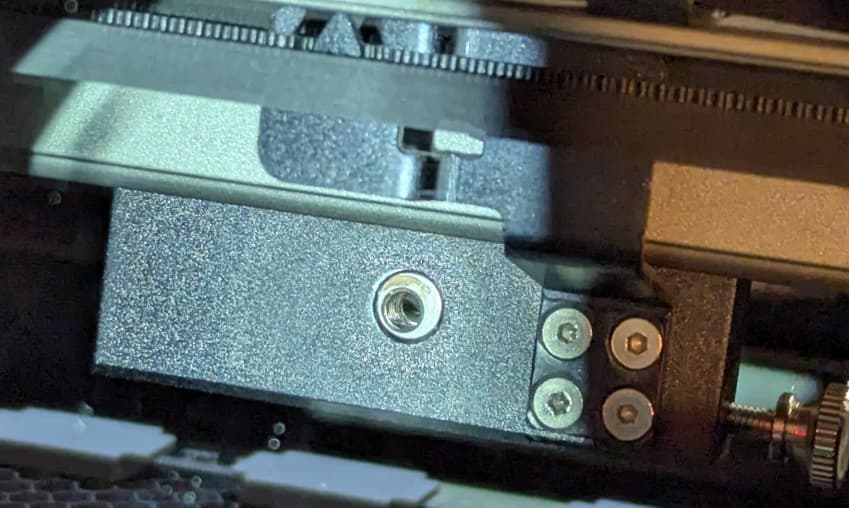
If your carriage is loose on the gantry(try moving it forward and back), you’ll need to also need to rotate the eccentric nut slightly to tighen up the pulley against the rail to remove slop before tightening the bolt. https://www.youtube.com/watch?v=ZuwIxI3129Q The eccentric nut is a tight fit in the carriage. Excess rotation may back this out of it’s hole so when you tighten your bolt, eyeball that nut to ensure it’s flush with the carriage plate before putting your laser unit back in place.
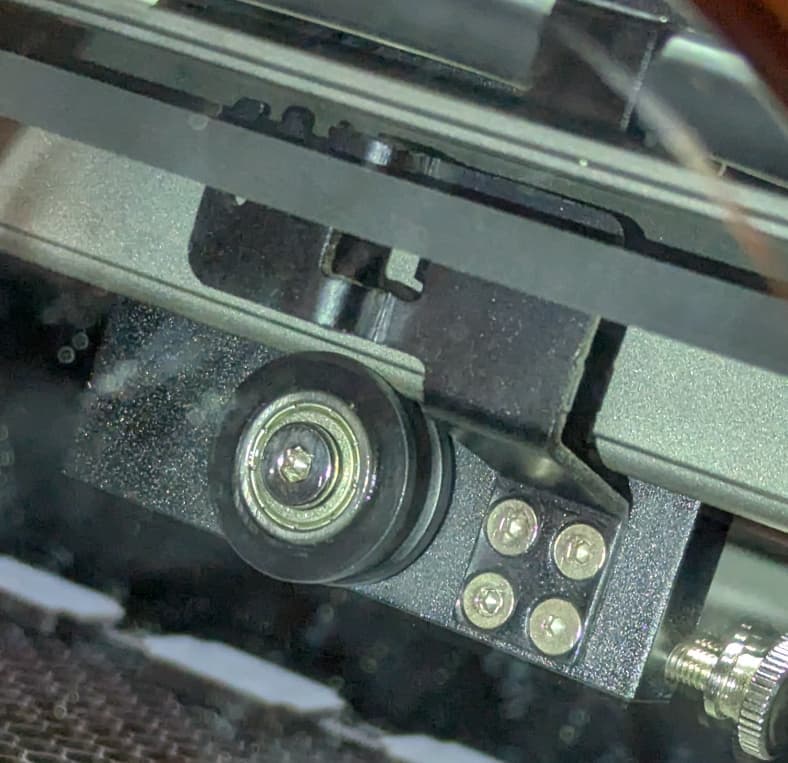
The added shims are pushing this contact area out(see red marked washer above).
Hope this helps!