The K1 Max costs $749.00
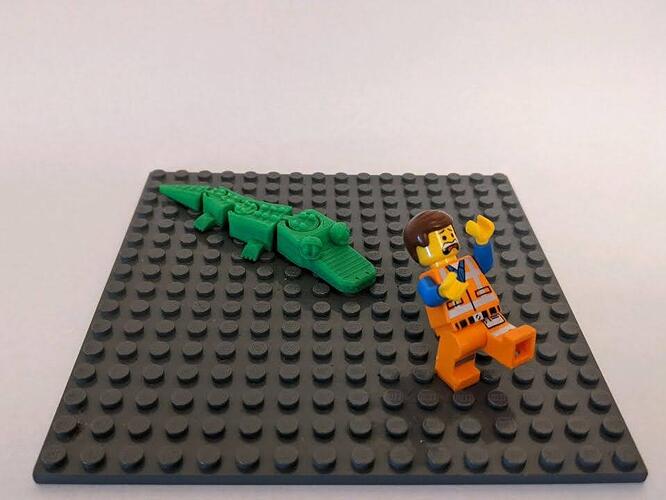
Here’s a little self-designed 3d model I made, I wanted to experiment with an articulated print-in-place model, and after some experimenting, came up with this design! It was a really fun process, there definitely was a lot of trial and error to come up with a good joint design, and then to refine the tolerances, but I learned a lot in the process of making this!
The K1 Max is currently on sale for $749 USD, 3D Printing has made a large impact in my life. Being able to make my own useful items to collectables has been extremely rewarding. Despite a lot of trials and tribulations, I continue to advance! ![]()
The K1 Max is $749
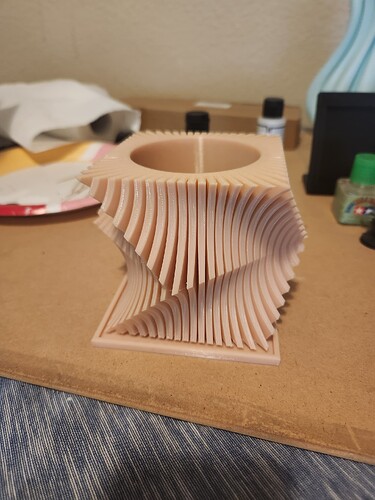
This is a geometric planter i made for my wife using Fusion 360. I printed it on my Ender 3 S1 using PETG. I love trying to come up with unique and interesting shapes, particularly something that would be nearly impossible in traditional pottery. Thats one of the beauties od 3D printing!
Files are here: https://www.printables.com/model/980020-3in-twisted-cube-planter
K1 Max AI Fast 3D Printer Costs :$749
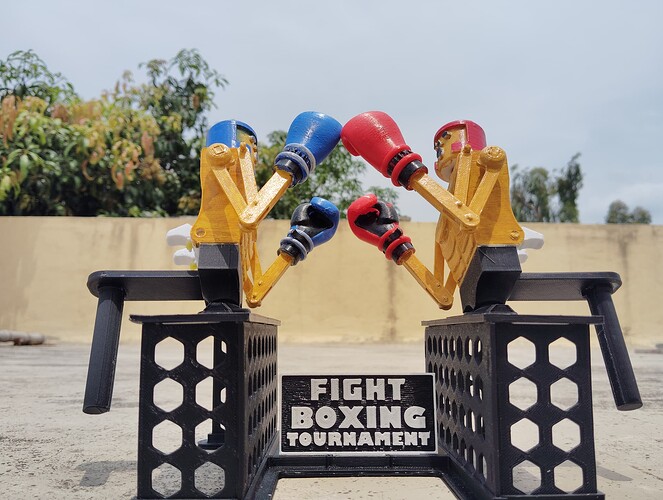
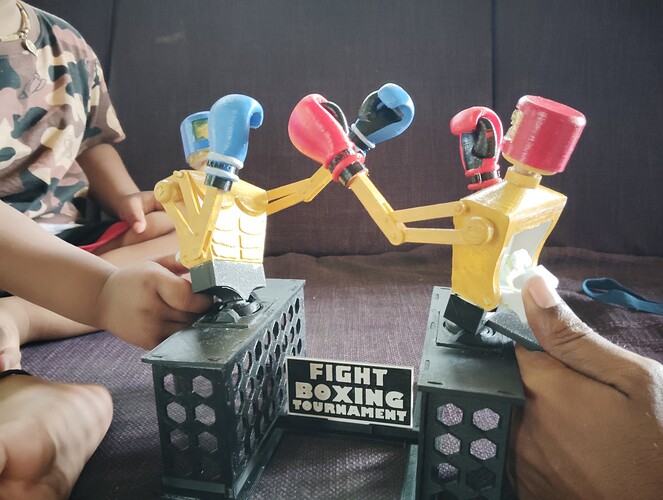
Its been very helpful, enjoying my hobbies and professional work with 3d printing.. Its been really nice platform for all 3d designers. Here is my favorite Toy i have designed as" Boxing Board" for my kids. also i have achieved some big sized projects about customized light photo frame, also some contest projects in creality cloud.
-
'Boxing Board- Strategic Tournament"
-
Customized wallpaper photo frame with light
-
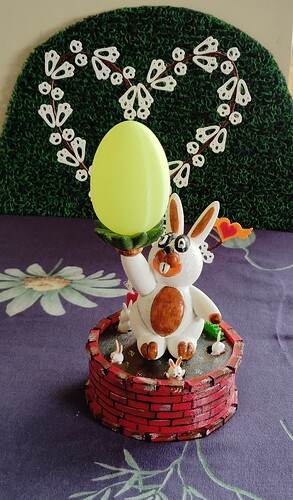
“Happy Easter Bunny Egg-Lamp” (Design Contest Projects)
-
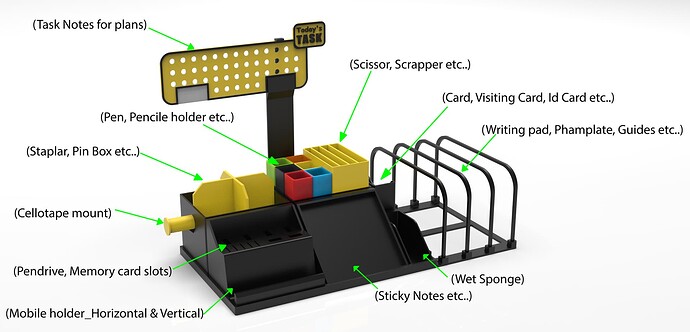
“Office Supplies (Clean & Compact)” (Design Contest Projects)
-
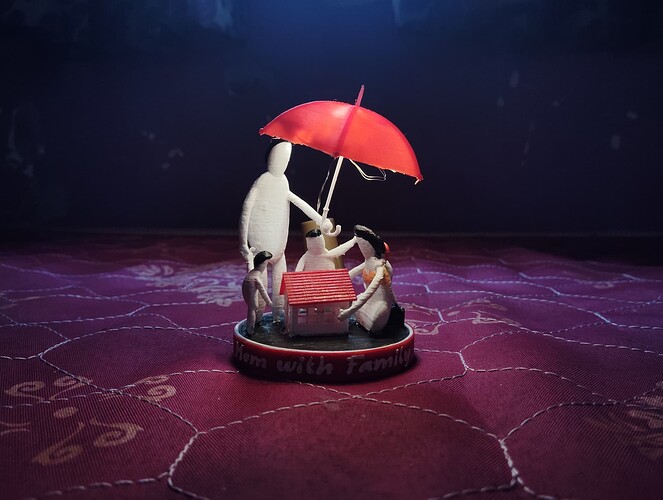
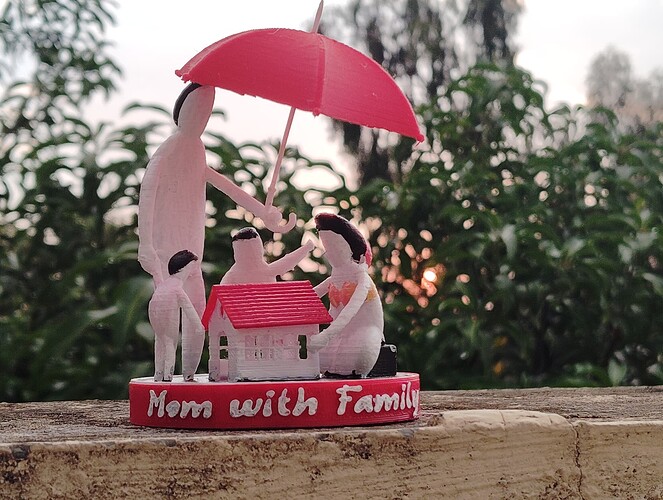
“Mom with Family” (Design Contest Projects)
Its All done because of your support, Thank you for supporting. For more design projects You can visit my profile link bellow, Creality Cloud -PurushottamSS personal page PurushottamSS | 3D Models
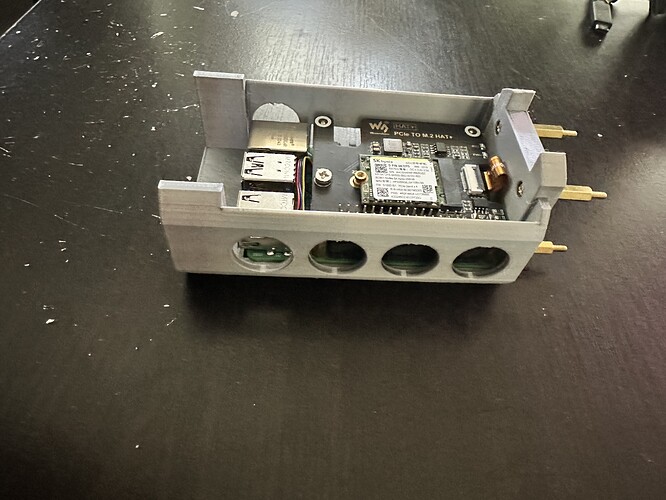
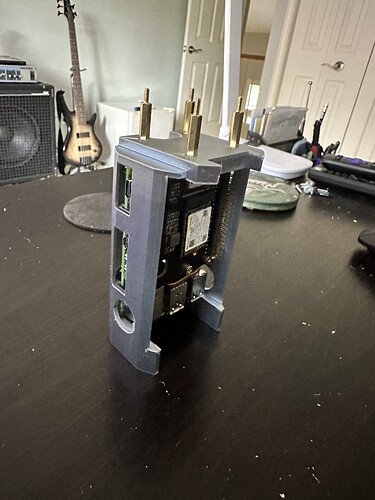
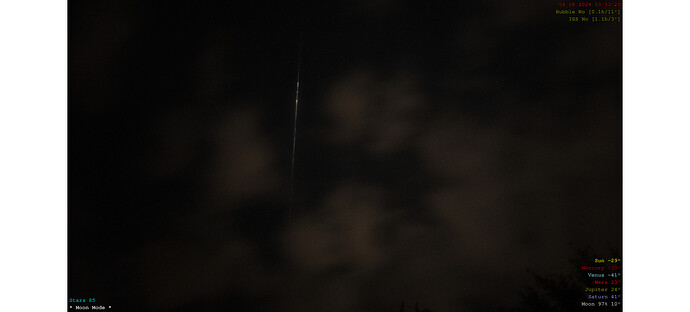
Hello, in Cleveland, OH it is $749. I use mine for printing parts for my AllSky cameras and teaching my kids about astronomy.
UPDATED with photos - with apologies, but I cannot edit my own post as I’ve left it too long. Please see previous post for full detail/ explanation, supporting documentation of the student project + examples of the student solutions as part of their presentations.
3D printing has been a key enabler as cost pressures are incredibly tight and each teams kit cost needs to be minimised - target of £40 per team. 3D printing all parts of the robot enables this to be achievable.
The biggest reason this competition would help for me, is that in September I have taken a job at a new local school and whilst I hope to continue the project, unfortunately I won’t have the same access to 3D printers at my new school so winning a K2 Plus Combo or Ender-3 V3 would transform my ability to continue and develop the project. Top of my list of developments would be new wheels (with an indent for an elastic band) and a redesigned two part snap fit chassis. I’ve already changed to analogue IR sensors and would also wish to look at a most to a Pico Pi from the current Arduino (but not 3D printing related).
**2. The K1 Max is currently discounted in the back to school sale to £639 in the UK (£859 at full price) **
- Forum post here - Photos and a short video are now included. Note that the video is from an early testing phase without the solar panel (later ones appear too large to upload).
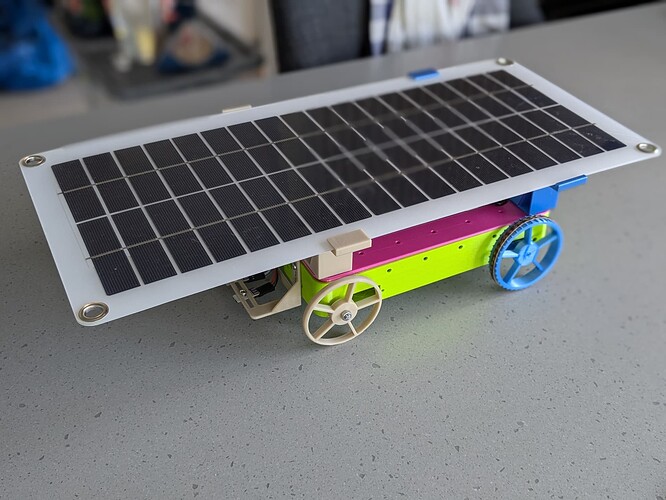
Robot with solar panel and sensors as per final target (note students to design own solar panel mounts + IR sensor mounts - these were my test ones for proof of concept)
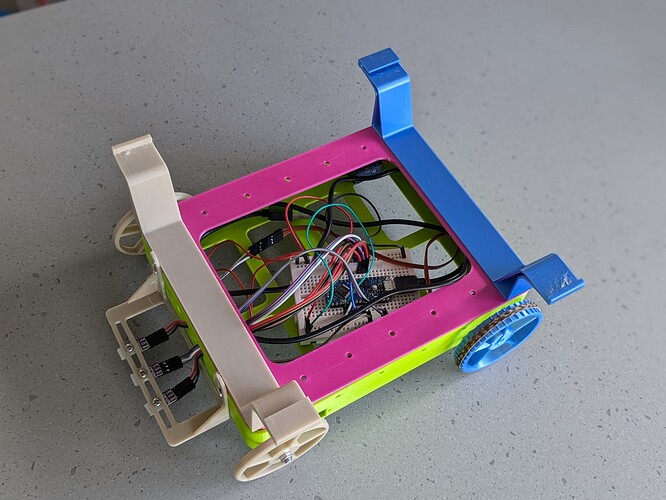
Solar panel removed to show the insides + solar panel mounts in more detail
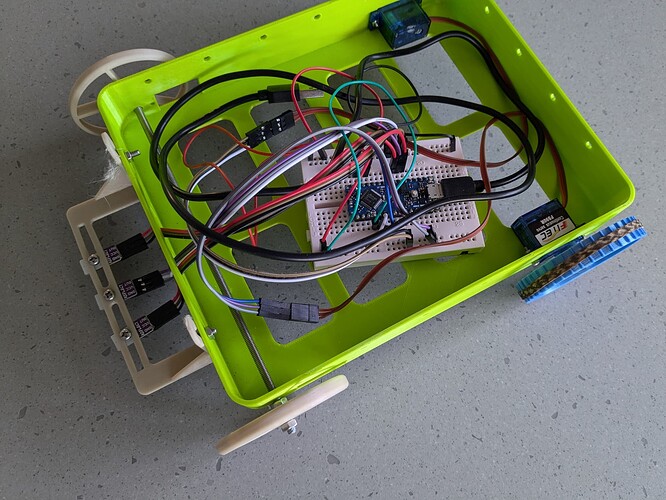
Top of chassis removed to show more detail of insides
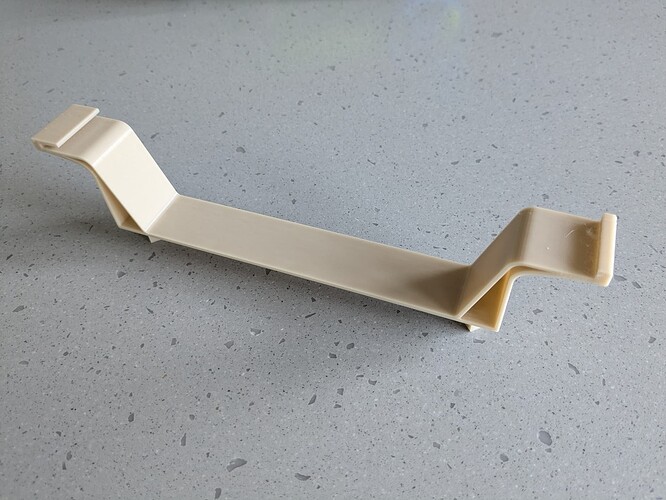
Example of the proof of concept solar panel asymmetric mount - see student presentations for their solutions.
Example of testing the robot to check it was feasible to program to follow a line - with analogue sensors.
- I’ve posted the STL of the standardised chassis (with friction fit lid) to the Creality Cloud in case anyone is interested and/ or wants to use. I also include a pdf of the project briefing document below and some examples of the student submissions that have been received in this trial year - again comments and feedback welcome.
Posted Creality Cloud (STL files provided) -Engineering challenge chassis v3 (friction fit) + … From user5681115635 Free Electronics & RC (Remote Control) STL Download - Engineering challenge chassis v3 (friction fit) + mountsby user5681115635
I’d welcome any questions, thoughts, feedback or development suggestions.**
- Cost of Crealty K1 max is USD $749.00
The setup demonstrated in video is 3D-printed test rig for testing of designed flat coil spring of different material and their comparision.
3d printing helped us fabricate our testing setup rapidly and reduced prototyping time significantly for our project.
K1 Max Creality US$749.00
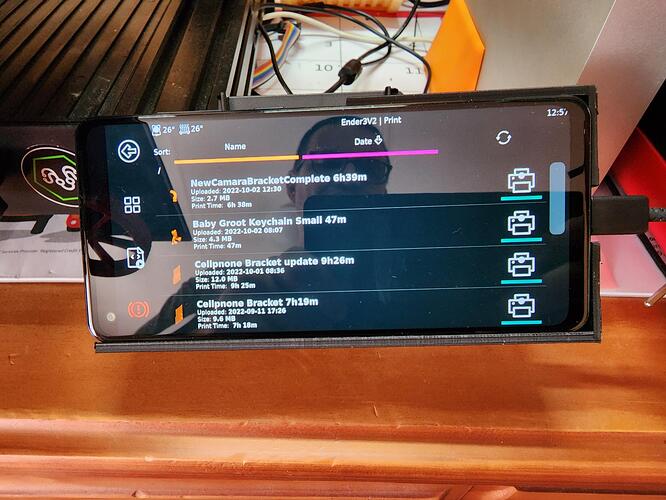
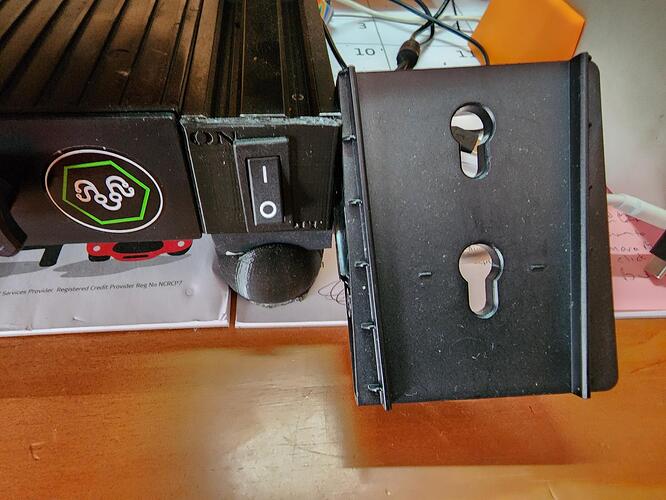
A design to utilize a cellphone as a screen for the Creality Ender 3V2 for Samsung A21 and A12 cellphones while running KlipperScreen.
Creality K1 Max US$749.00.
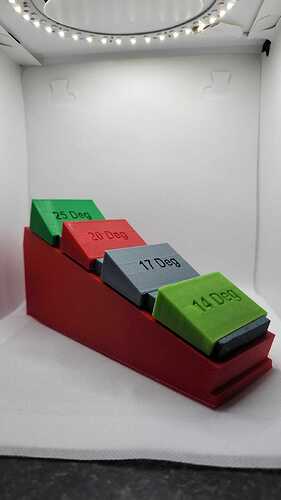
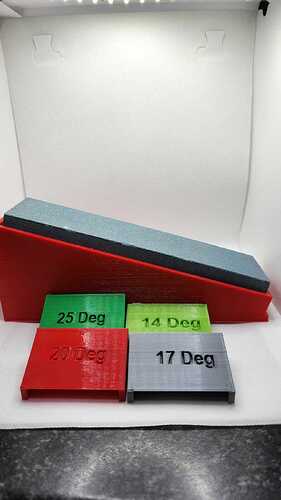
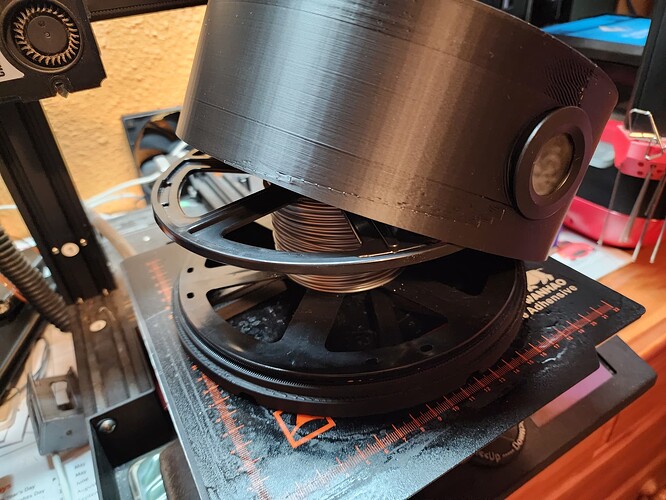
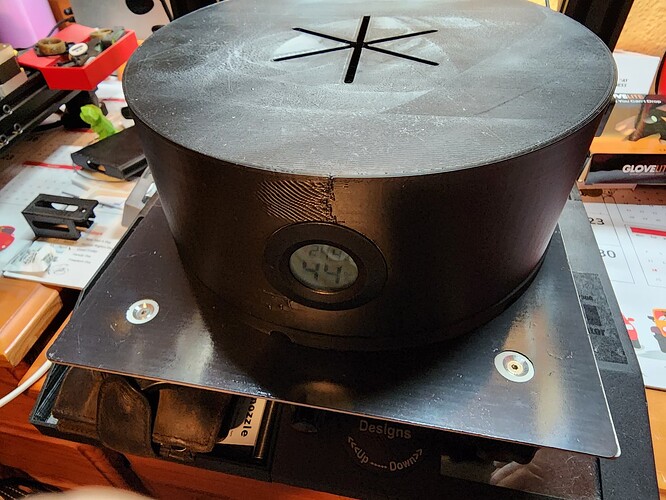
Filament dryer that can be placed on the normal 235x235 or larger printer bed.
Works great with a 70 Degrees bed temprature
Creality K1 Max €779.00EUR on sale (€969.00EUR not on sale)
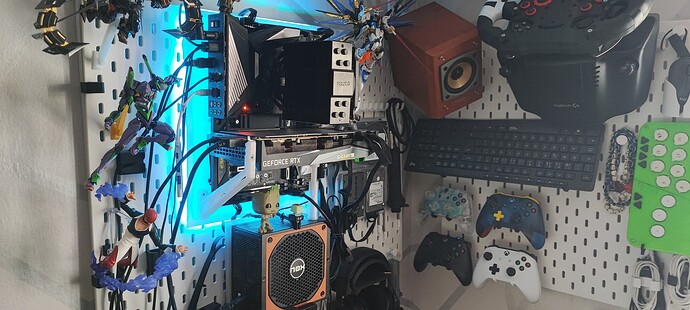
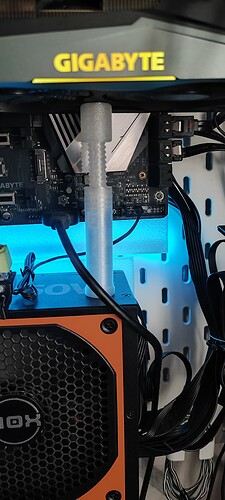
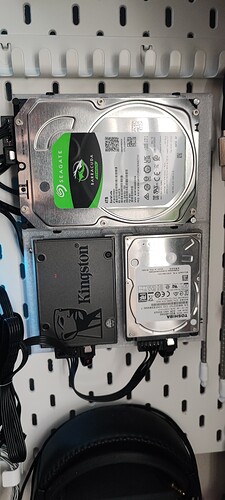
I have been using my 3D printer (Ender 3 V3 SE) to print all the parts that support my PC, all the bases were designed by me with measurements of the different components that had to be attached to them. It continues to be a project in development because there are always new things to improve.
This are the links to the parts that I make:
Skadis ATX MotherBoard Suport by Jehuty | Download free STL model | Printables.com
Skadis Hdd Suport by Jehuty | Download free STL model | Printables.com
I have an Ender3 v2. I’ve been using it in my PhD thessis project. 3D printing helps me with iterations in the design. Currently I’m in 3th iteration of my project.
It’s very useful when the new design has to be manufactured. Just slice it in Creality Slicer and send to the printer.
I’m also using my printer for toys for the kids, keychains for friends, household items etc.
Price of K1 Max is €779, which discounted from €969 original price.
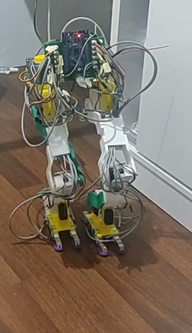
Here is the image of it standing:
Here is the video of its current state:
Here is the model files in STL format:
The K1 printer is $799.00
Here the K1 Max costs 779€, down from 969€ during the BTS event.
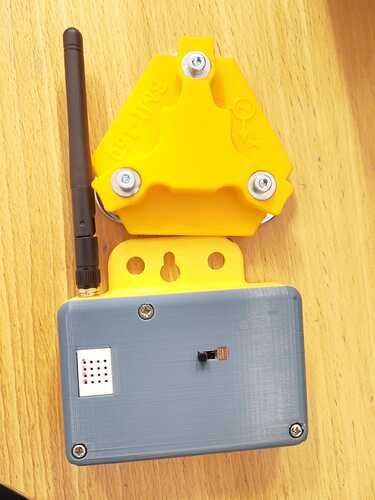
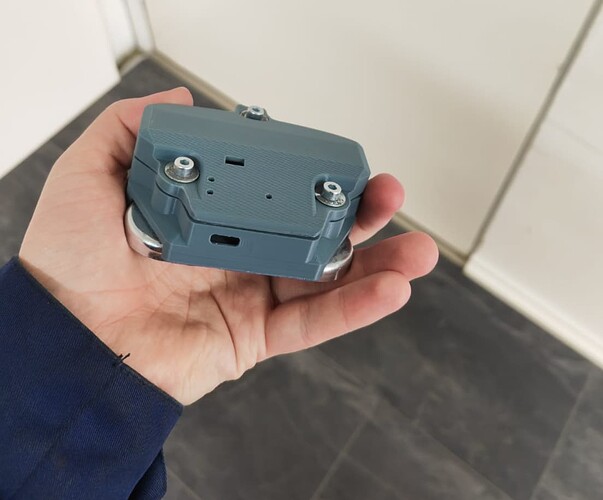
I have been designing enclosures for DIY telemetry projects and testing at a small factory in the town I live. Further ahead, I plan to explore the possibility of starting a company for affordable IoT and educational kits for electronics and automation.
These are examples of enclosures for iterations of this telemetry project. The factory has a non-Creality printer and I was offered the chance to print a number of enclosures there. So far, this has been a hobby, but I will be investing in that idea with family who lives abroad.
K1 Max cost $799
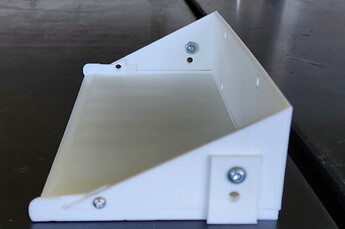
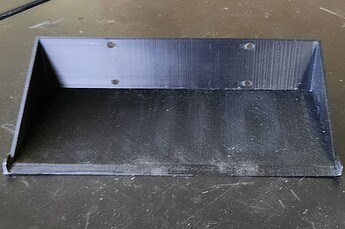
Hi, my name is Logan and I got my first 3D printer for my 12th birthday. The first items I designed were mostly for fun and to learn the basics of the Onshape design program. During the school year I joined the Science Olympiad program and realized I could use Onshape and my 3D printer to design items that would help me succeed in events. Some of the items I designed included gears, battery holders, and most importantly scoopers.
The Science Olympiad event that I enjoyed the most was called Robo Cross. The main objective of Robo Cross is to build a robot that will move items such as Lego bricks, washers, tennis, golf and ping pong balls into halved one gallon milk jugs with a time limit of three minutes.
The biggest problem I had was that my metal scooper wasn’t flat and because of that I wasn’t able to pick up the items and wasted a lot of time during competition. The 3D printed scoopers I designed have helped because they have very flat, sharp edges which save me lots of time!
Even though I was happy with my newly designed scooper, the edge would still become dull after some practicing. On average, to print this scooper it would take around 15 hours to print. So I came up with a way to make a scooper with a removable bottom which would only take 7 hours to print and use less filament.
Some pictures of the scoopers I designed:
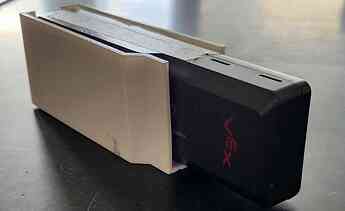
Another item I designed was a battery holder. Most other people tied down their battery with wires and this made the battery fall out easily and hard to secure.
Battery holder:
My greatest accomplishment so far is that I competed in the WI State Science Olympiad competition as a 6th grader and won a Gold medal in the Robo Cross event, beating kids older and more experienced than me!
I look forward to creating more designs and a newer, faster printer would help make this dream a “Creality!"
Have the winner’s been announced?
![]() Winner announcement!
Winner announcement!
![]() Congratulations to the lucky winners of our back-to-school event! Check out the list to see if your name is on it. If it is, get in touch with me to claim your prize!
Congratulations to the lucky winners of our back-to-school event! Check out the list to see if your name is on it. If it is, get in touch with me to claim your prize!
![]() Just a tip: The Space Pi Filament Dryer Plus and Hyper PLA Filament will be sent to you in the form of a gift card, so make sure to provide me with your email and the online store site.
Just a tip: The Space Pi Filament Dryer Plus and Hyper PLA Filament will be sent to you in the form of a gift card, so make sure to provide me with your email and the online store site.
hello how do i contact you? i have tried sending a message but no reply
