![]() I just want to start out by thanking Creality and Optimus for the opportunity to review this K2 Pro Combo. There have been so many improvements in build quality and features as Creality refines these machines, so users can design and create with almost limitless possibilities. Thank You.
I just want to start out by thanking Creality and Optimus for the opportunity to review this K2 Pro Combo. There have been so many improvements in build quality and features as Creality refines these machines, so users can design and create with almost limitless possibilities. Thank You.
I will post an update here later on as I get more familiar with this machine. These are my first impressions when I first got the K2 Pro Combo last week and it has performed great so far including set up and running all the functions.
August 25, 2025. Monday.
Exciting day today as I received the K2 Pro Combo, which is the newest member of the K2 series printer from Creality.
The K2 Pro Combo came with the CFS and four rolls of filament. It was well-packaged with instructions on the box on how to open it, although it’s pretty easy to figure out. However, you might need a little help to lift it safely onto a workbench or table. The CFS is contained inside the K2 Pro.
I also received a package containing four rolls of filament for the CFS. Red, White, Black, and Green. All had RFID tags so the CFS could identify them automatically. You can create your own RFID tags for filaments that don’t have the Milfare ones such as these and an Android app such as “CFS RFID”
An extra gold-colored build plate was also included. These build plates are textured and usable on both sides.
It’s pretty straightforward to set this machine up following this video. Just take your time, and it shouldn’t take very long to turn it on and start calibrating, which does take about 15 or so minutes.
The width is about 17¾", but add 5" if you install the side mount on the right side.
The depth is approximately 21", which includes the display and also the plug and buffer mounted on the back.
Without the CFS on top, the height is 22¼. With the CFS mounted on top, it is about 33" and goes up to almost 41½" when you open the CFS to change a roll of filament.
Here is a complete unboxing guide on the Creality Wiki site:
This was my first time using the Creality CFS system, so after some reading, watching tutorials, and a little trial and error, I got the hang of it.
3D Rundown has an excellent tutorial on multi-color printing with Creality Print 6.
Creality uses RFID tags on some filaments, which lets the machine read and automatically set up the roll by reading the tag. If you use a roll without a tag it’s pretty easy to manually plug in the color and type of filament you are using which will show up when you are using Creality Print 6 to print the colors.
Running the first print of a bed scraper went very smoothly, with the printer making the usual clicking and humming noises. All in all, the printer is quiet. I was printing PLA with the CFS on top, so I had to leave the door open with a fan on to keep the chamber temperature about 30°C, which is normal for enclosed printers. In the future, I will be setting the CFS on the side or raising it up a little on a stand.
I also have a K1 Max, so it will be interesting to compare the features of these two and improvements.
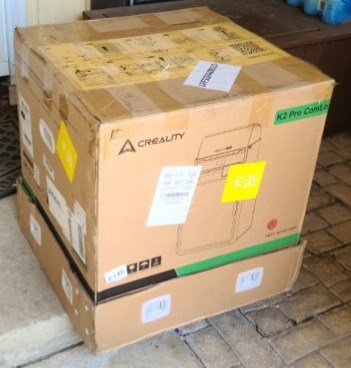
Received in good shape considering Fe**X delivered it.
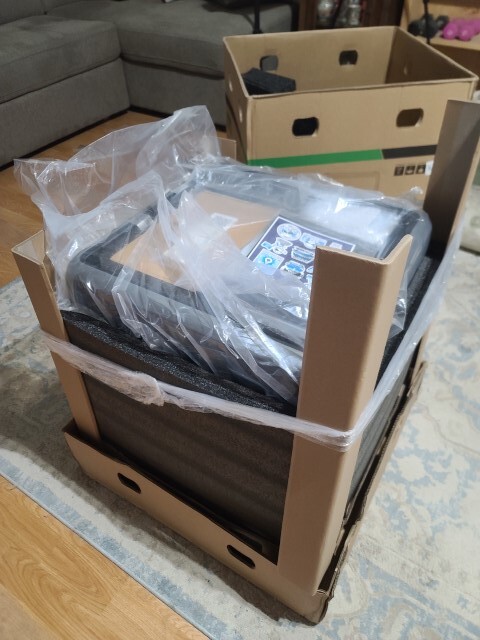
Unwrapping it is pretty straightforward.. Directions on the box. Just make sure it’s right side up…
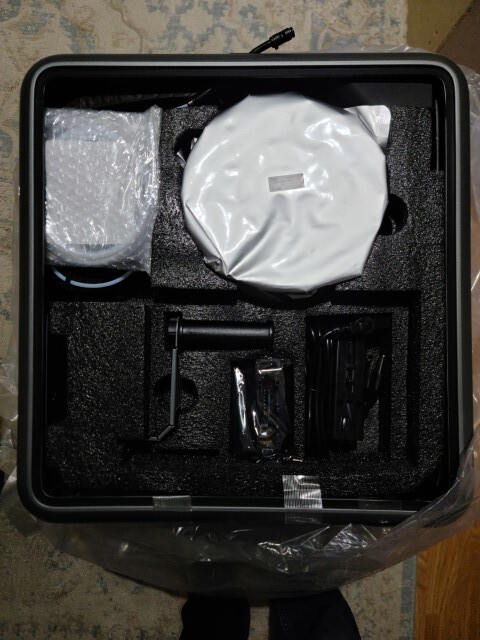
Sample roll, tools, assembly parts and side spool holder, etc on top.
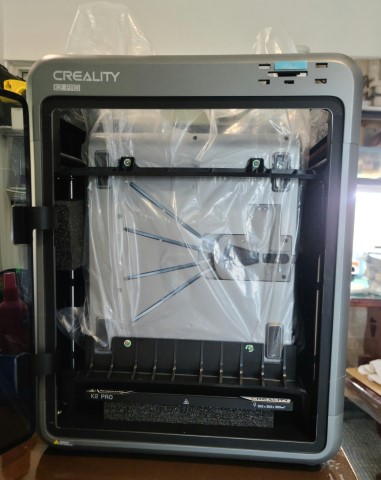
All wrapped up with the CFS inside. All the glass and plastic had protective sheets on them. The video will show the best way to take out the bolts that hold it in. It’s pretty accurate and I would recommend following it.
The two door hinges were very well glued on and the door was lined up perfectly. Nothing broken..

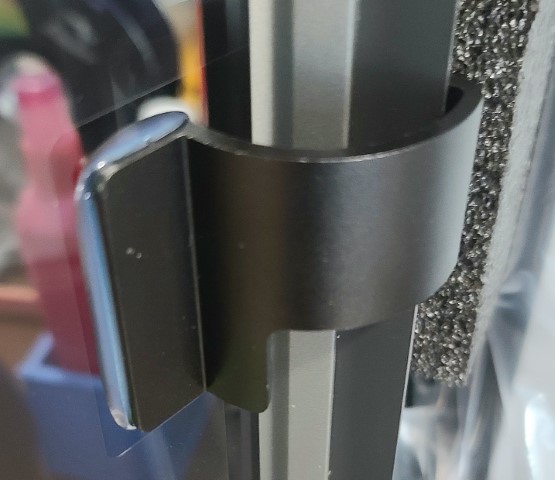
Following the video will show each step for mounting the buffer mechanism on the back of the K2 Pro Combo. Two screws hold it on. All the tubes and cables come in separate bags with a label showing where they each go.
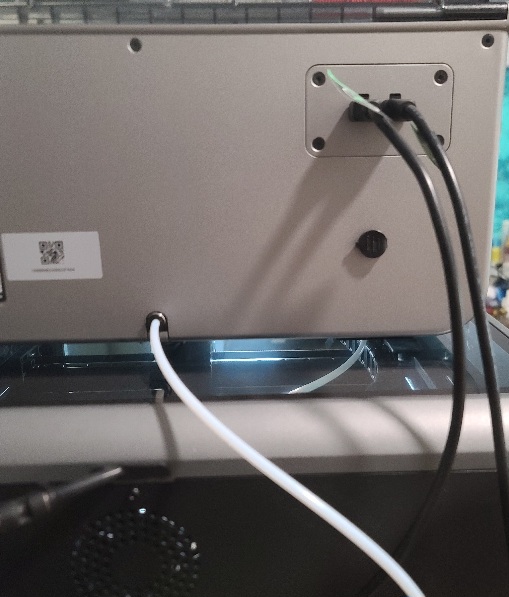
This is the back of the Creality CFS with two cables plugged in and the main PTFE tube running out to the filament buffer. The small round black cover is an electric power supply connector of which I didn’t use.
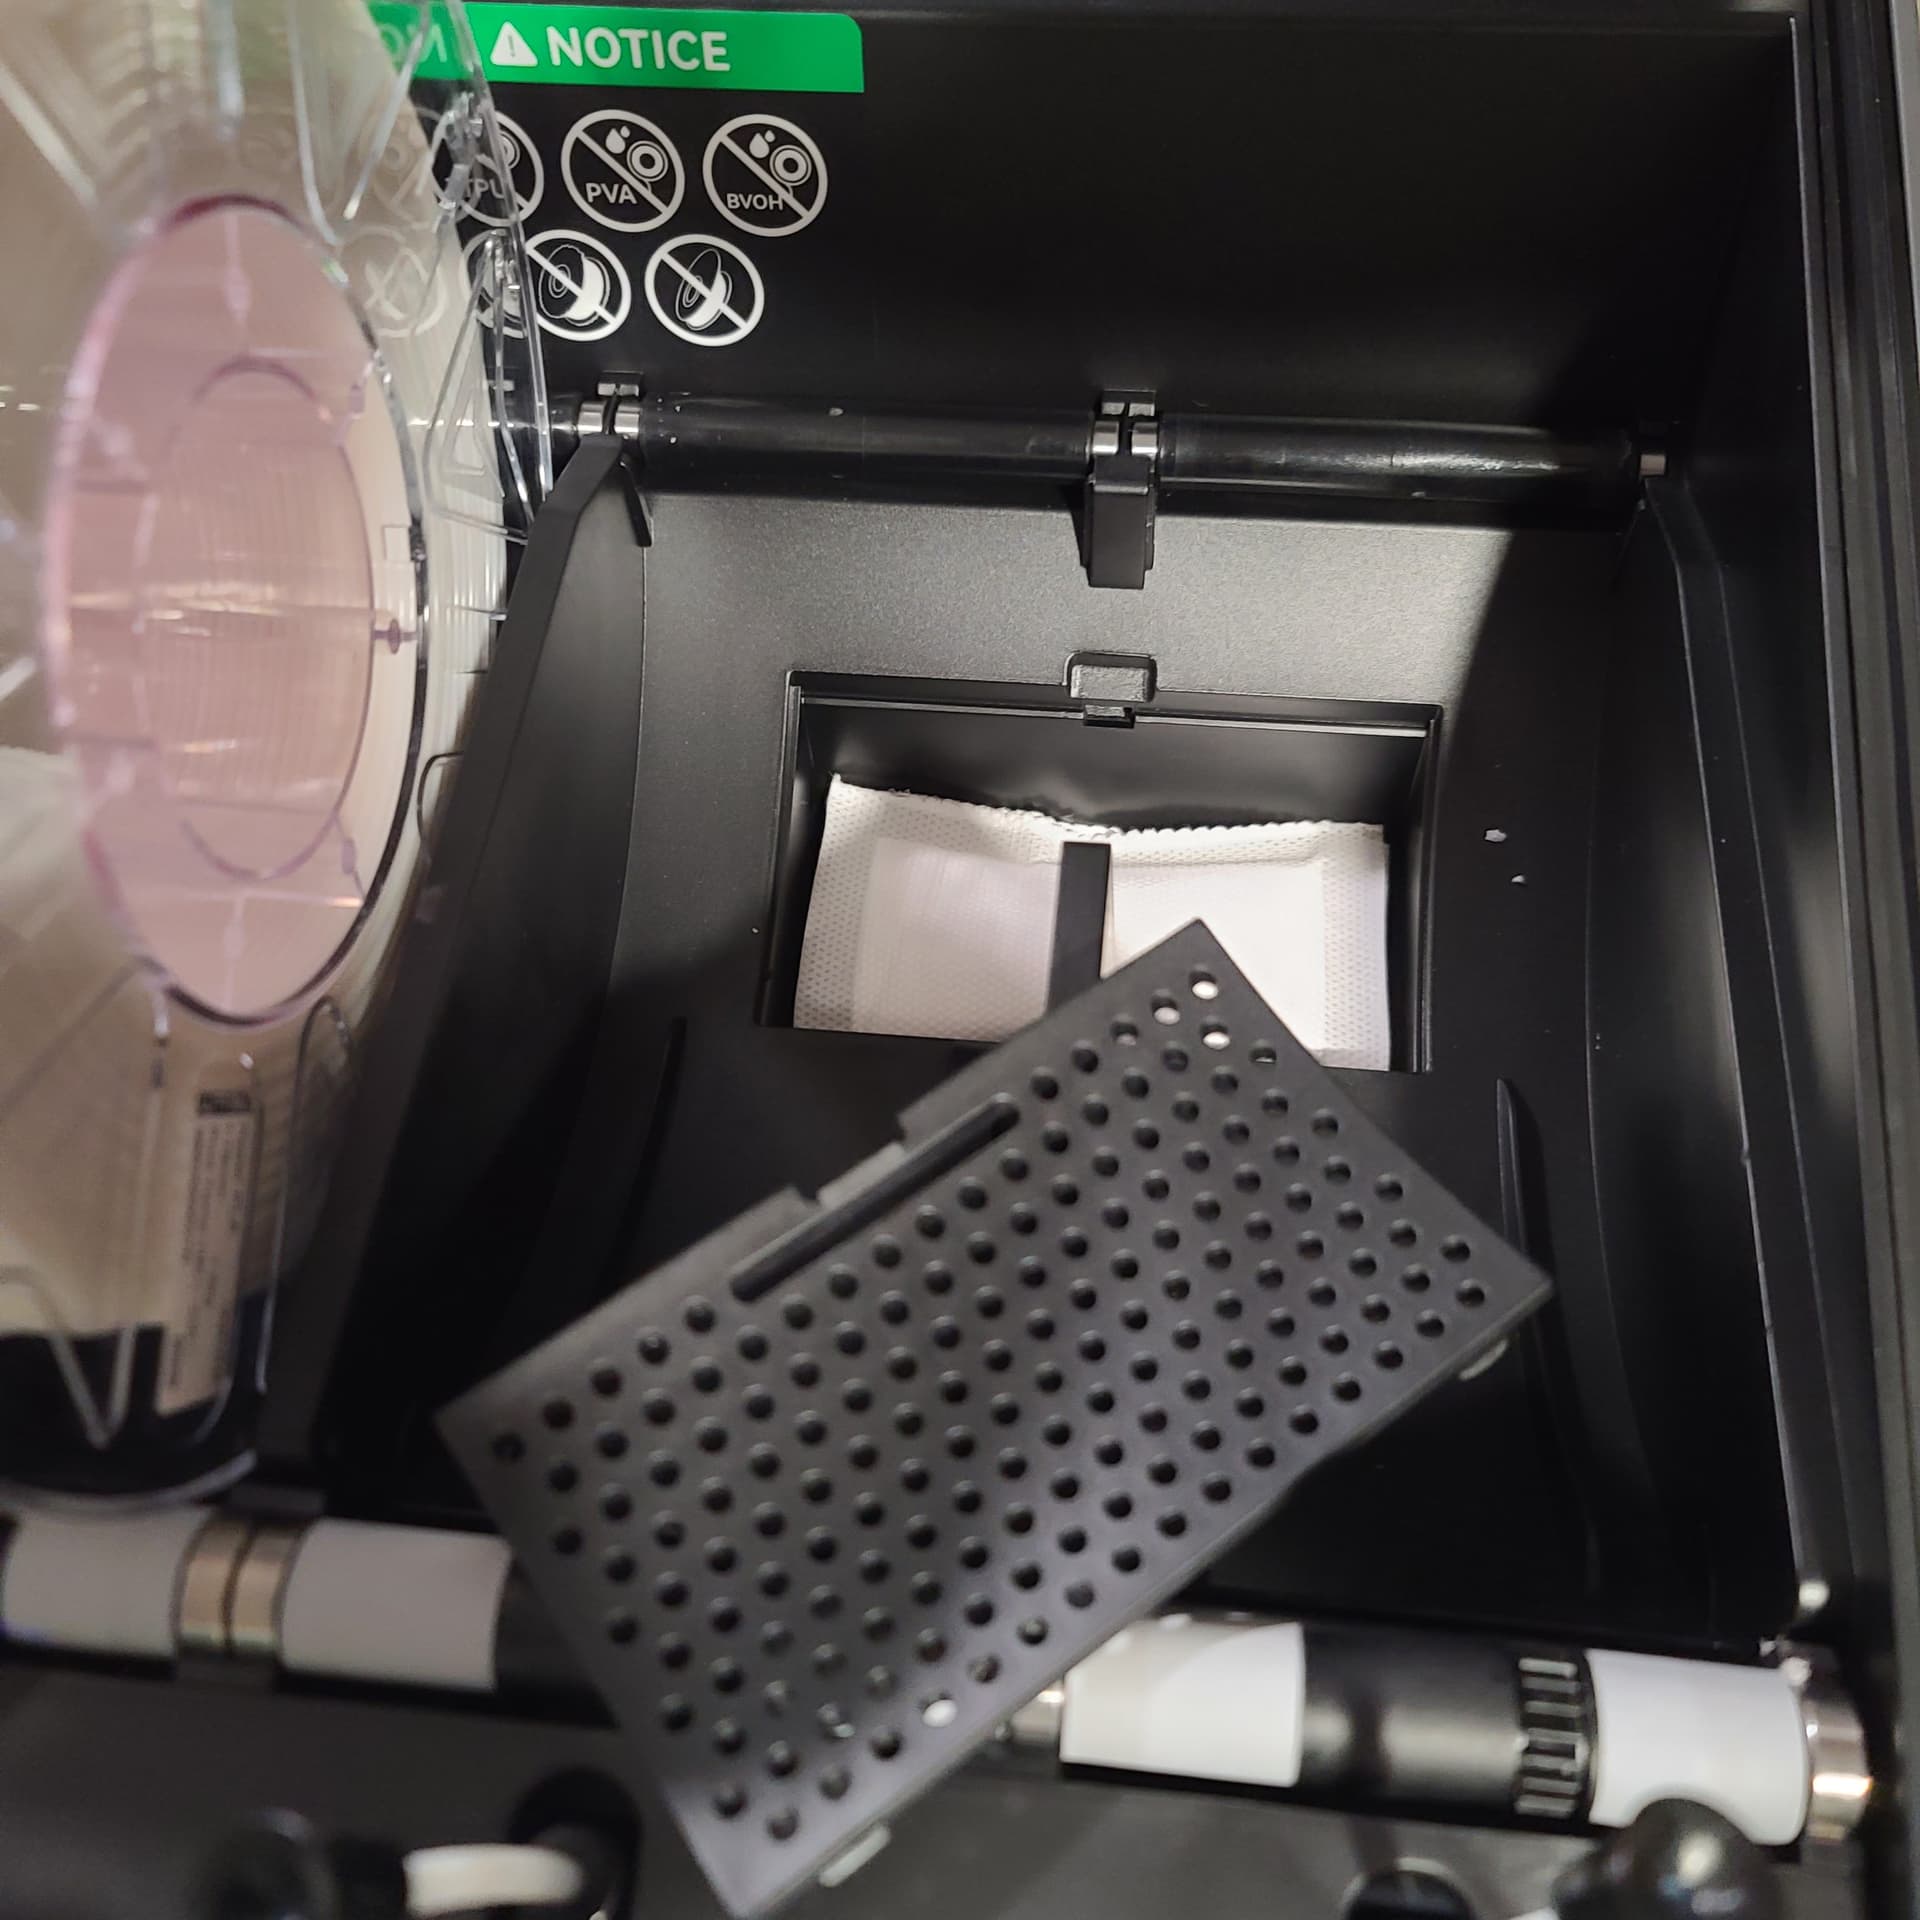
One thing I forgot to do but caught it later was before you put filament in the CFS open up the bottom covers as seen here. Inside are desiccant packs wrapped in plastic which won’t do any good until you unwrap them…!
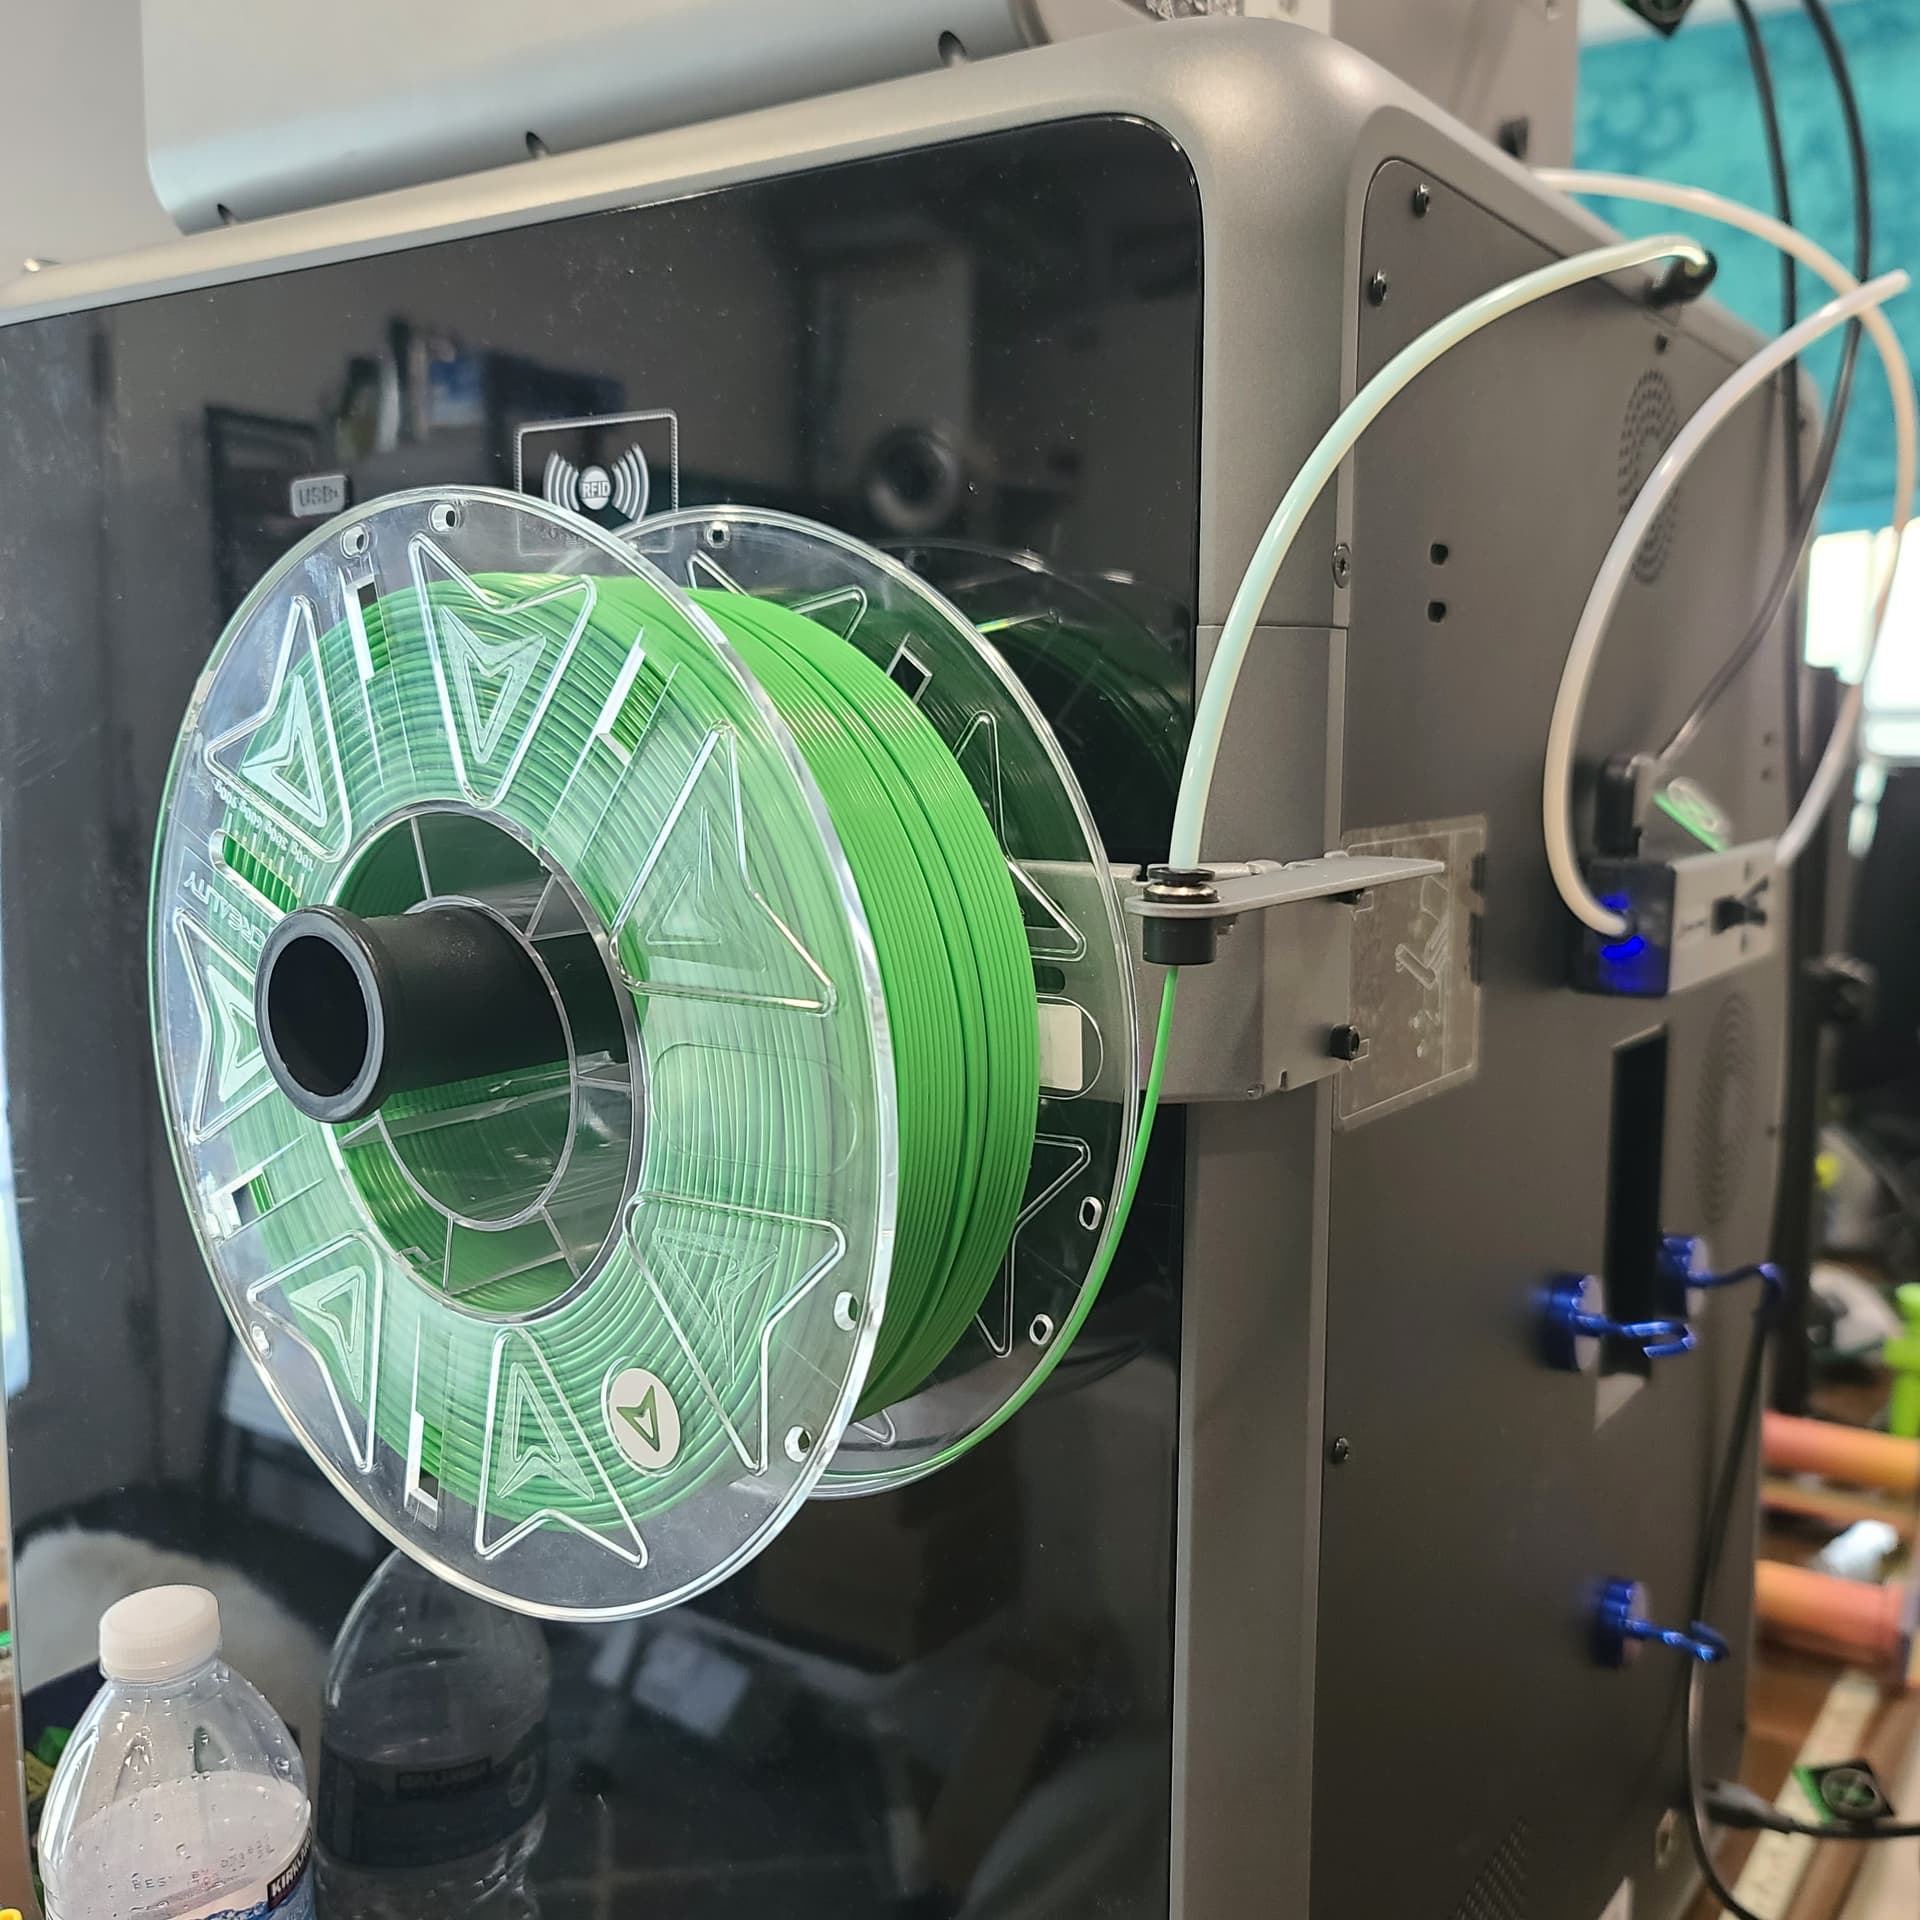
Not required but you can install the side filament holder to keep an extra color handy. You can see in this picture that the PTFE tube for the filament holder is routed into the machine where you have to manually extract and retract the filament yourself. When using the CFS take that PTFE off and run the one coming from the buffer back on so the CFS can do that automatically.
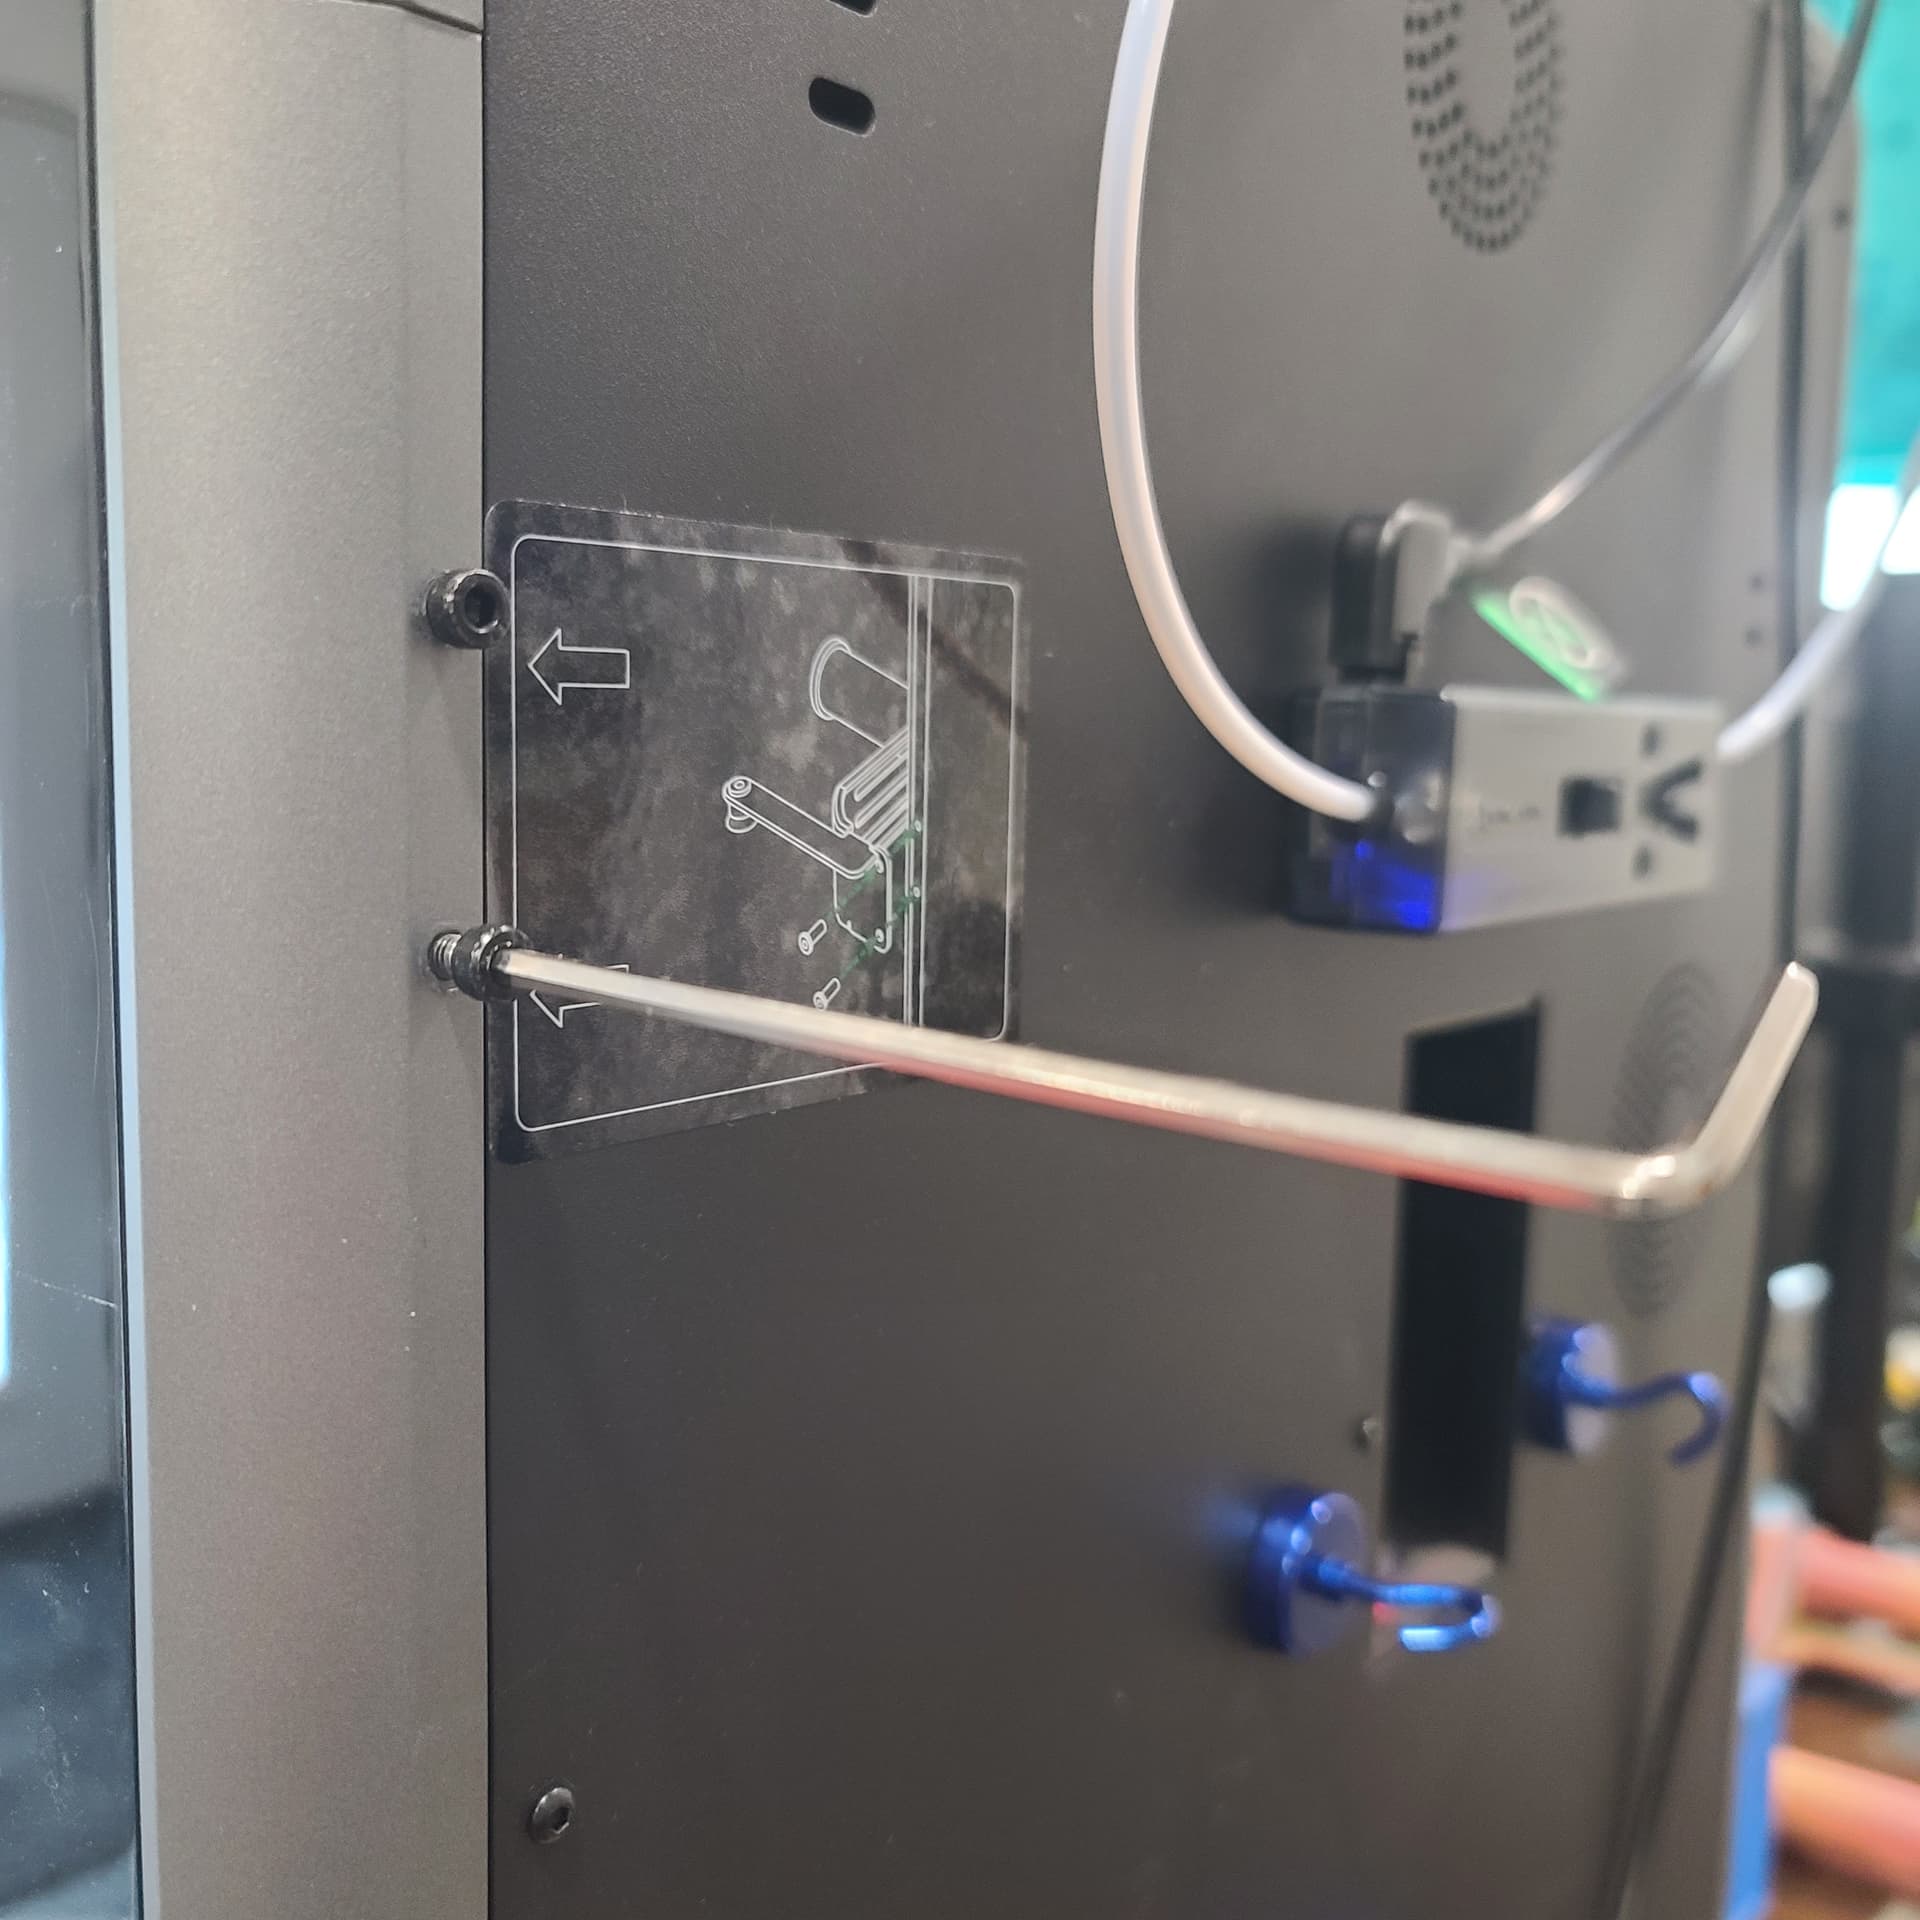
Two allen head screws on the right side can be taken out to mount the side spool filament holder. It’s fairly sturdy and has a PTFE tube mount to keep the tube in place. The sticker on the back gives you an idea of how to mount it.
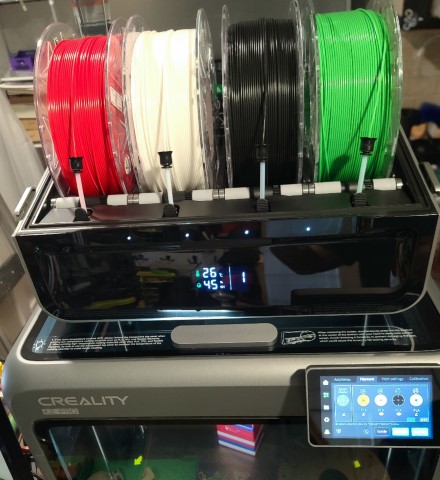
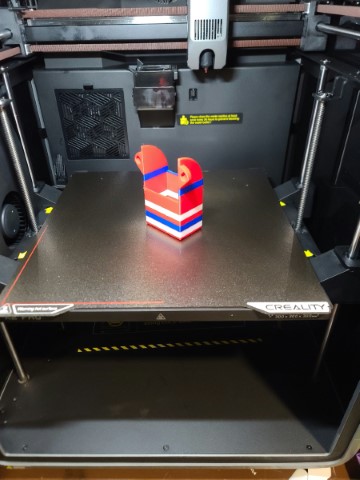
Got all the filament loaded and watching as it reads the RFID tags for each roll. After each color is done it automatically retracts and pushes in the next color filament. After the print is done the machine retracts so it’s ready for the next print. I had taken the green one out earlier to print a red, white and blue container.
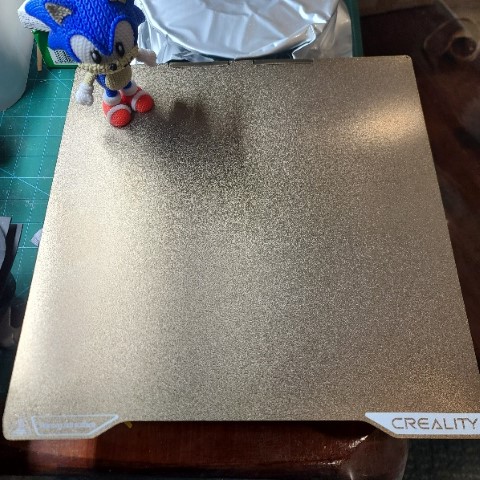
An extra gold colored textured build plate was also included. It’s textured and usable on both sides!
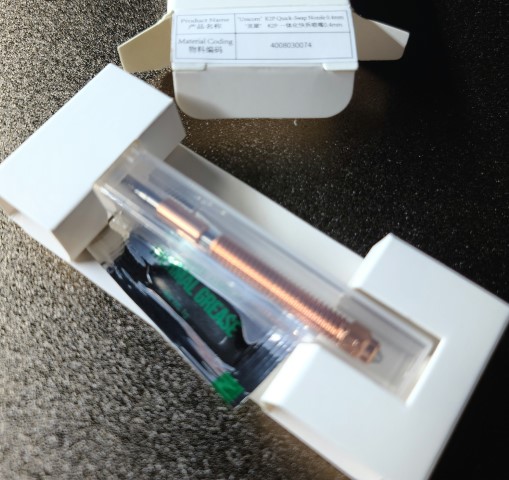
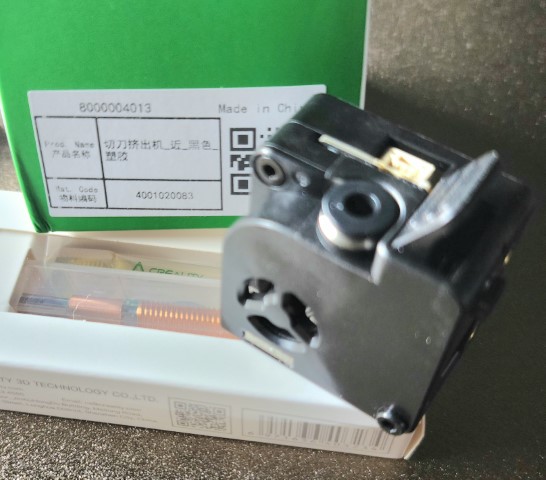
A spare unicorn .04 nozzle and extruder kit were included. The package lists the extruder for a K2 Plus so I guess they both use the same one..
I’ll be posting updates with more thoughts on how things are going with this new machine when we get back from traveling. Already I can see a lot of improvements in build quality and packaging. If you’re thinking about getting one I would take advantage of the sales going on now and get the K2 Pro Combo.
I’ll try to answer any questions about this K2 Pro Combo as best I can when we get back.
![]()