hello and thanks in advance to all members that help us on our journey
my story so far i am retired and as a hobby i build pc’s from used parts purchased at various boots and market place i recently go a ender 3 v2 that was never used and built by a 17 year old and it never worked didn’t even turn on so never setup after getting it home and having a look at it i could tell it has not ben used as the power selector was on 110v and i think he just plugged it in inspection off the power supply resulted in a blown mains fuse in the power supply this was replaced and it started up
my main reason for the purchase (£10) was when i buy motherboards the I/O back plate is usually missing i had been purchasing them off eBay and can cost more than the motherboards so i had a idea to 3D print them myself love a challenge me this brings me to my first of many questions
now the printer is working but not set up i have watched and searched google videos and nearly got it working correctly i updated the firmware only to find its the got the touch settings this wont work as i don’t have the cr/bl touch i found the stock firmware and that’s seem to have sorted that but i am struggling with it not printing it seems to be different every time even though i didn’t alter any settings
i have levelled the bed taking my time adjusted all the wheels checked the assembly with the instructions all seems ok but it will not print
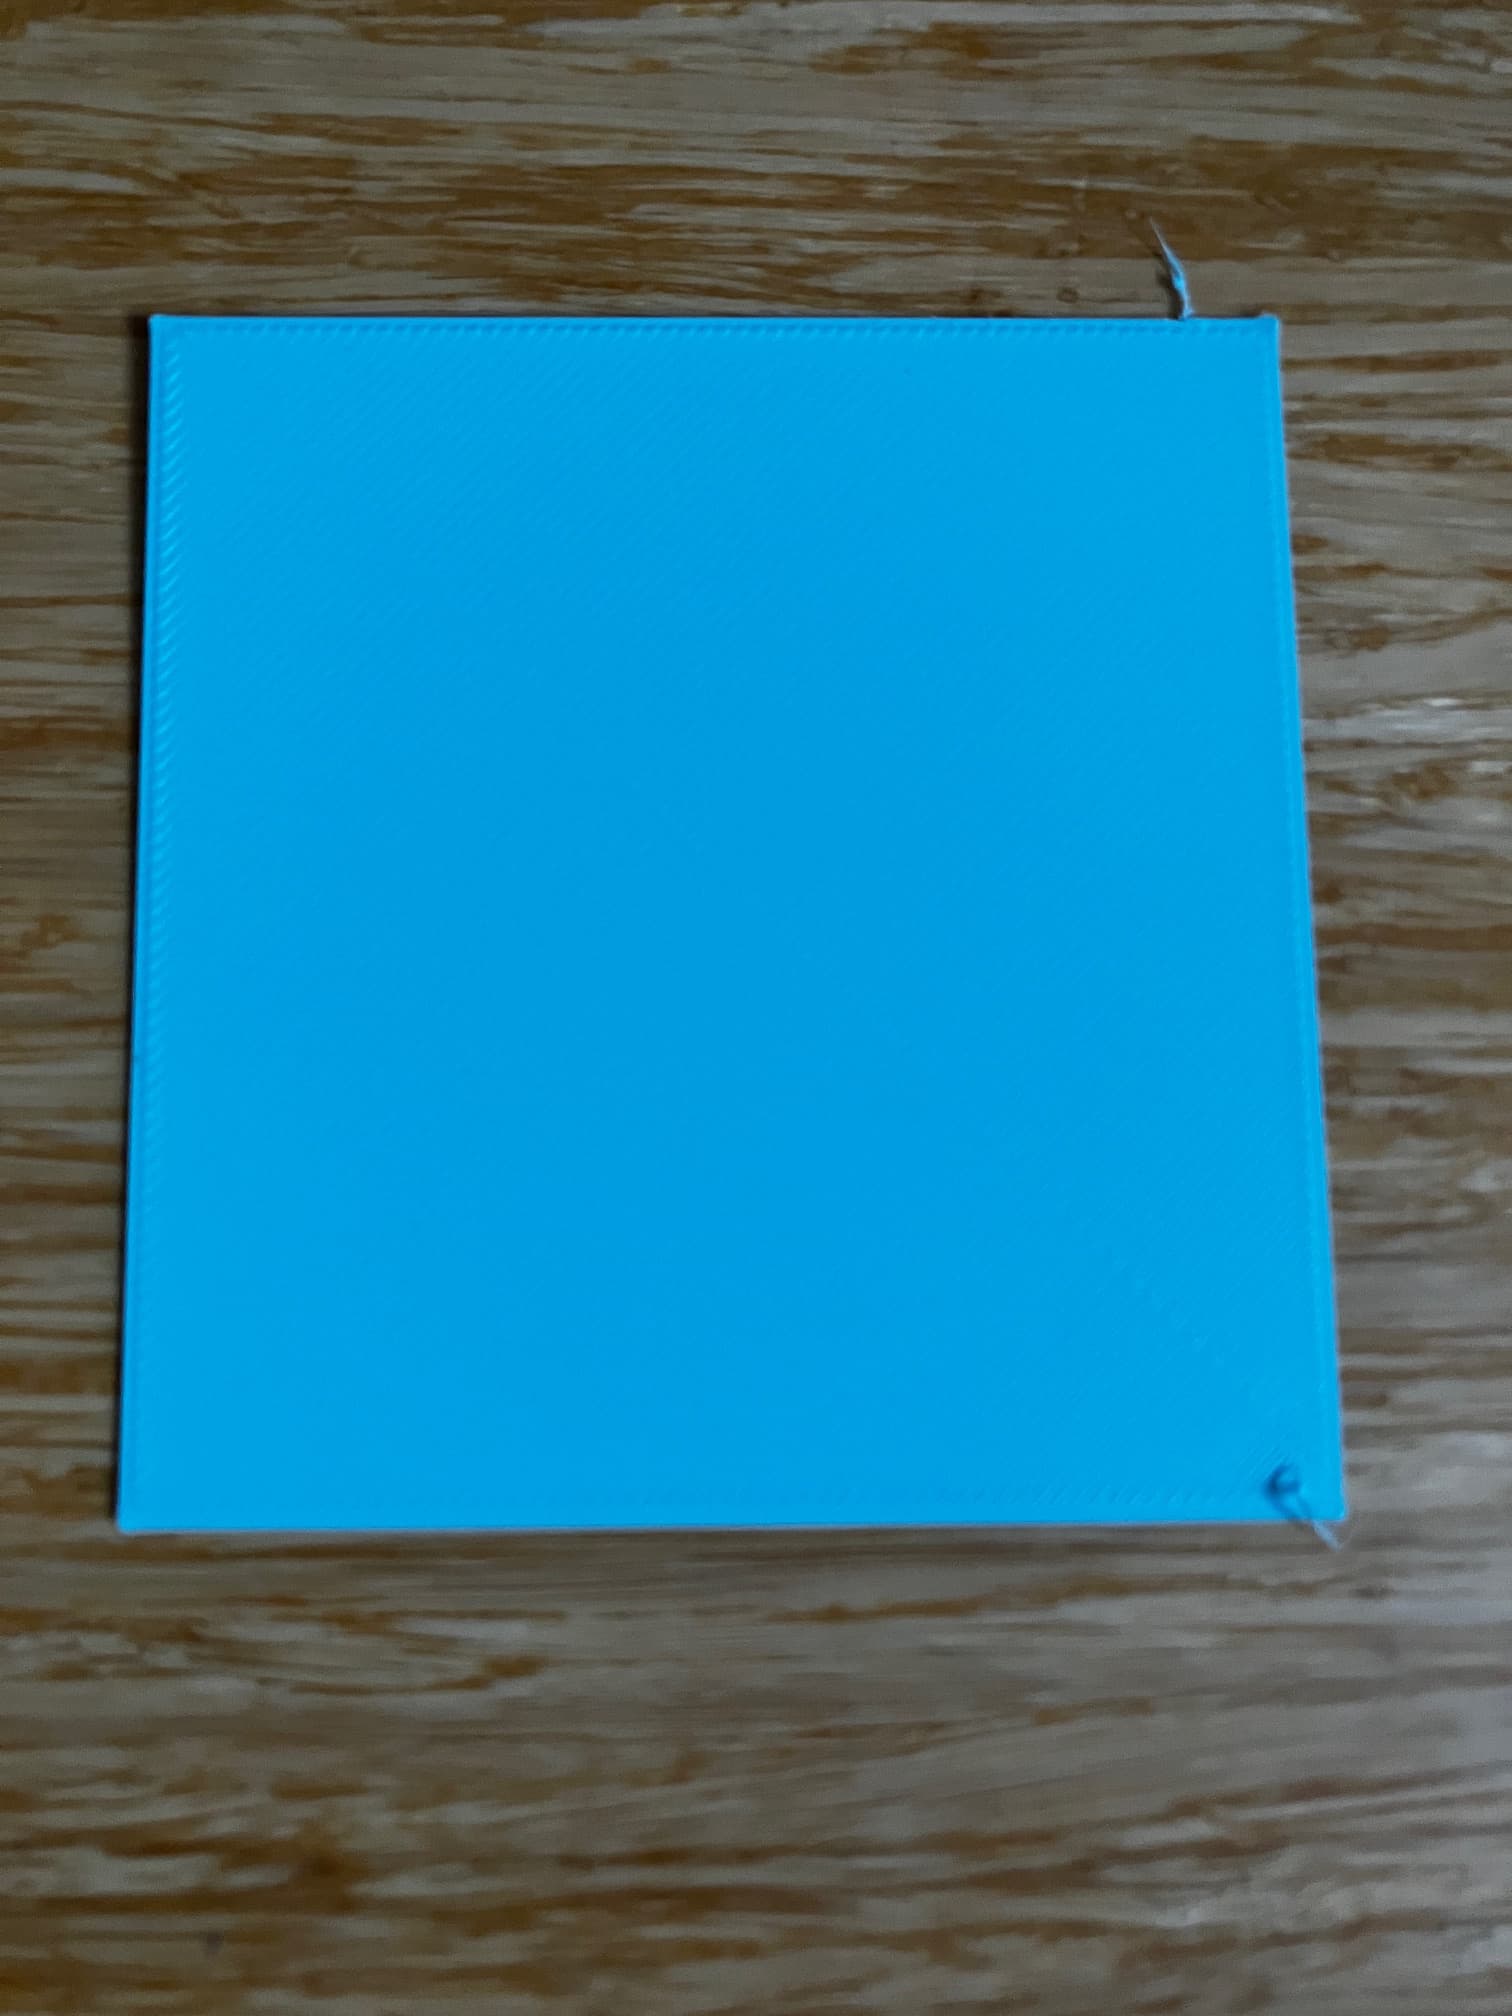
the first prints are in the photo top to bottom 1,2,3,4 show my issue i have not adjusted anything just printed the same test layer 4 times all with different results
sorry for the long story  be gentle with advice still finding my way round if any help thanks again in advance
building pc’s are much easier then 3d printing at the mo
1 Like
Hello @lancstar 
Welcome to the Creality Forum…! 
I don’t know much about adjusting that particular printer but what was your bed leveling procedure?
Adjust Z offset.
Once you get the bed level then the Z offset (or how close the nozzle is to the build plate) needs to be adjusted. I could be wrong but your nozzle seems to be too close.
1 Like
thanks for the reply wow super quick response i have spent a long time watching lots of videos and following what thay say the bed is perfect the issue is it prints the same model test layer different every time as shown in photos
The bed can be perfectly level but if the nozzle distance from the bed (Z offset) is not adjusted properly it will print like in your pictures 
A few basic things to check…
What temperatures are you running?
What kind of filament.?
Is the filament dry?
1 Like
tanks pal for the reply
i have used the paper levelling videos many times it is correct as in all videos in all areas of the bed to the point that you stop adjusting and its set correctly
220 nozzle
60 bed
light blue PLA
0.4 nozzle
latest up date
i have watched loads more videos and read a lot on 3d printing setting up and using the ender 3 v2 and its getting much easier now i know what the issue was for some reason the temps on the nozel, bed and the z offset kept altering sometimes causing it to start off and crash into the right support and jam very scary that so i decided to start a fresh first port of call was the firmware
the issue must have been with corrupted file i downloaded so i found a couple different firmware on Creality website and did a update after the first being another altered firmware for cr/bl touch i found this to be working fine (with my limited knowledge that is ) i then checked everything to make sure i had not missed anything did the bed level again and printed the test square however it refused to print watching another video of transferring files to SD card it recommended short file names when saving to sd card so saved it as test 1 and it printed quite good for the first print see photo 1
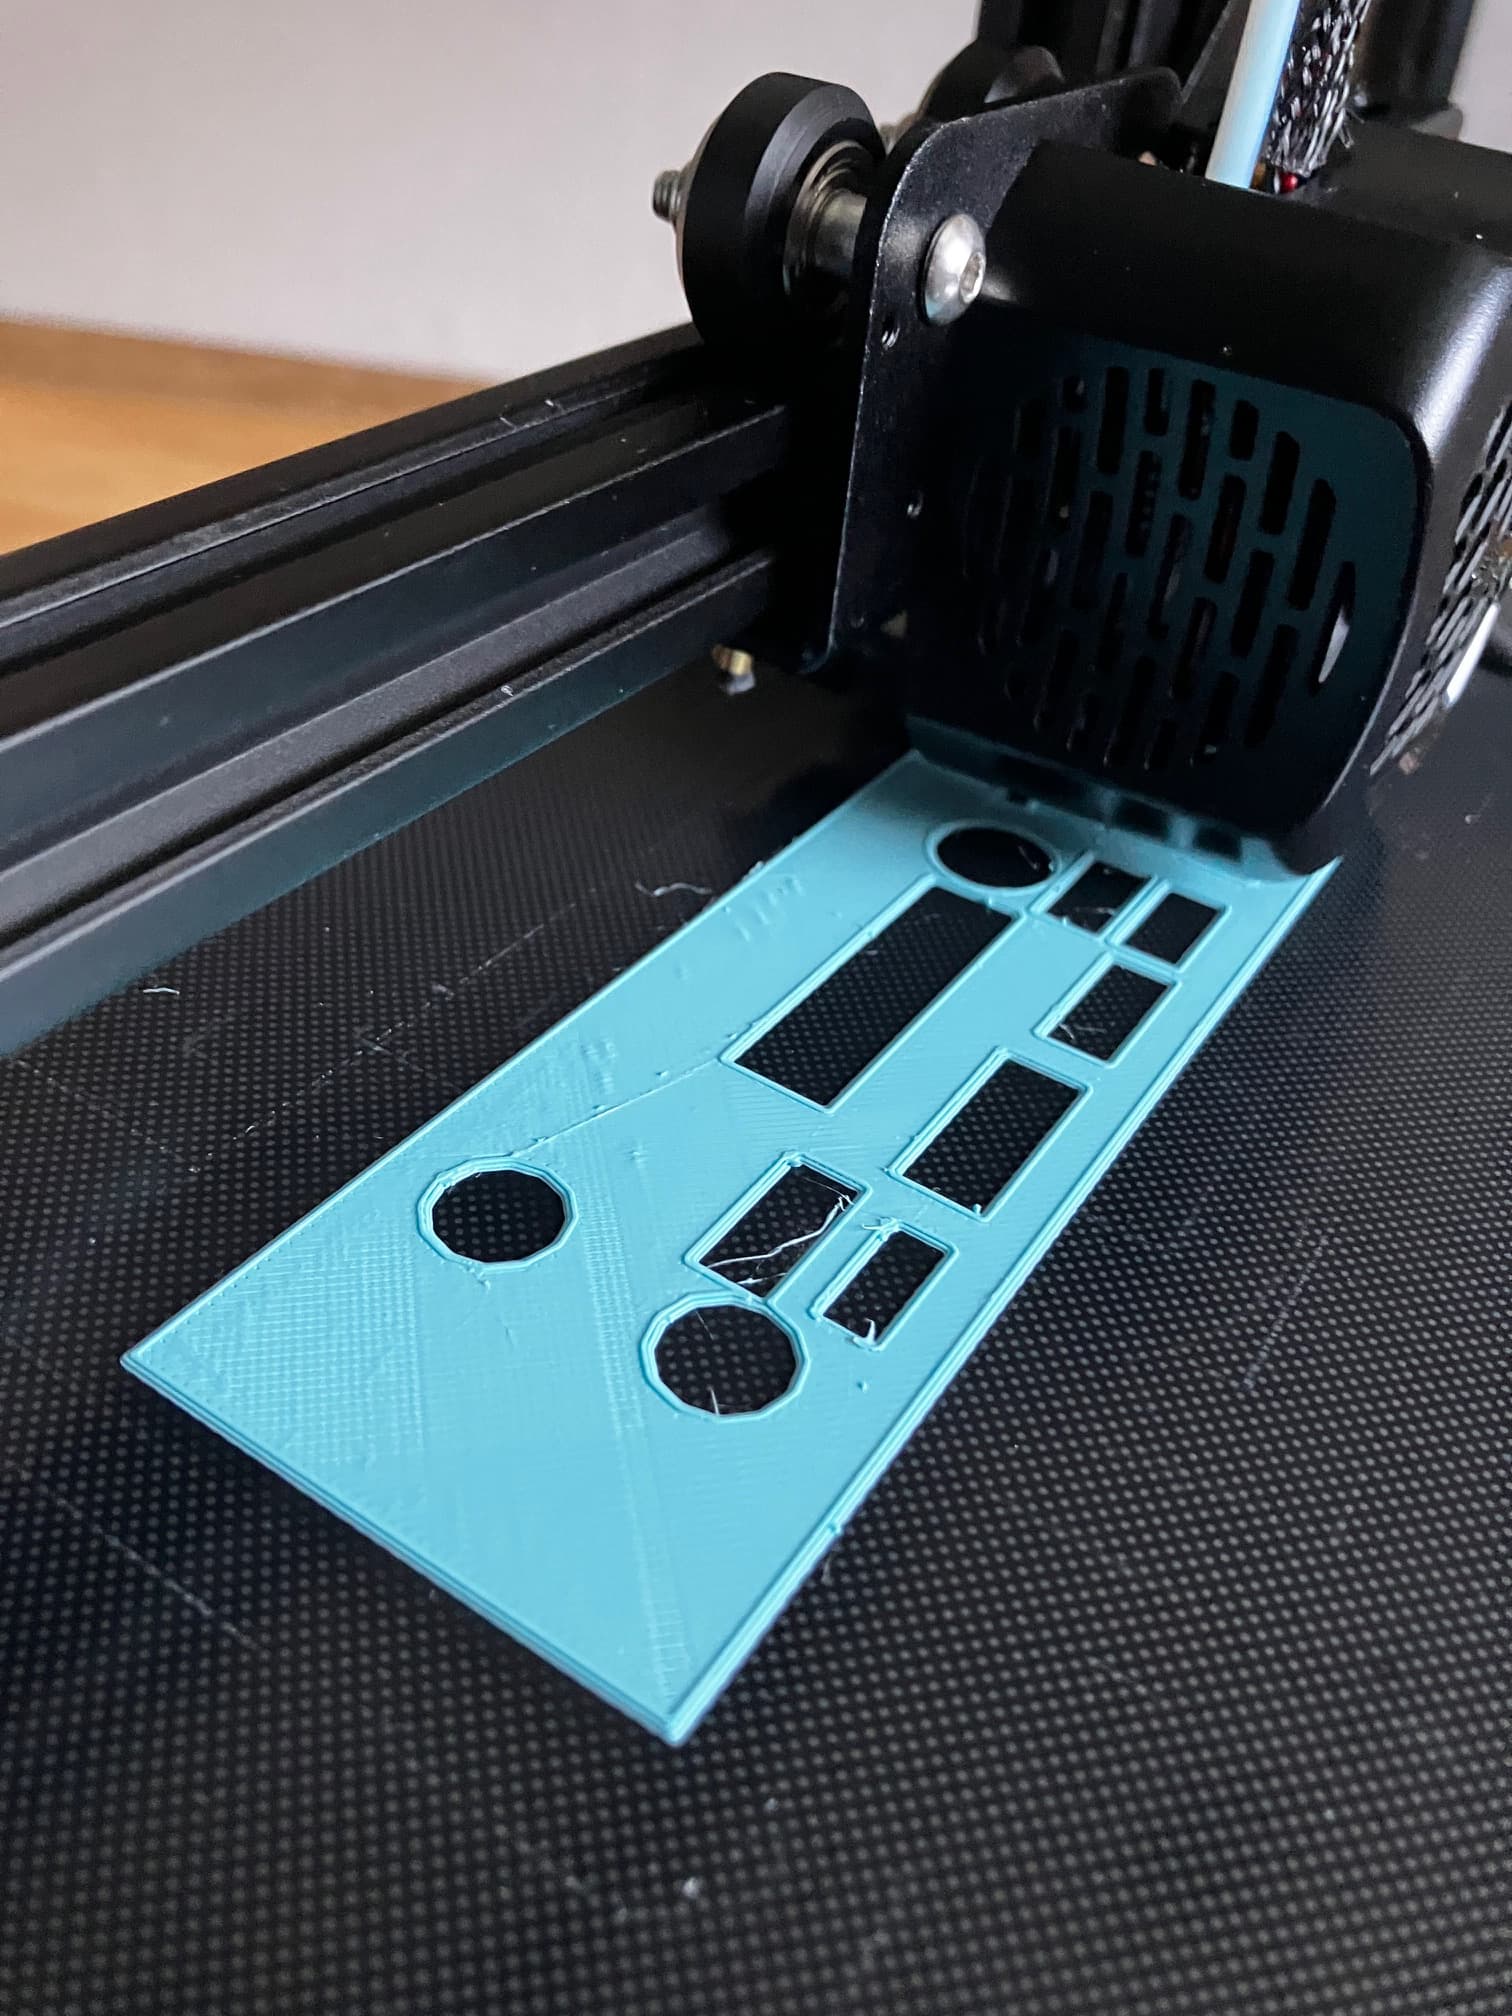
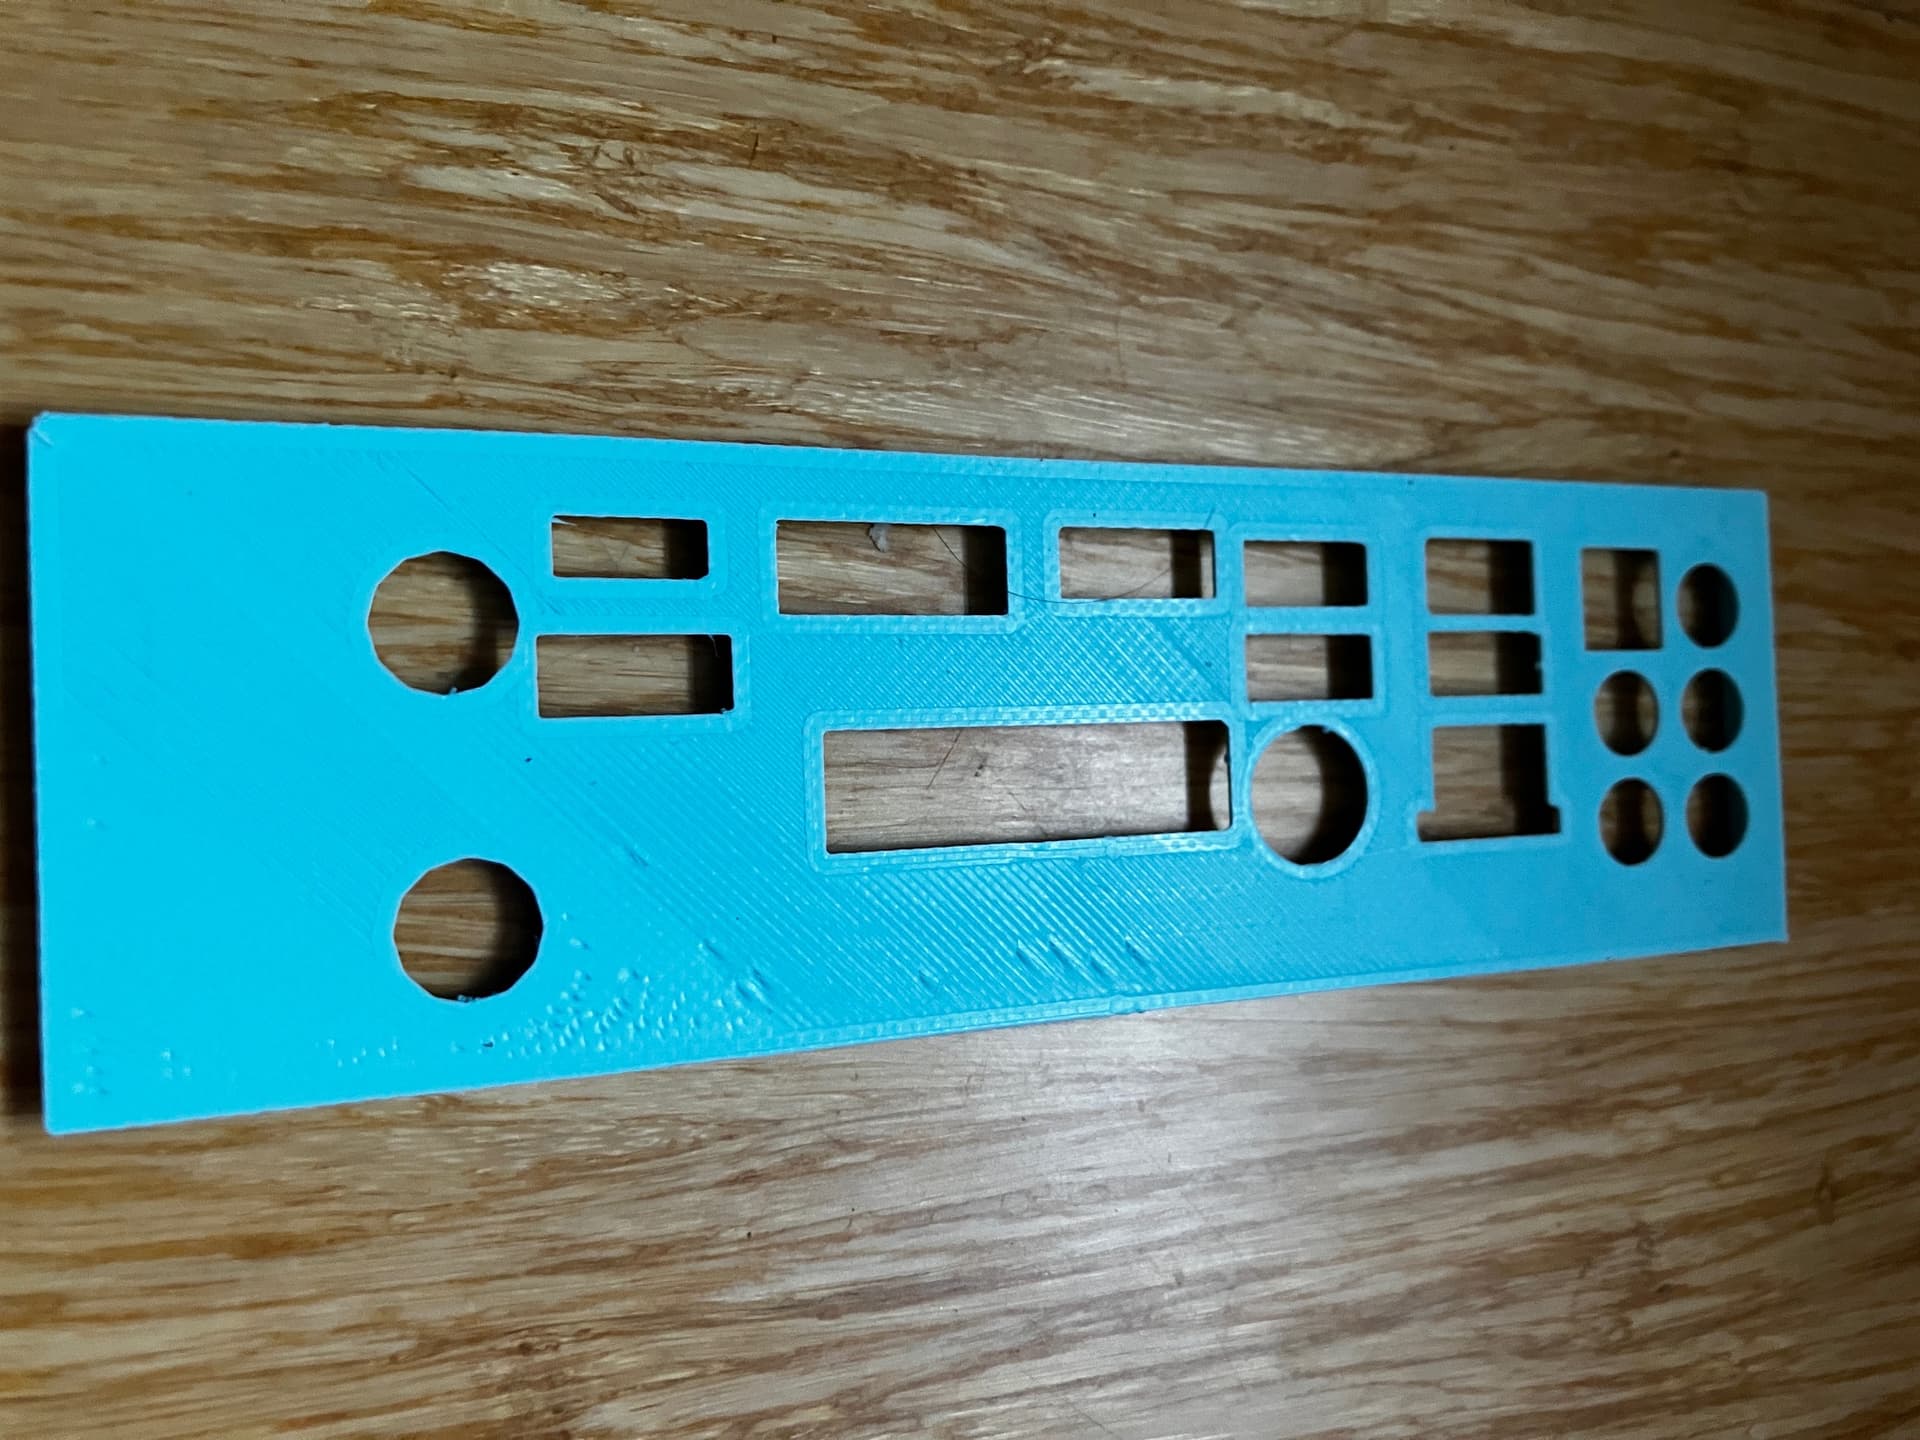
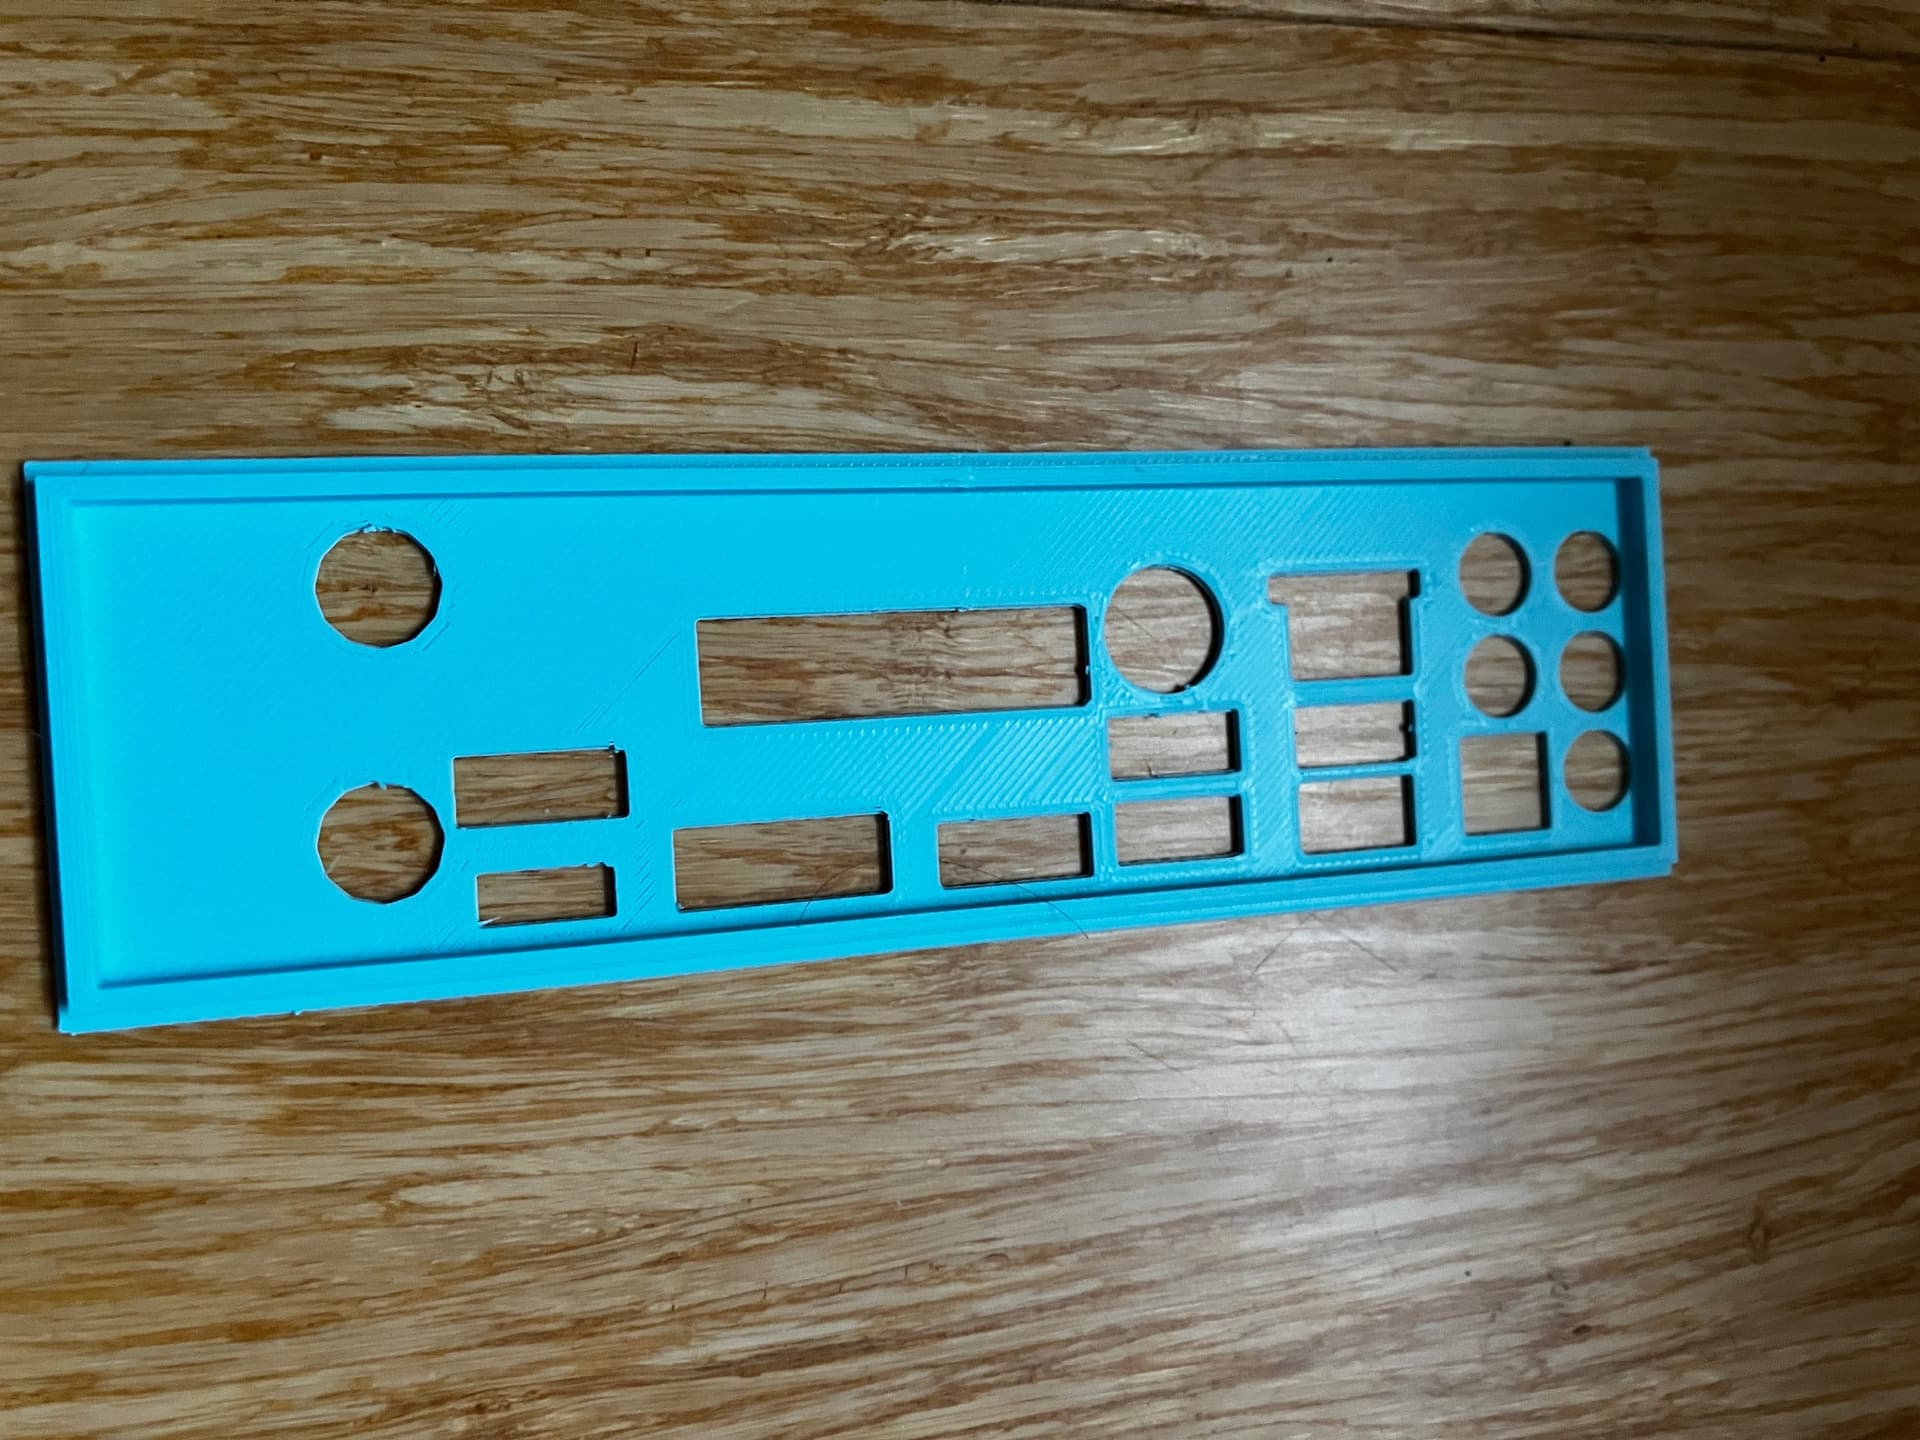
after some tweaking and changing the temps to 220 nozzle and 60 bed this time it remained constant so i then printed my first i/o plate photo 2 looks ok bit stringy and some odd lumps ill upload the end result when done main thing is its working and im sure it will only get better as i get more into it next project is a graphics card stand
Looks way better nice trouble shooting
1 Like
Definitely looks a lot better. I really appreciate you taking the time to update us so that others can learn too… Thanks 
1 Like