If you’ve worked with 3D printers, you’re likely familiar with their heating components. Most machines with a heated bed have two: one for the nozzle and one for the bed. These components rely on algorithms to maintain stable temperatures using three variables: proportional, integral, and derivative.
The proportional factor measures the difference between the actual and desired temperature, the integral considers the accumulated error over time, and the derivative gauges how fast the temperature is changing. Together, these are known as PID settings, essential for achieving temperature balance. In this article, we’ll explore PID tuning 3D printer and guide you on how to fine-tune it for your printer!
- What Is It?
- How It Works
- Before You Tune
- Marlin Firmware: Hot End
- Marlin Firmware: Heated Bed
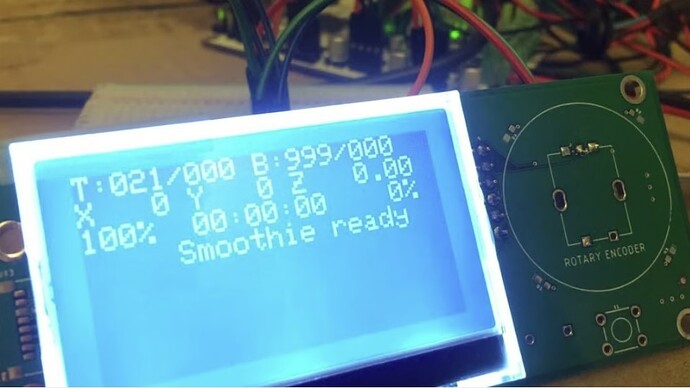
- Smoothieware
What Is It?
PID heating on a 3D printer works by using three values—P, I, and D. The firmware calculates how to maintain stable temperatures by balancing the proportional heat, integrating past errors, and adjusting the rate of temperature change using a derivative, ensuring consistent thermal control.
PID vs. Bang-Bang
PID heating is more commonly used in 3D printers than the simpler “bang-bang” method. “Bang-bang” heating, often found in household ovens and heaters, works by turning the heating element on when the temperature falls below the set value and off when it reaches the target. However, this method leads to large temperature swings, which can negatively affect print quality in 3D printers. In contrast, PID heating provides more precise control by continuously adjusting the heat to maintain a stable temperature, preventing fluctuations and ensuring better print consistency and overall quality.
Tuning
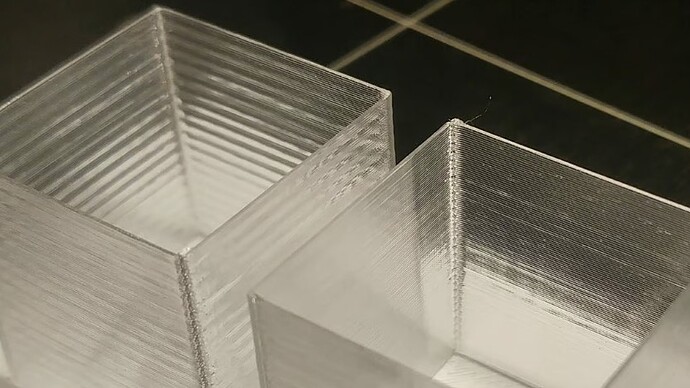
While PID values may seem minor, their effect on 3D printing is significant. Temperature fluctuations in the nozzle or print bed can create unwanted lines on prints, which differ from normal layer lines and degrade the part’s appearance. Inconsistent extrusion often results from varying temperatures, especially if the nozzle experiences heating issues, while the print bed can introduce its own complications.
PID tuning enables you to adjust the P, I, and D values on your printer to minimize these temperature variations. In this article, we’ll explain how to auto-tune the PID settings for the hot end or heated bed. We’ll cover the process for Marlin 1, Marlin 2, and Smoothieware, noting that similar steps apply to other firmware, with differences mainly in G-code syntax. Generally, if the firmware is open source, you can find the relevant G-code commands for PID tuning on the firmware developer’s website.
How It Works
PID tuning involves adjusting the P, I, and D values in your printer’s firmware, allowing these settings to be stored in the printer’s onboard memory for every print and heating action. Whenever you install a new hot end or heated bed or change to a significantly different printing temperature, it’s essential to perform a PID tune to achieve optimal performance with your updated components or settings.
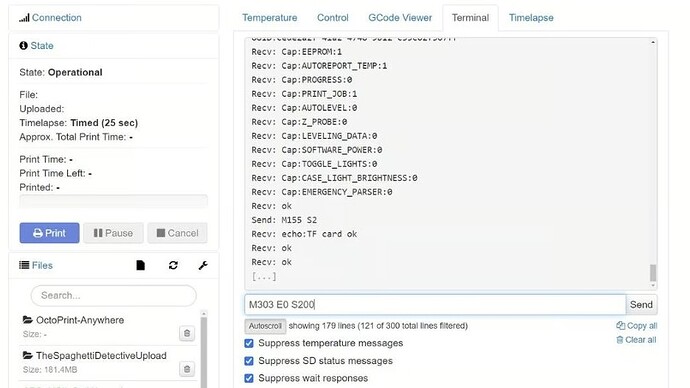
The easiest method for PID tuning is to send G-code commands through a terminal, such as Pronterface or the integrated terminal in OctoPrint. During the PID tuning process, your printer heats a specific element multiple times, automatically measuring its performance and returning the calculated P, I, and D values via the G-code terminal.
To begin, select the heating element you wish to tune and set the target temperature—ideally the temperature you plan to use for printing. Specify how many times the printer should cycle the heating element up and down, initiate the PID tuning process, and then input the newly calculated P, I, and D values back into your G-code terminal.
Next, we’ll provide instructions for auto-tuning PID on printers using Marlin 1, Marlin 2, or Smoothieware firmware!
Before You Tune
In this guide, we’ll walk you through tuning your printer’s PID settings if it’s using Marlin (or Marlin-based firmware like TH3D Unified) or Smoothieware firmware. We will cover how to tune your first hot end (“E0”) and your heated bed, as the procedures vary slightly for each.
Before you begin, verify whether your printer runs Marlin 1.X or 2.X. Additionally, ensure you have access to a G-code terminal; Pronterface is user-friendly and compatible with many printers, while OctoPrint’s terminal is another popular option.
If your printer isn’t using Marlin or Smoothieware, the PID tuning process is generally similar across other firmware. Visit your firmware provider’s website for the specific G-code syntax to find the correct commands for PID tuning. If that information is unavailable, feel free to use the process outlined here as a starting point for your tuning efforts.
Marlin Firmware: Hot End
To PID tune your printer’s hot end using Marlin firmware, follow these steps:
- Open your G-code terminal and connect it to your printer’s mainboard.
- Select a nozzle temperature that closely matches the one you typically use for printing.
- Choose the heater you want to PID tune (e.g., E0, E1, etc.).
- Decide on the number of heating cycles (repetitions of heating the element up to and down from the target temperature). More cycles yield more accurate results, although they take longer. The default number of cycles is 5.
- Enter the command: “M303 E{heater number} S{target temperature} C{number of cycles}” and send it through your G-code terminal. For example, “M303 E0 S230 C7” will tune the first heater to 230 °C using 7 cycles.
- Wait for the terminal to complete the cycles and display the calculated P, I, and D values, shown as “kP, kI, kD.”
- Input these values by sending the command: “M301 P{generated kP value} I{generated kI value} D{generated kD value}.” For instance, “M301 P70 I3 D65” sets the new hot end PID values.
- Finally, send the command “M500” to save these settings to your mainboard, or use the LCD interface by selecting “Save Settings.”
Marlin Firmware: Heated Bed
PID tuning your heated bed is essential for preventing unwanted extra layer lines on your 3D prints. Follow these steps to PID tune your printer’s heated bed if it’s running Marlin firmware:
- Open your G-code terminal and connect it to your printer’s mainboard.
- Set the heated bed temperature you will most often use for printing.
- Determine your Marlin version: if you have firmware based on Marlin 1.X, use the heating element “E-1.” For Marlin 2.X, use “EBED” (some users have reported that “E-1” can also be applicable for 2.X).
- Choose the number of heating cycles (repetitions of heating the element up and down). More cycles yield greater accuracy but take longer; the default is 5 cycles.
- Enter the command: “M303 E{heating element firmware name} S{target temperature} C{number of cycles}.” For example, “M303 EBED S100 C6” tunes the heated bed to 100 °C using 6 cycles.
- Wait for the terminal to complete the cycles and display the calculated P, I, and D values as “kP, kI, kD.”
- Input these values by sending “M304 P{generated kP value} I{generated kI value} D{generated kD value}.” For example, “M304 P70 I3 D65” sets the new bed PID values.
- Finally, save these settings by sending the command “M500,” or use the LCD interface to select “Save Settings.”
Smoothieware
Here’s a guide for PID tuning the hot end or bed on a 3D printer running Smoothieware firmware:
- Open a non-web-based G-code terminal, such as Pronterface, and connect it to your printer’s mainboard.
- Identify the heater element ID you want to tune: “E0” for the hot end and “E1” for the heated bed.
- Select the temperature you will most frequently print at.
- Enter the command “M303 E{heating element ID} S{target temperature}” and send it through your G-code terminal. This is the “PID autotune” command. For example, “M303 E1 S60” will PID tune the heated bed to 60 °C using 3 to 8 cycles, as specified by Smoothieware.
- Wait for the terminal to complete the cycles and display the calculated P, I, and D values, shown as “kP, kI, kD.”
- Although these values are immediately loaded into your board’s memory, they are not saved in the firmware. To store them, send the command “M500.”
That’s all it takes to PID tune your printer!

