Safety Instructions
Before performing any maintenance on the printer’s electronic components, including cables, ensure that the printer is powered off and the power cable is disconnected. This prevents short circuits, potential damage to electronic components, and safety hazards.
When performing maintenance or troubleshooting, always check the temperature of the Hotend and Heated Bed. Avoid operating on them while hot. If working at high temperatures is unavoidable, wear heat-resistant gloves to ensure safe and effective maintenance.
Hotend Sock
Function
Protects the Hotend and provides thermal insulation.
Replacement Timing
Replace the Hotend Sock when it is observed to be damaged.
Required Tools and Materials
New Hotend Sock (purchase link)
Tweezers
Procedure
Remove the Toolhead Back Cover.

Take off the old Hotend Sock ( Warning: Ensure the Hotend is completely cooled before touching!).
Install the new Hotend Sock.
Reattach the Toolhead Back Cover.
Nozzle Wiping Strip
Function
Cleans residual filament around the Hotend nozzle.
Replacement Timing
Replace the Nozzle Wiping Strip when it shows signs of damage.
Required Tools and Materials
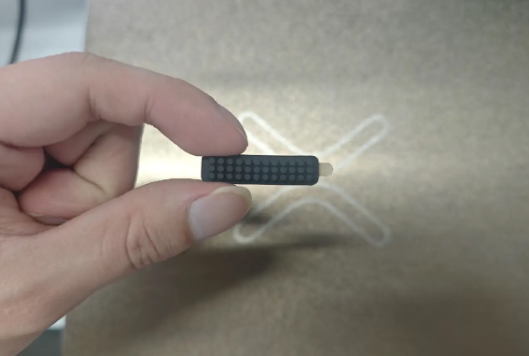
New Nozzle Wiping Strip (purchase link)
Alcohol
Cleaning cloth
Tweezers
Procedure
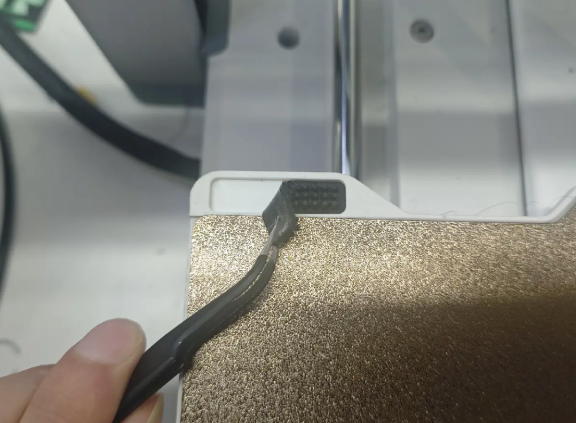
- Remove the old wiping strip.
- Use tweezers to remove any residual filament. Dampen the cleaning cloth with alcohol and wipe the residue area thoroughly.
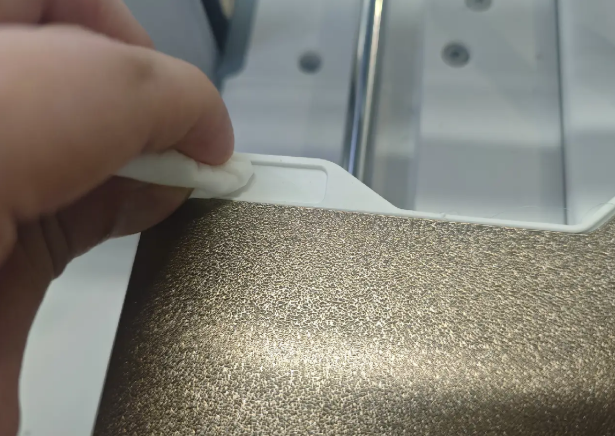
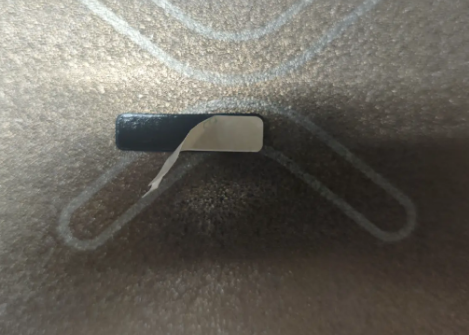
- Allow alcohol to evaporate completely, peel off the backing of the new strip, and attach it in the correct position.
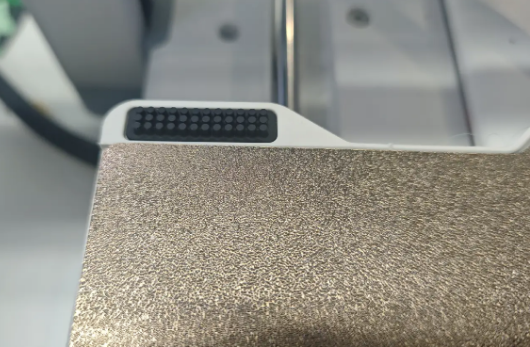
Base Foot Pads
Function
Assist in stabilizing the printer.
Replacement Timing
Replace the foot pads when they are deformed or missing.
Required Tools and Materials
New base foot pads (purchase link)
Alcohol
Cleaning cloth
Tweezers
Procedure
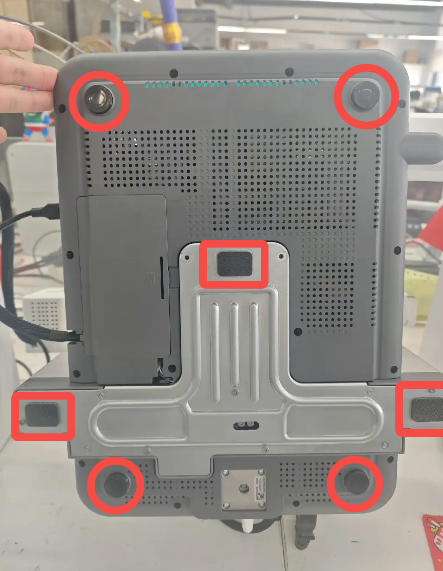
Remove the old foot pads. The i7 has 3 square hard pads and 4 round soft pads, totaling 7 foot pads.
Use tweezers to remove any residual adhesive.
Clean the surface with alcohol-dampened cloth thoroughly.
Allow alcohol to dry, peel off the backing of the new pads, and attach them in the correct positions.
Place the printer on a flat surface and ensure all 4 round soft pads make contact with the table.
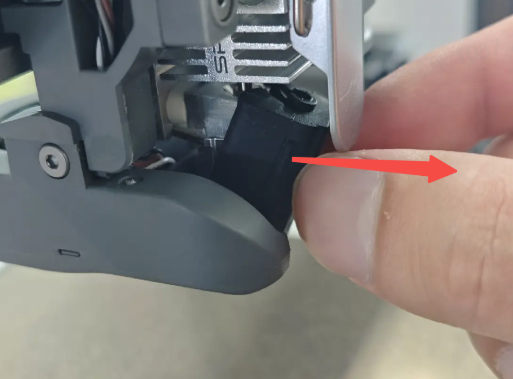
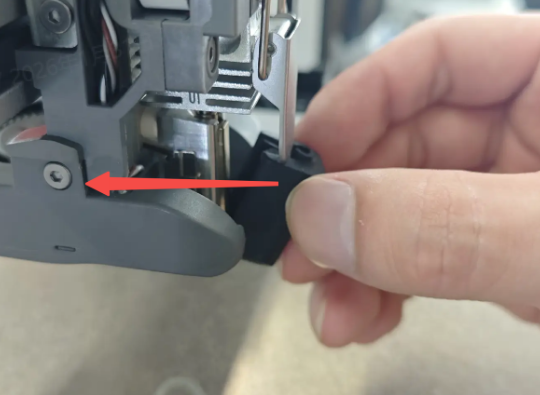
Toolhead Filament Cutter
The Filament Cutter is installed on the left side of the Extruder. When the Toolhead moves to the far left, the Cutter Arm presses the internal cutter through a lever mechanism to cut the filament. After the filament is cut, the cutter returns to its original position under the magnetic force of the built-in magnet.
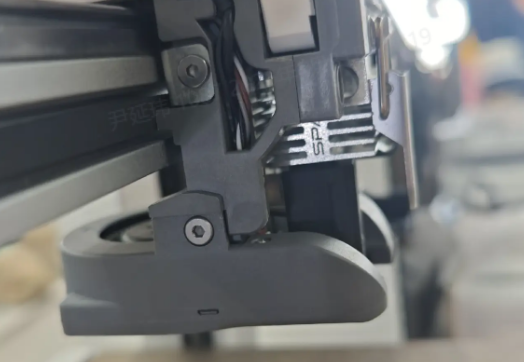
During multi-color printing and other print tasks that involve frequent filament unloading, the filament cutting action is repeatedly performed. After prolonged use, the cutter may experience wear. Therefore, regular inspection or replacement is recommended.
For more information, please refer to i7 Series Toolhead Filament Cutter Replacement Guide
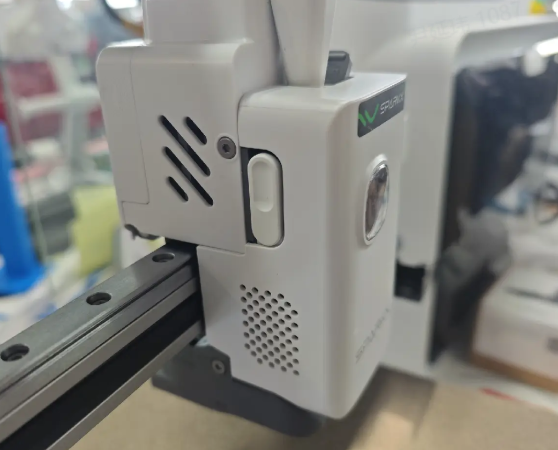
Print Plate
The i7 comes with a textured PEI Plate. After long-term use, adhesion may decrease. Clean the plate first following: i7 Plate Maintenance Guide .
If cleaning does not restore adhesion, or if the wiping area is damaged due to nozzle friction, the PEI Plate should be replaced.