i7 Series Cooling Fans
Cooling fans are used to dissipate heat from specific components. On the i7 series, there are three commonly encountered fans, all located on the print toolhead:
Part Cooling Fan During printing, this fan cools the printed model, allowing the molten filament to solidify properly and ensuring successful model formation.
Hotend Cooling Fan This fan cools the hotend heat sink, improving heat dissipation efficiency and preventing heat creep, which can lead to nozzle clogging.
Extruder Motor Cooling Fan This fan dissipates heat from the extruder motor. It helps prevent heat buildup during long printing sessions from transferring to the filament near the extruder gears, which could cause filament jamming, thereby improving overall printing stability.
Maintenance Interval
When a “Check Fan” prompt appears on the printer or in the Creality Cloud App, it is recommended to perform a fan inspection and maintenance.

Required Tools
Air Blower
Soft Brush
Maintenance Procedure
Part Cooling Fan Inspection and Maintenance
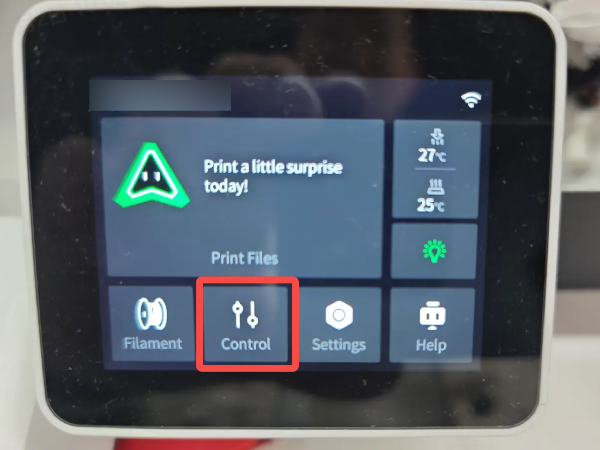
On the printer touchscreen, go to the Device Control page and select Part Cooling Fan.
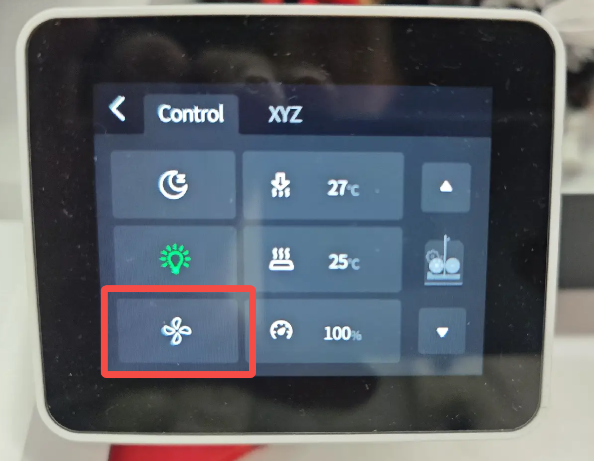
Increase the fan speed and observe whether the Part Cooling Fan is rotating properly.
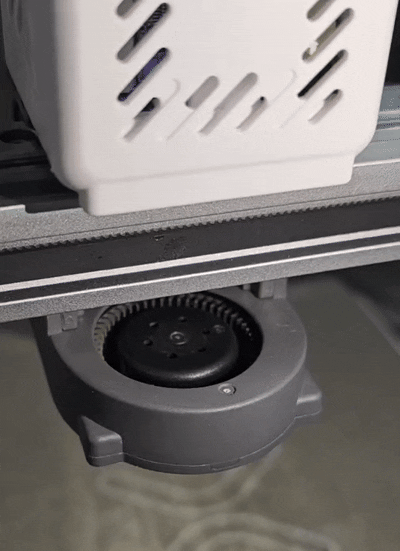
If the fan operates normally but dust buildup is present, clean it using a soft brush or air blower.
Hotend Cooling Fan Inspection and Maintenance
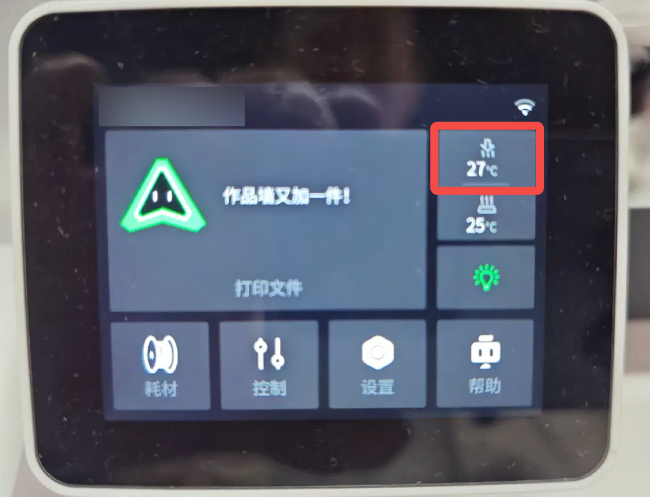
On the printer touchscreen, go to the Device Control page and set the Hotend temperature to 100 °C.
Warning: Do not touch the nozzle during this process to avoid burns.

Observe whether the Hotend Cooling Fan is rotating properly.

If the fan operates normally but dust buildup is present, clean it using a soft brush or air blower.
Extruder Motor Cooling Fan Inspection and Maintenance
Start any print job and observe whether the Extruder Motor Cooling Fan on the top of the toolhead is rotating.
If the fan operates normally but dust buildup is present, clean it using a soft brush or air blower.