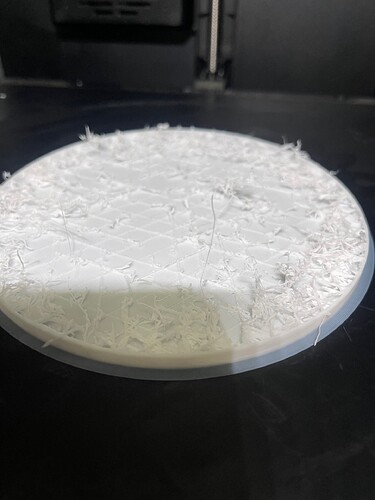
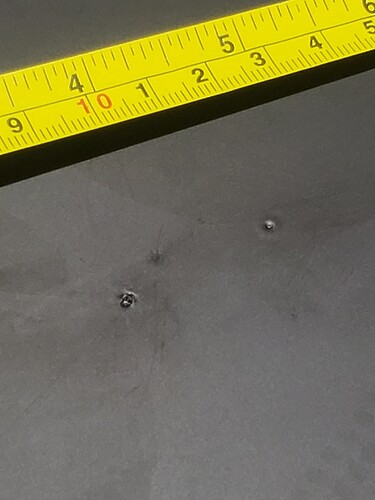
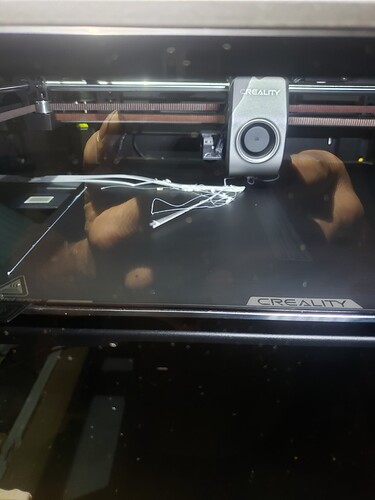
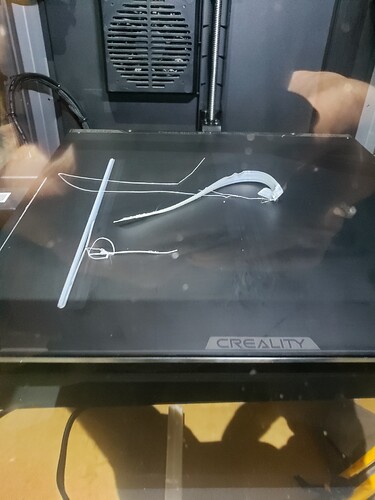
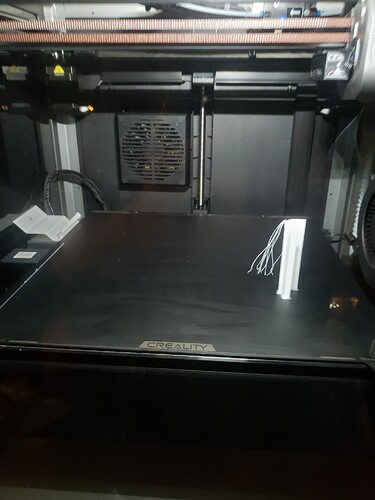
I bought a k1 and k1 max, the k1 prints with no issues, trying to utilize same settings with the latest version of the creality slicer and firmware on the k1 max and the printer prints nothing but garbage. The infill just shreds. I have gone through 2 rolls of filament trying to get this thing to work. I take the same file and settings and print on the regular k1 and works perfect! Tried to get a hold of creality support and still no response! Very disappointed thus far with this printer
I don’t have a working K1 Max waiting for a new motherboard so no direct experience with the K1, but surely this must be an under extrusion issue. The most common problem I have with this is due to a blockage in the nozzle have you tried replacing it? If that is ok check the filament feed path is ok and that the extrude r itself looks ok. Take apart the extruded to check. Any problems that result in the filament not being properly extruded ok can result in heat creep back up through the hotend which will again cause a blockage. So if you just replace the nozel without checking the filament feed path you may find it works initially but clogs again . On my ender 3 at the first sight of a clog I will by default swap out the nozel some time even with everything functioning correctly I still get an occasional issue sometimes I think that it’s just due to contamination of the filament itself or accumulation of dust and debris being collected in the hotend
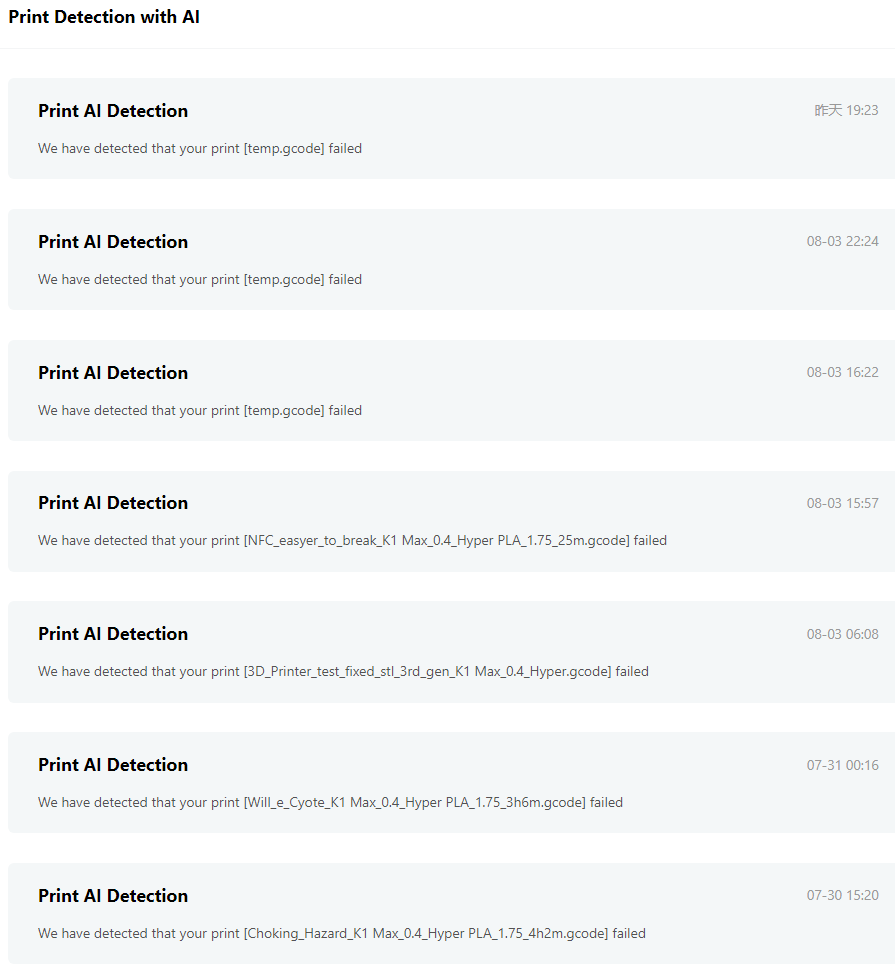
I’m having a lot of random fails. This one I couldn’t stop any other way than kill the power. Pressing stop on the front panel gave me “Invalid Operation”
Hi,@msa1221
For leveling problems, clean the platform and nozzle to re-level the self-test.
If it fails, contact after-sales customer service and try to upgrade the firmware.
All this has been done and firmware has been upgraded. Been waiting for a response from support. Looking at other users have similar issues receive no response from support.
Me too. No answer from support and the chat link only yields a blank page. 2 ok prints, 2 half assed prints, and that’s 4/6 parts for the top glass slide. Can’t get the 2 rear ones to print to save my life. And believe me…i tried: Before I list all the different ways, be assured, after every failed print series, I reset the machine to factory settings, let it re-init. I don’t change ANY settings, and make sure the nozzle and bed are clean, Z-axes are lubed, and belts are tight. Additionally, I lower the bed all the way, measure the 4 corners (I have both a dial gauge and really good calipers) at 3 different intervals as it climbs up. All calibration tests have been done, ad nauseum and prints are attempted with both values
1- Slice & print in Cr-Print - nope
2- Now this requires a lot of explanation, but in a nutshell, tried Octoprint, OctoKlipper, Moonraker, and tried to slice and print in every conceivable combination.
3- Installed Linux just to run some things natively
4- Tried thru wifi - 6 different software packages
5- Tried with USB (even bought new cables)- Direct data, port emulators, even resorted to slogging thru the USB info from Microsoft and USB.org
6- For Bed adhesion, Used isopropyl (70 and 99%), MEK, hairspray, and glue stick provided
7- I have played with retraction settings, PA, Motion Advance, flow rates, bed temps, nozzle temps, cooling rates, AI and Lidar on and off, print speeds, wall thickness, layer heights, you name it.
All this with the same original filament that was supplied, one whole spool of Hyper filament used for next to nothing to show for it.
Typical creality! Very sorry i bought these printers. Nothing like 1500 down the drain and no help from creality. Guess they will be boat anchors soon!
@Zerquetch
Have you gotten any help with this issue. I had a K1 printing garbage and not finishing prints. I ended up adjusting the Gcode Offset(Z) using Creality Print.
Nope creality support was no help and they closed my case. I tried everything they asked me to do sent videos etc and no help! How did you do it in creality print? Thanks in advance!
I am so sorry you are having this trouble. I know how it is to try to figure things out. I’ll try best I can to explain:
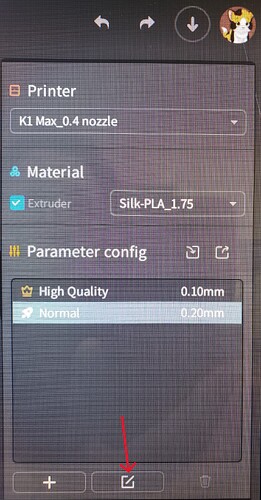
I assume you know where to click to edit the slicer settings..?
1.) When the editor pops up make sure the “Advanced” switch is on.
2.) In the menu on the left go to Experimental / Enable Gcode offset(z). Check that box.
3.) This will open a new Gcode offset(Z) setting box.
4.) Use very small adjustments for this. It’s in mm and a “-” setting will put the nozzle closer to the bed while a “+” setting will be further away.
5.) Mine was too close to the bed so I started with a .03mm setting which helped.
It looks like possibly yours is too far away…? Just a guess since it’s not scraping the bed.
Hopefully I wrote this with no mistakes but feel free to let me know how it works and any other things you did…
Jim
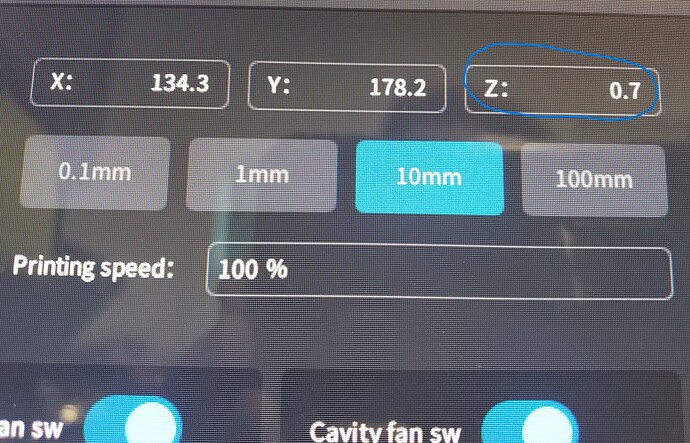
P.S. Another thing you can check is what the Z setting is during the first layer print. Mine shows .3 mm when starting the first layer. The picture here shows .7 because it’s on another layer.
Well, let’s start this reply off by saying: CS did send me a new Mobo, hot end, and build plate. I can’t mess with settings that I need to but I have not tried your z-offset maneuver. I will tonight cuz it’s printing out in orbit 1/2 the time.
I’ll let you know in a bit, just fixed a catastrophe: It was clogged so I went about the routine and BAM! Nozzle broke off in the ceramic. Drilled it out then re-tapped it @ 6mm. just tried a test print and blobs galore. reset the dang thing, dropped flow to 90%, same shit.
So factory-ed it again and letting it run its paces (running the auto level 3x and sneaking in and deleting the temp and cache files, muhahahaha)
I’ll keep you posted!
You got a new motherboard but still having printing problems…?? How did your resets go. Any better…?
I got the new mobo, but haven’t installed it. They came out with a firmware update the day after so I figured I’d explore that path 1st. Things were going quite well until a few days back when the unit started doing stupid shit again.
Don’t know why or what changed (except a diff roll of filament or two), so, as per the way my aching head works, I need to find what’s causing the problem before I can move forward.
If I could mess with all the parameters I need, I could diag the issue and, hopefully, present a solution so we could all be happy makers.
That being said, I am going to try the nuclear option and go to a full FW rebuild to see what’s going on. If that yields no answers, new mobo, head in the sand, fingers crossed, click print.
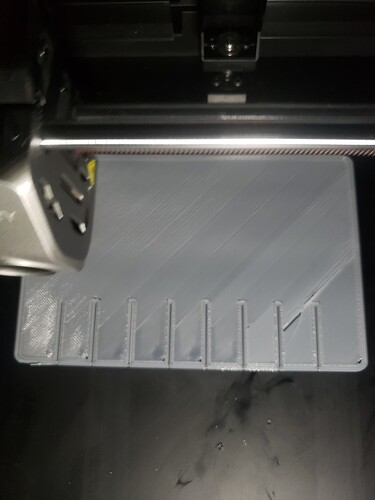
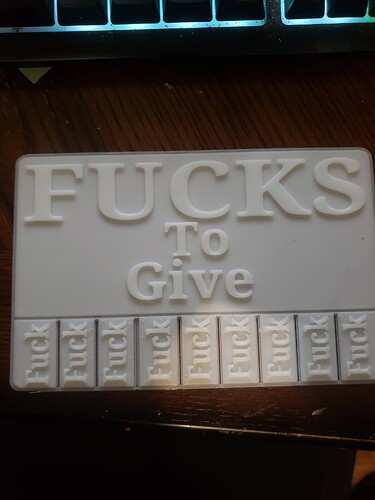
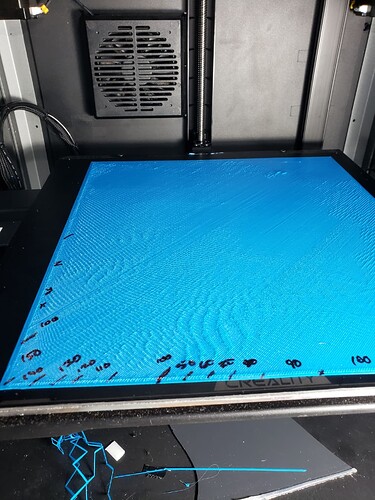
After a bunch more tweaks, and I did mess around w the z-offset, thanx again for that gem! I tried -.05, -.04, -.03. -.04 seemed to be the winner. I printed a full sheet @ .2mm, 120mm/sec, 230C, w Blue Hyper PLA (brand new roll).
Across the bottom is where I played w print speed %
Up the side is temperature where:
x=225c - started blobbing real quick
y=235
z=240
Then marked the return to 230 to finish the print
Mind you this is after a factory reset, cache cleared, and a repeat self-check for bed levelling. Even rebooted the computer to give C-print a clean slate.
Cleaned the bed with Ethyl acetate (non acetone nail polish remover, supposed to work good on PLA, which it does, yay science) and then a good going over w 100% isopropyl
This is how it turned out.
I’d love to hear some thoughts on this.
did you get your printer working i cant print anything ?
