Hi Jeffrey,
Certainly.
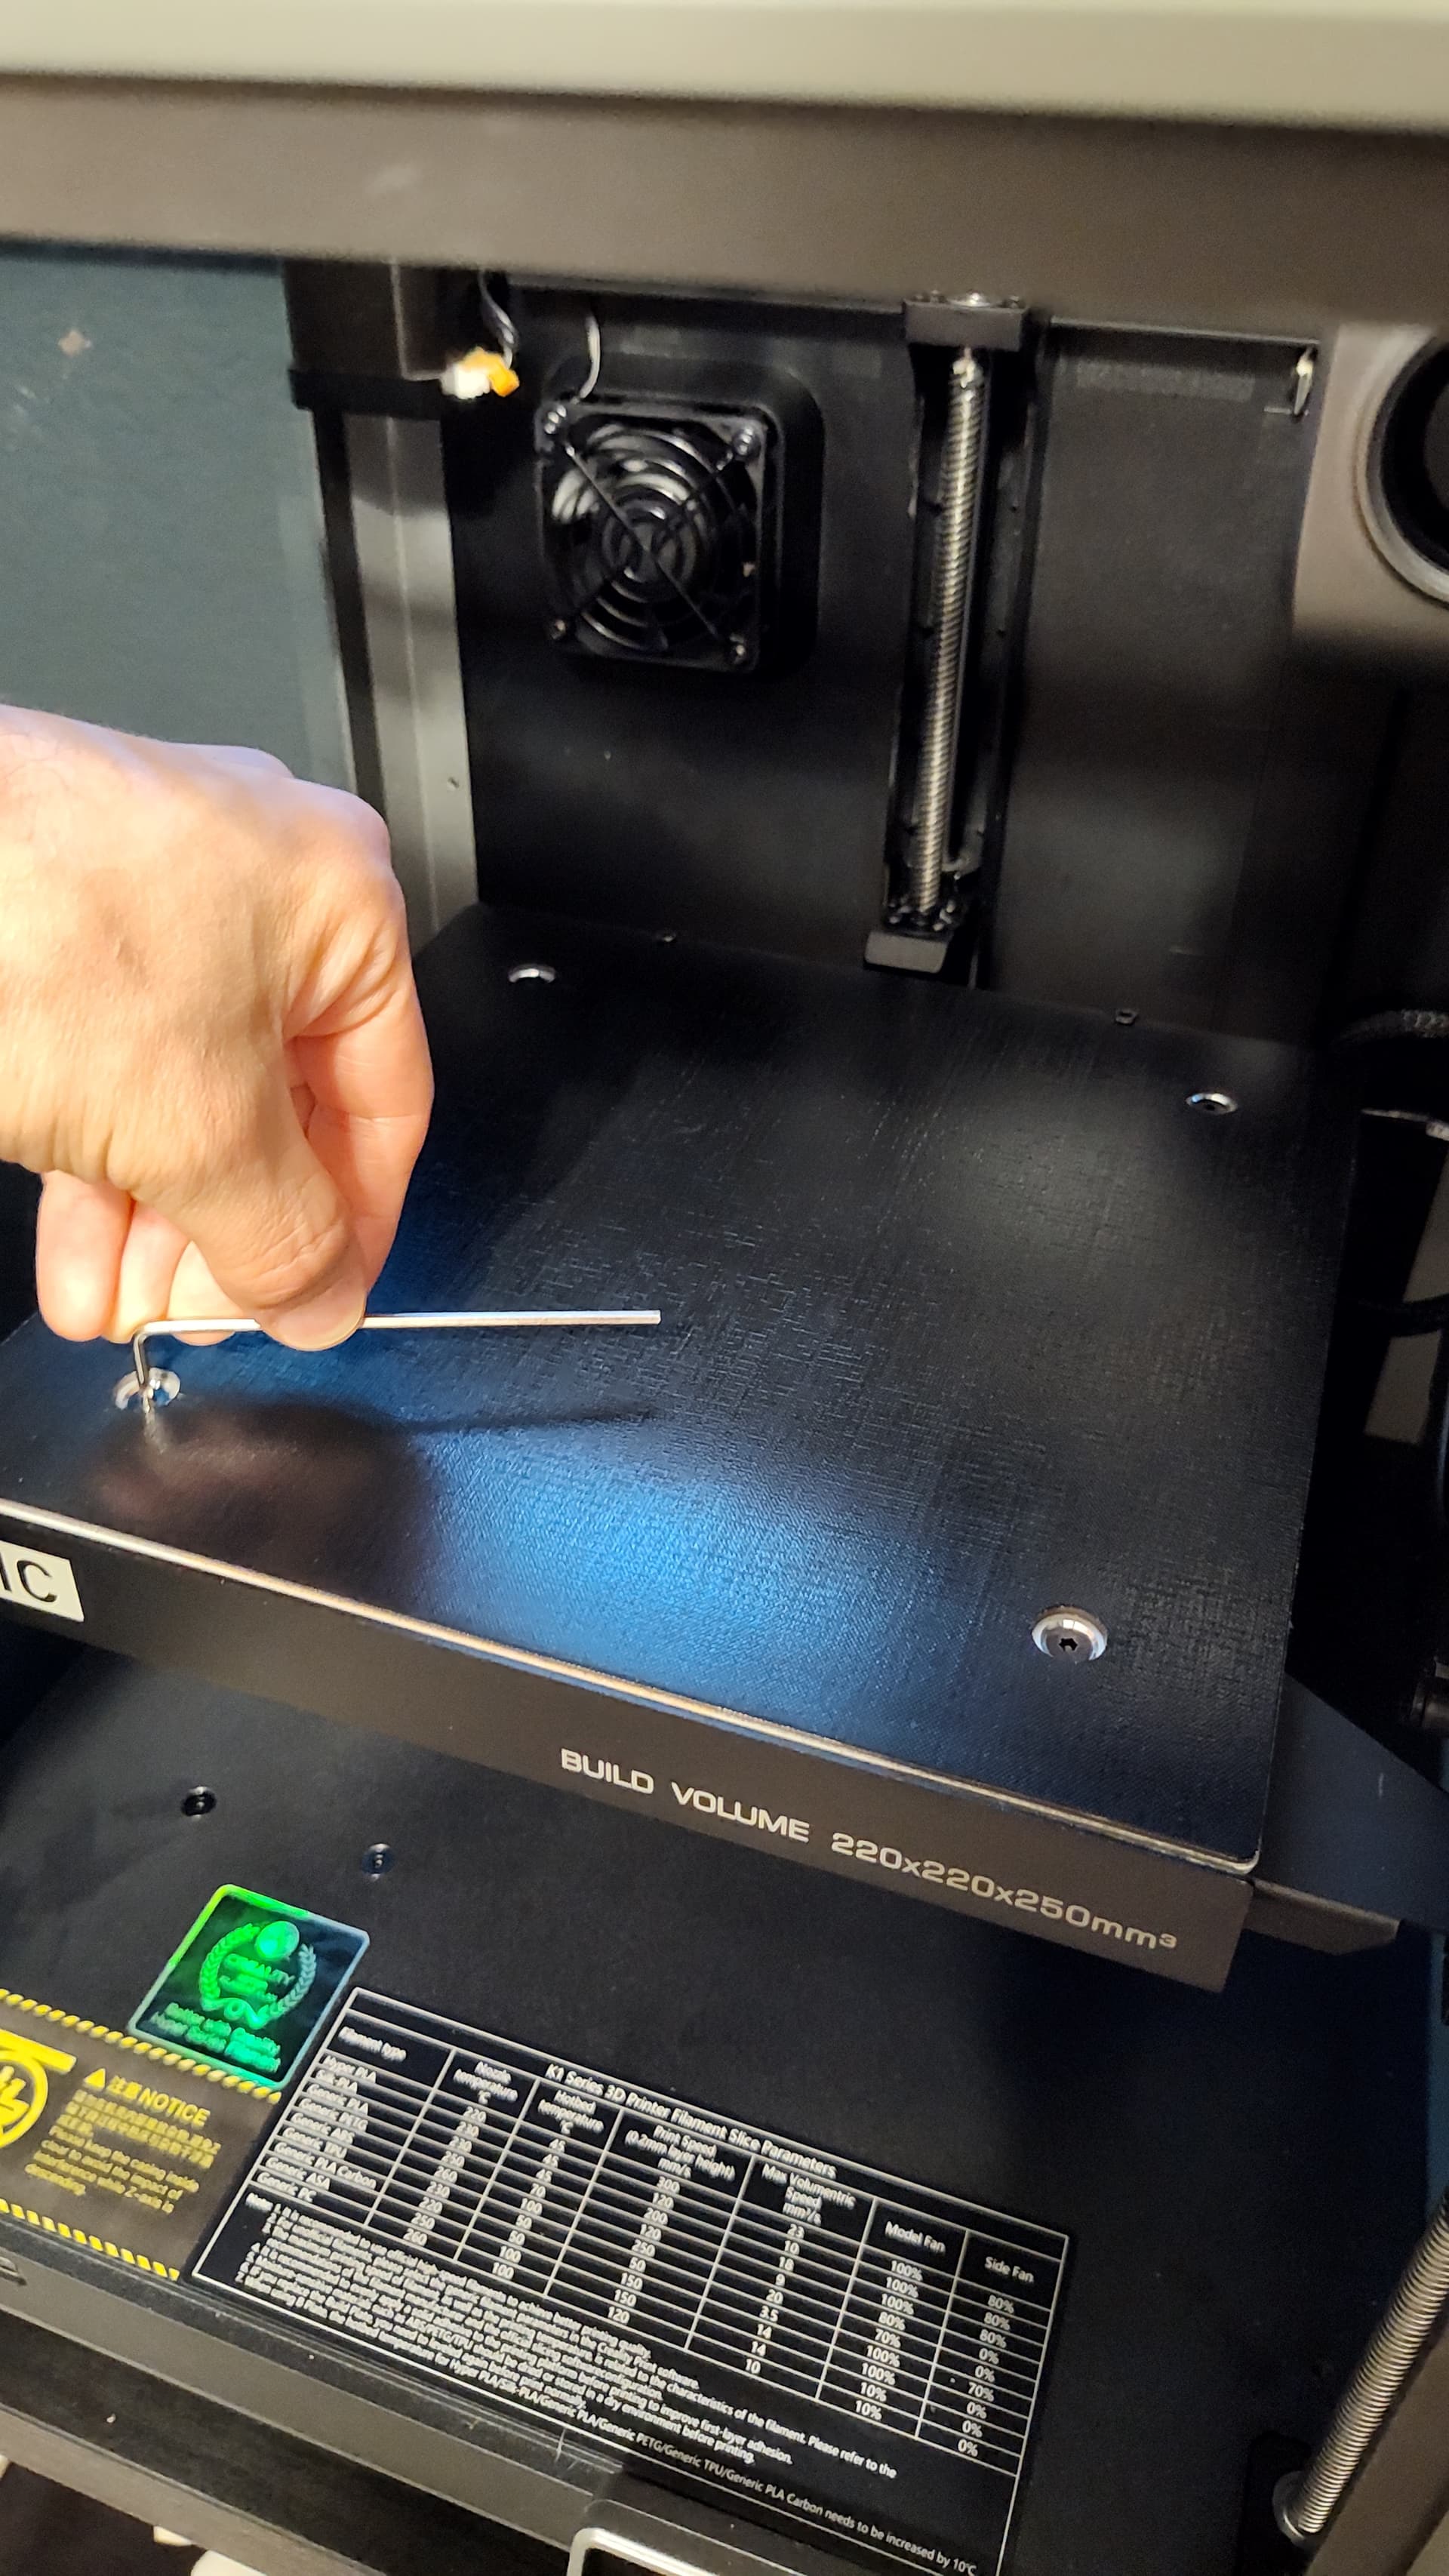
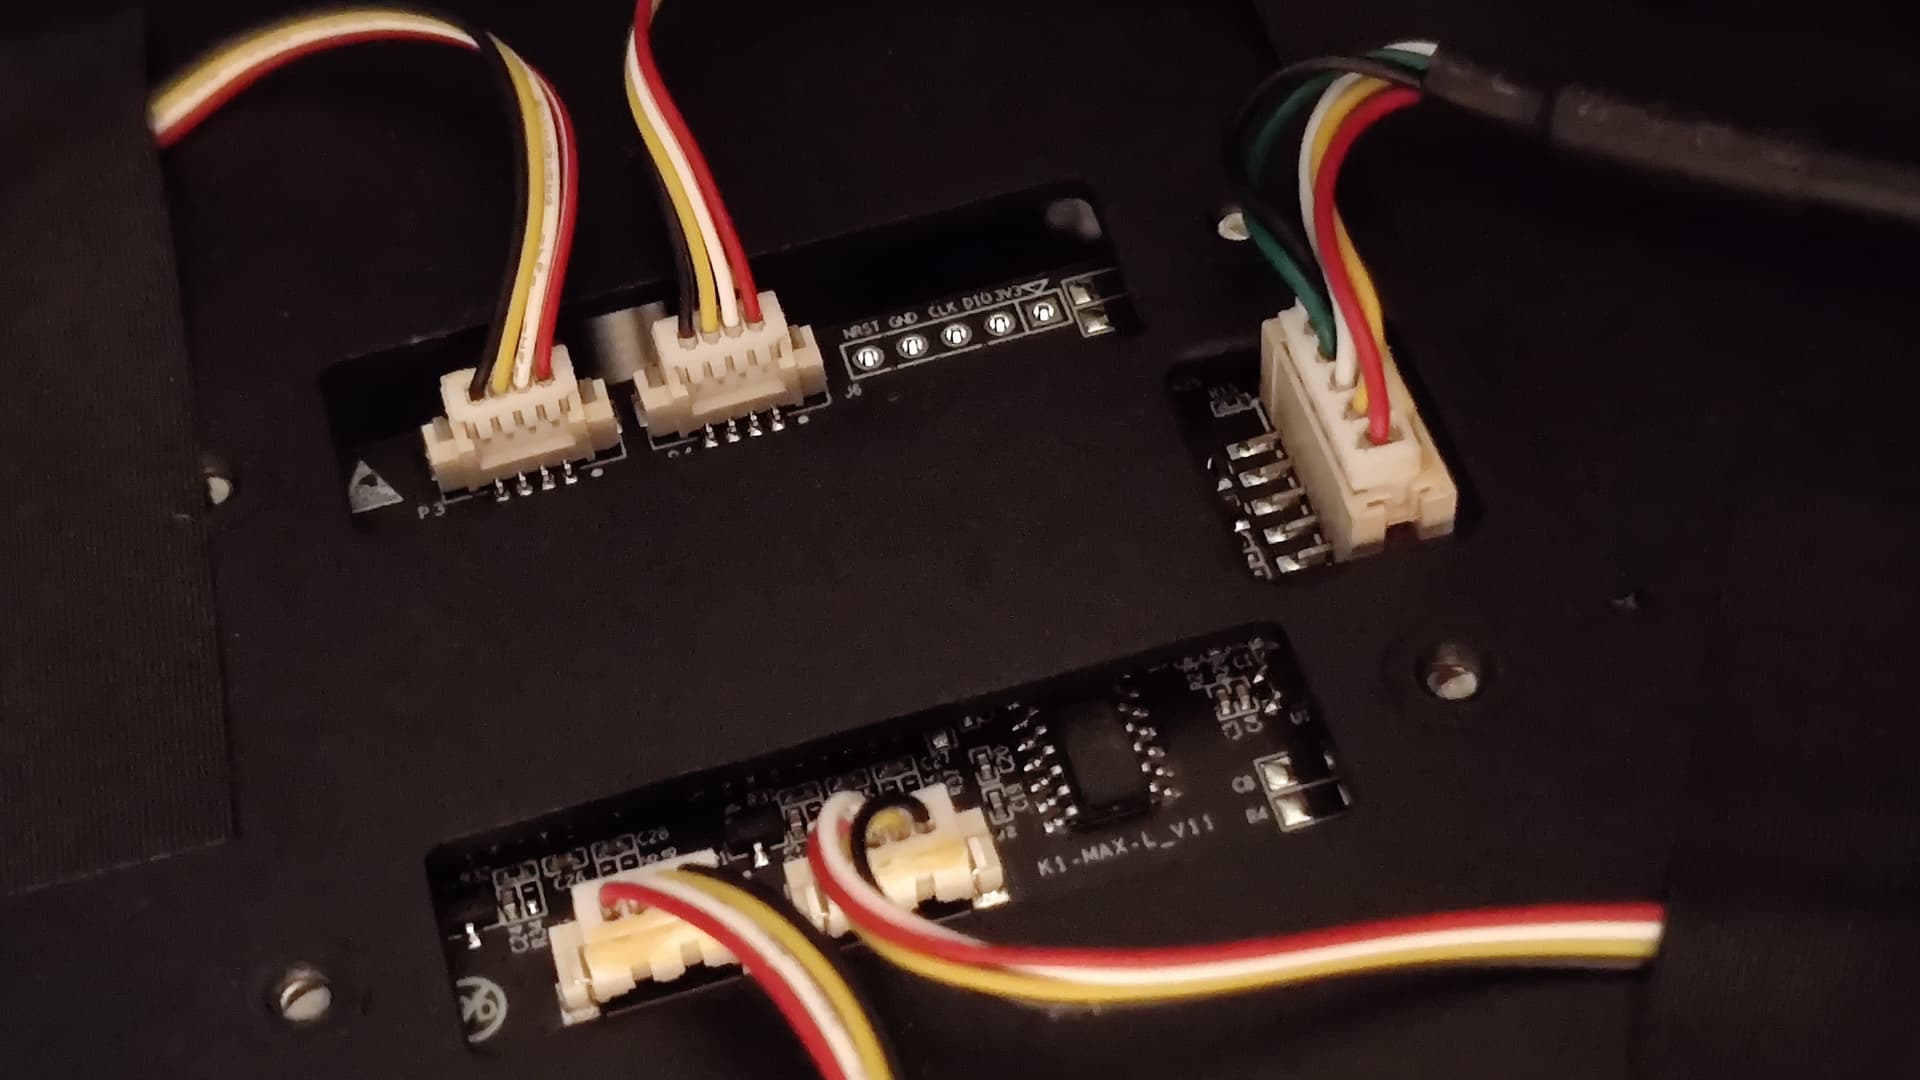
Here are some photos to help you understand the process for finding the connectors that I am referring to. First you need to remove the build plate, which I’m sure you’re already used to doing regularly. Next, locate the 2.5mm hex wrench that was included with the printer. If you measure with an inch caliper it should be around 0.098" across the flats (~2.5mm), and I believe it’s the second largest that was supplied. Use this hex wrench to loosen the four screws on the heated bed. After removing the screws, CAREFULLY lift the bed starting from the left side. There are cables running under it at the right rear corner, and there is not a lot of slack. Under the heated bed you will find the circuit board with the five white cable connectors sticking up. These are the five connectors you need to loosen and reconnect. I would recommend you do them one by one, so unplug one by slowly wiggling it free, then plug it back in, then move to the second one, and so on. You will probably need to use one hand to hold the heated bed plate up slightly while you wiggle the connectors free. It would be good to have a bright flashlight pointing at it or some other work light so you can see well. Or if you have somebody else that can help hold the bed up, that might also be better. You might find some sticky adhesive on the sides of the connectors, but in my case wiggling the connector loose with my fingers was enough to break the adhesive free. I would avoid pulling on the wires if possible and try to grab by the connector.
After reconnecting each connector securely, place the bed back, reinstall the screws and gently snug with the hex wrench. My heated bed screws were not super tight so I assume they don’t need to be. I just tightened with my fingers using the short side of the hex wrench until just beyond snug. Put the build plate back as normal, turn on the machine and run a self check from the settings menu to make sure all is well.