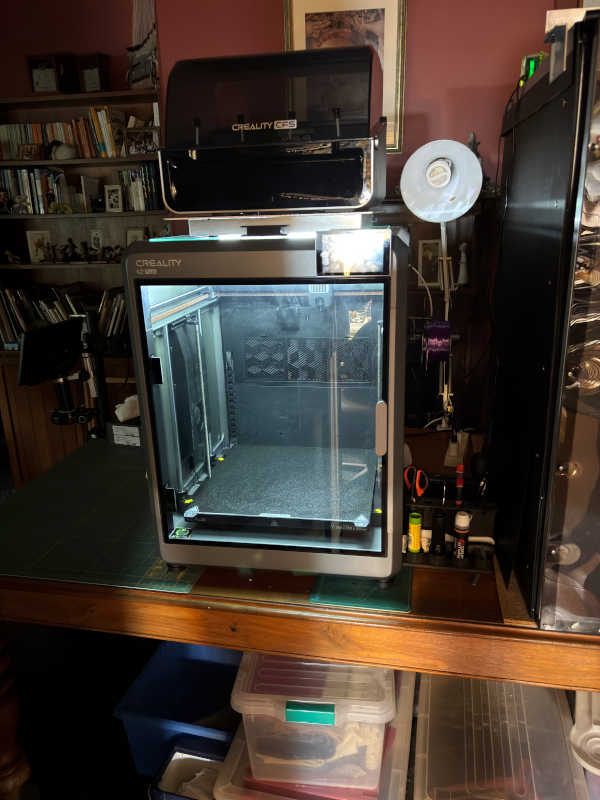
The first thing I noticed when I turn on the K2 was how poor the internal lighting was. My first idea for was to install some LED strip lighting inside the enclosure but the idea of drilling a hole to power them put me off.
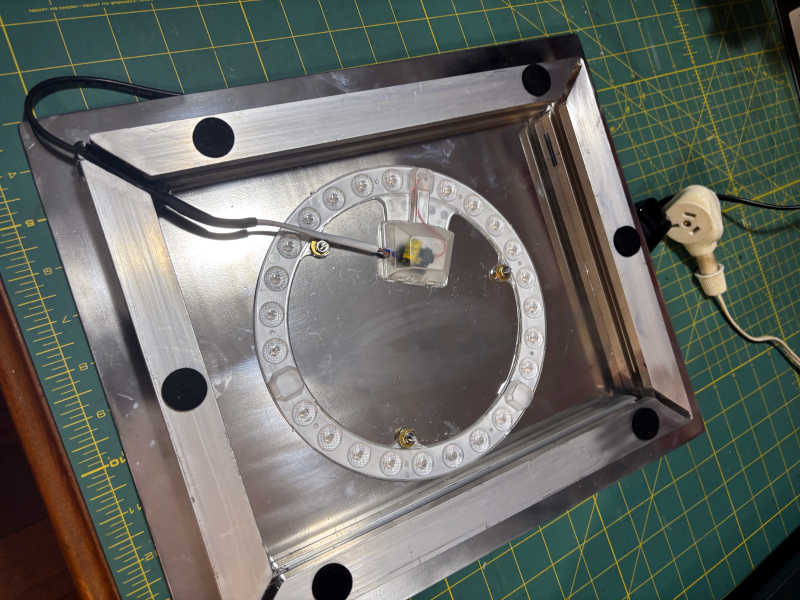
Instead I decided to follow the same idea I used on my CR10S enclosure and that is to use an LED ring light, but this time install it outside or above the glass top.
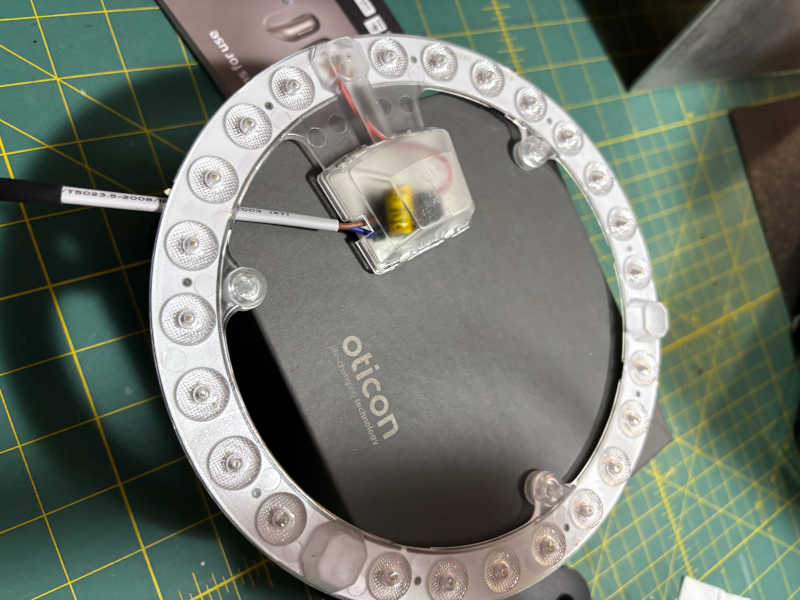
I bought this 24W (110 l/W) light on ebay for AUD $16 as I already have 3 of them and use one in the CR10S and 2 others in my home shop.
Placing the ring light on top of the K2 Glass top increase the lighting from, 3 lux for the K2’s internal LED to 75 lux with the ring light. While it’s a significant improvement it’s a long way short of the 1400 lux I get on my CR10s printer bed - see photos below.
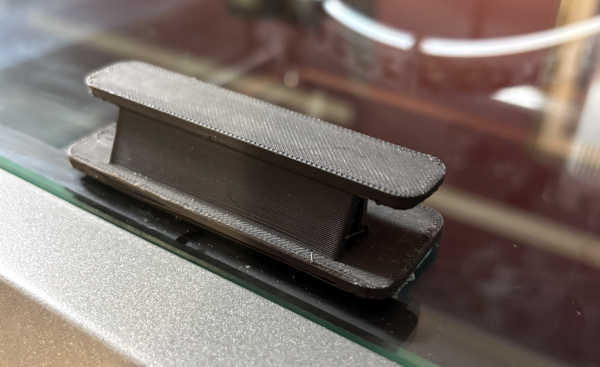
Two things will obviously affect K2 internal lighting, one being the dark interior which will reflect very little light around. The other thing is, when attempting to add illumination from the outside, the dark/brown/grey glass top . For more than I thought it would be I replaced the top with some clear safety glass and added a 3D printed handle stuck on with HD double sided tape. This increased the illumination at the bed to 375 lux. While this is a 100+ fold improvement in “lux” over the original K2 LED light, given the complex response of the human eye to changes in brightness the effects are not as apparent as measure intensities.
Here are some comparison shots.
Firstly the K2 original lighting alongside the CR10S

Then with the ring light on top of the K2.

Like any lighting photos these photos don’t appear to make much of difference but it does make a significant difference at the printer bed and am pleased with the result.
I will make up a reflective sturdy flat box to cover the ring light so that the CFS can sit on top of the box which should increase the lighting a little. The box will end up being about 28 mm high which should allow the CFS to be easily accessible.