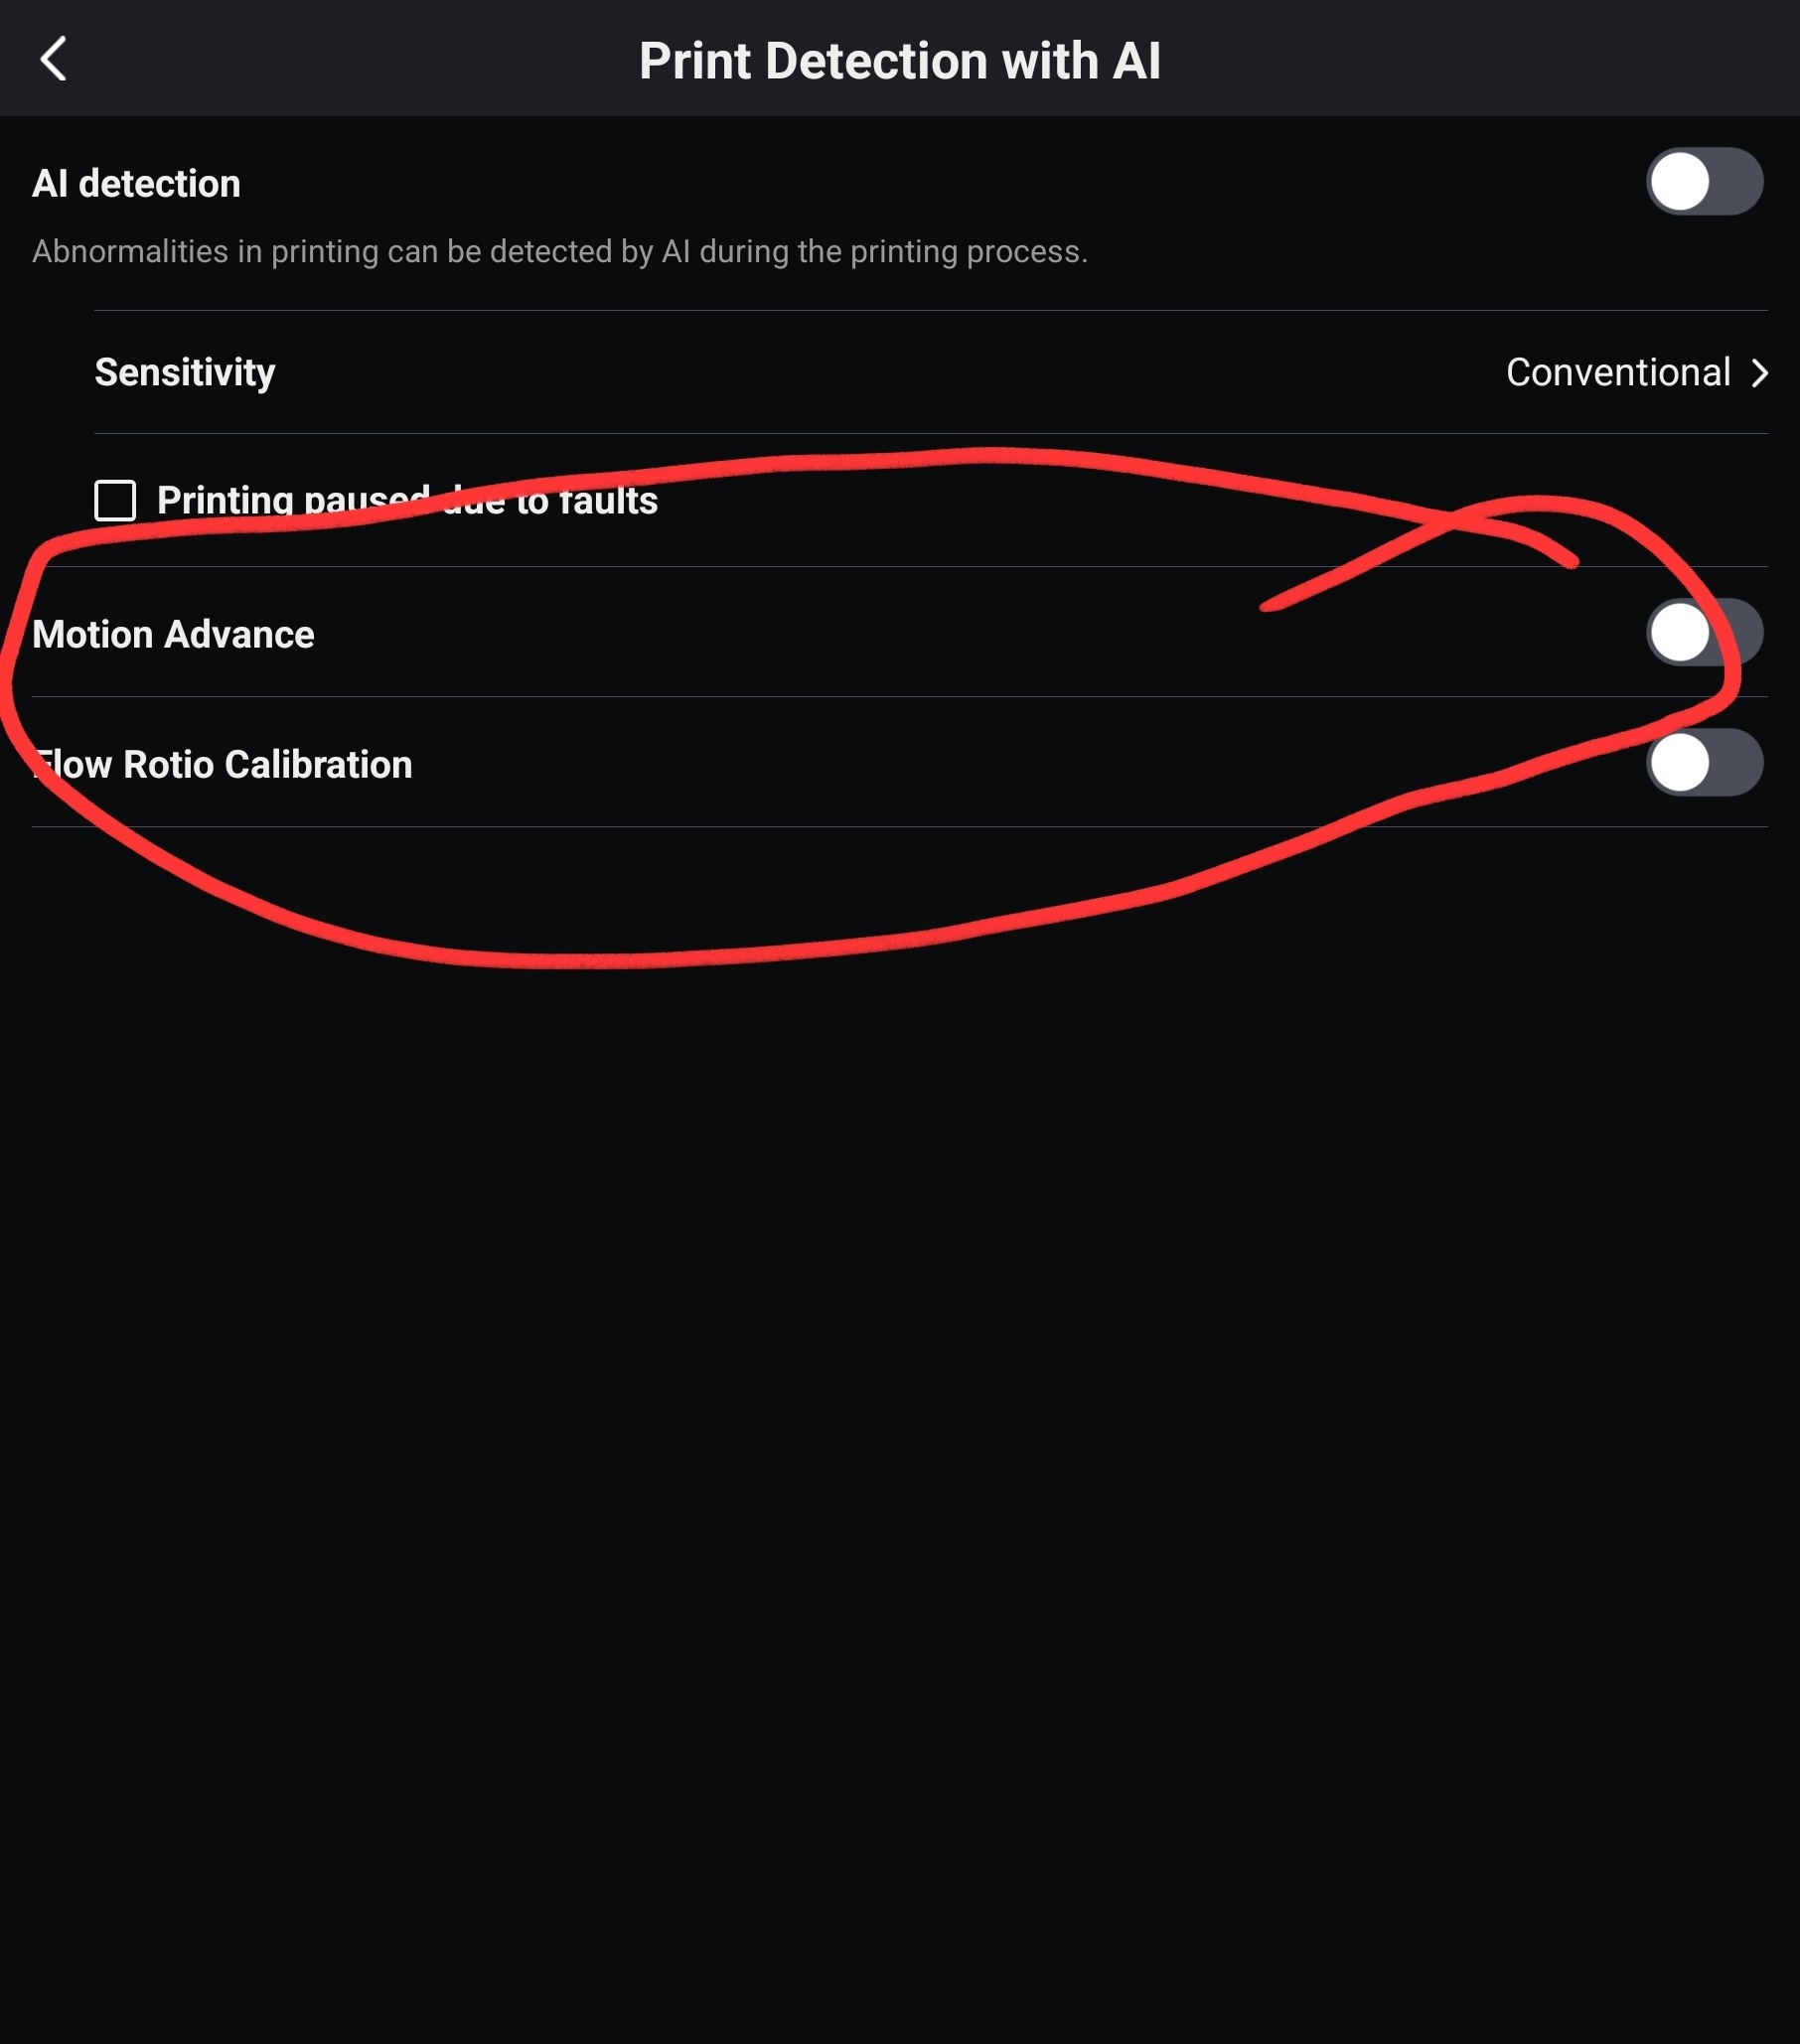
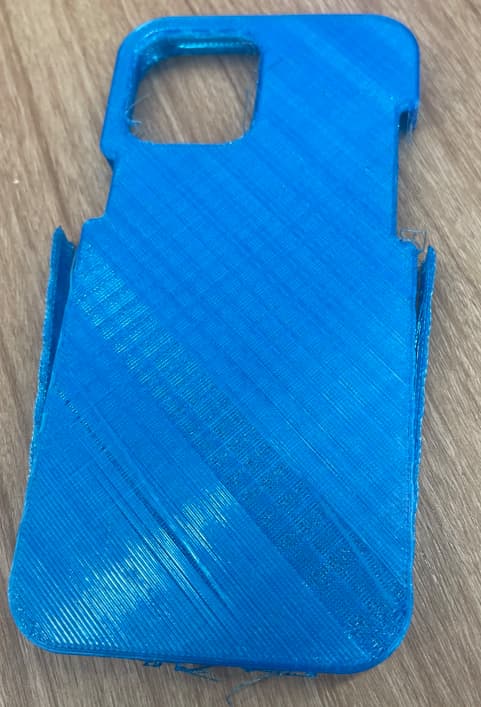
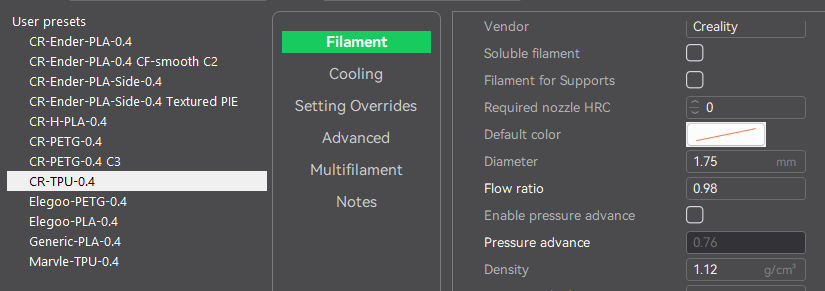
When you print filaments that are not the 3 defaults CR has settings for, (or even sometimes with the brands to fine tune)..
when you run PA & Flow calibration, it populates the details of what it did those 2 tests results, into both the console & dashboard of fluidd… But it doesn’t save them for reuse.
i.e.
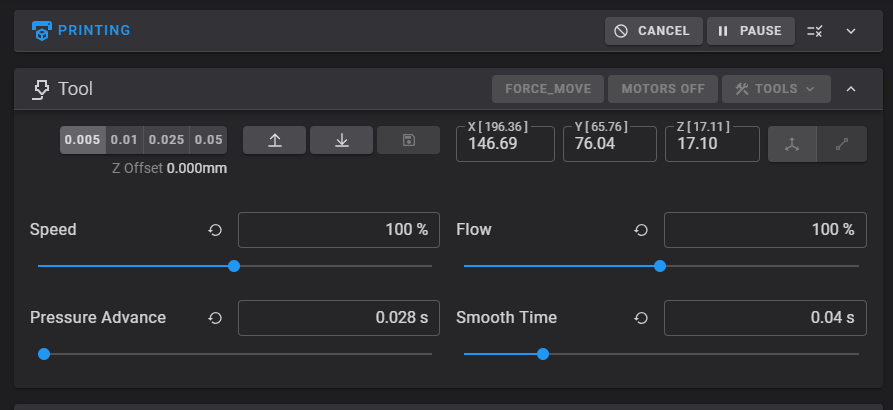
(its easier to see the results in the dashboard than going to the console)
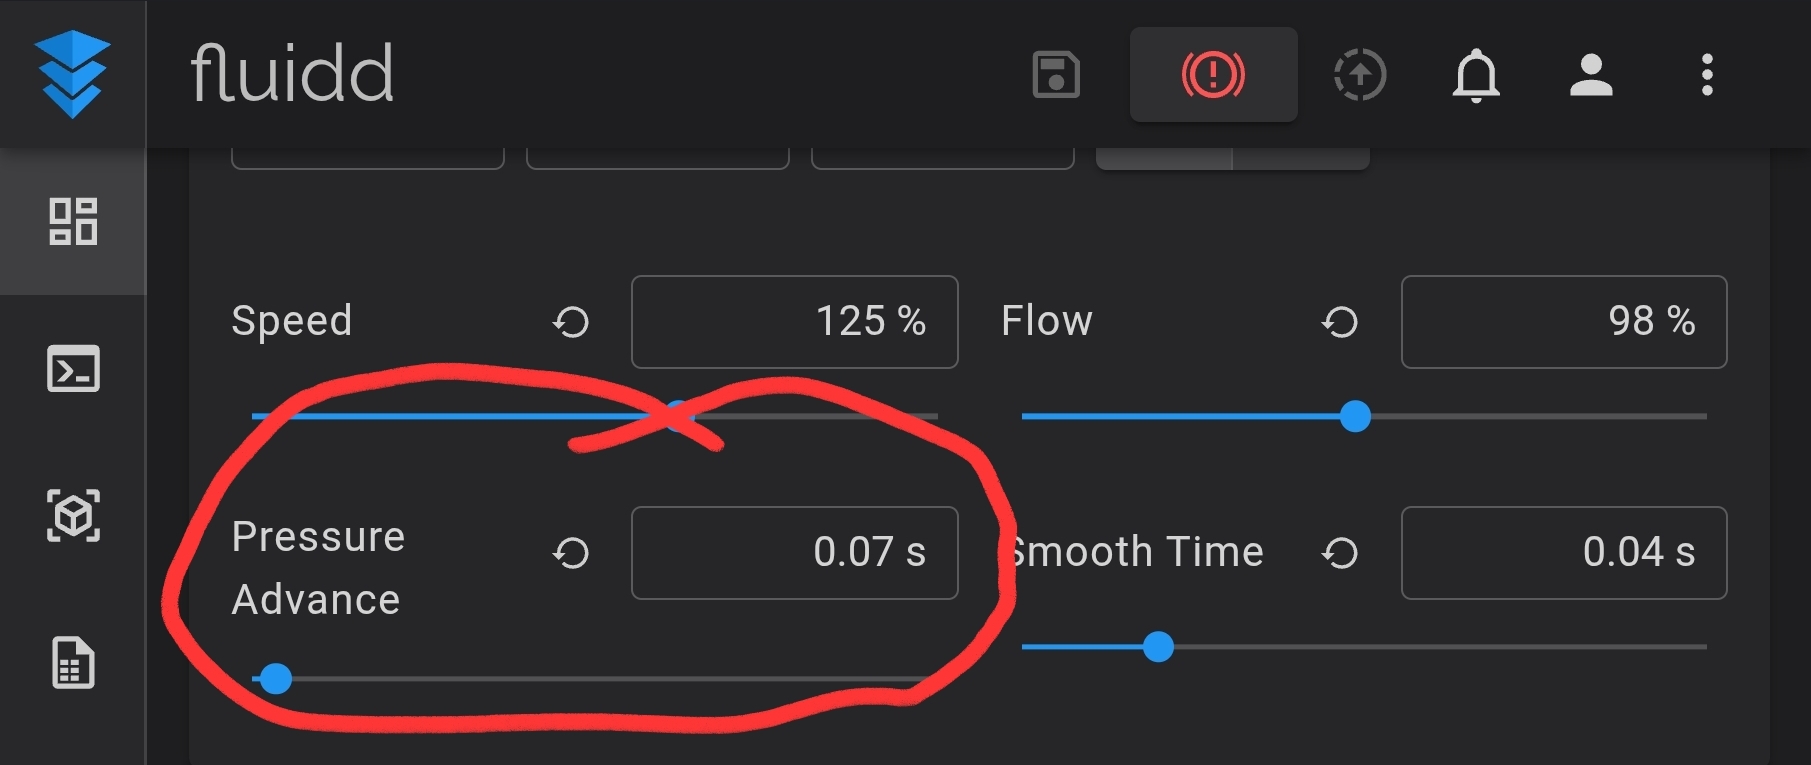
you take these settings and edit the system filament setting (generic or CR, whatever TPU you are printing) & update the values in here, then save a “user” profile.. next time you print using this saved profile, you a) don’t have to run calibration to get the same values used, b) save filament & time.

(you can choose to use PA or not depending on if you increate speeds from slow TPU printing or not)
running calibration gets you the numbers you need for a custom profile, creating a custom profile gets you consistent printing at “good” flow & PA ( if PA used) values.
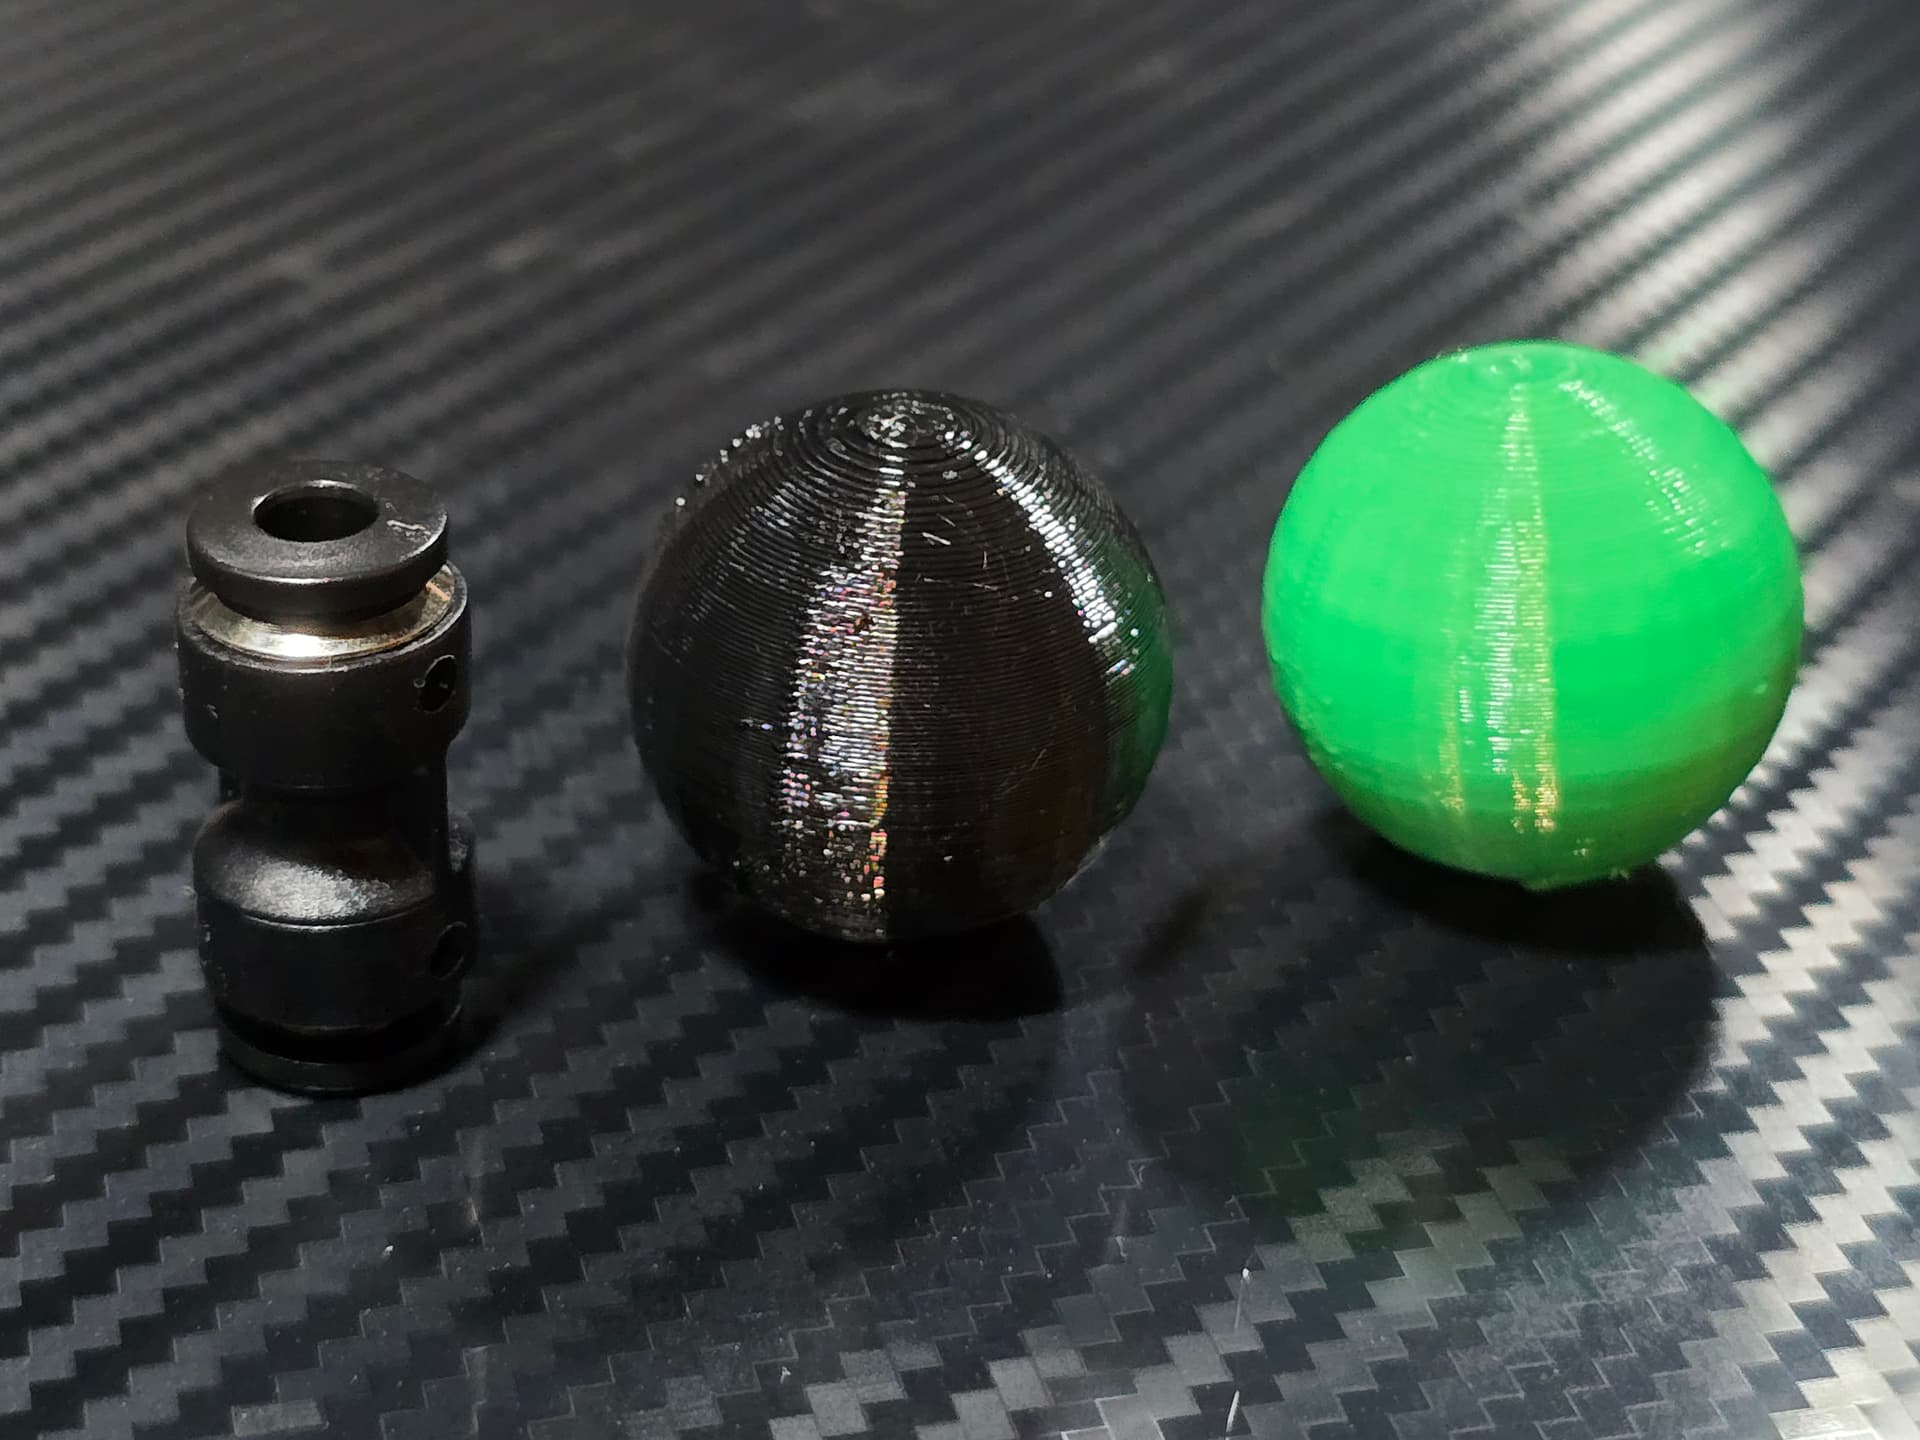
it also shows that your setup “can” print TPU at the lowest speeds..
once you have this, you can run a print speed calibration tower, or just increate via fluidd until you see negative effects during a print), to know what max volumetric flow to set in the custom profile. this gives you “slice - send to printer - walk away - it will work values”.. that should you want to you can increase speed of during print for faster prints if the objects / layers are simple geometries (up to the max speed test values)..

these are the basic steps, to deterime how fast you can consistently print (for any filament type), so that you buy more filaments (same brand) in future, and not have to do any of this again, you have a saved profile you know “just works”
once this is setup/saved, you can confidently via your mobile app, see something you want to print, cloud slide using your filament settings/profiles, send to printer & get things to print, without any faffing around wondering if it will work or not.
means you don’t have to do calibration every time to get something to print well.. you have saved profiles for different things (strength vs fast vs detail etc) if you combine that with a saved bed mesh (per heating temp, per nozzle size, per bed type) you load via the nozzle gcode start print sequence, you cut out about 15-20 minutes per print if you are switching filaments a lot (PLA 0.8 on a smooth bed to PETG 0.4 on a textured bed to TPU etc)