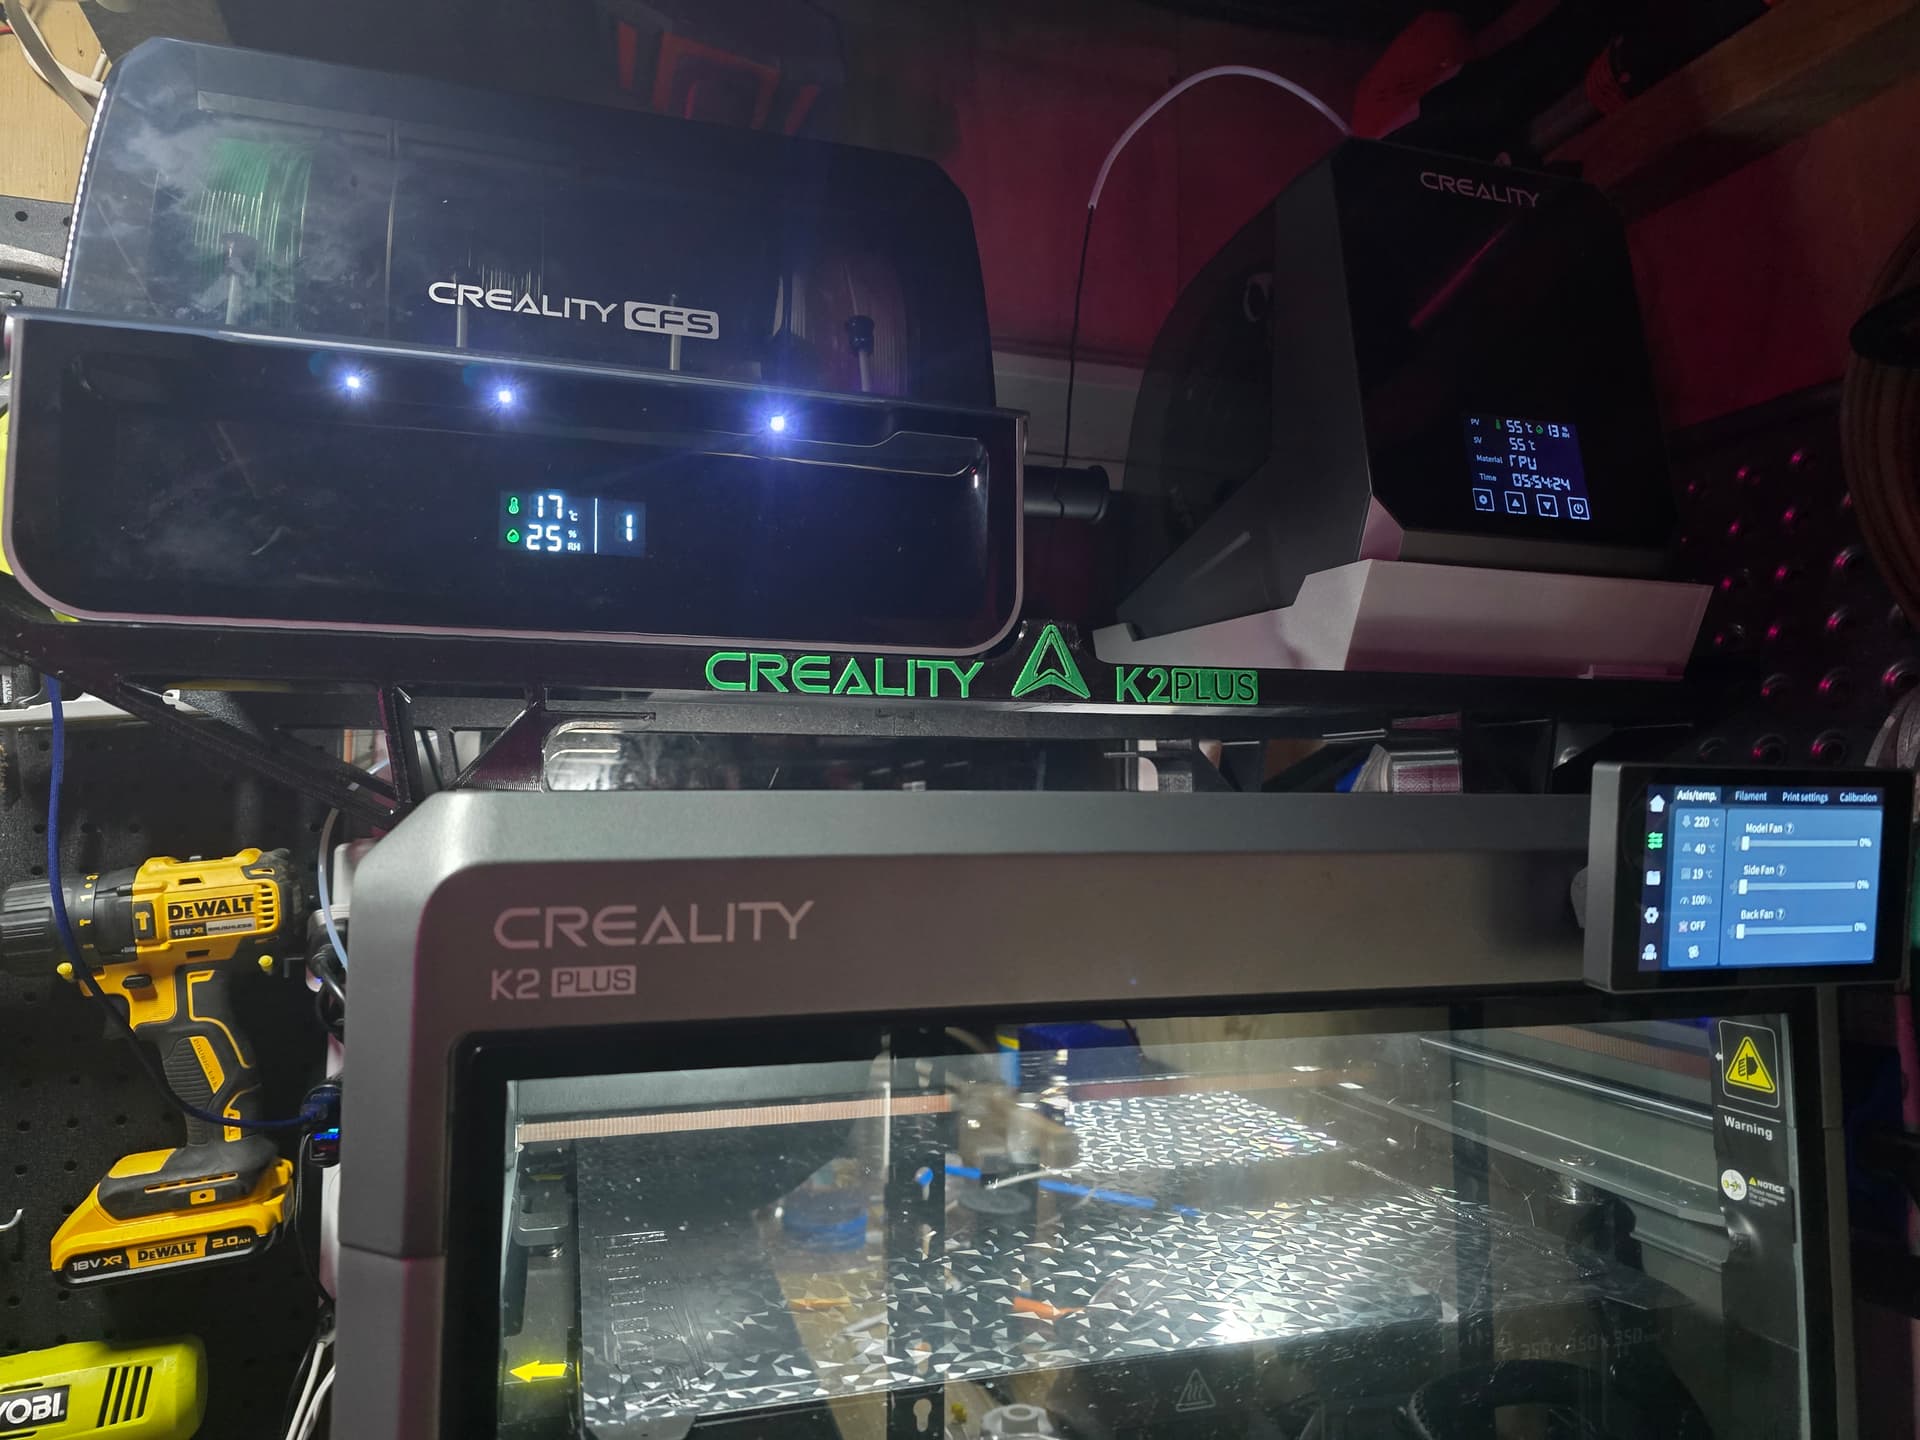
Though I’d share how I print CR-TPU using my K2 plus, I was printing TPU on an Ender 3v3 for about a year making gaskets & other home hobby items prior to upgrading to a K2 plus..
Which to say the least hasn’t been as smooth sailing as I’d hoped it would/should/could have been,
anyway..
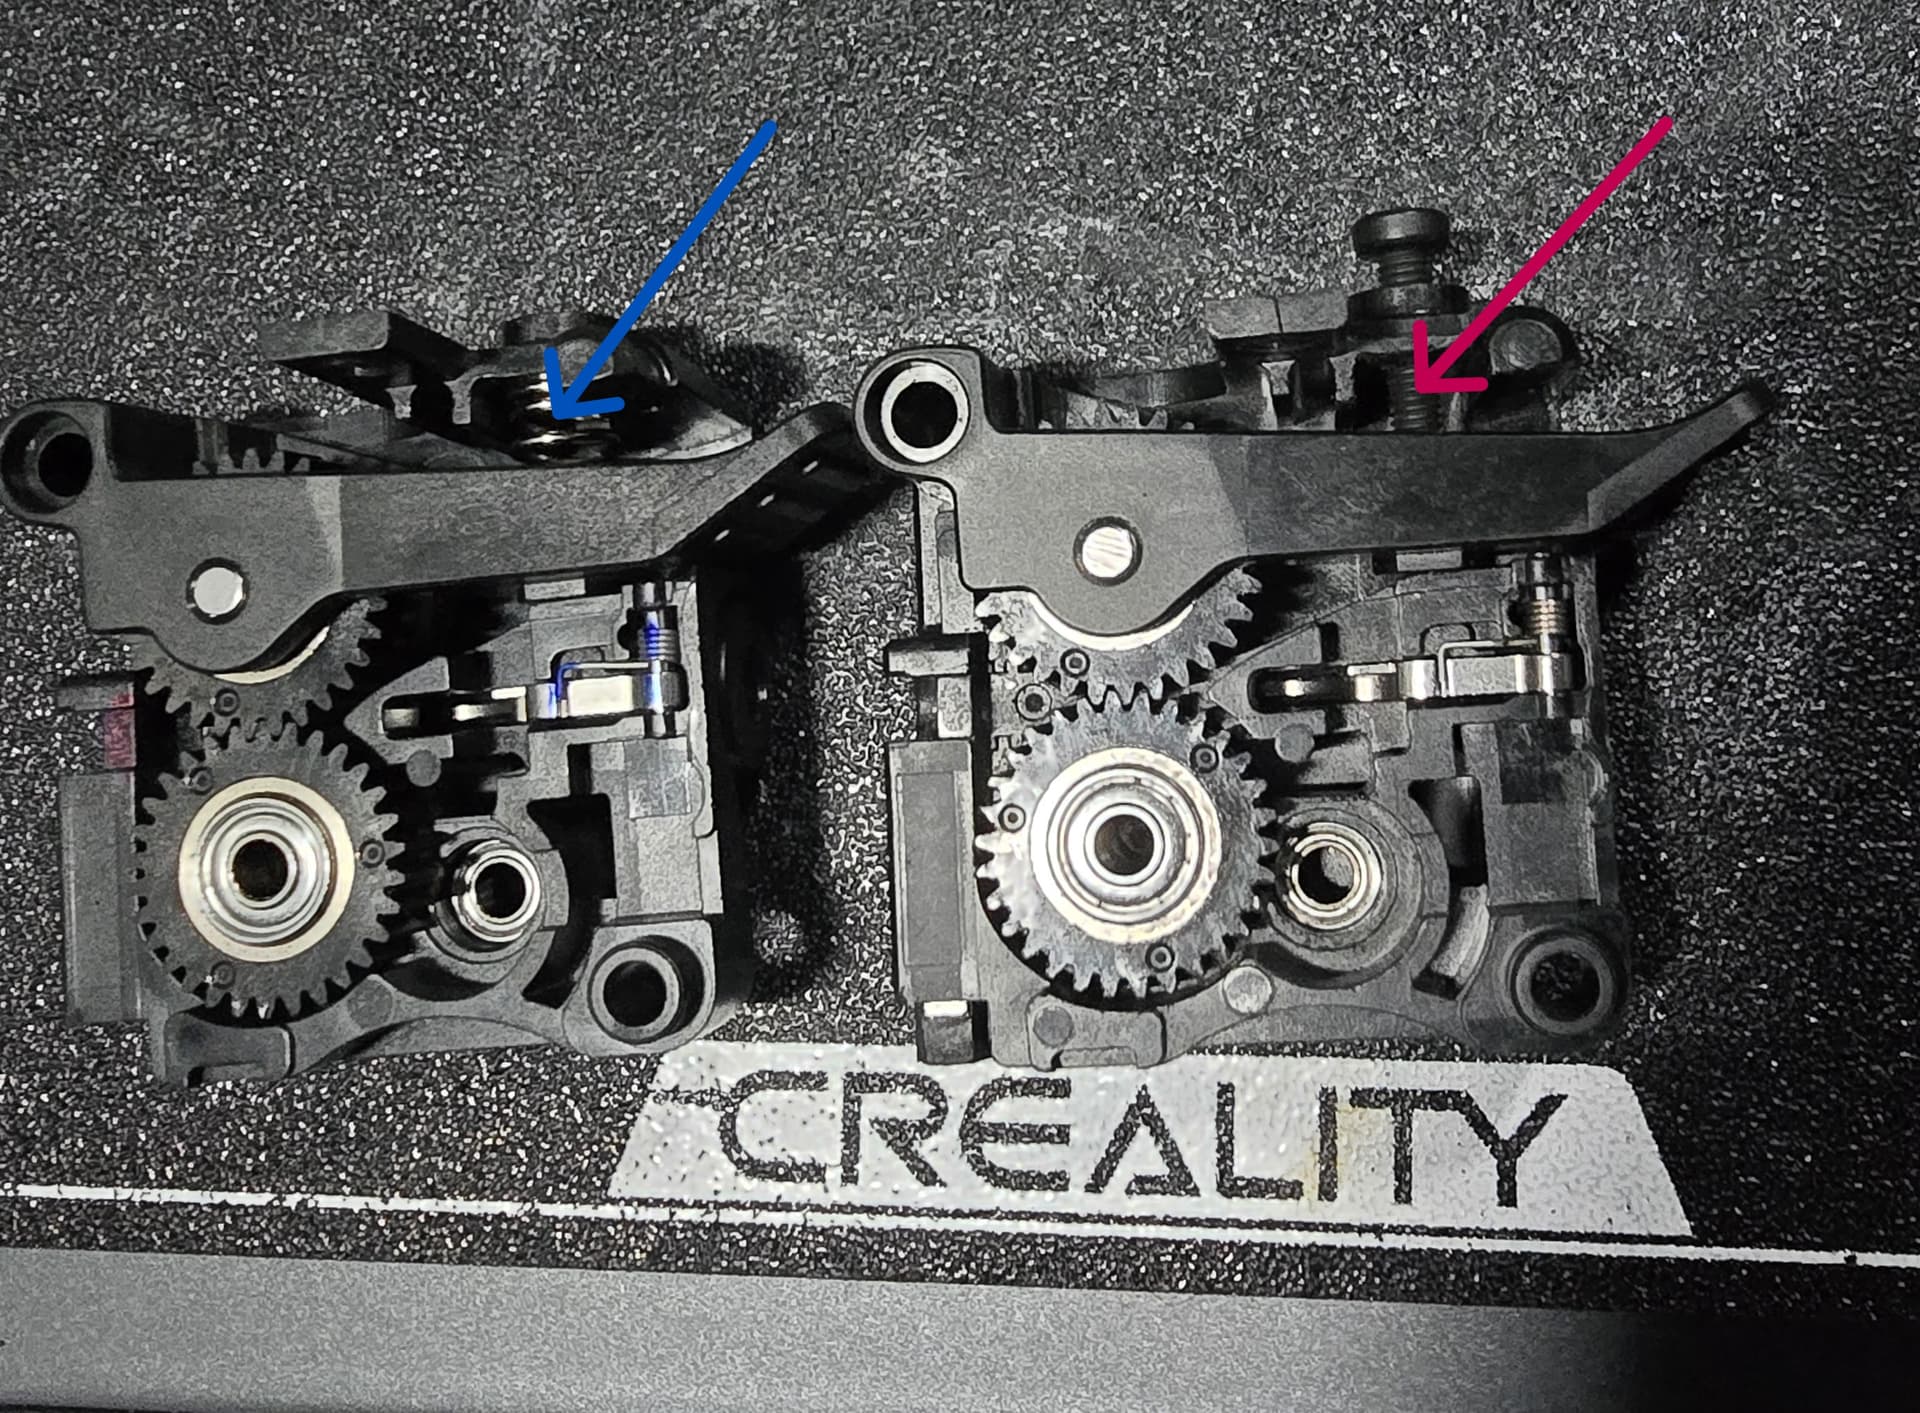
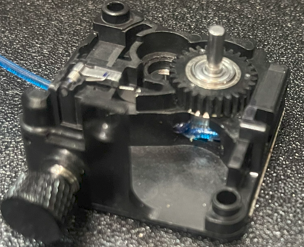
Remove required 3 screws from front cover in order to detach extruder (like you’d do to remove jam)
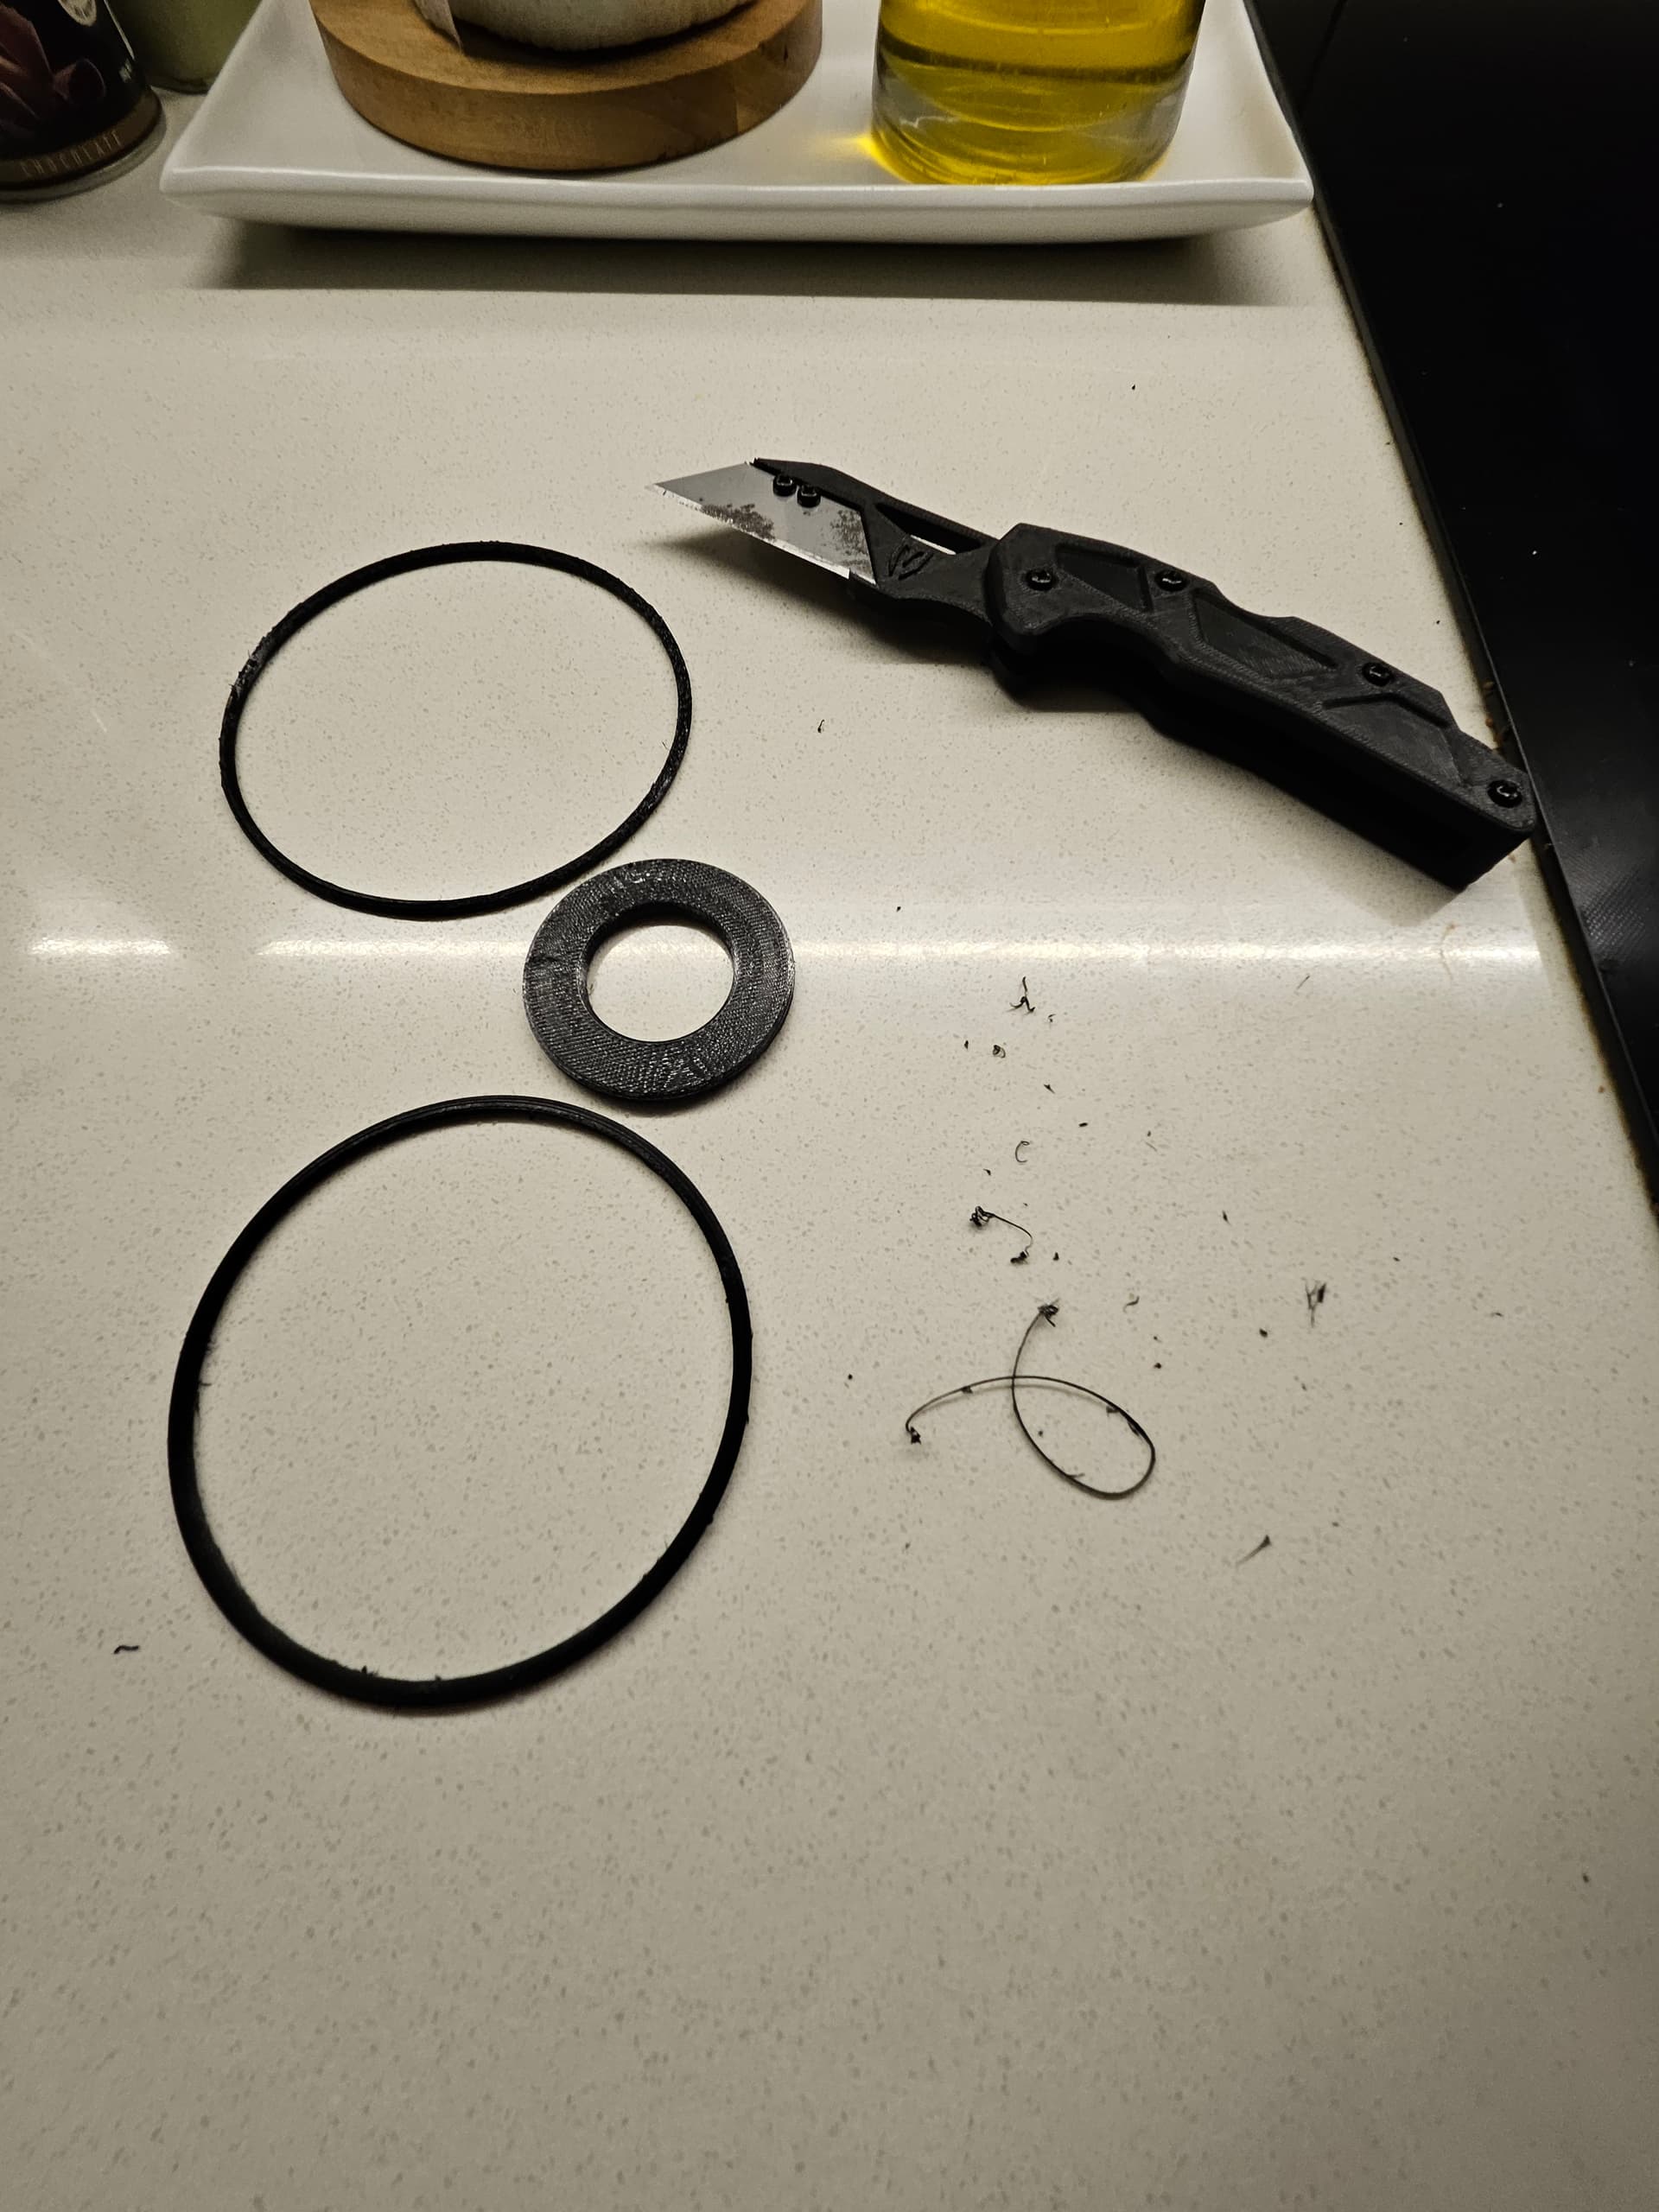
Remove the spring from the extruder cover that holds the gears too tight to print TPU. - important keep spring !!! you need this for printing non-TPU filaments
Use sufficiently long enough m3 screw in the screw hole that the spring was just removed, an old extruder (long) cover screw is perfect if you too have suffered from PTFE connector failure and have a spare front cover/screws, if not buy longer than m3x12
finger tighten screw so that you can play TPU through the front cover gears via manually pushing a length of TPU through the connector only just tight enough that it grips and moves the gears, but tight enough there is some friction
re-assemble front cover back onto extruder
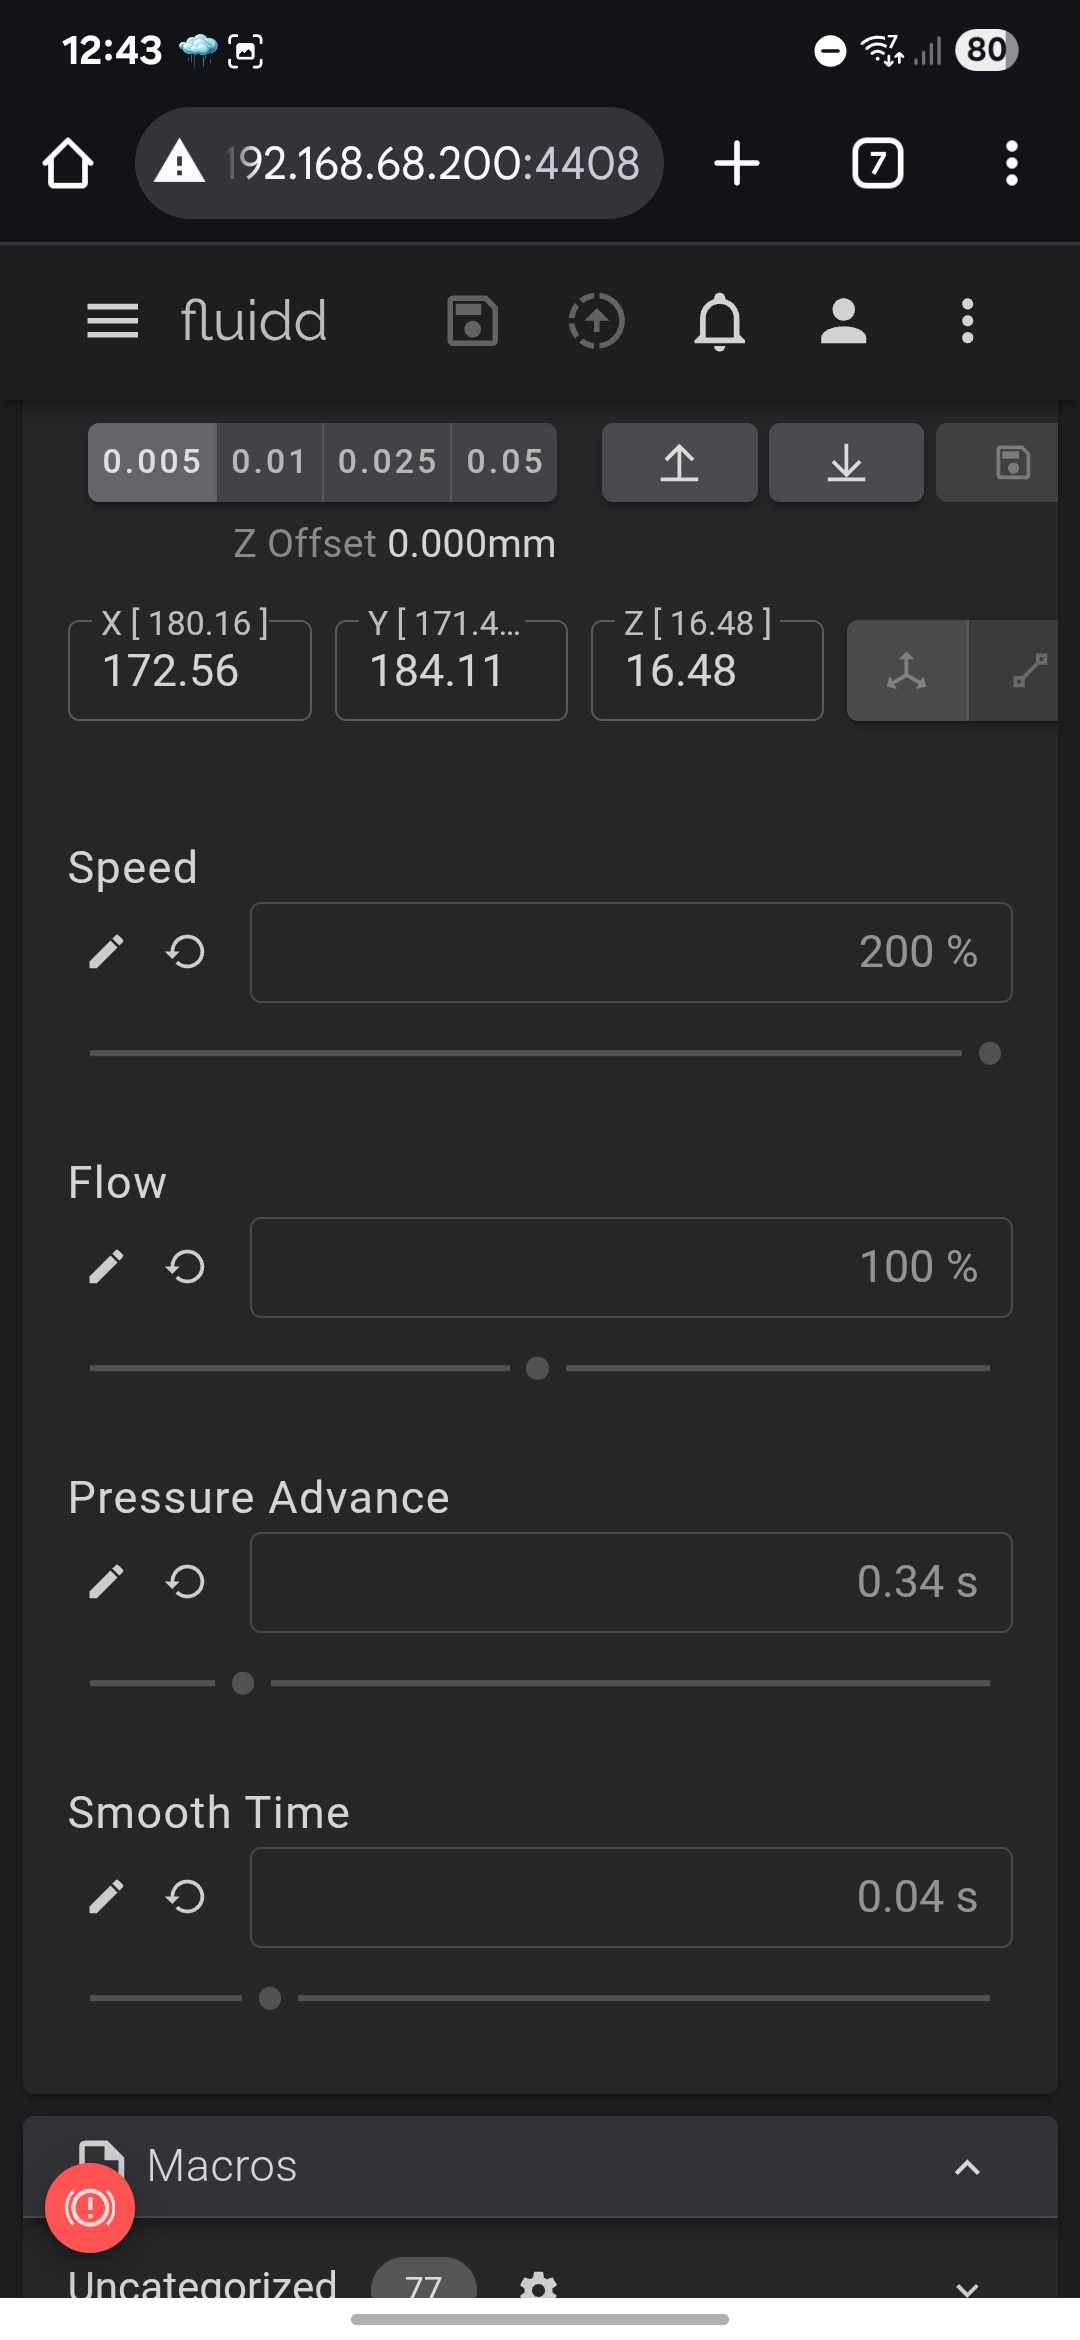
change slicer settings: change default retraction from 1.2 down to 0.2 to start with either manually per print or via creating a saved user profile filament setting)
print a test object using PA & flow calibration to obtain correct flow & PA for your profile based on your filament & how tight you’ve done up the screw, why do this when Creality states to disable these settings in order to print TPU.. because this is a good test to know if you’ve under tightened or over tightened the M3 screw holding the gears / everything together, if too loose it won’t pull TPU through, if too tight you’ll likely suffer jams just flushing filament or the dreaded metres of TPU spilling out sideways of the extruder body into the enclosure (you’ll know this if you’ve had a TPU print fail after about 5 layers using all defaults)
updated your saved User config settings with PA & Flow ratios for future prints.
Happy TPU printing…
Edit, I’d use a single drop of lock glue on the screw if printing large objects, to stop screw moving through vibration, i did that when printing a croc to see if i could, but not so much you cant remove screw if encounter a jam.
To print normal filaments again, remove the M3 screw you’ve used for TPU printing and re-insert the spring back into the extruder front cover and run a PA & Flow calibration.
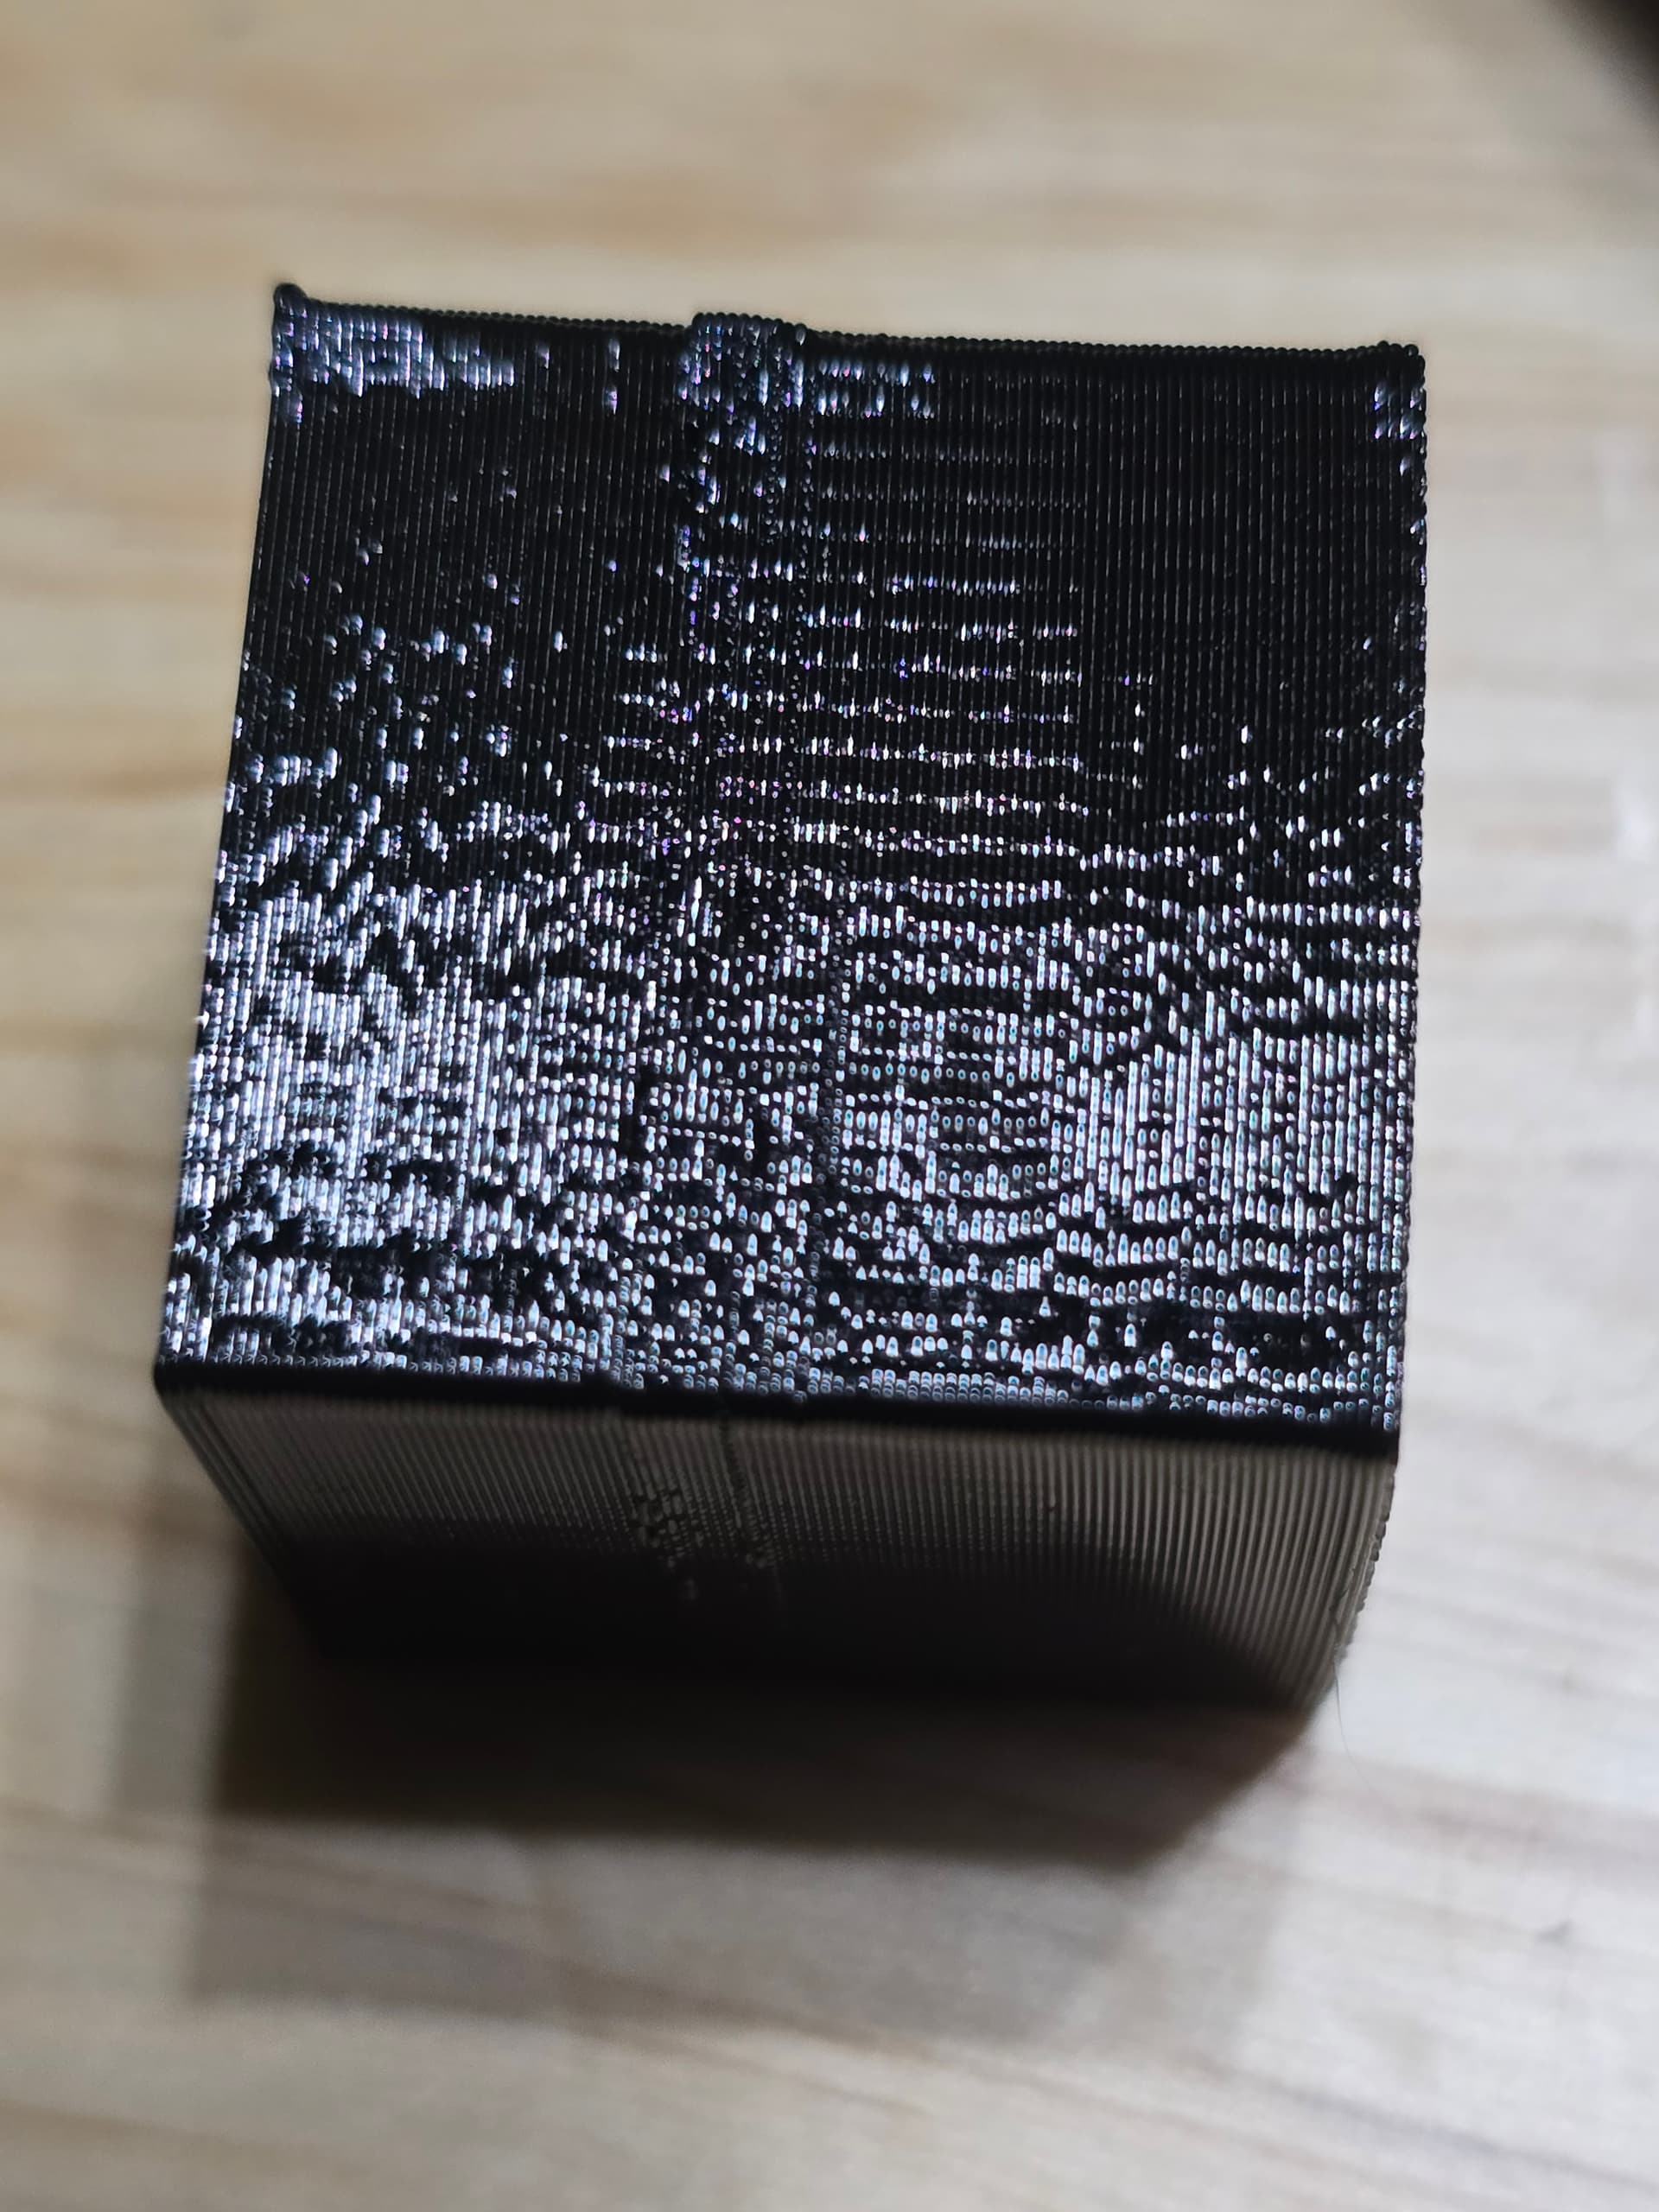
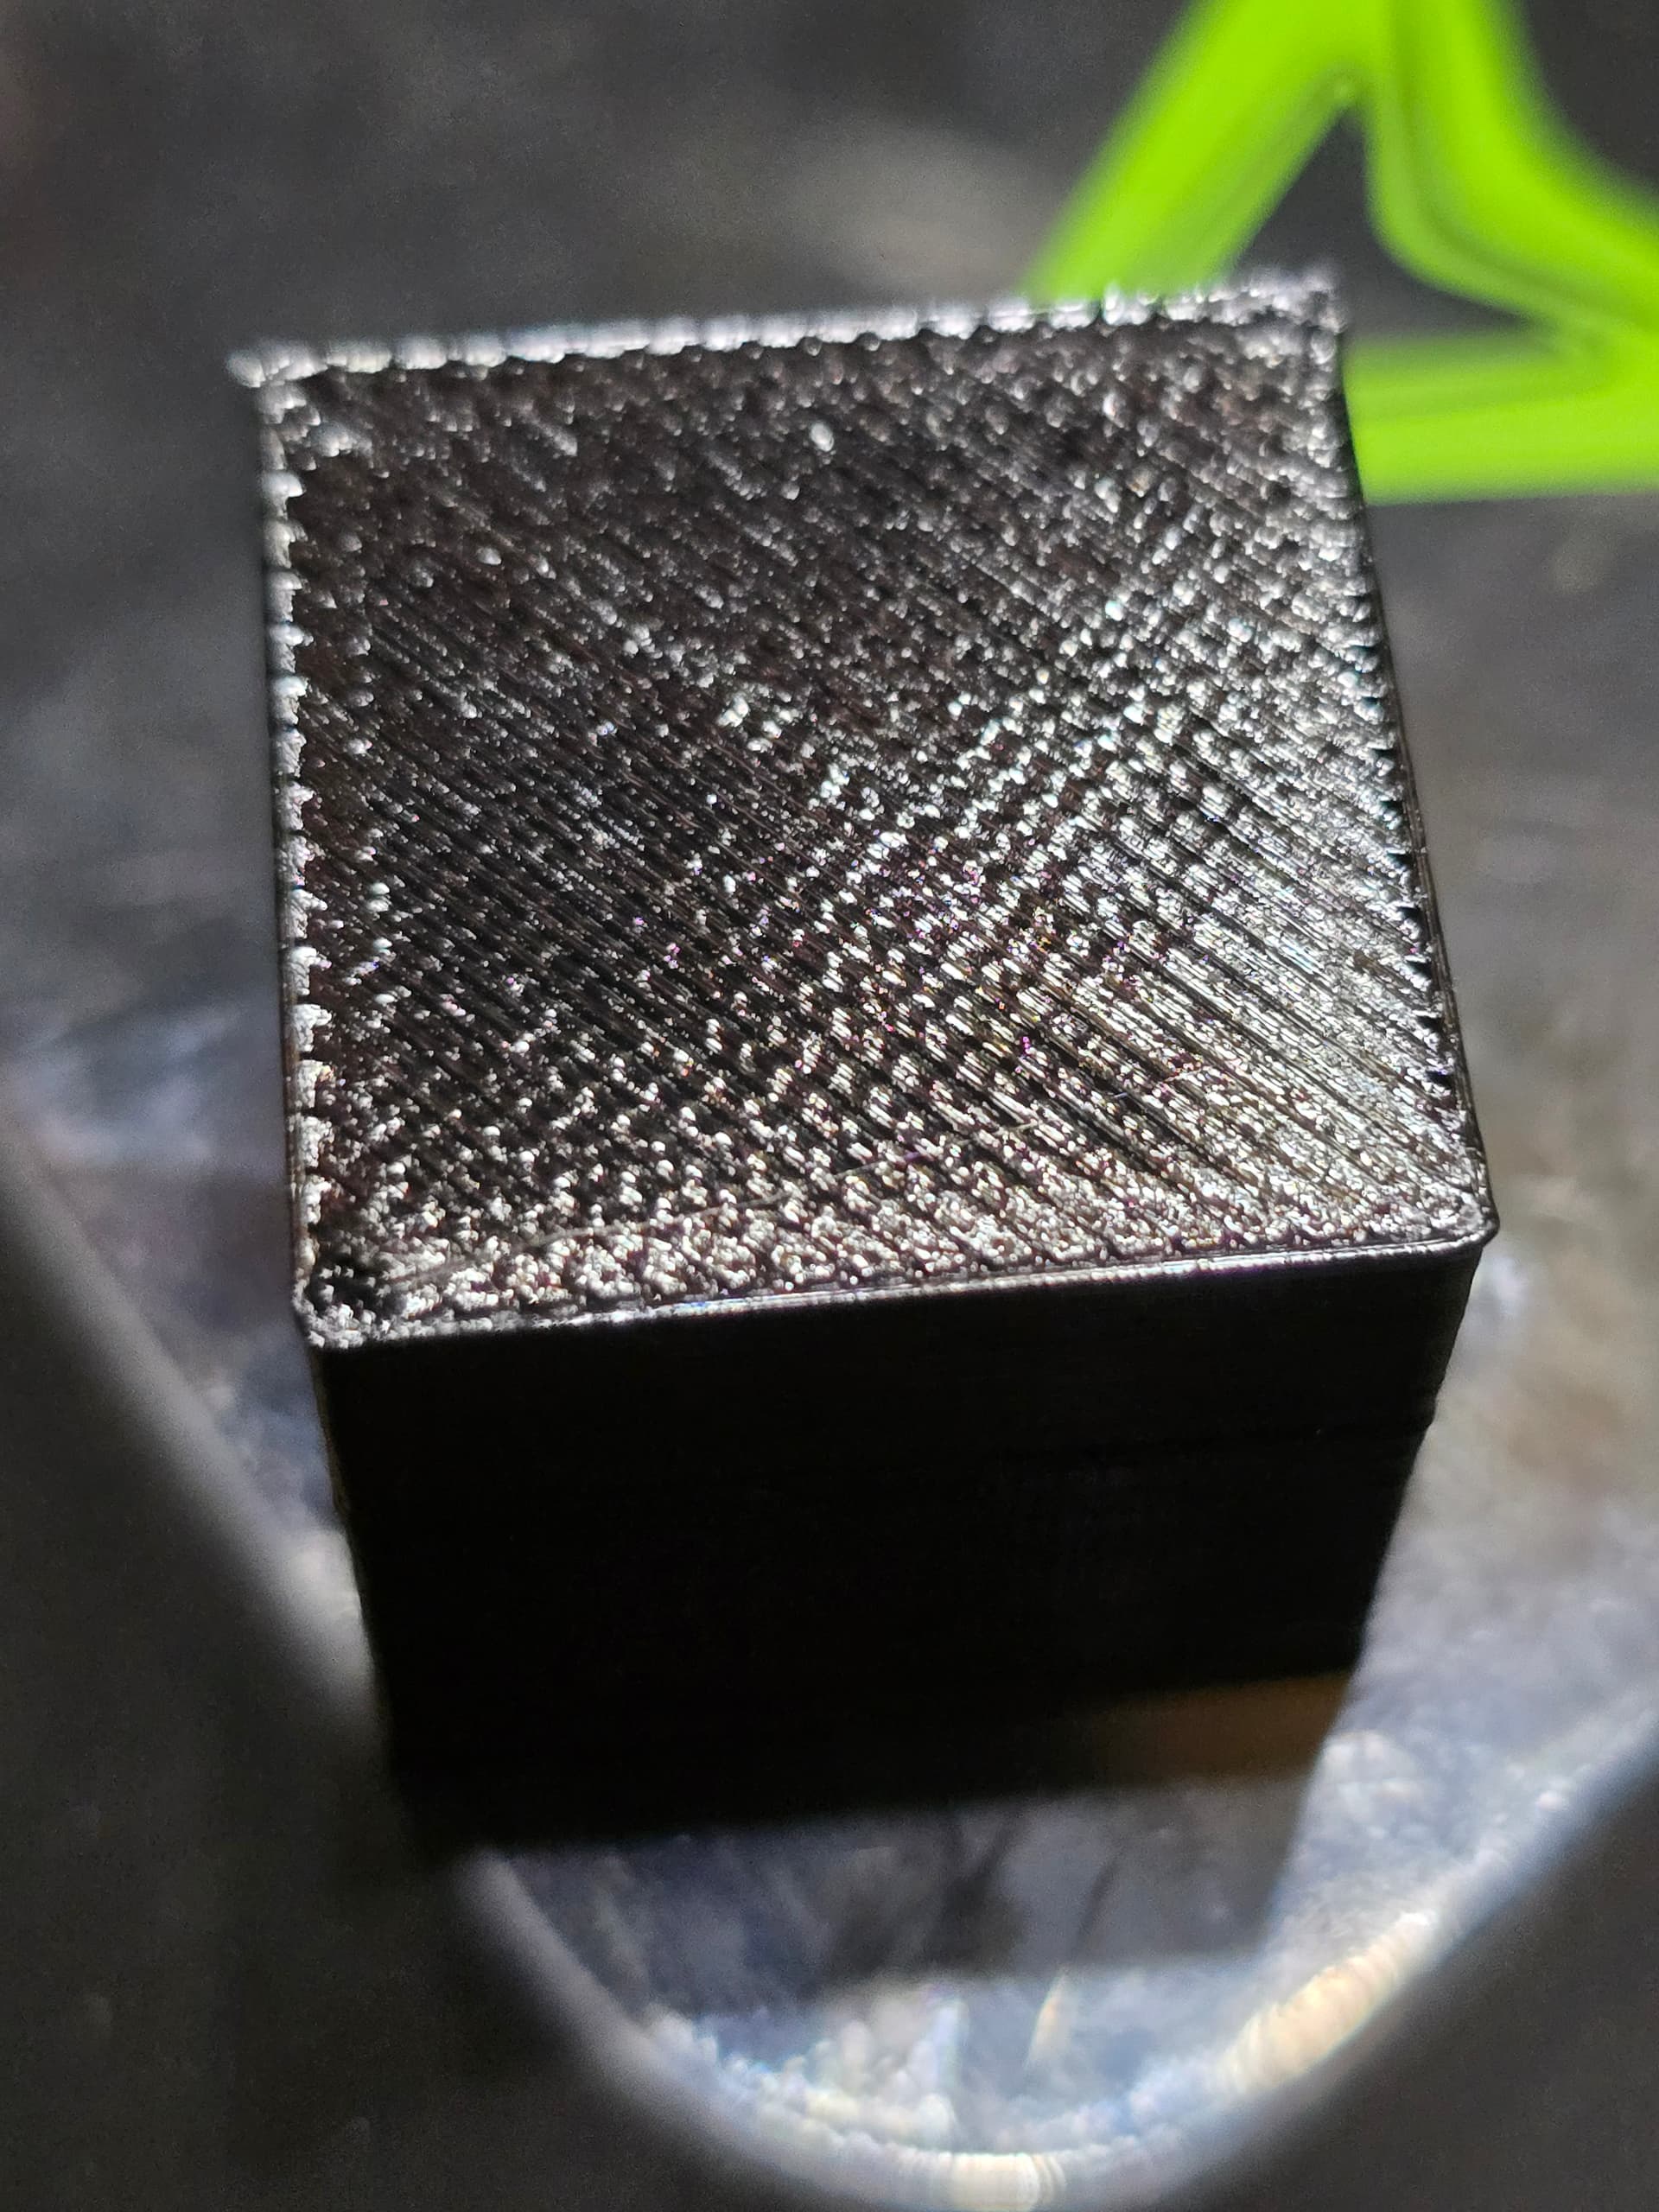
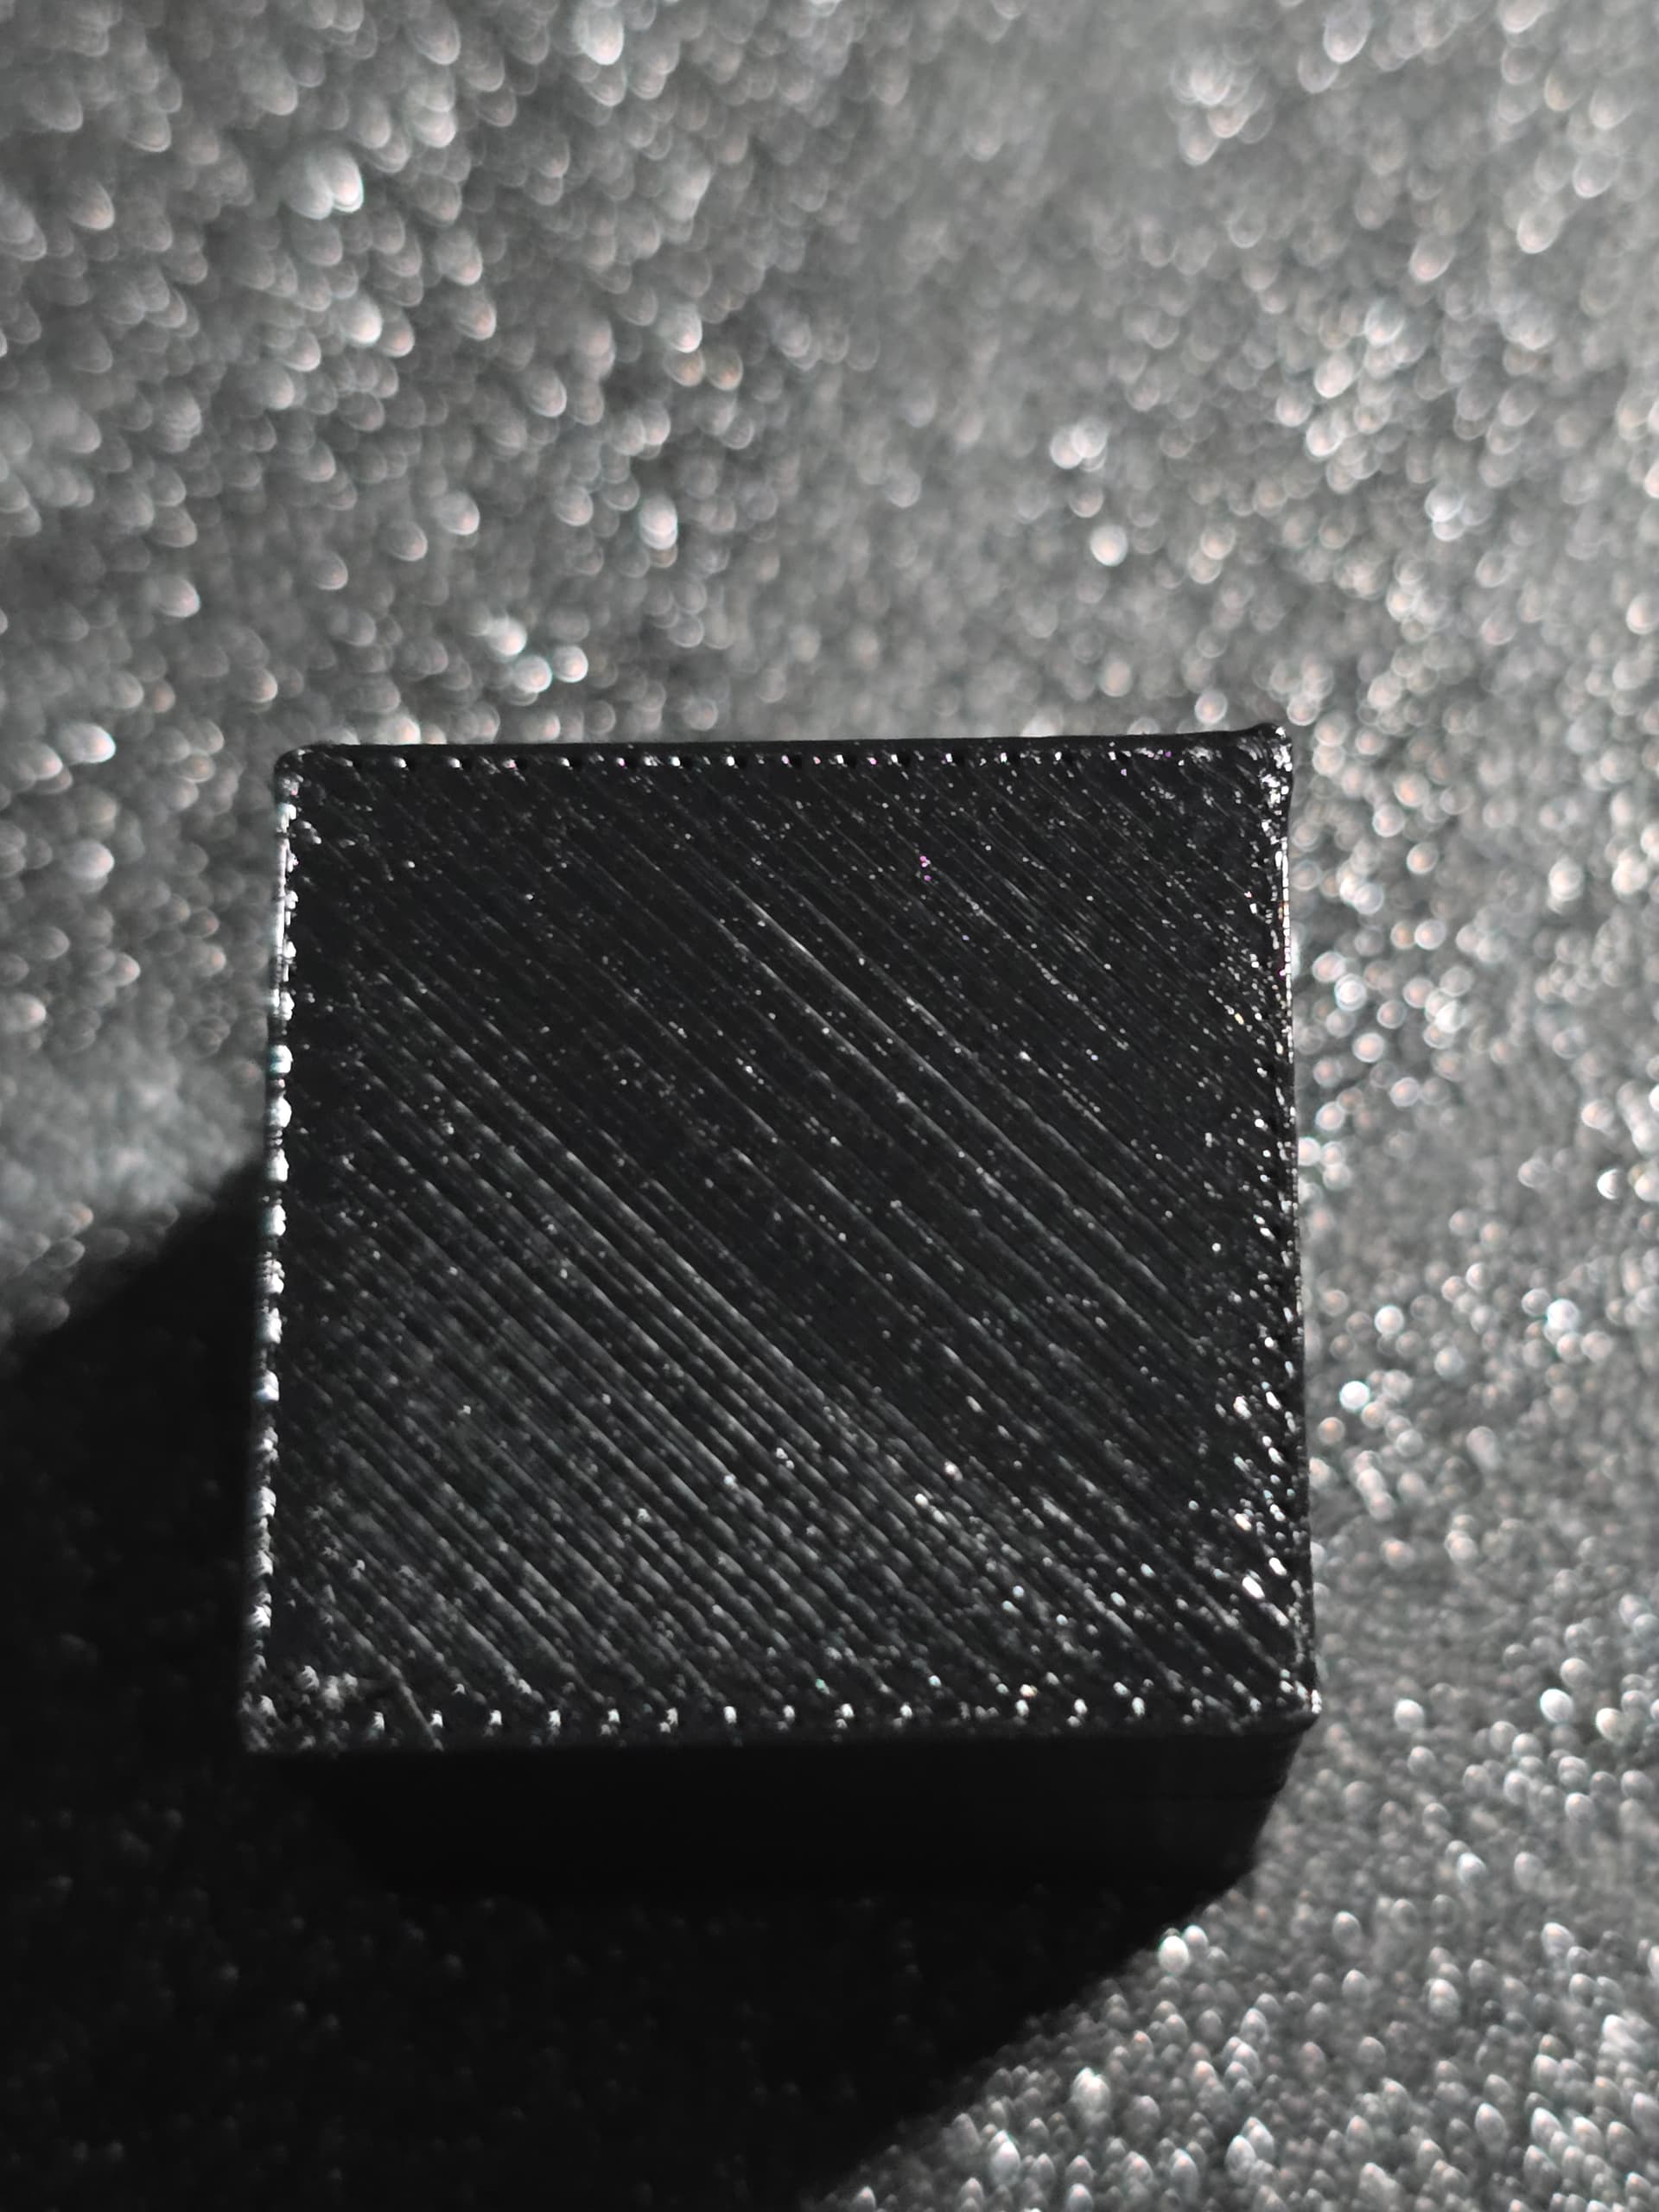
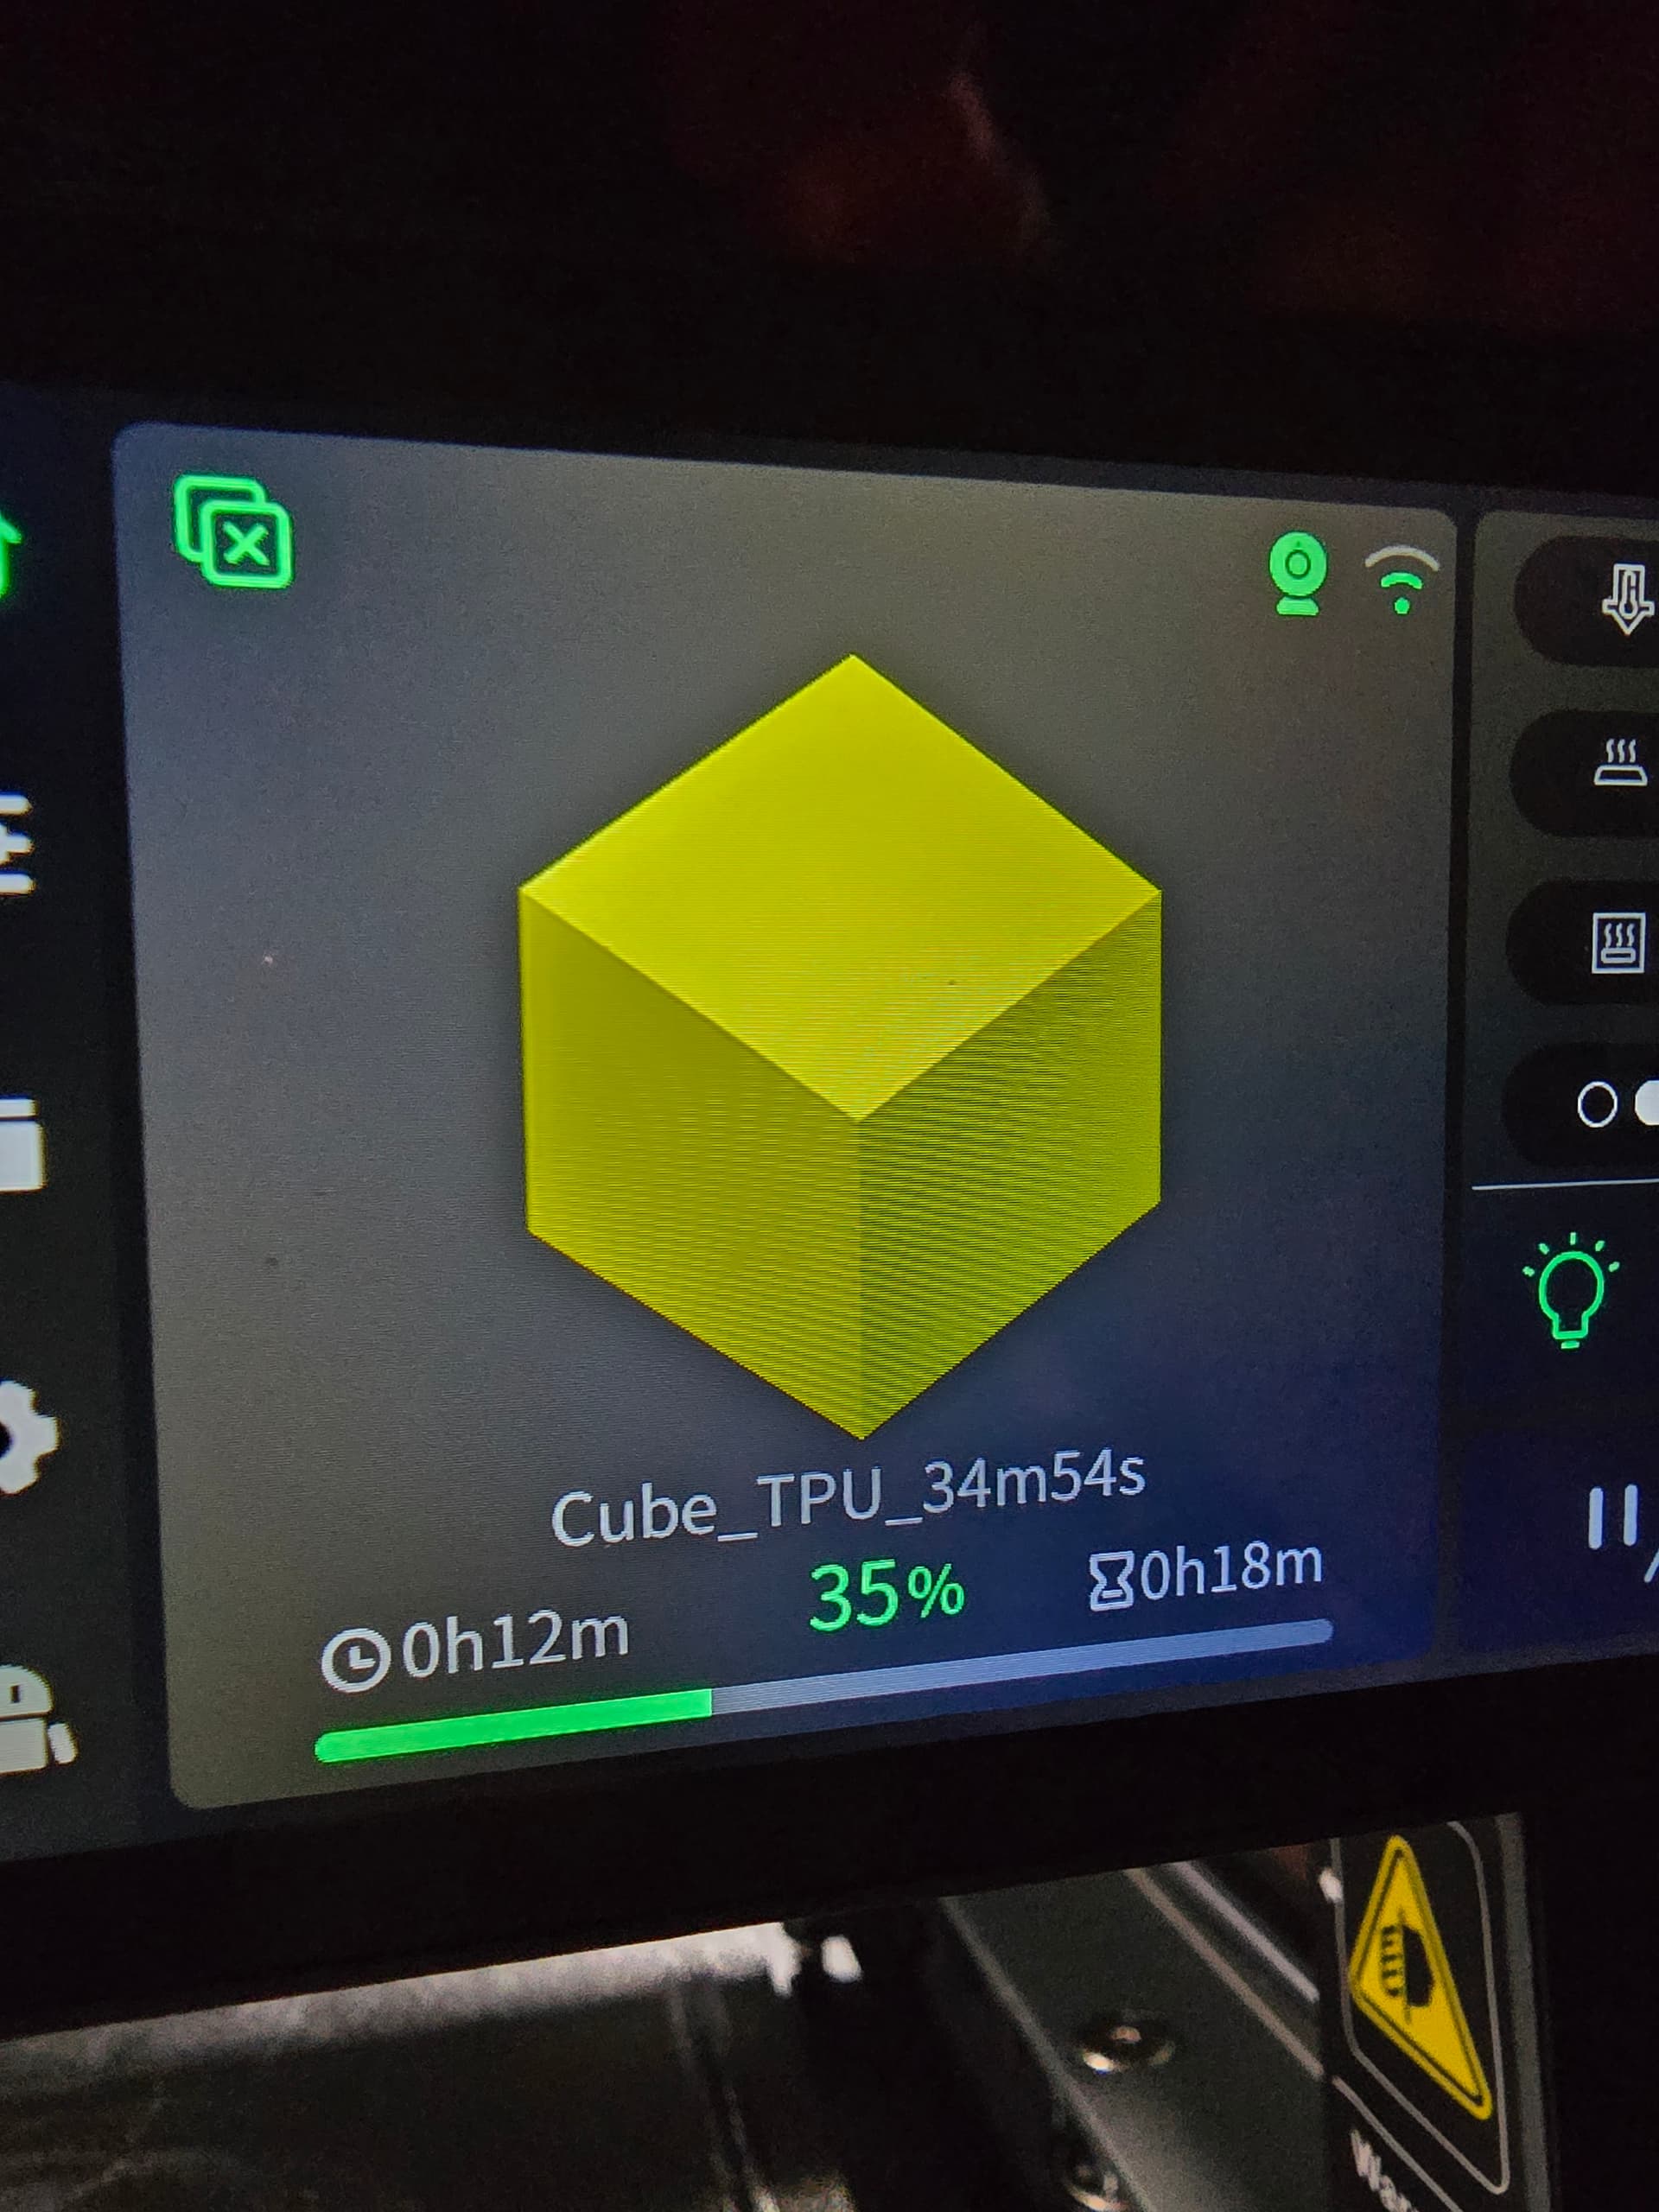
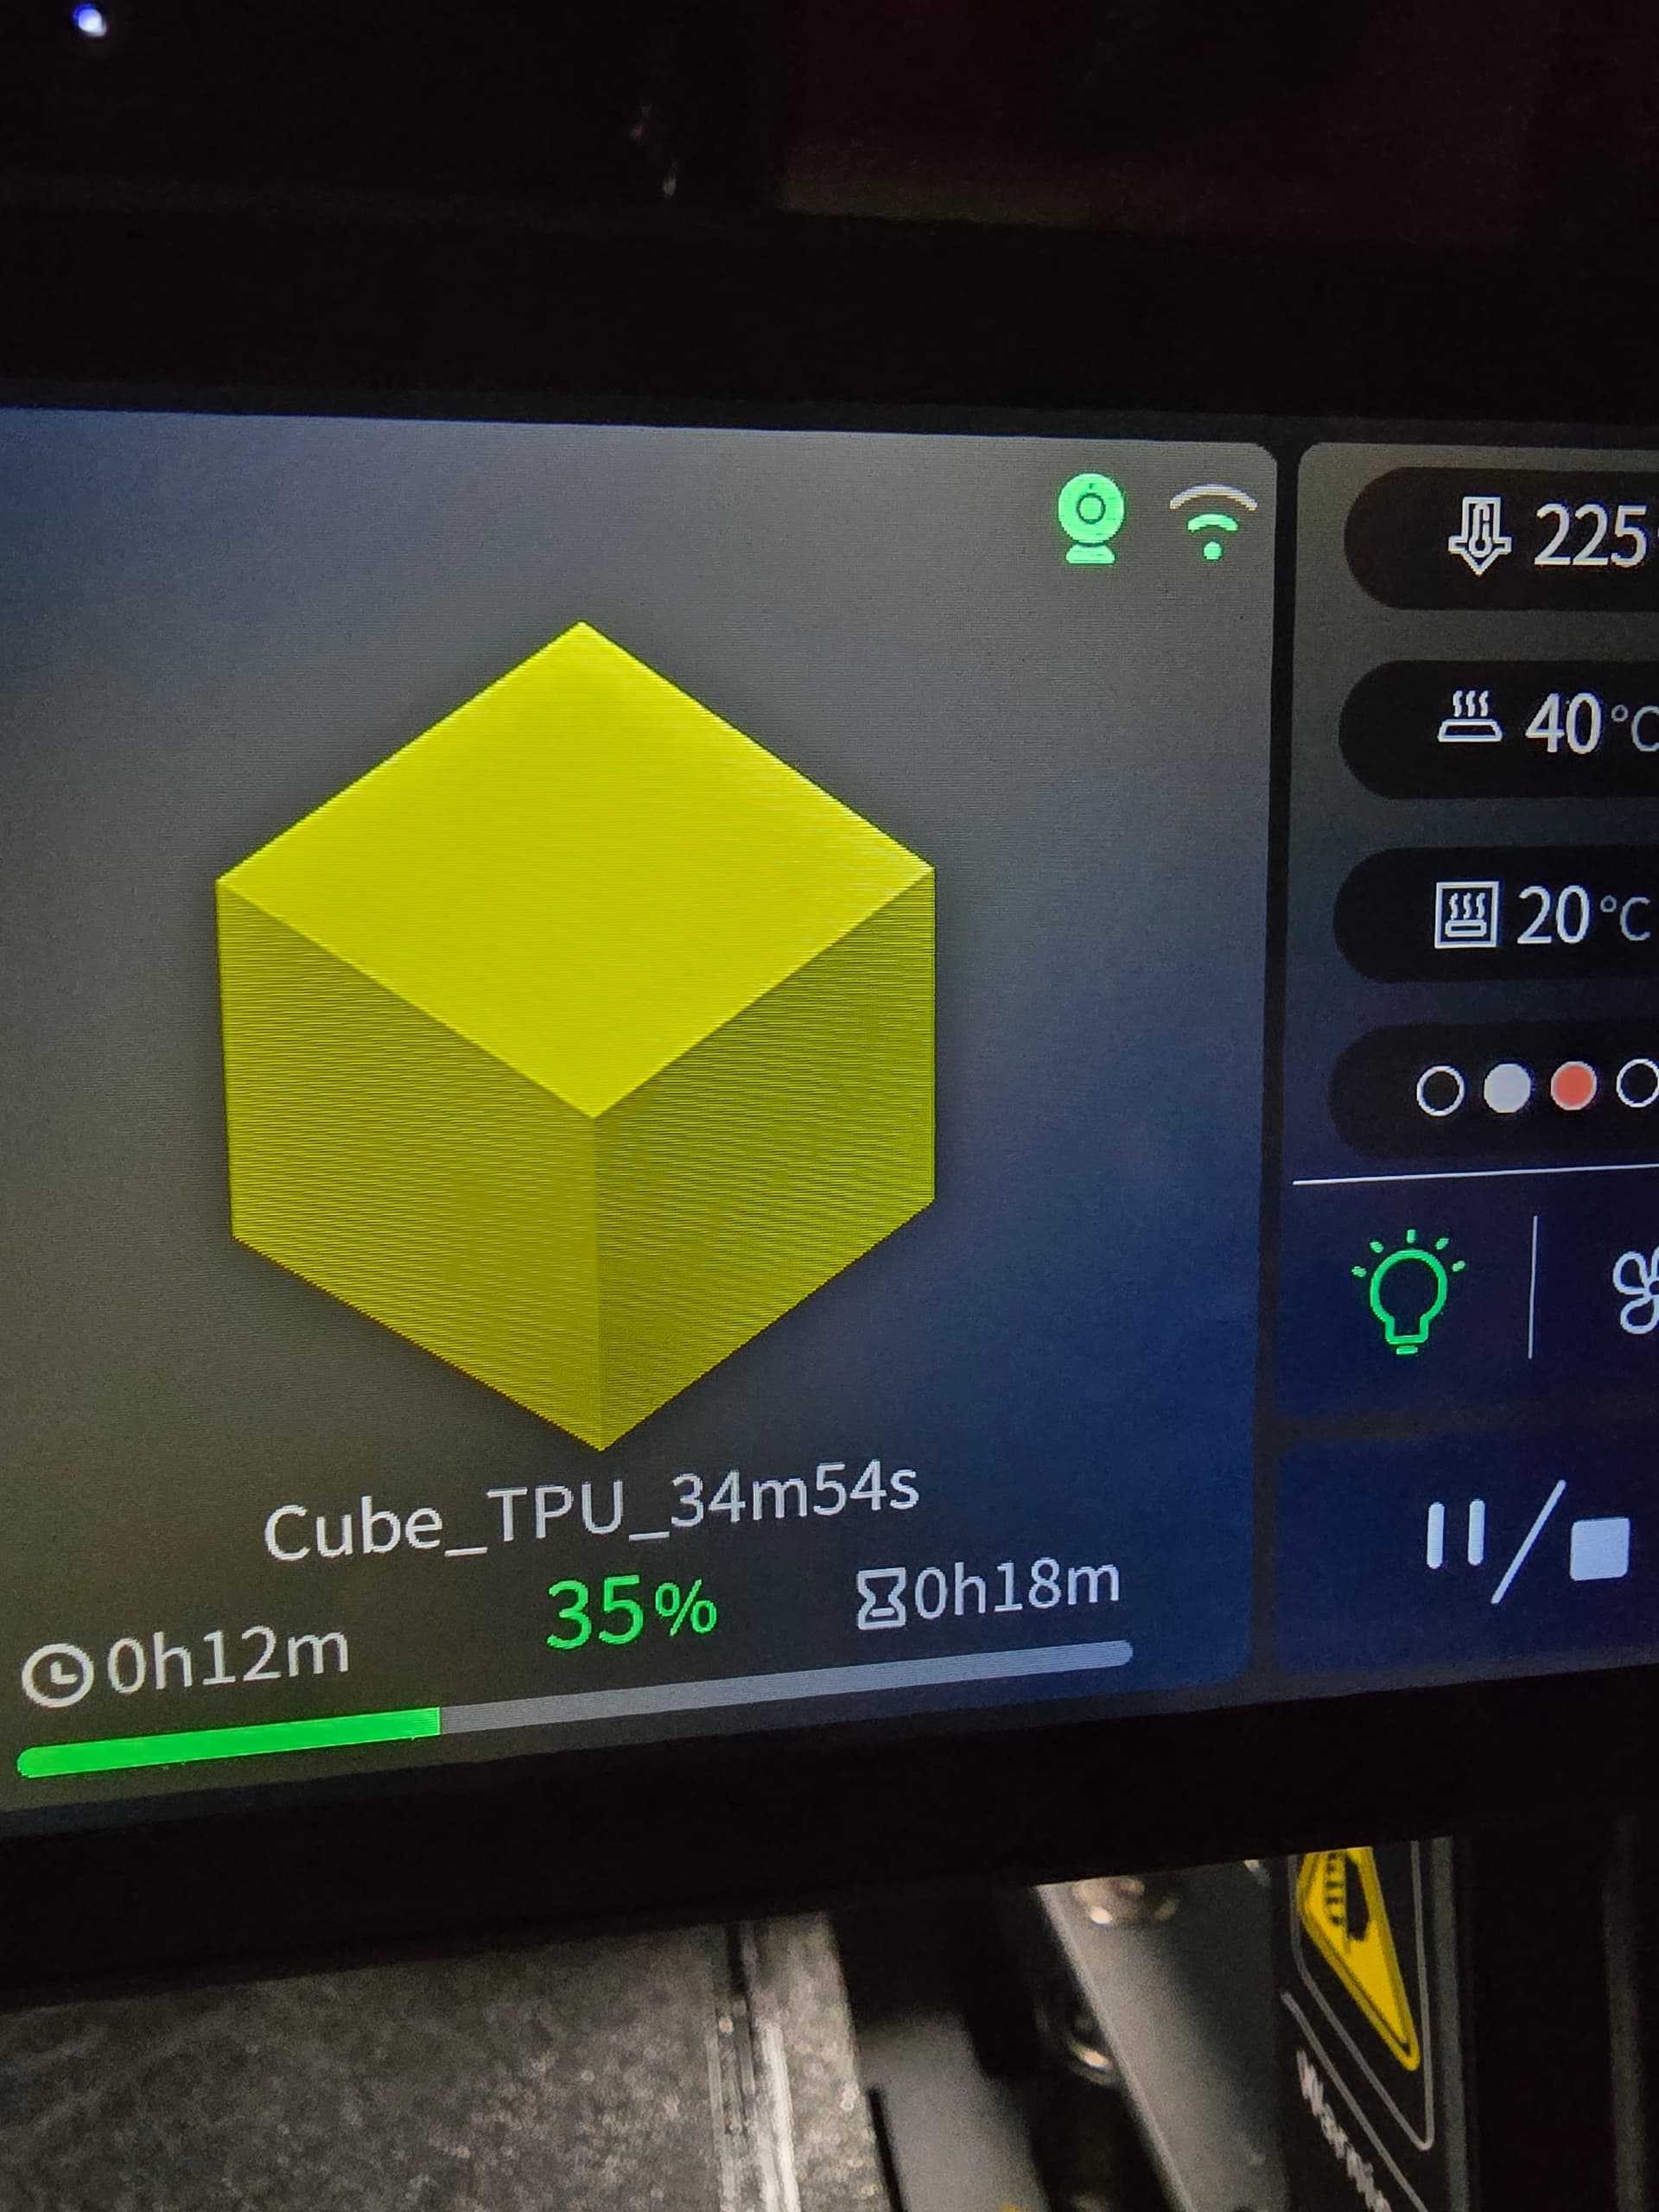
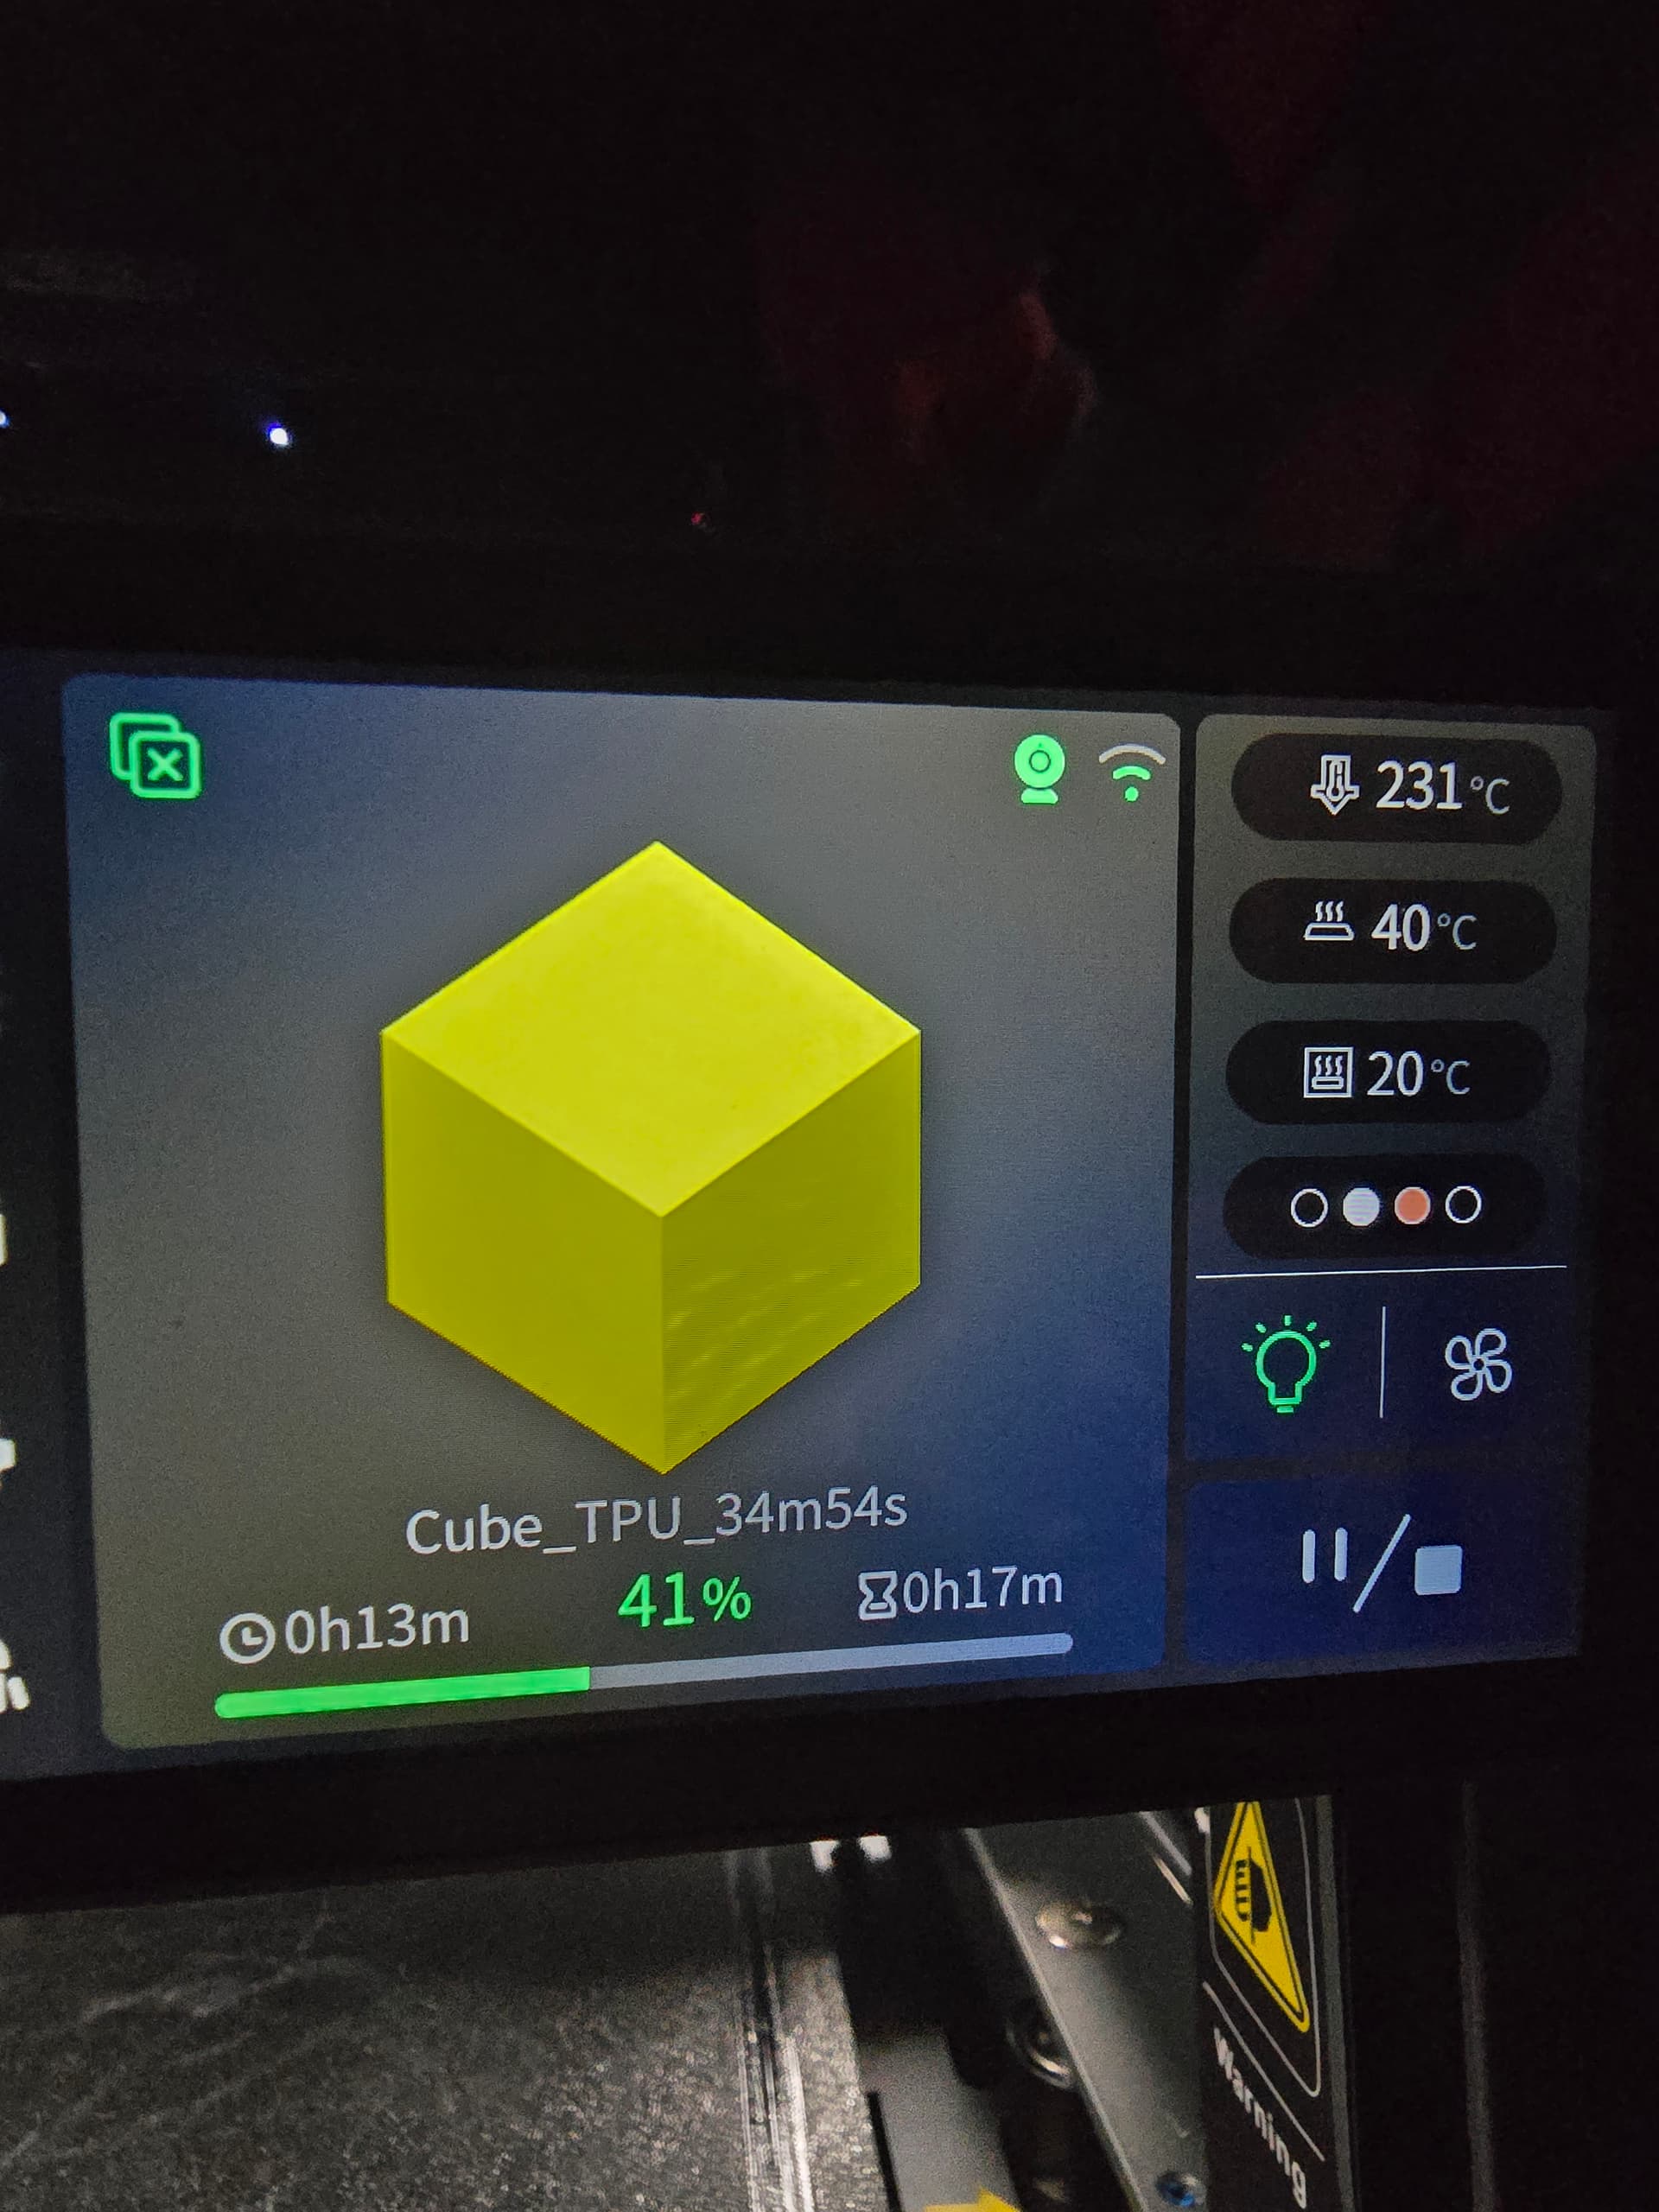
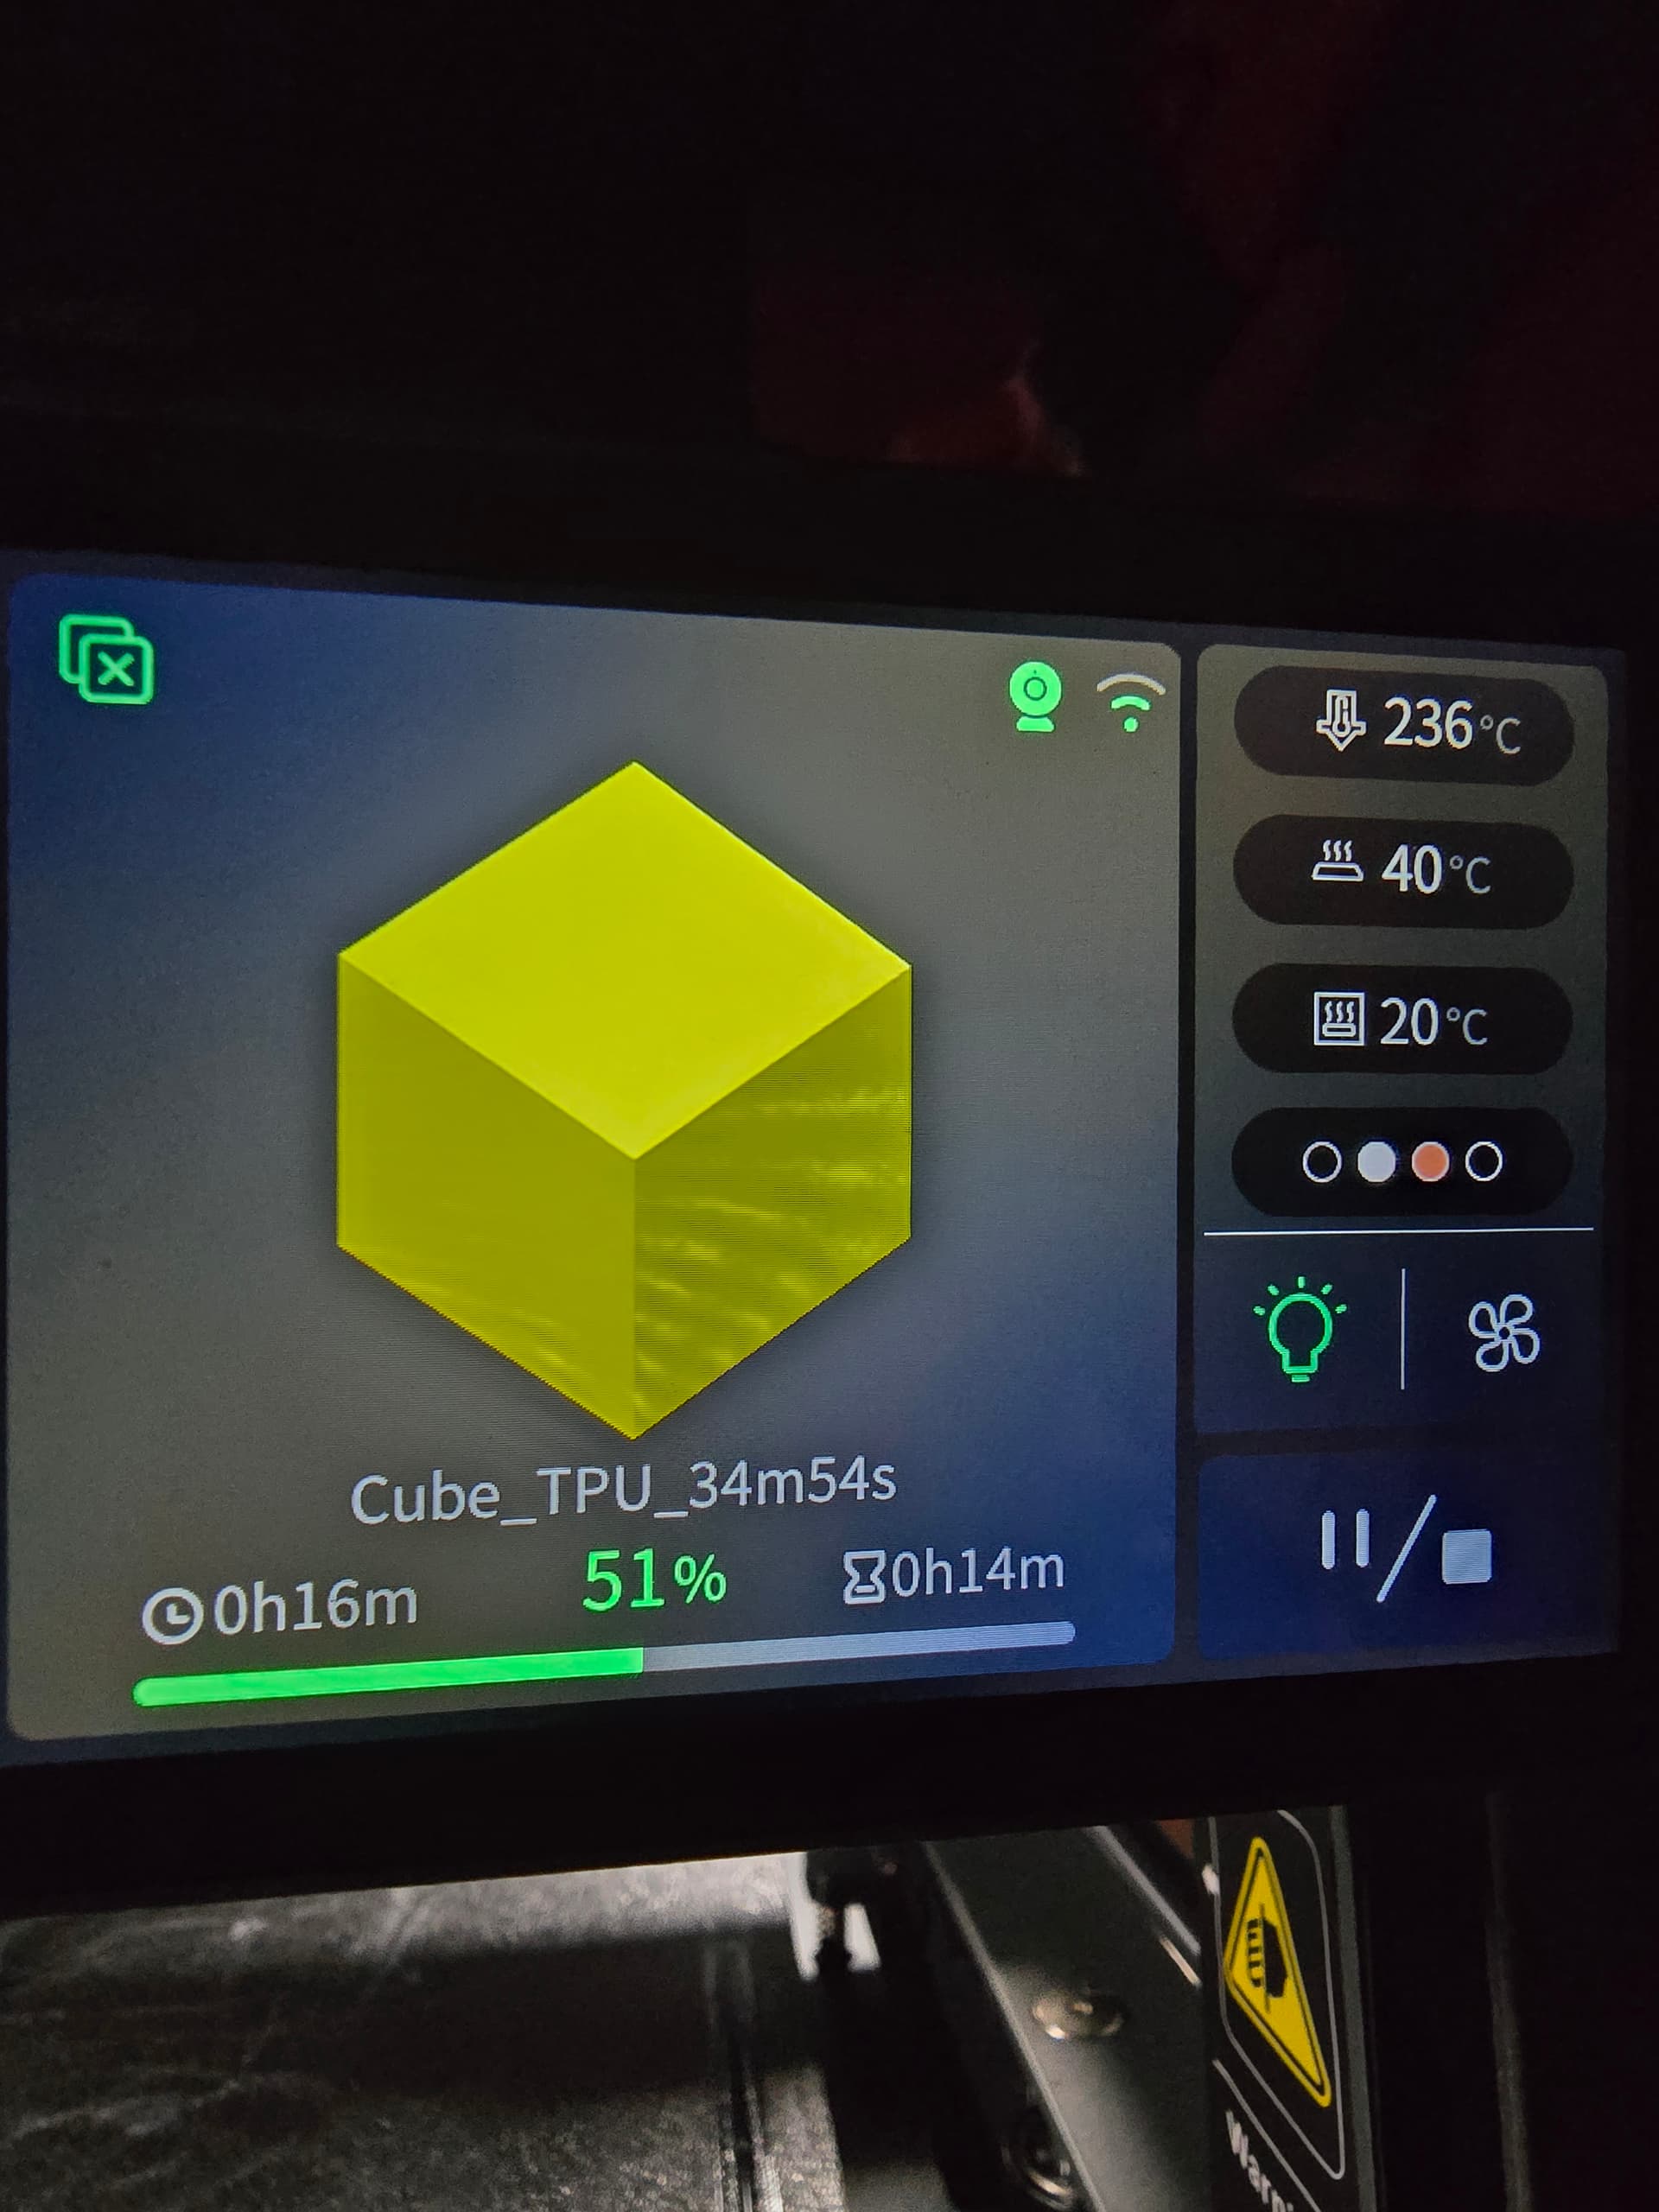
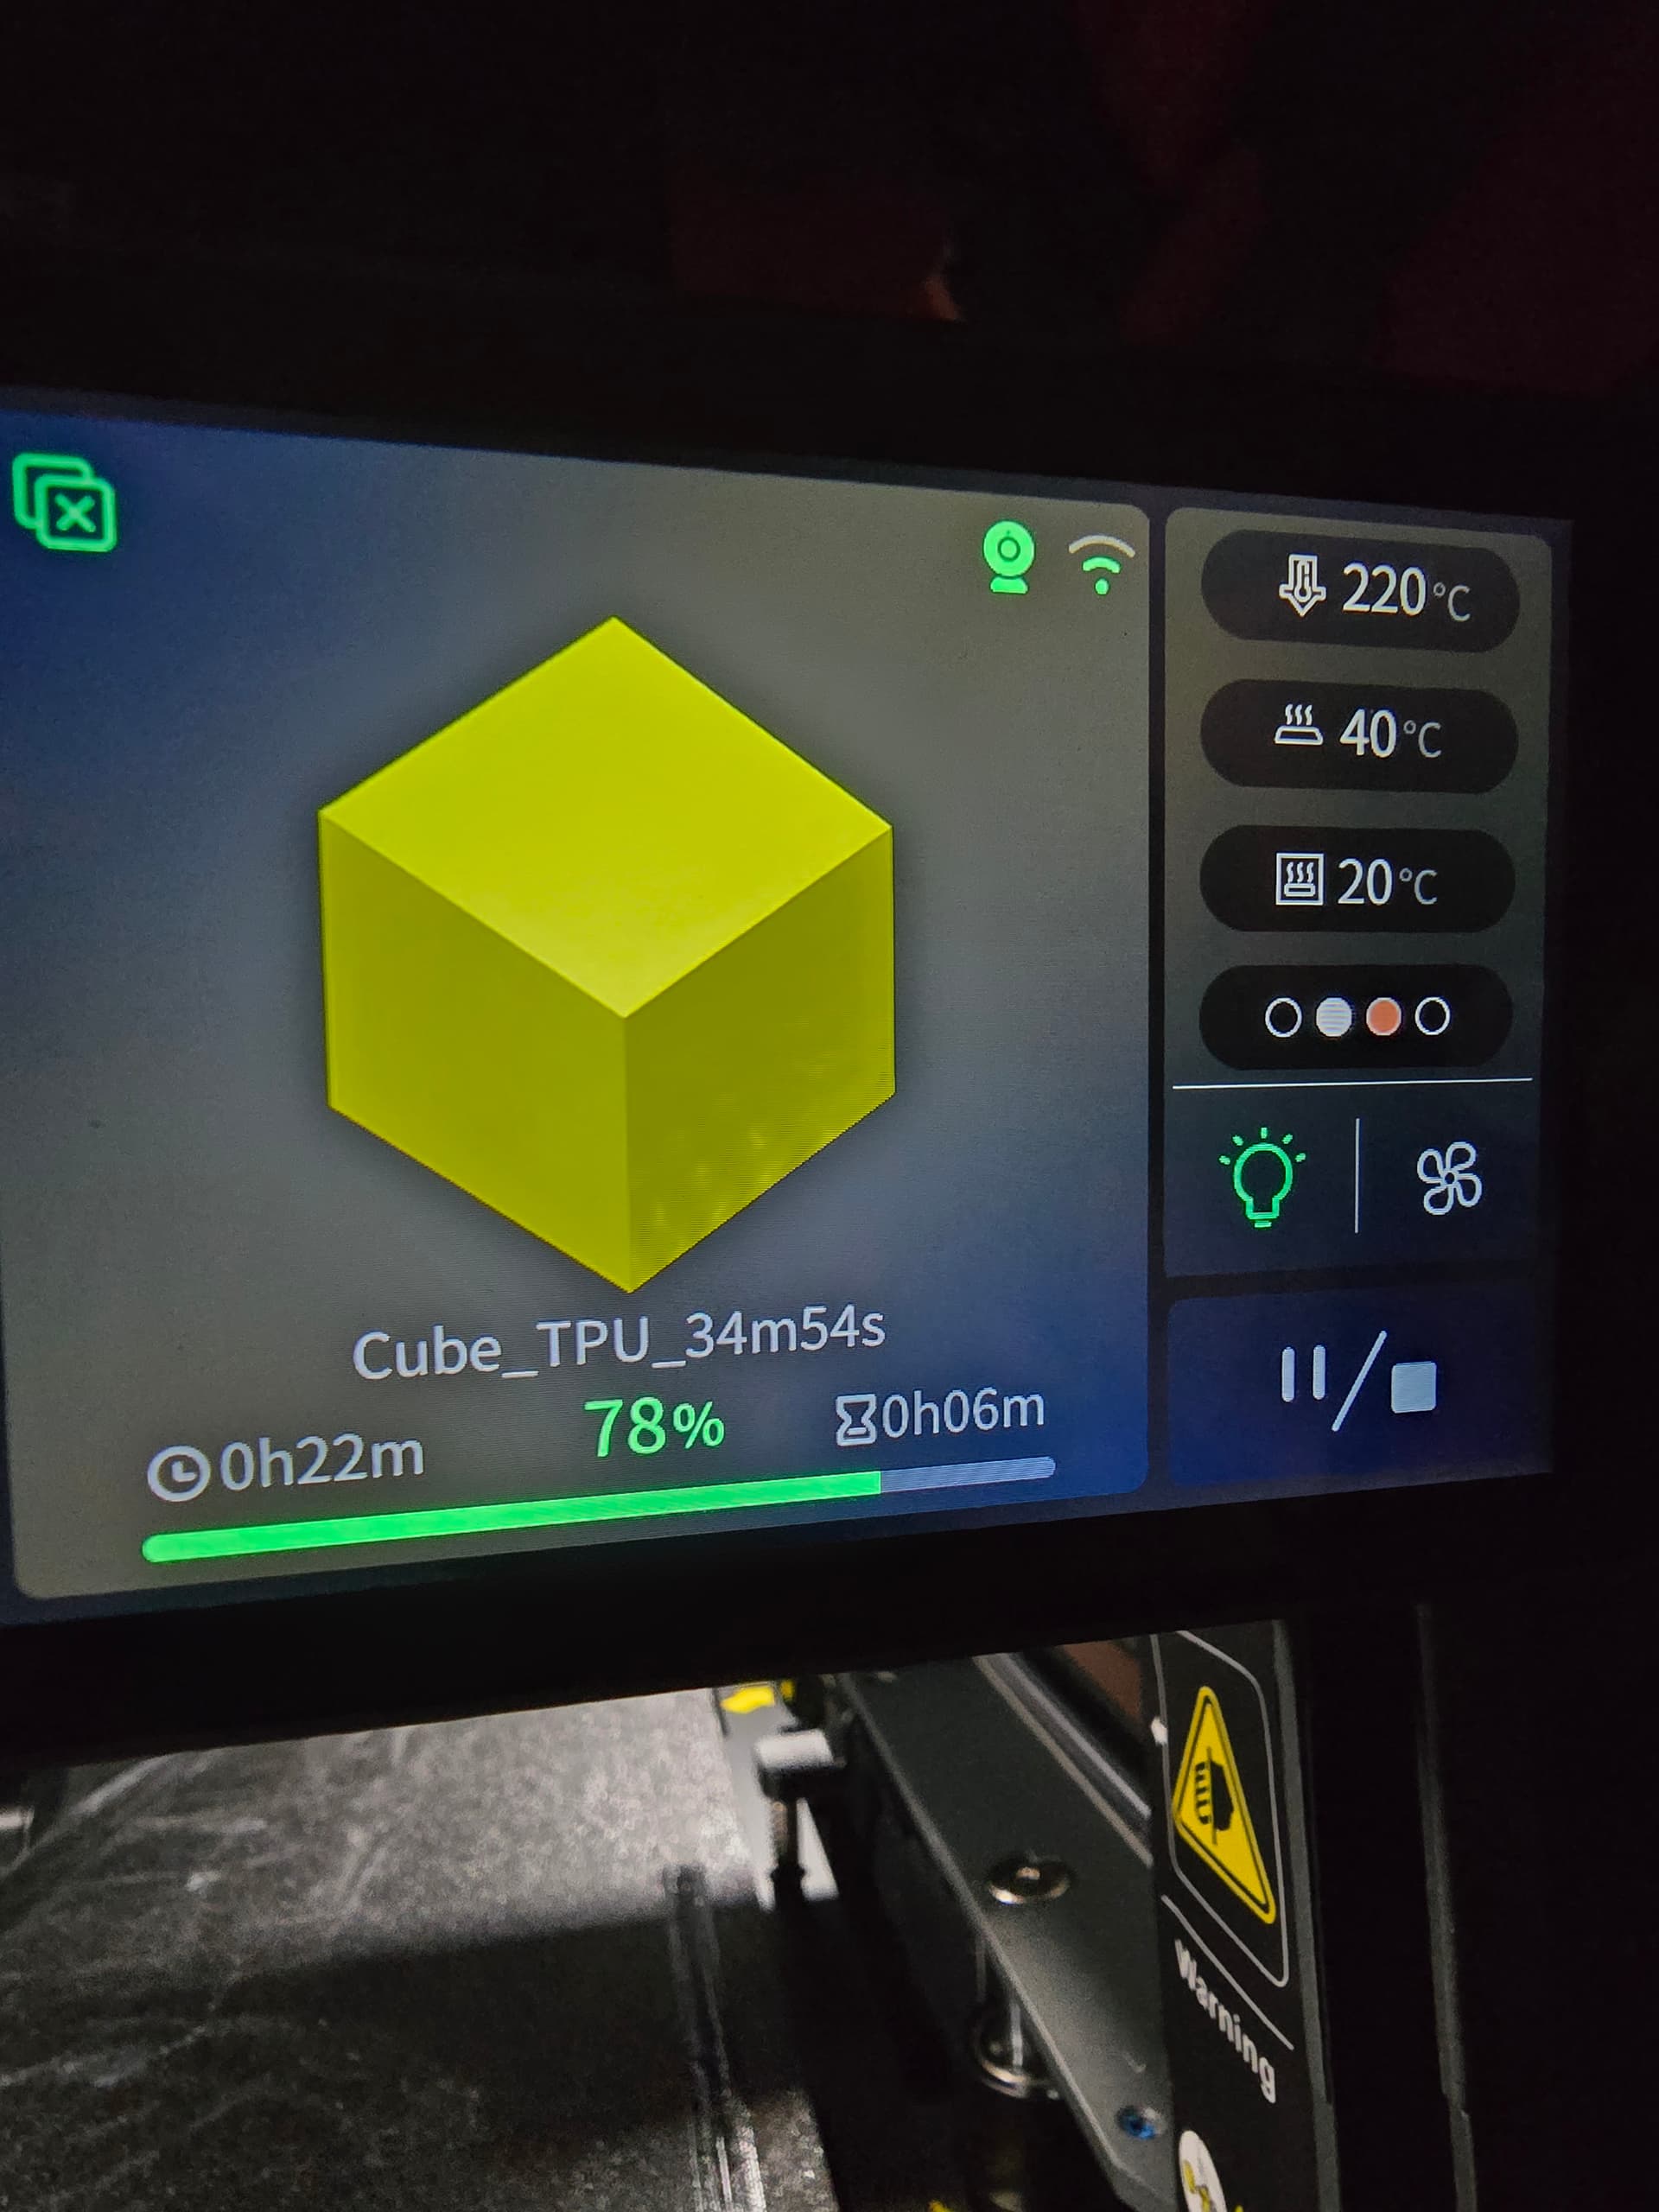
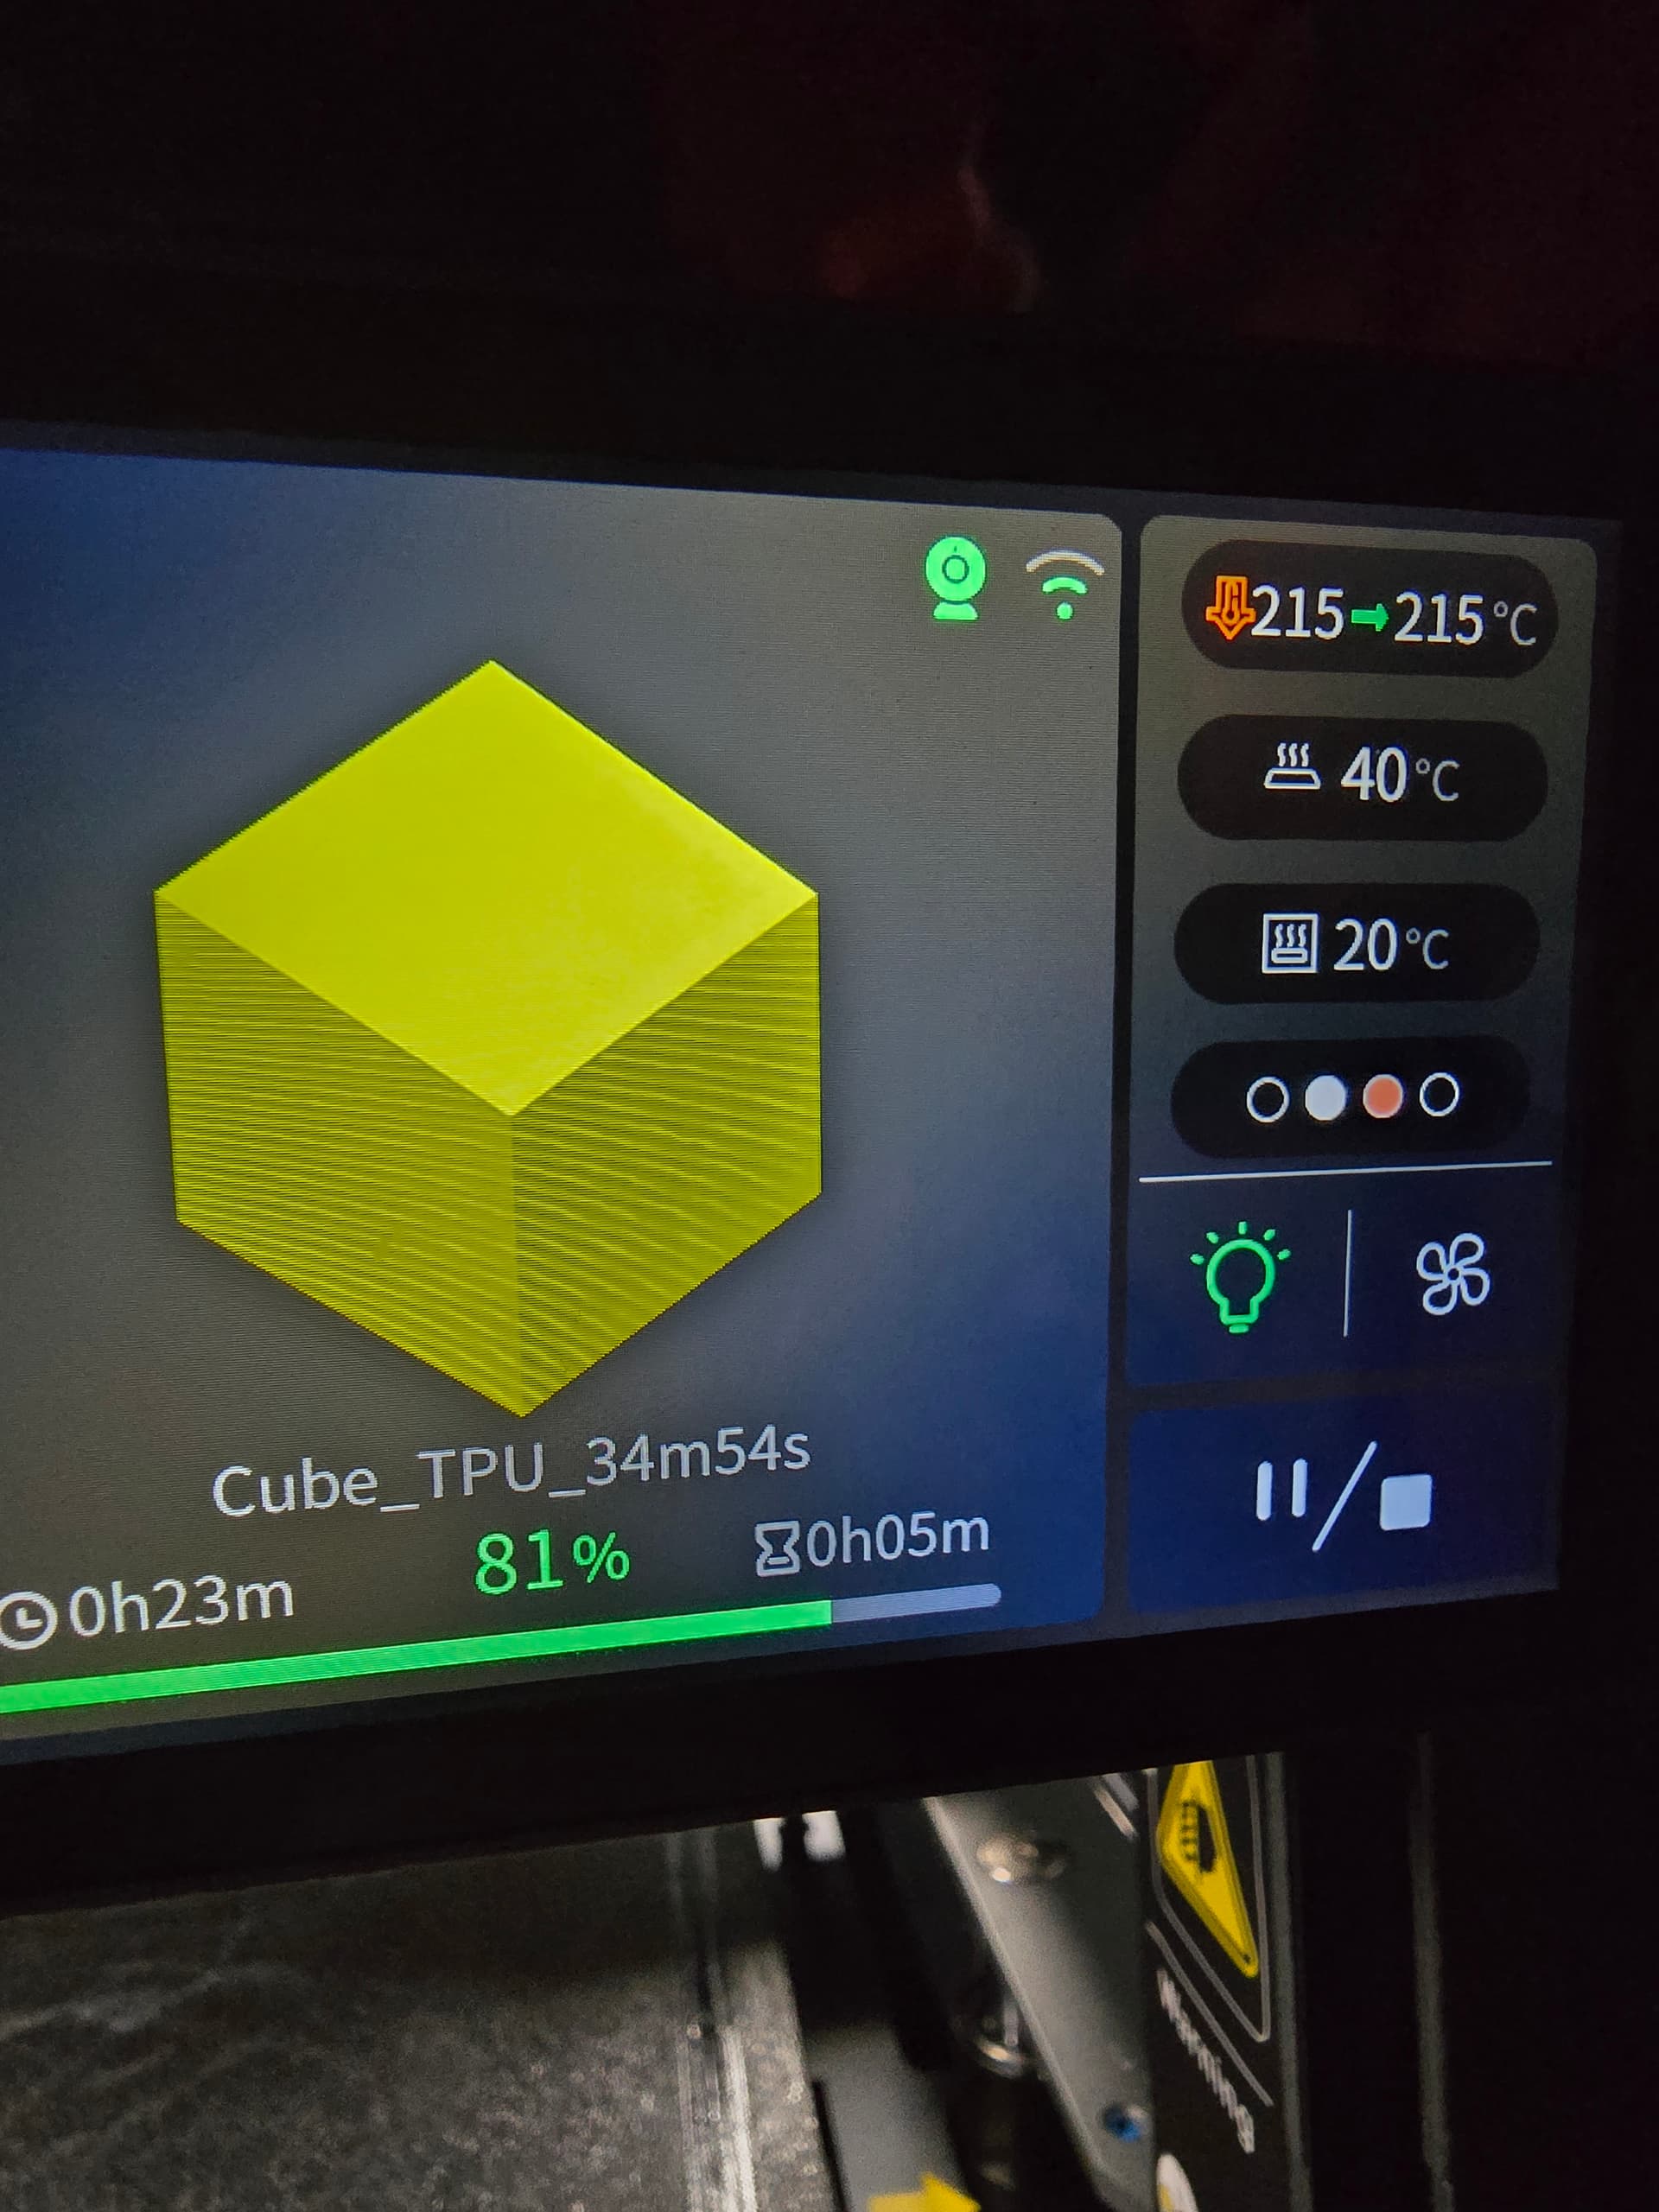
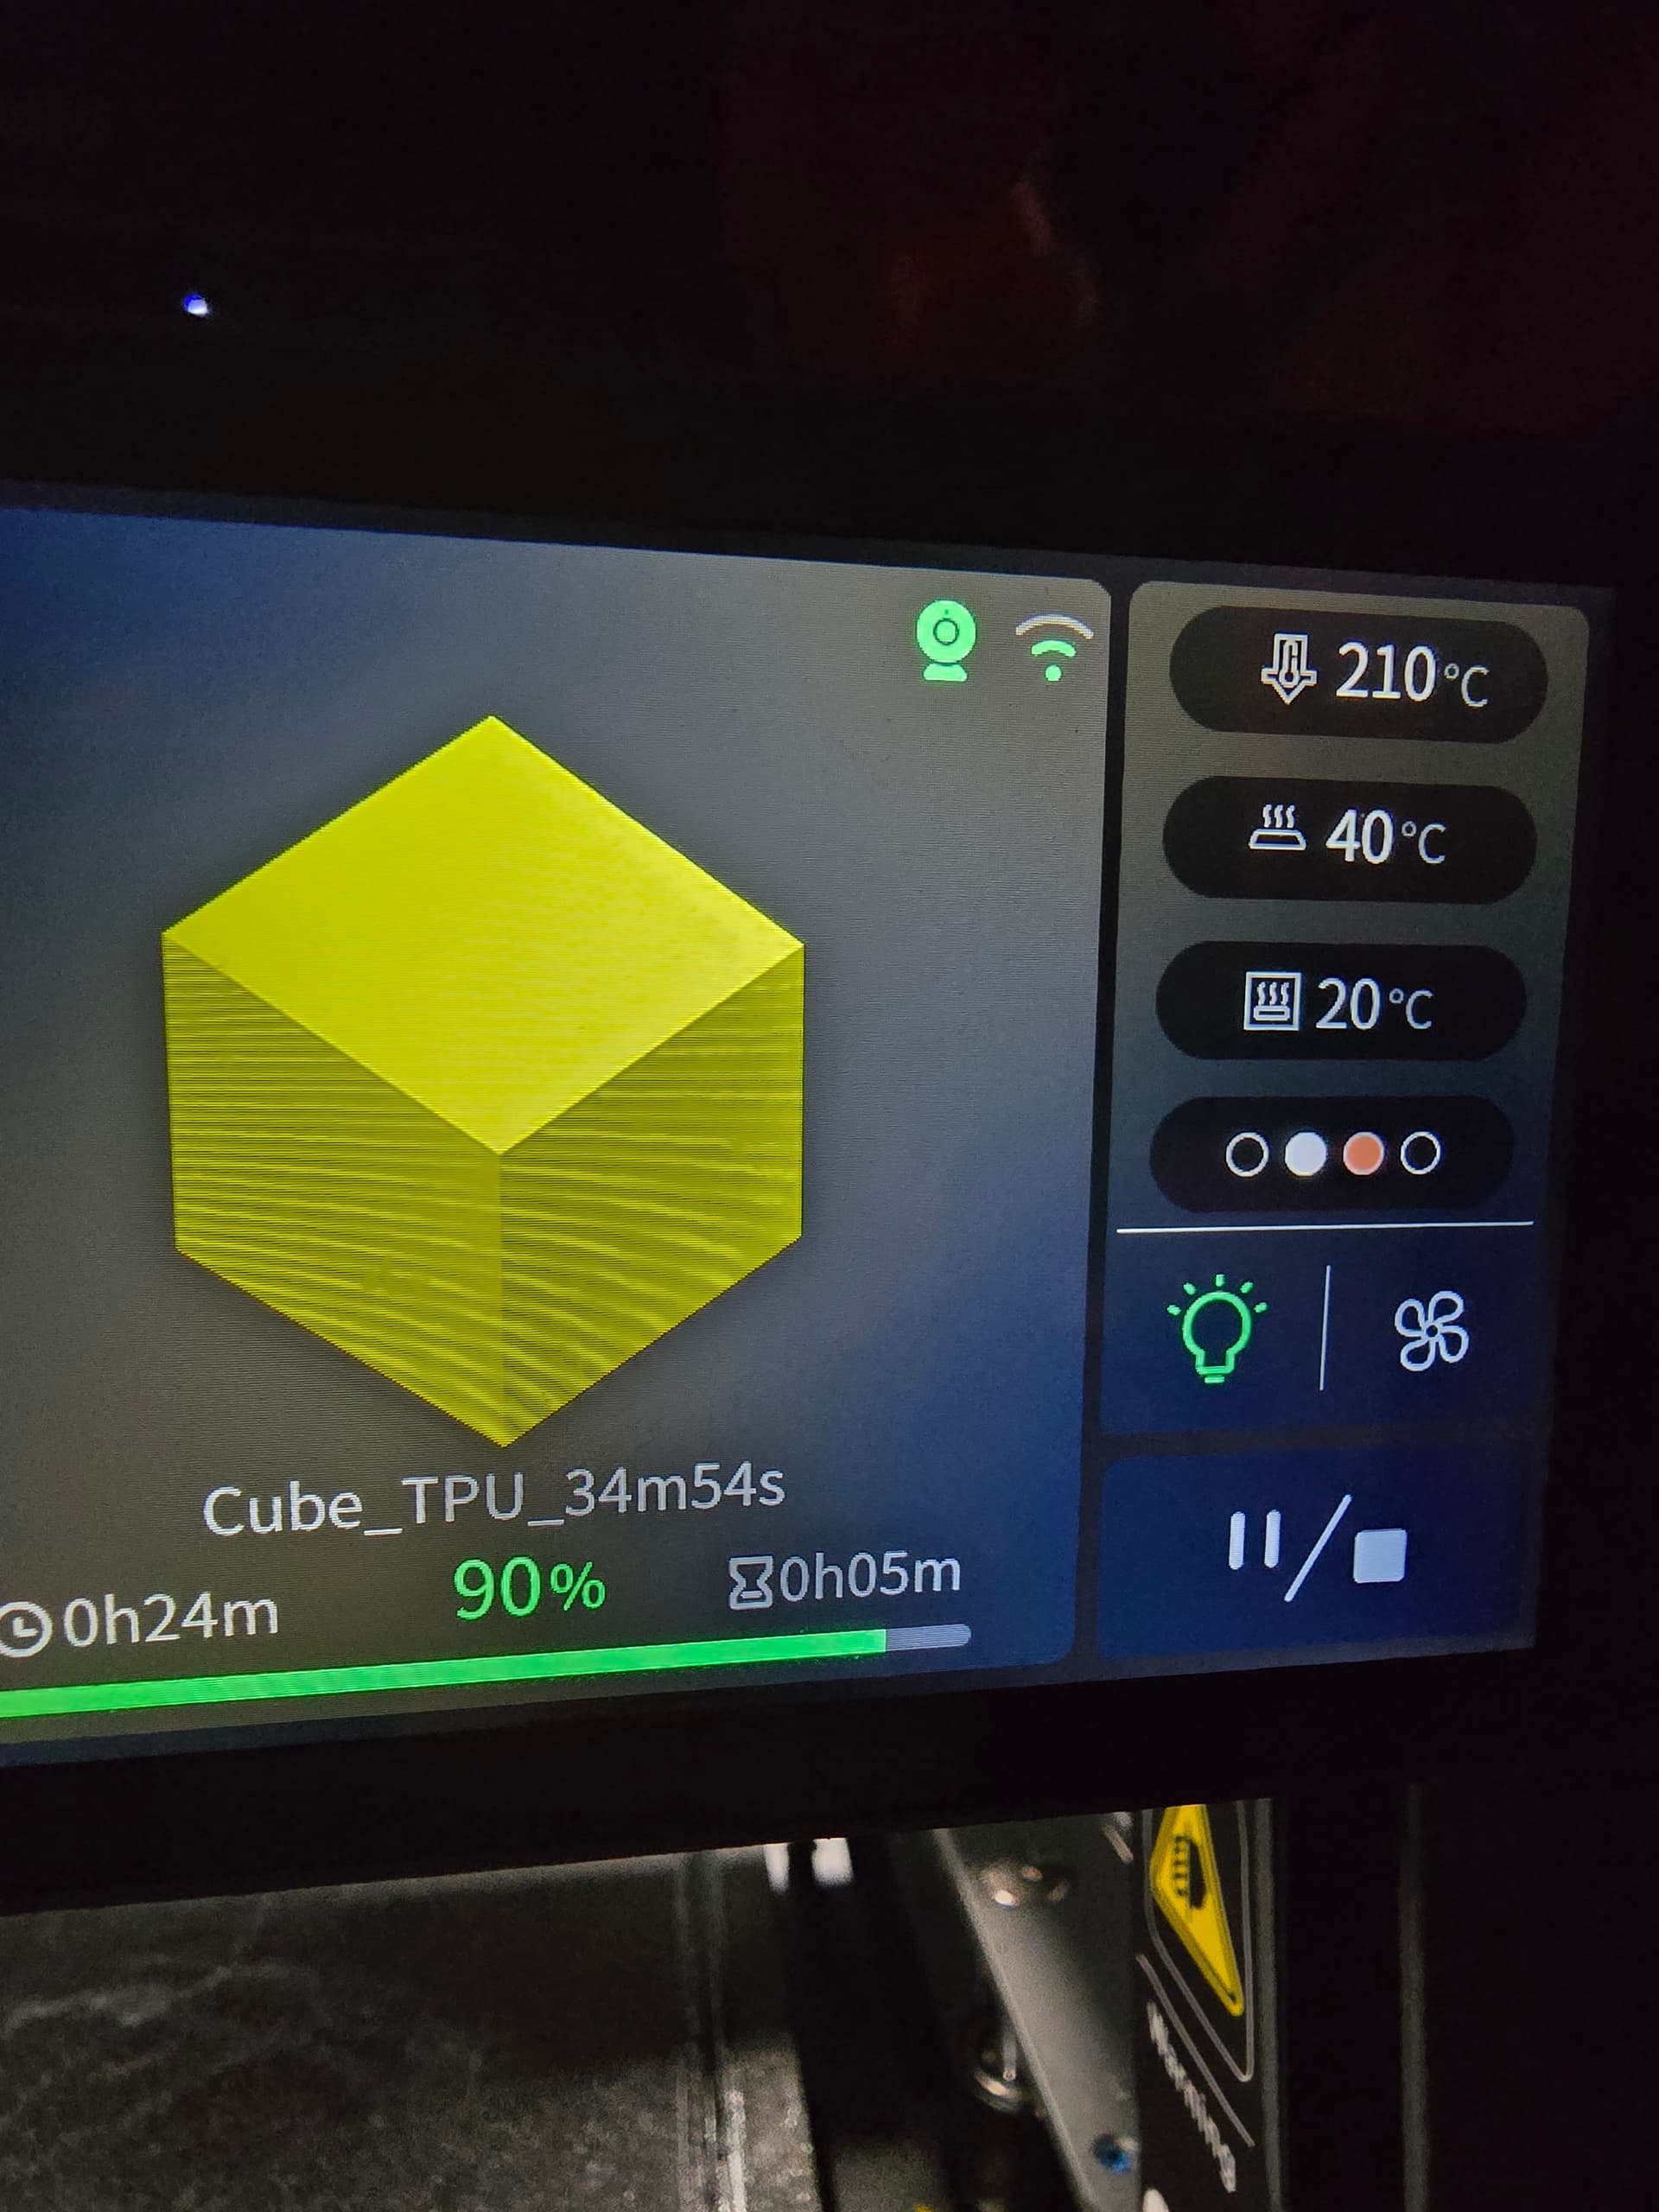
Detail/photo’s - Documented effects of changing temp & speed during a 20mm cube test print using above method
(Changed the z offset by 0.005 during last layer of print to show difference)
will add additional photo’s later, seems there is a limit per post on this forum.
Thanks for the detailed post which I have archived for future use. My need to print TPU (mainly gaskets) is one reason I have kept me CR10S Pro. It’s slow but I found I can’t print TPU all that fast anyway.
TPU is never fast, If you do a lot of printing it may be worth keeping a second printer just for TPU…
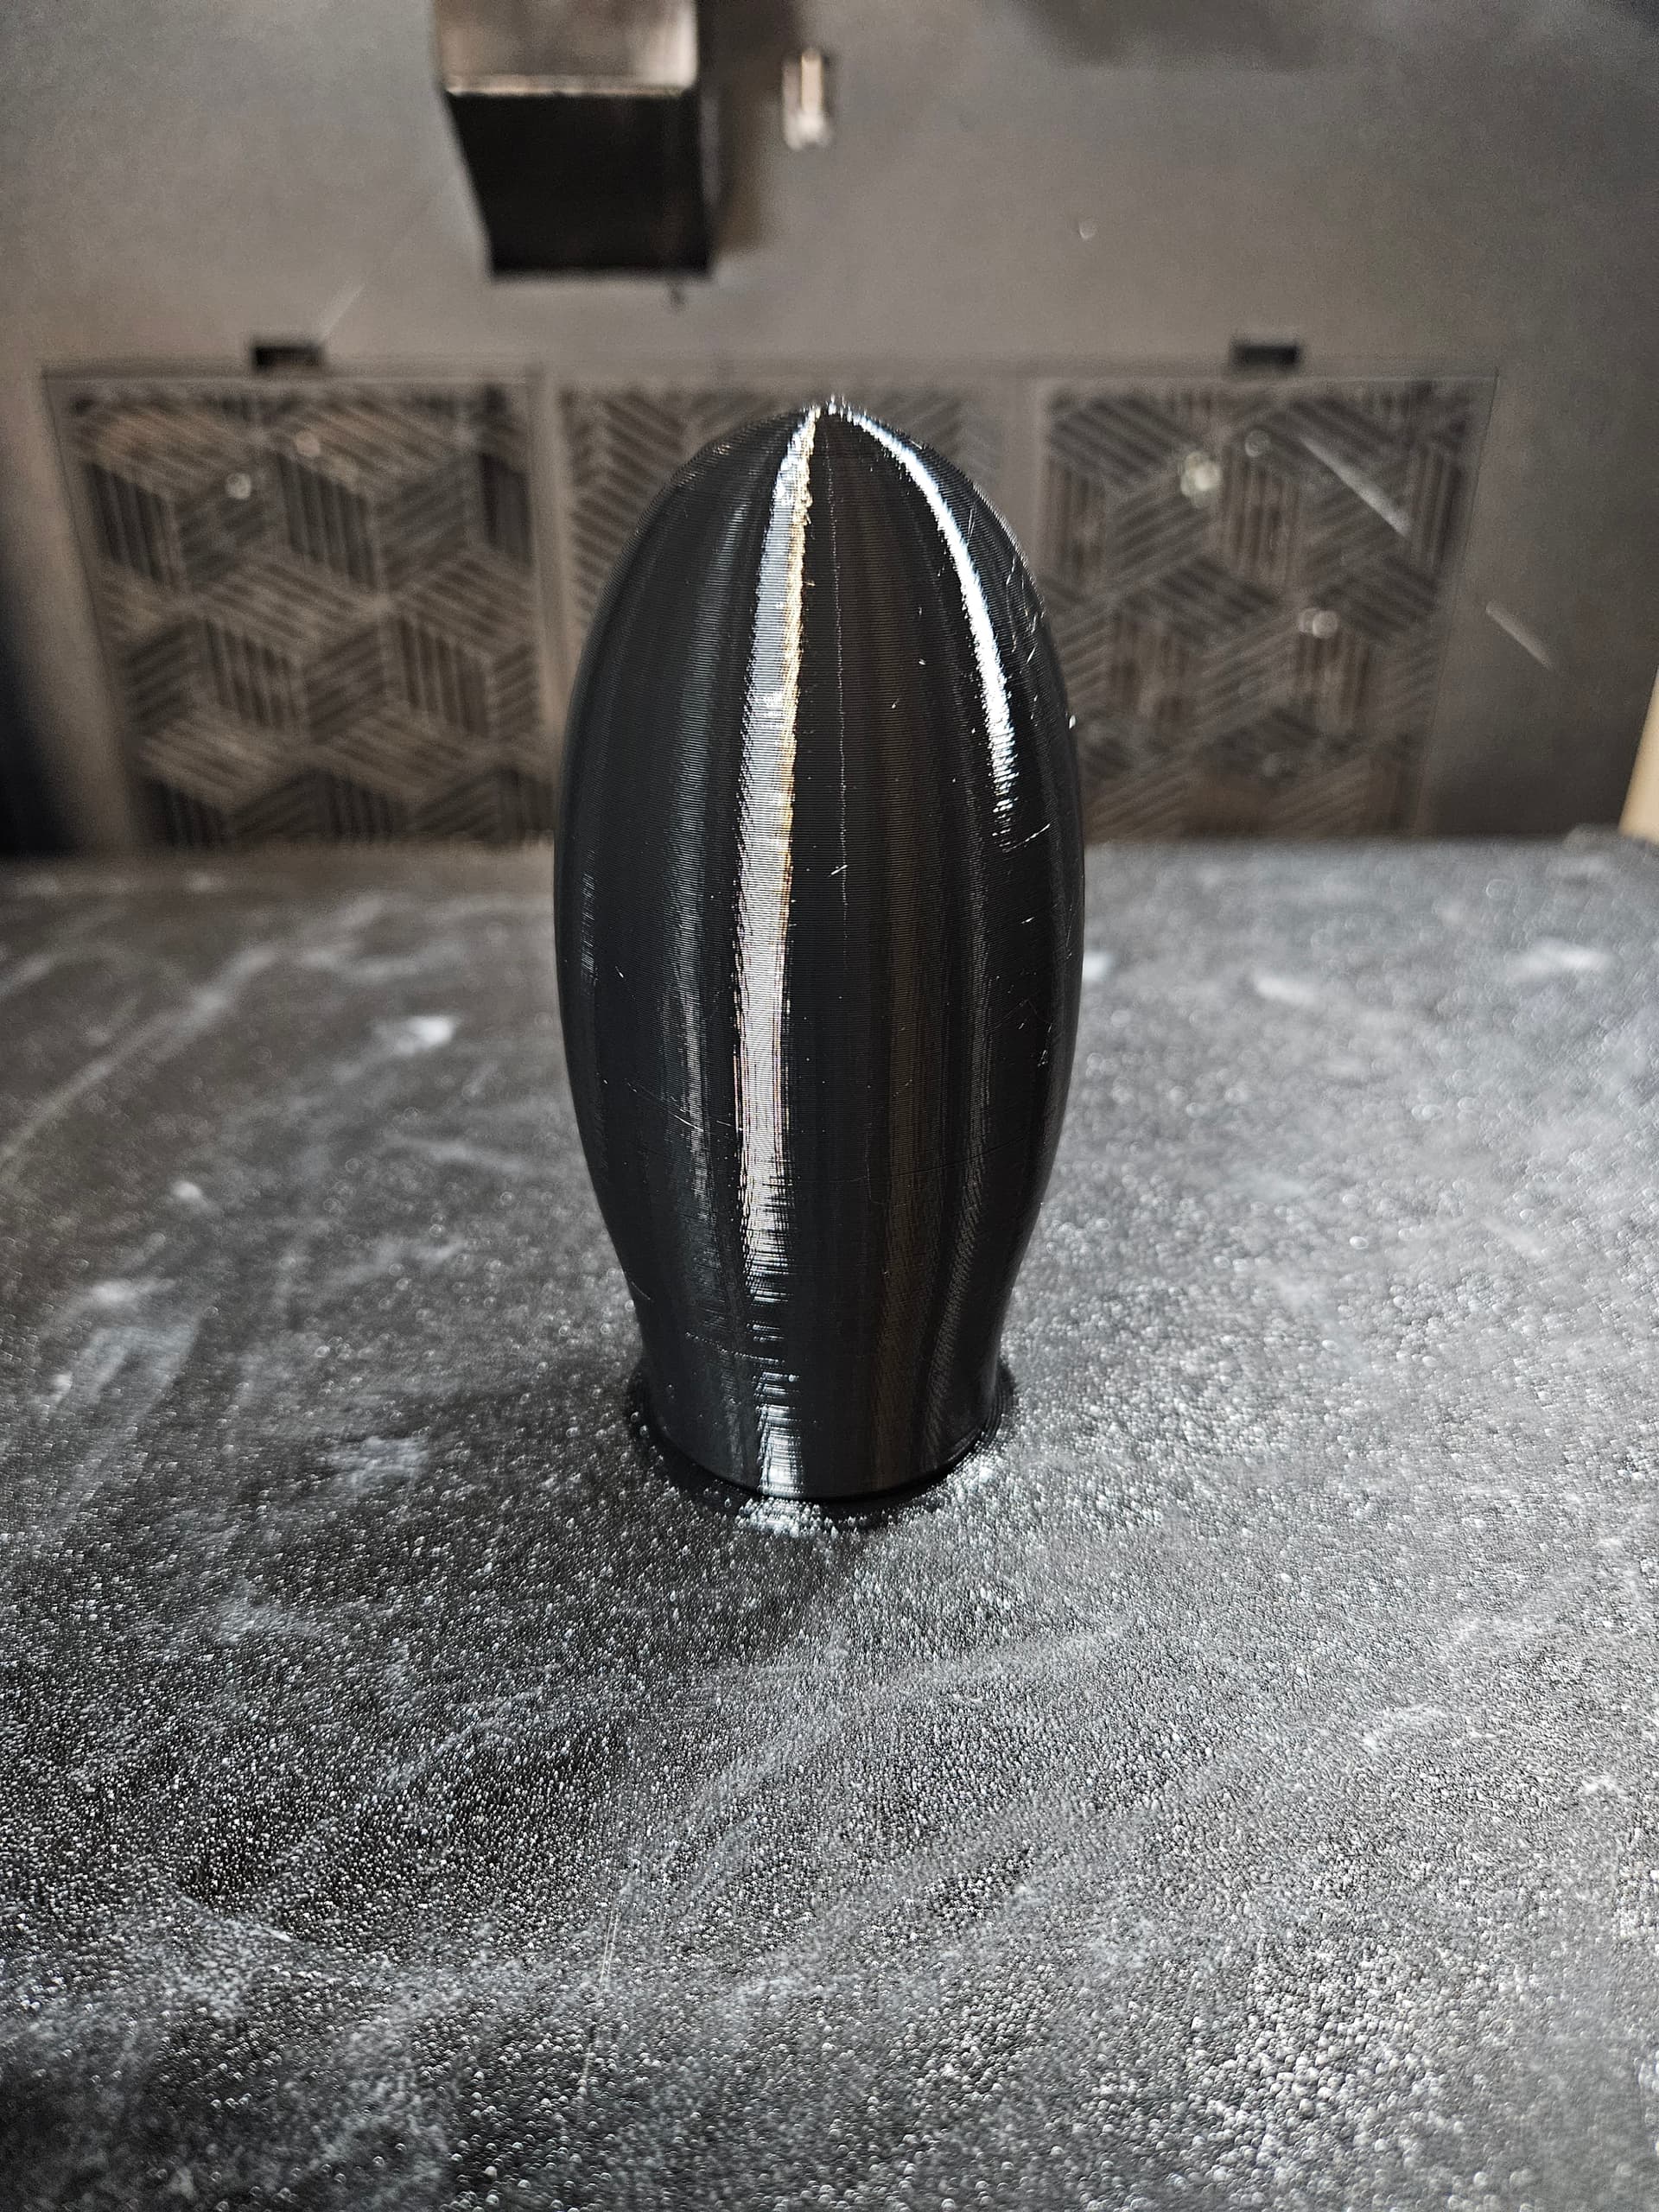
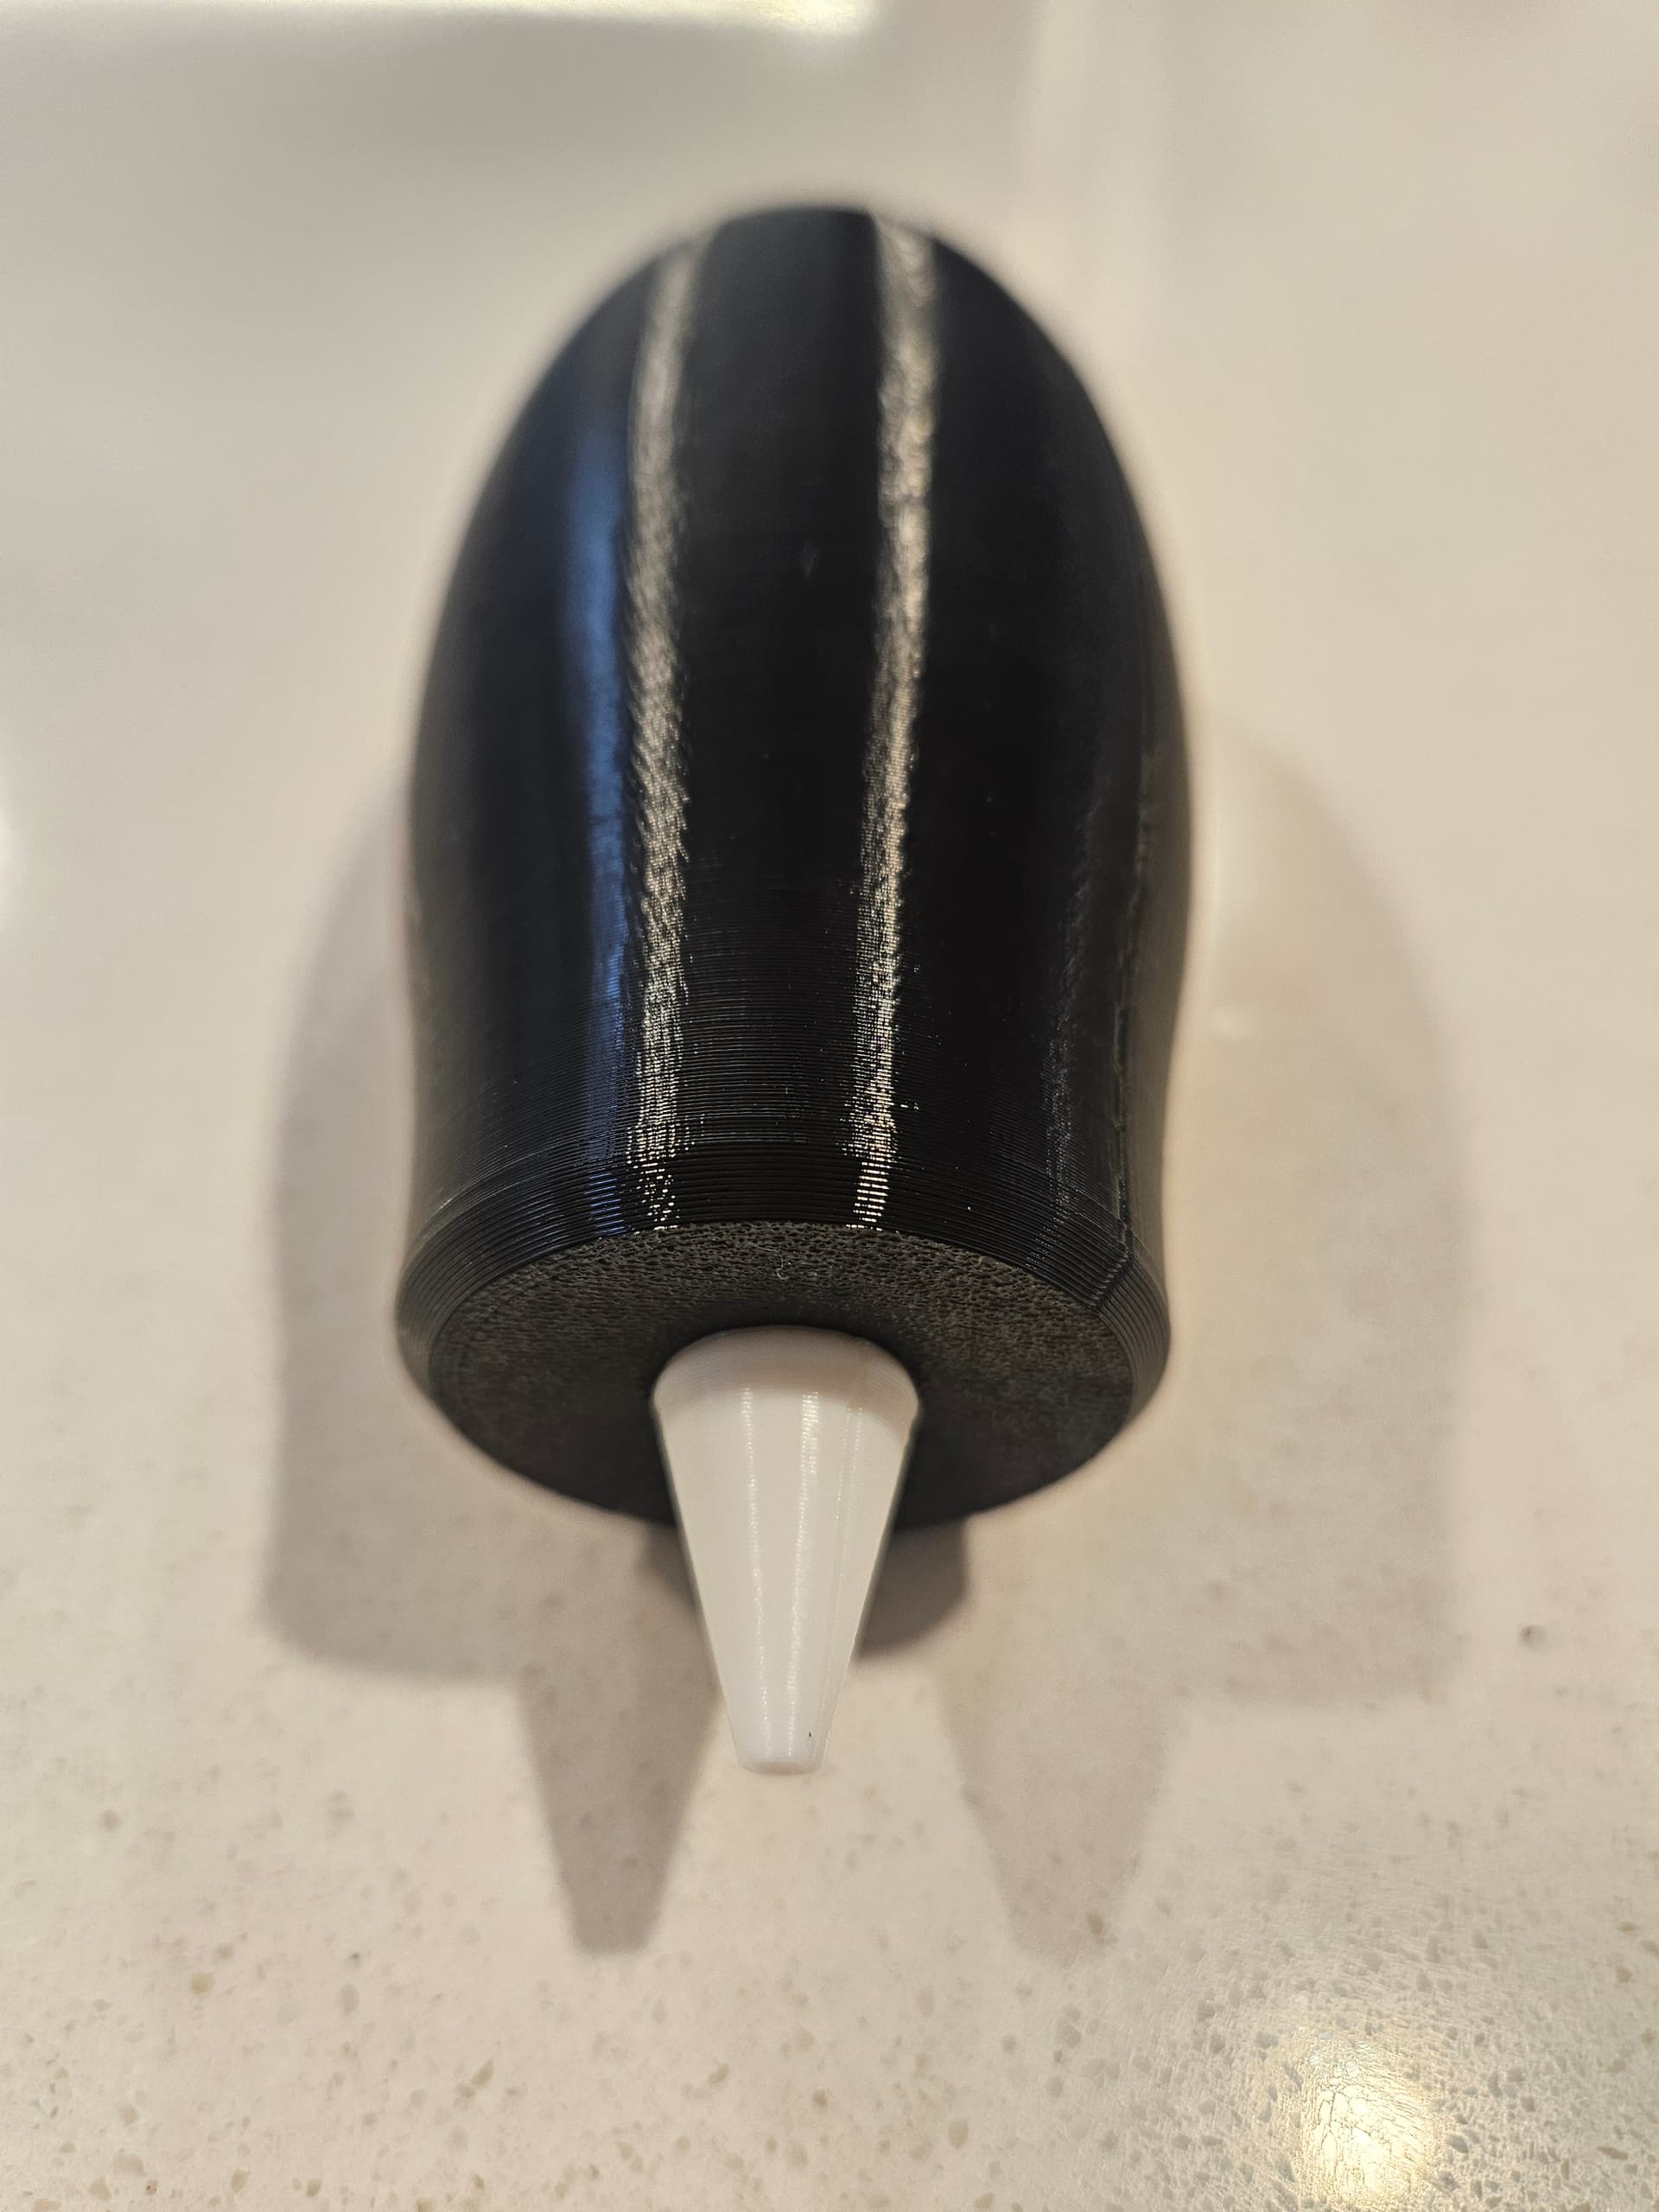
I printed this dust bulb today on the K2 doing the ultimate test…leaving the printer and going out
Changed extruder to my TPU front cover, insert filament, click print and leave printer unattended..
Nice print Chris.St_NZ, Here are a couple of my design and prints of a coffee grinder bellows in TPU - printed slowly on my CR10S Pro. The bellows are almost unnecessary as this grinder clears all but the last few wisp of coffee grinds.
@PsychodelEKS
Directly into the extruder from a top side spool mount bypassing all PTFE tubing.
That said, I suspect this screw instead of spring approach may well work with a short piece of tubing if some fine tuning of the screw tightness was done with some sort of torc wrench precise tightening method (which I dont have).
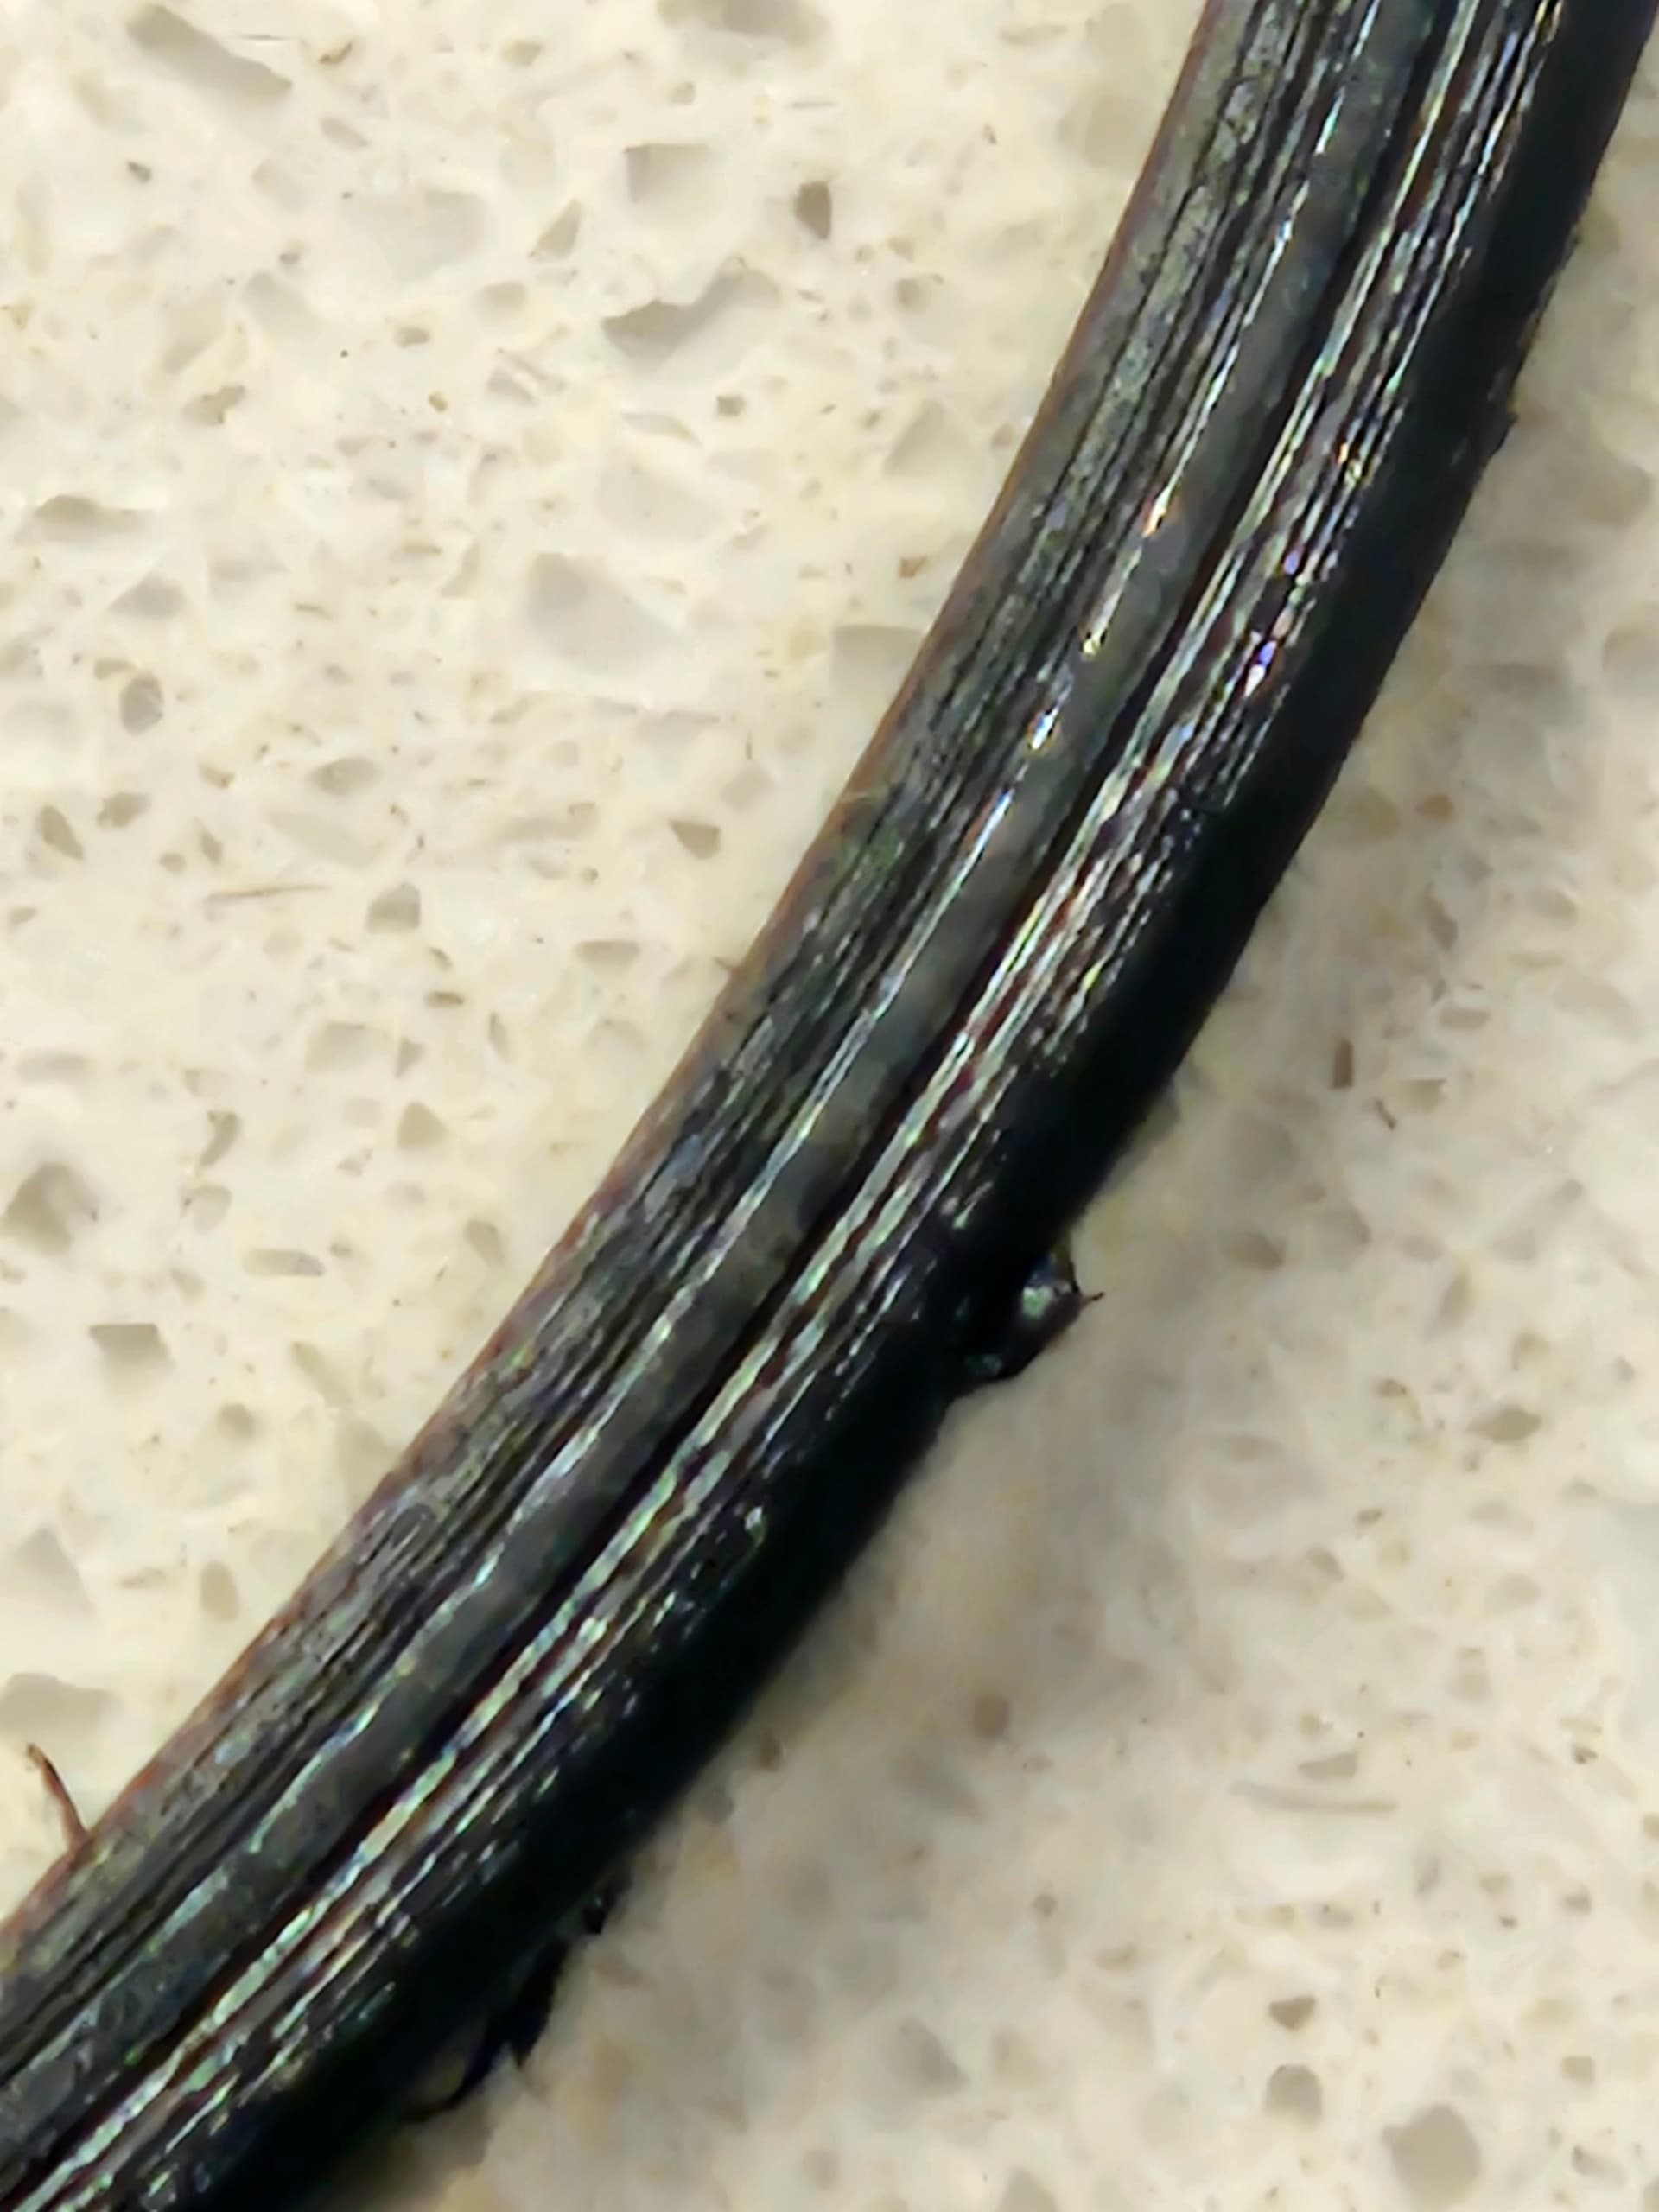
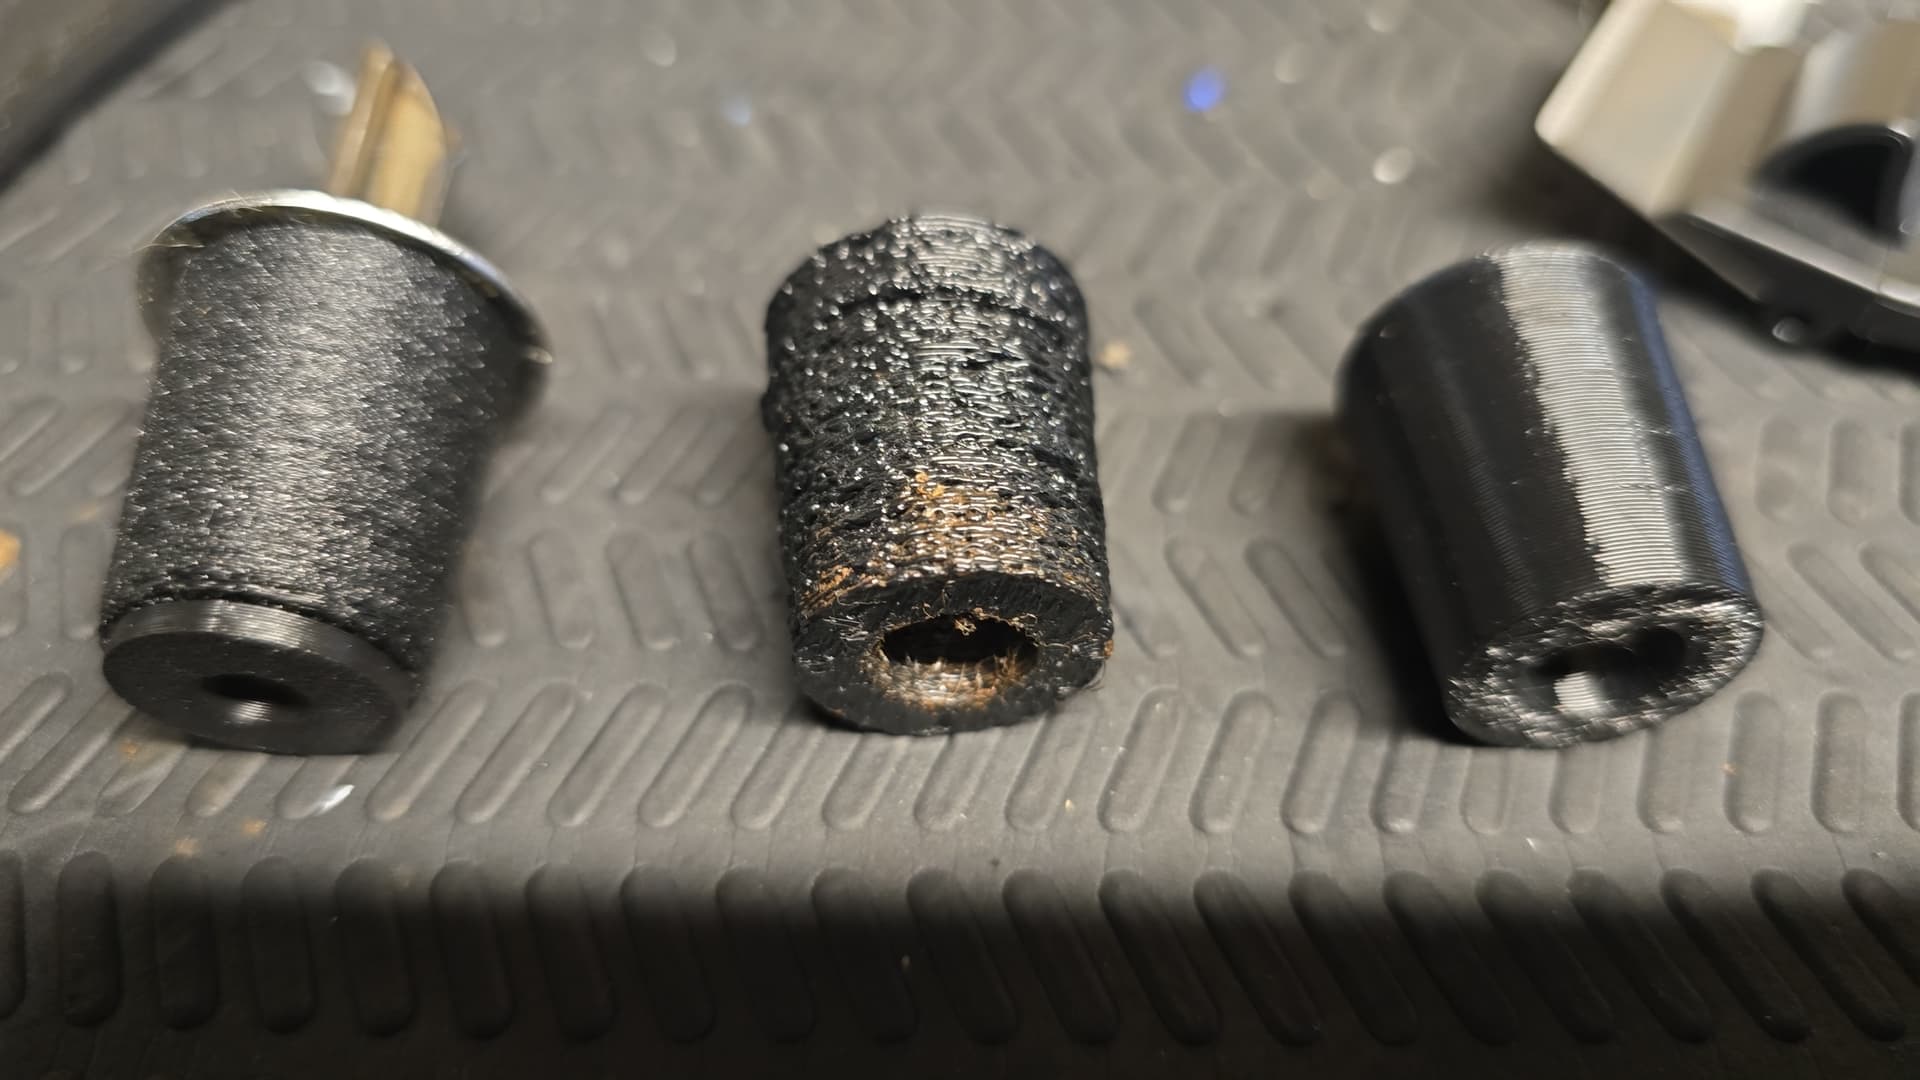
I suffered from PTFE connector failure on my original extruder front cover, so I dedicated that “broken” extruder cover to be used for TPU just to reduce the number of times I have to detatch the PTFE tubing from my second front extruder cover.
I disconnect the PTFE tubing from the chain and secure it + the connected front cover out of the way when I install the second “broken” extruder front cover for printing TPU, thus removing the need to detatch the tubing from a connector, this is probably overkill, as there are now enough good solution to print for front cover connector failure, when not if the second extruder front cover connector also fails.
Just to update this thread, i can confirm that i can print (so far small objects) directly from my now top mounted space pi dual filament heater.
I printed some space pi plugs that i found as pla, I changed the design for TPU printing and recalibrated my profile for TPU with this extra setup.
Didn’t want that weight sliding off so the box fits into the CFS feet holes.
Update - its not a big surprise that I had to slow down print speeds considerably when printing from the filament heater via its PTFE and bearings, compared to a top - side spool mount…
but after 1 first failed attempt printing at half speeds worked, not as clean as side spool.. but it did work
Yeah i went this way because i didn’t want an extra screw to loose… those screws get good distance, and I had a spare screw lying around so thought i’d investigate a different way to print TPU without having to buy that spring
Do you know if the spring method lets you print TPU from an external drier ?
so far my tests from printing from Space Pi Dual, through (space pi PTFE) → direct to extruder are working.
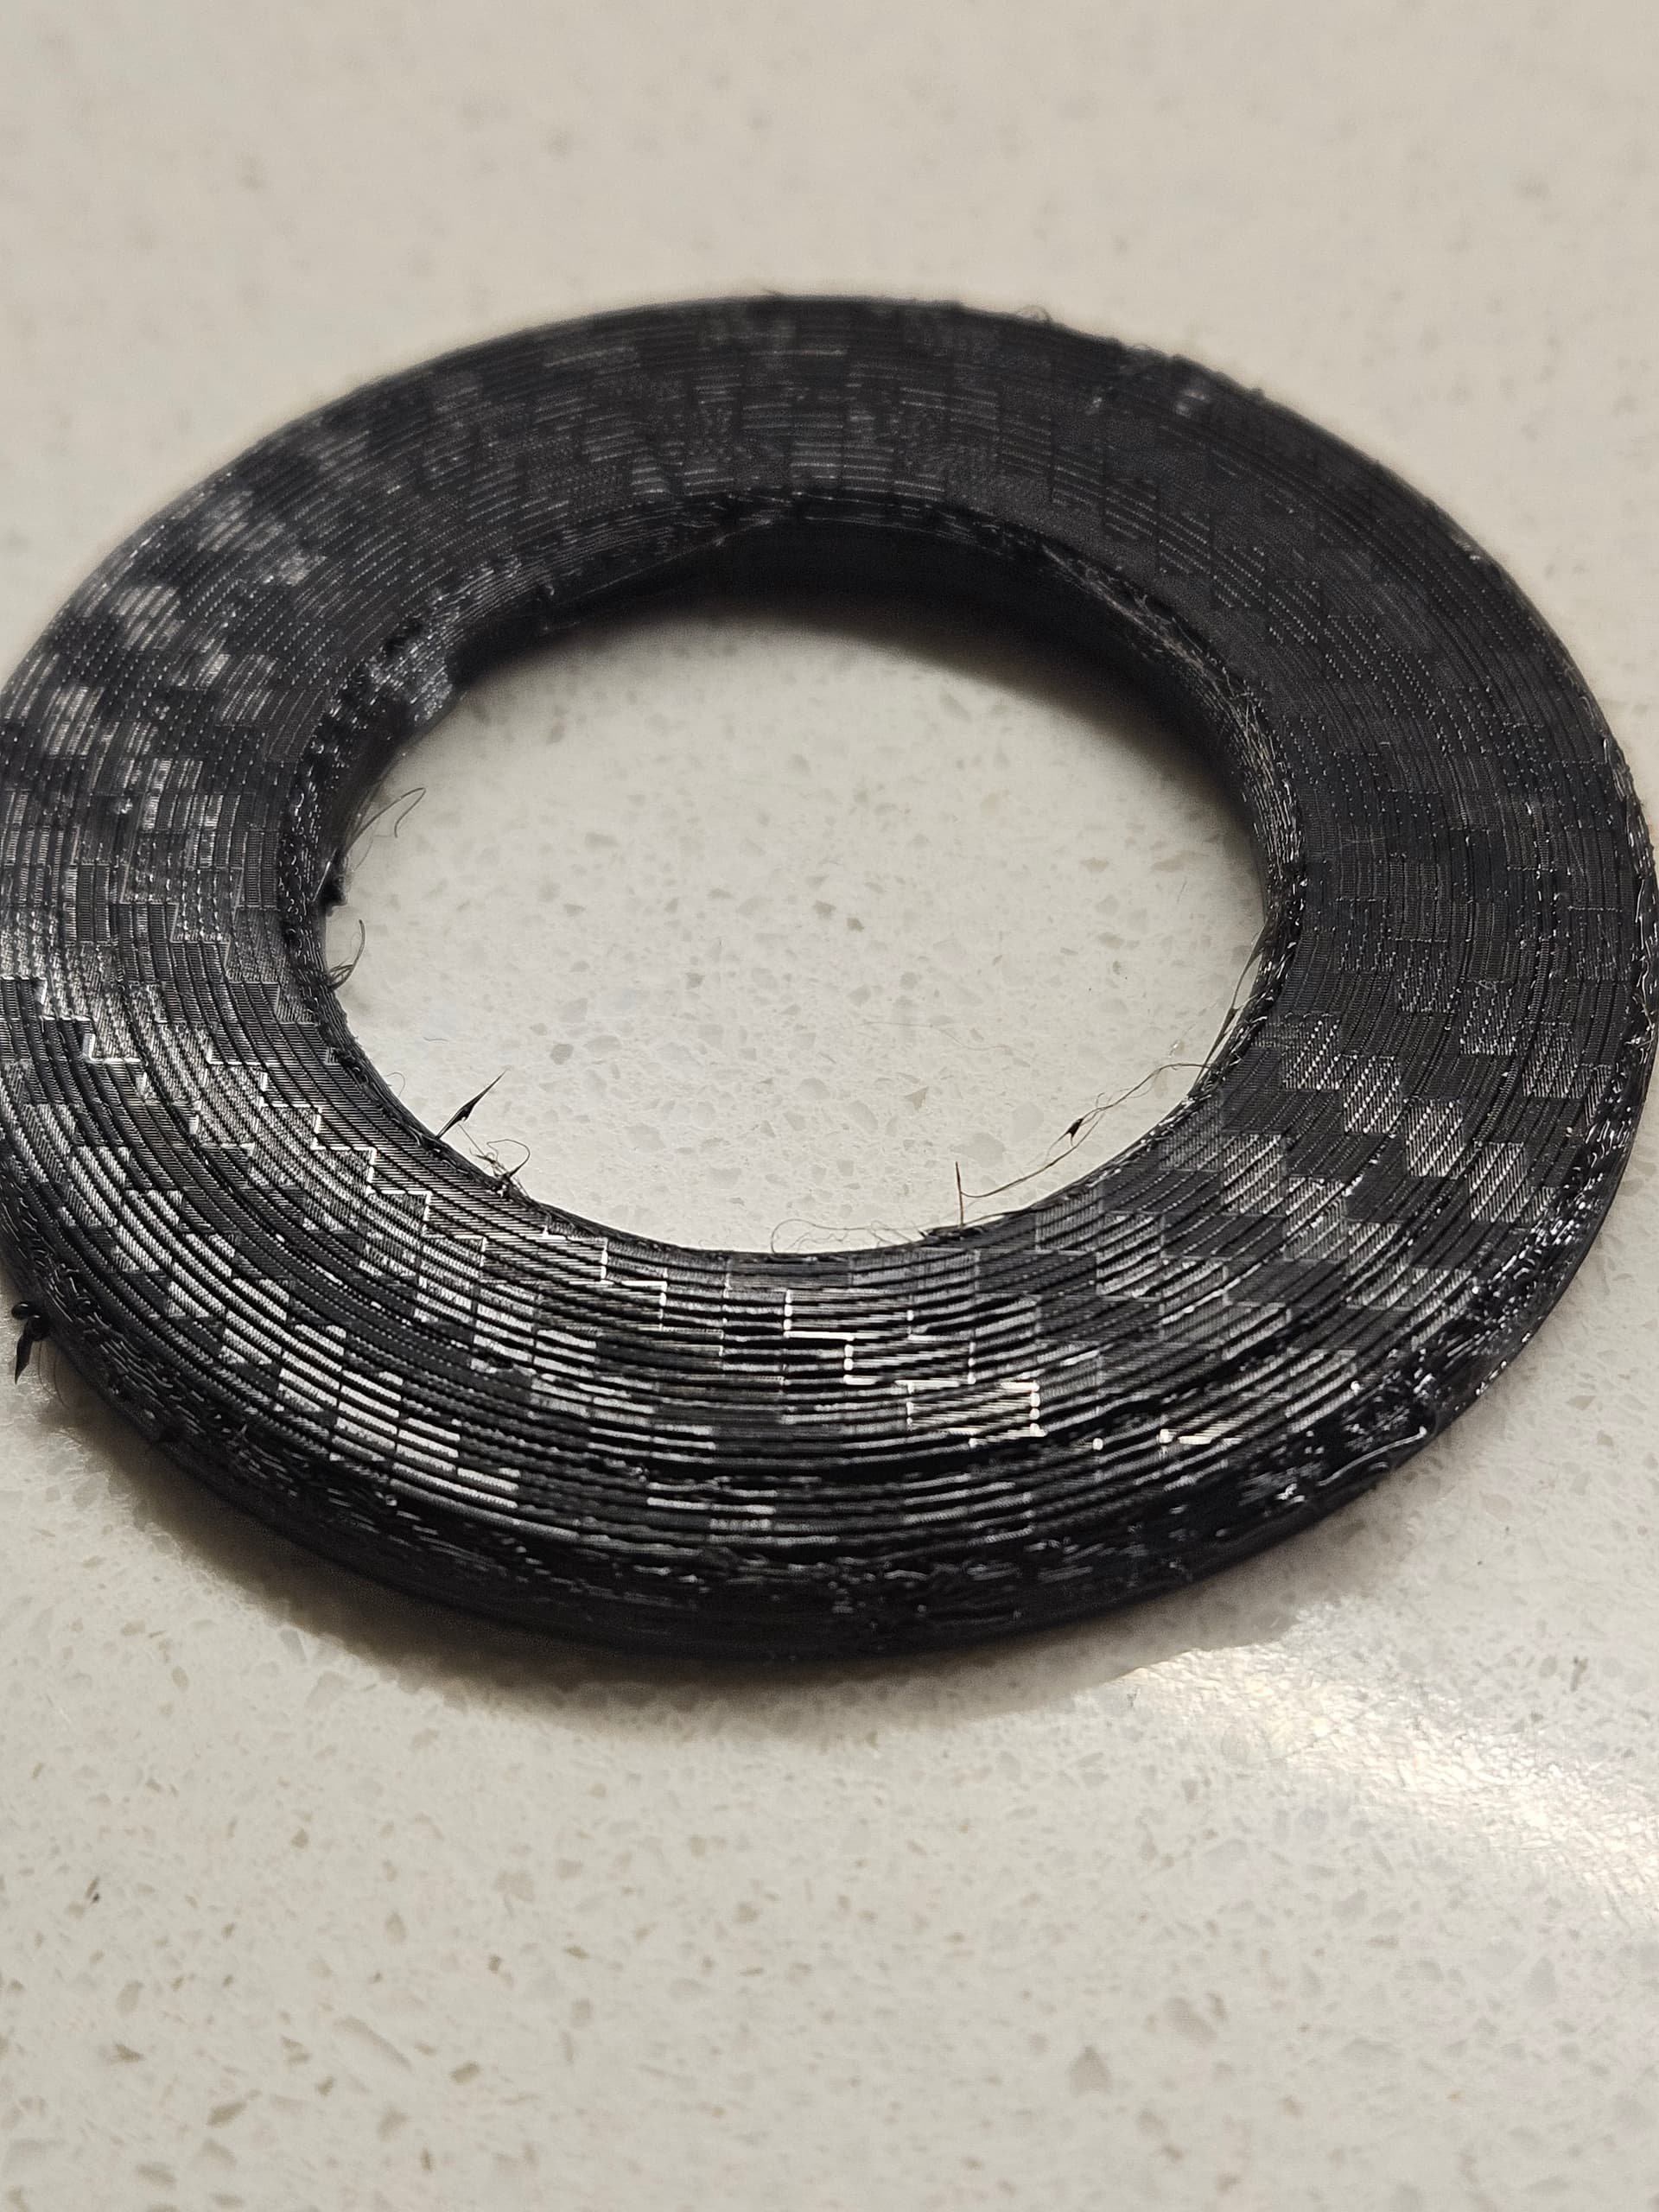
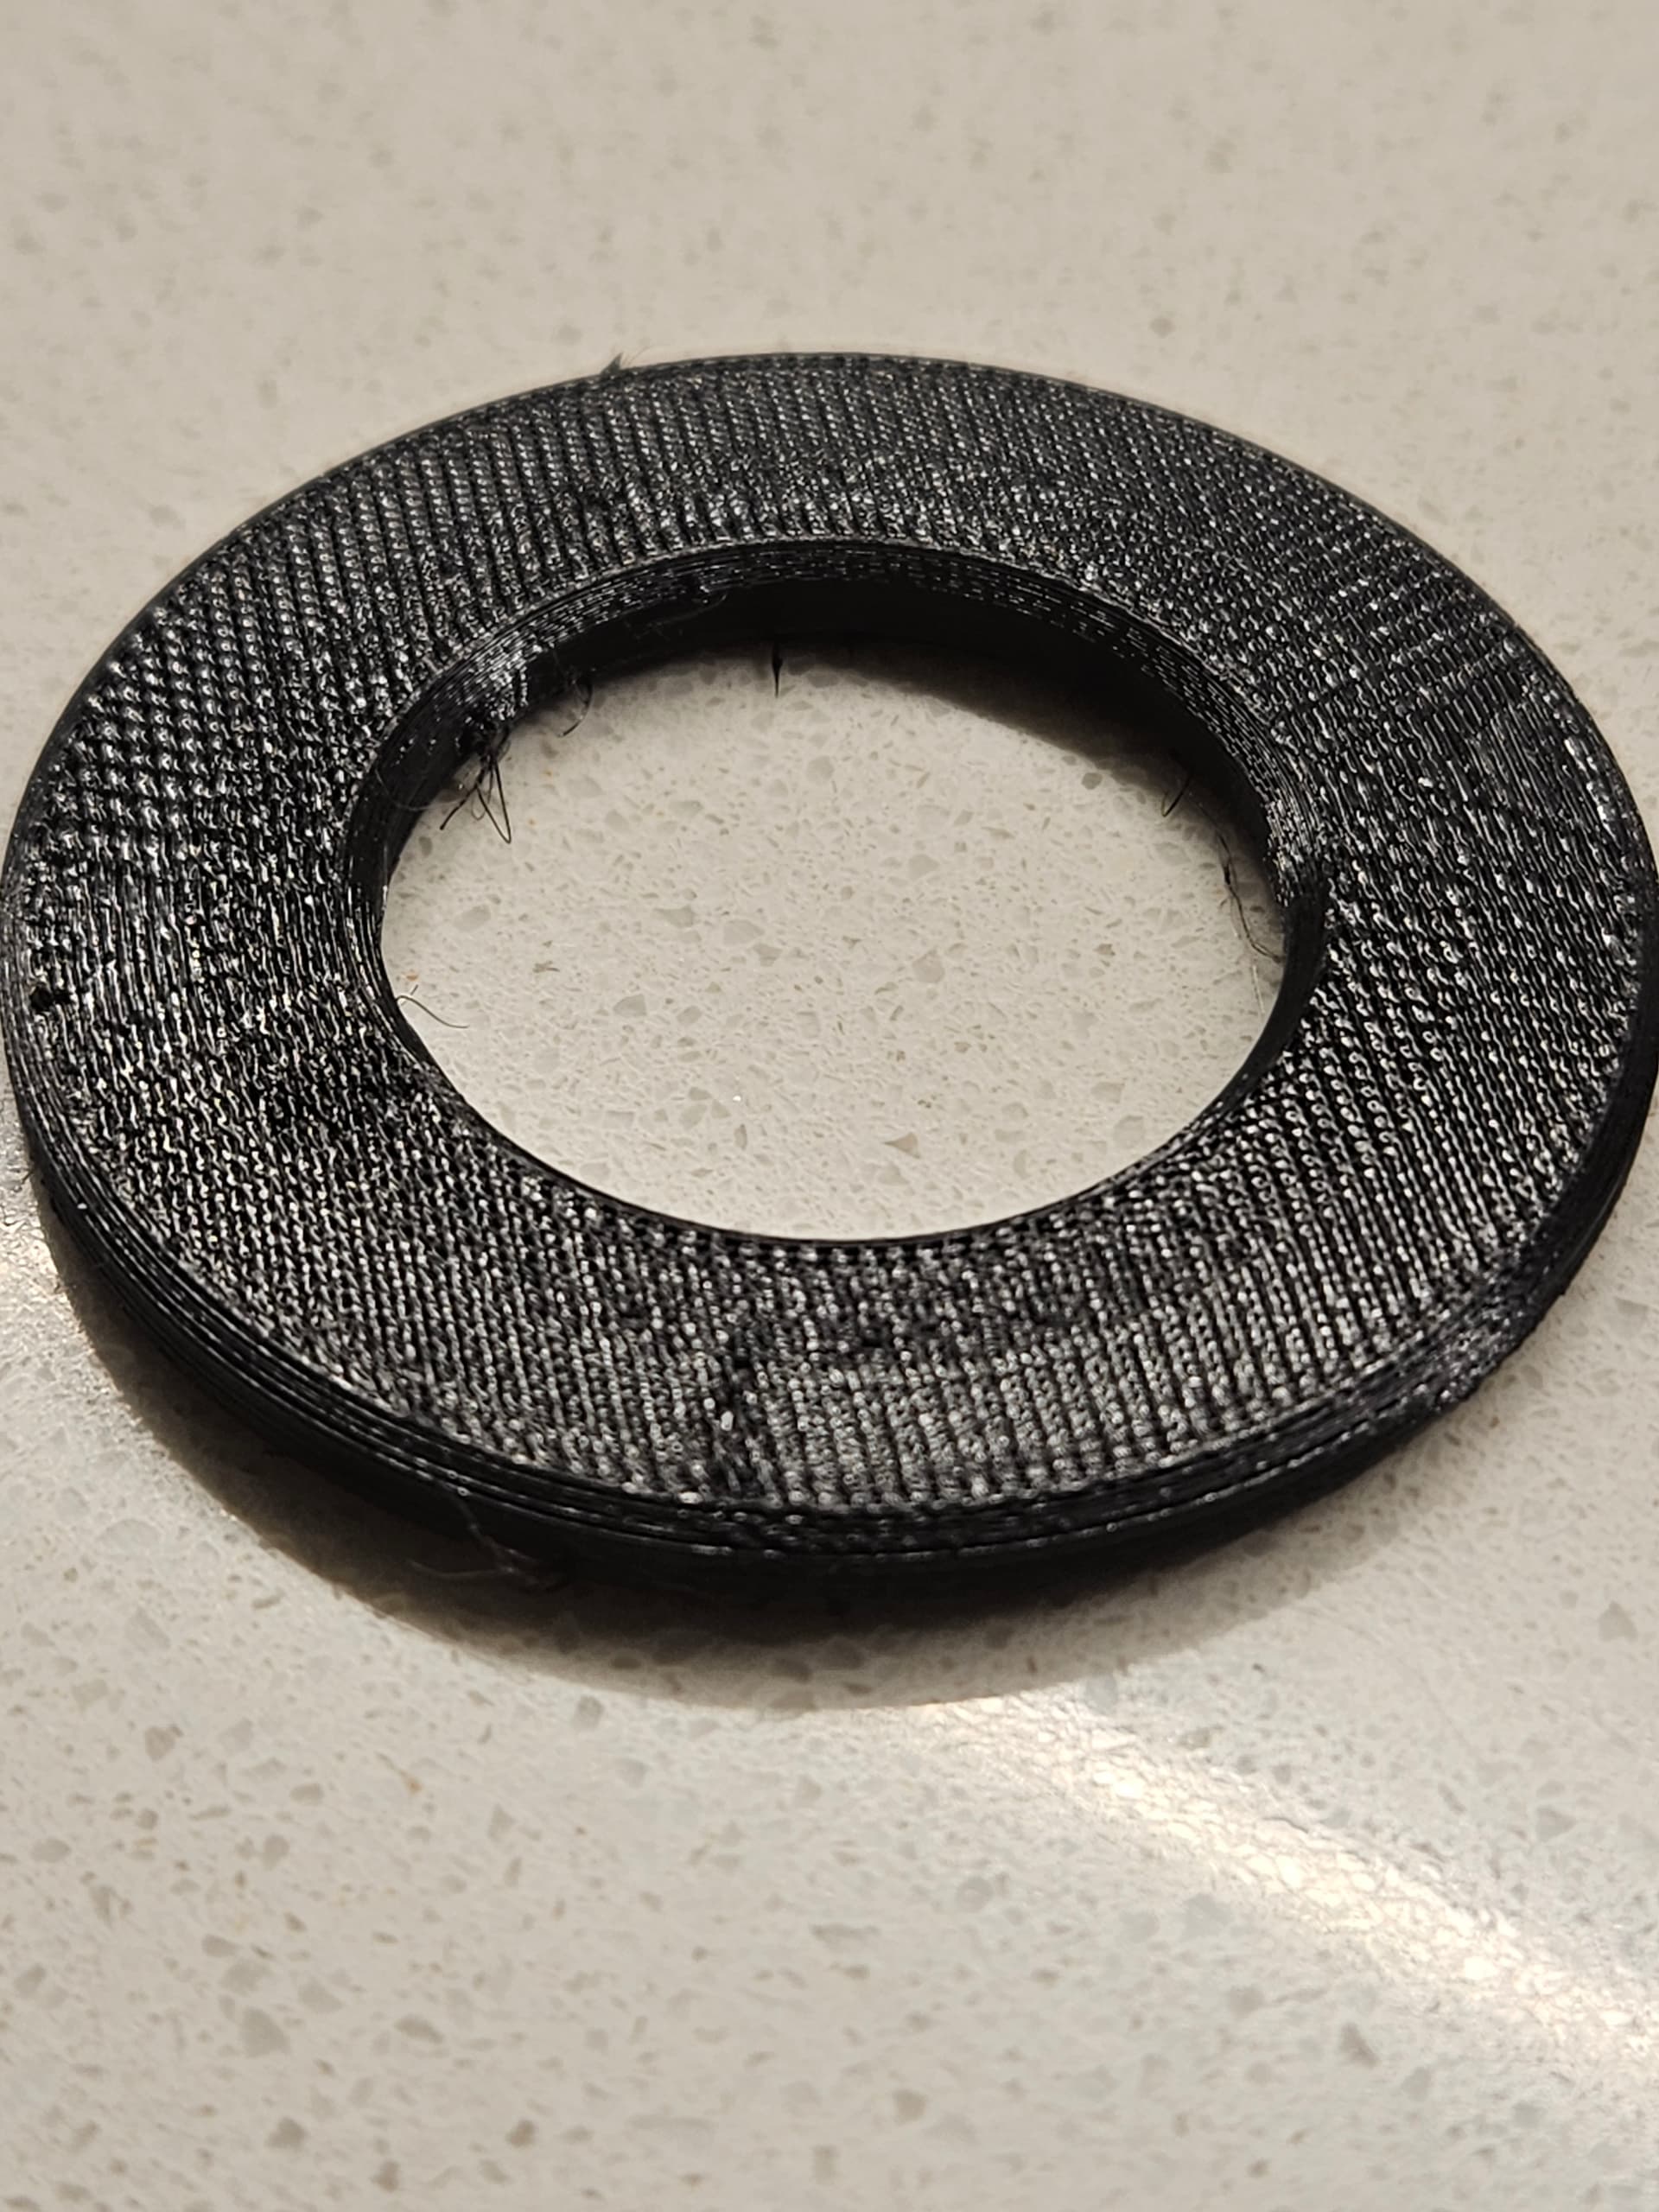
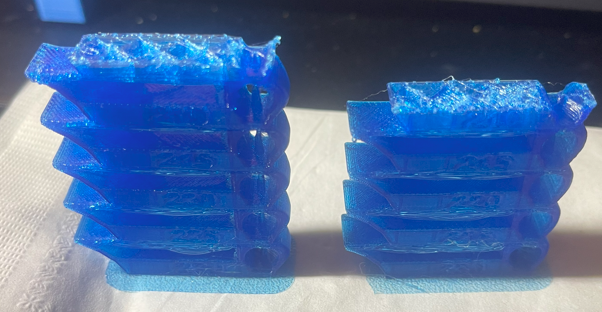
Decided to try printing gaskets using 0.08 layers…
Using my method… Sort of worked, main issue was numpty - self inflicted.
Used strength profile with 20 walls to try to get “only” circular gaskets without using infill..
However someone forgot to reduce default speeds
Managed to save the print via fluidd on the second layer when I noticed it going pear shaped with far too fast printing issues, and a bit more of post cleanup required, but once corrected it was printing ultra fine TPU lines nicely..
For others, had to drop strength speed down to 20%, to get layer adhesion working, then slowly raised to find max and then dialed back slightly..max was %28, %30 was starting to cause quality issues, but between %20 & %28 it was printing ok..
And a eufy 2c pro weather protector, just because (.2 layers). Again there were some quality issues by me forcing the upper speed limits, to find the thresholds, so I know I can print “better” if I choose slower speeds..
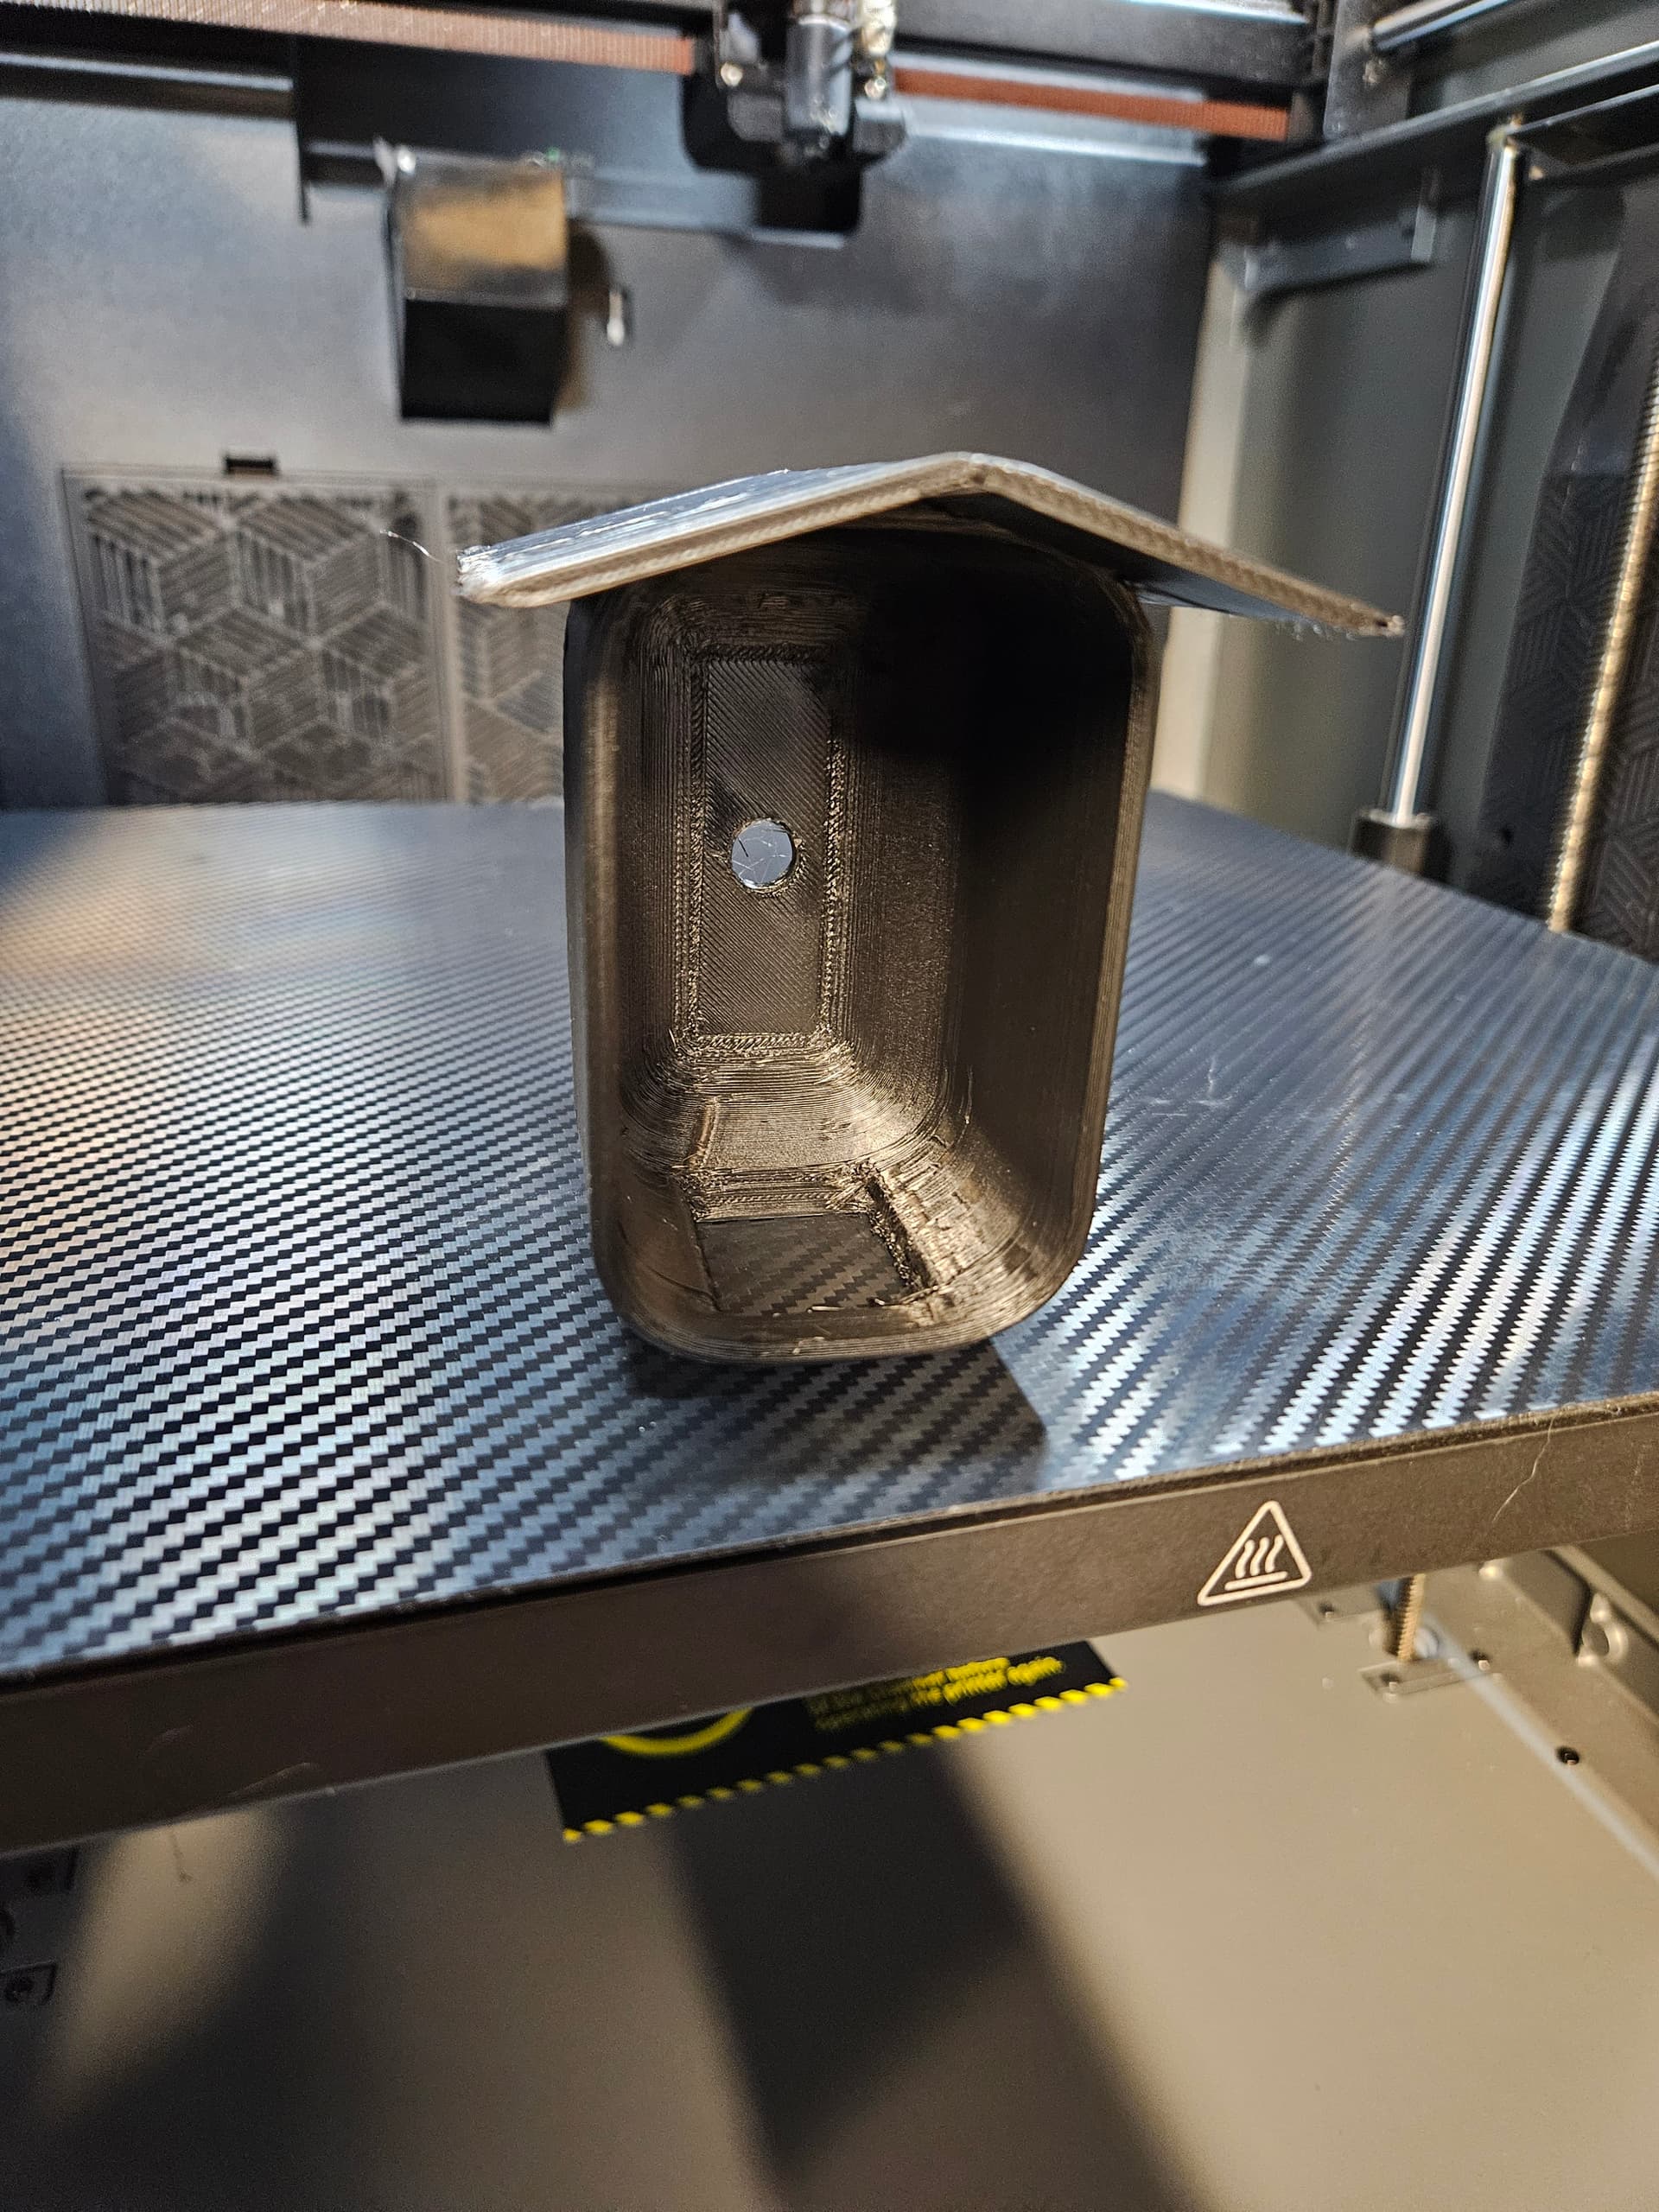
Needed to recreate a lost part, which was origionally a weighted rubber ball…
Prototype in green PETG, real in TPU..
.2 layers, pressure advance disabled was key to not needing any supports
The description on the TPU when I bought thru Amazon states shore hardness of 95A. I’m not so sure. I print the Sain Smart black TPU that is 95A just fine. The translucent blue does not show up on Sain Smart as translucent. The only one they show is white, although you can find this blue one buried in another group on their website. I would really like translucent to work. Is that problem with TPU? Is it too soft for the K2 Plus?
Hello All, I just started printing TPU and it’s been quite an adventure so far. I am learning a lot be brute force because the K2 was not printing well. I have the overhead spool in place, replaced the spring and added the spring perch, thumb screw with spring per a YouTube video and I was able to successfully print using Overture TPU. I also ended up printing Sain Smart black TPU. I had my share of headaches before swapping the stiff spring. Now I’m trying to print Sain Smart translucent blue. I dried for 8 prior but it ends up failing. First fail after new spring:
I don’t use a spring, just a screw finger tightened, with retraction set to 0.2.
With that, I use external spool, without any PTFE (although have since proven I can print through some PTFE), for best results straight into the extruder and run PA & flow calibration to show what settings to save as custom settings, depending on smooth v textured bed different offsets found through 1st layer print calibration stl’s, and any issues keep reducing speed by half , again and again, until you find a good 1st layer print speed with the custom settings…
What I’ve found is that if you can’t print the 2 built in PA and flow calibrations, with your K2 - TPU setup, prints will fail…
Never use CFS, once calibration works, move into 1st layer, get that working with whatever offset you need, then boost speed until it starts failing… this gives you a 1st layer volumetric, speed,flow,pa values to save as a custom profile (max minus 20%)
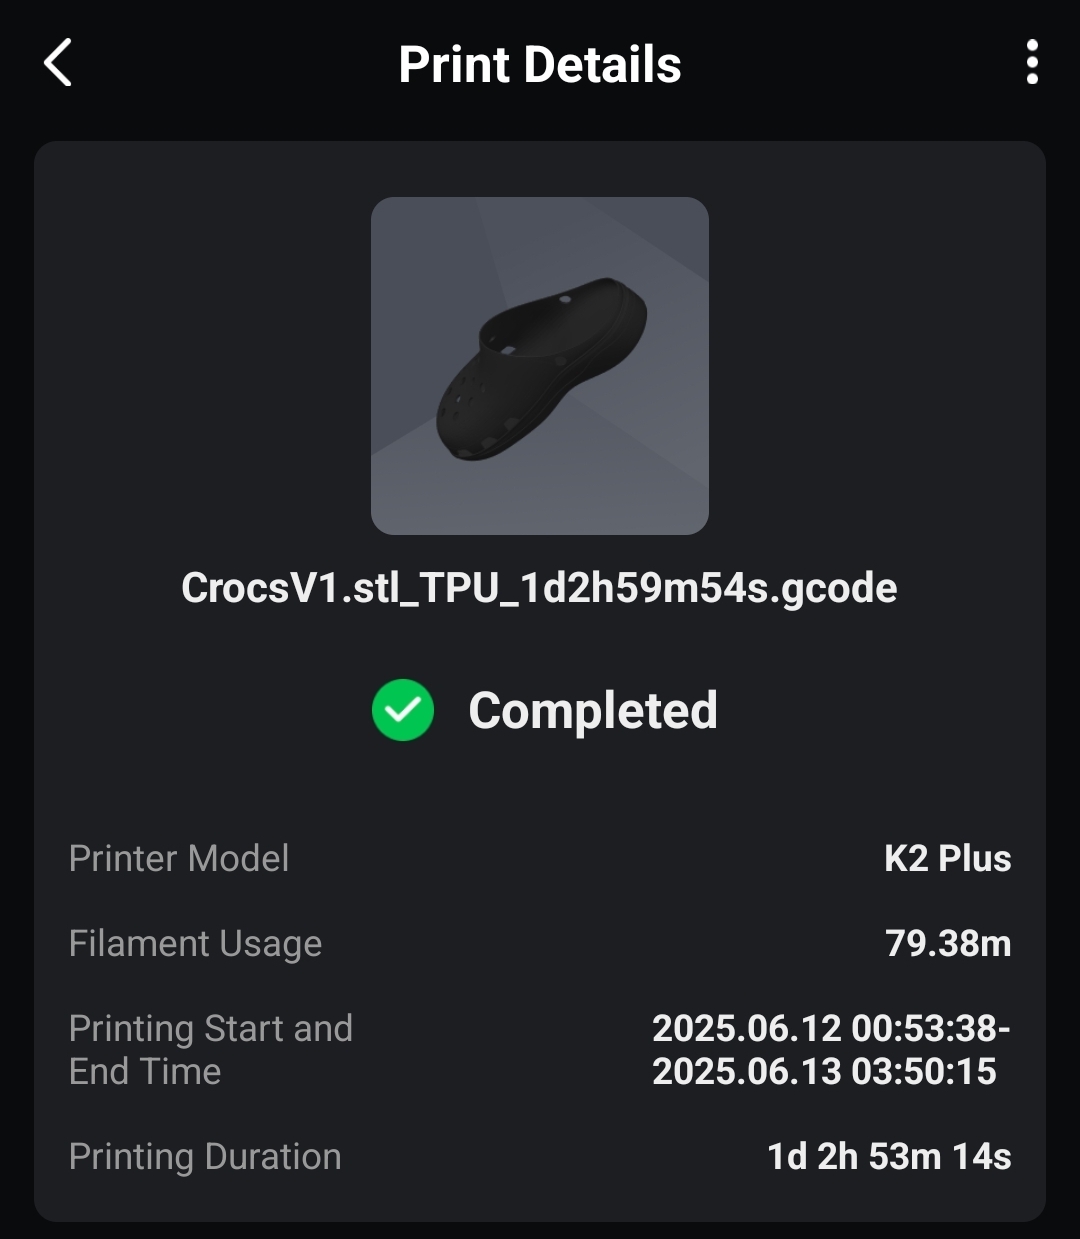
TPU is very sensitive to wet filaments I now just print directly from my space pi dual into the extruder… And can achieve +1 day length prints (the croc test to prove it can)
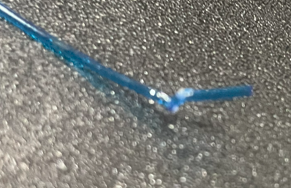
As a visual reference, left, TPU left out a couple of days, middle left out another 24 hours, right after drying filament. It averages about 70% humidity where I am..
All printed on same setup, same method, same parameters..
If I follow along the tutorial equation, PA=startPA+Z∗PAstep, using the overall height of 50 because I do not see any change on the corners , I get 0.1