I’m about at my wits end, and I just need this thing to work. I just cannot get layer 1 to cooperate. I’ve been messing with all the settings I can figure out. It’s been close to a month now, and I’ve been unable to print this piece with a remotely decent surface.
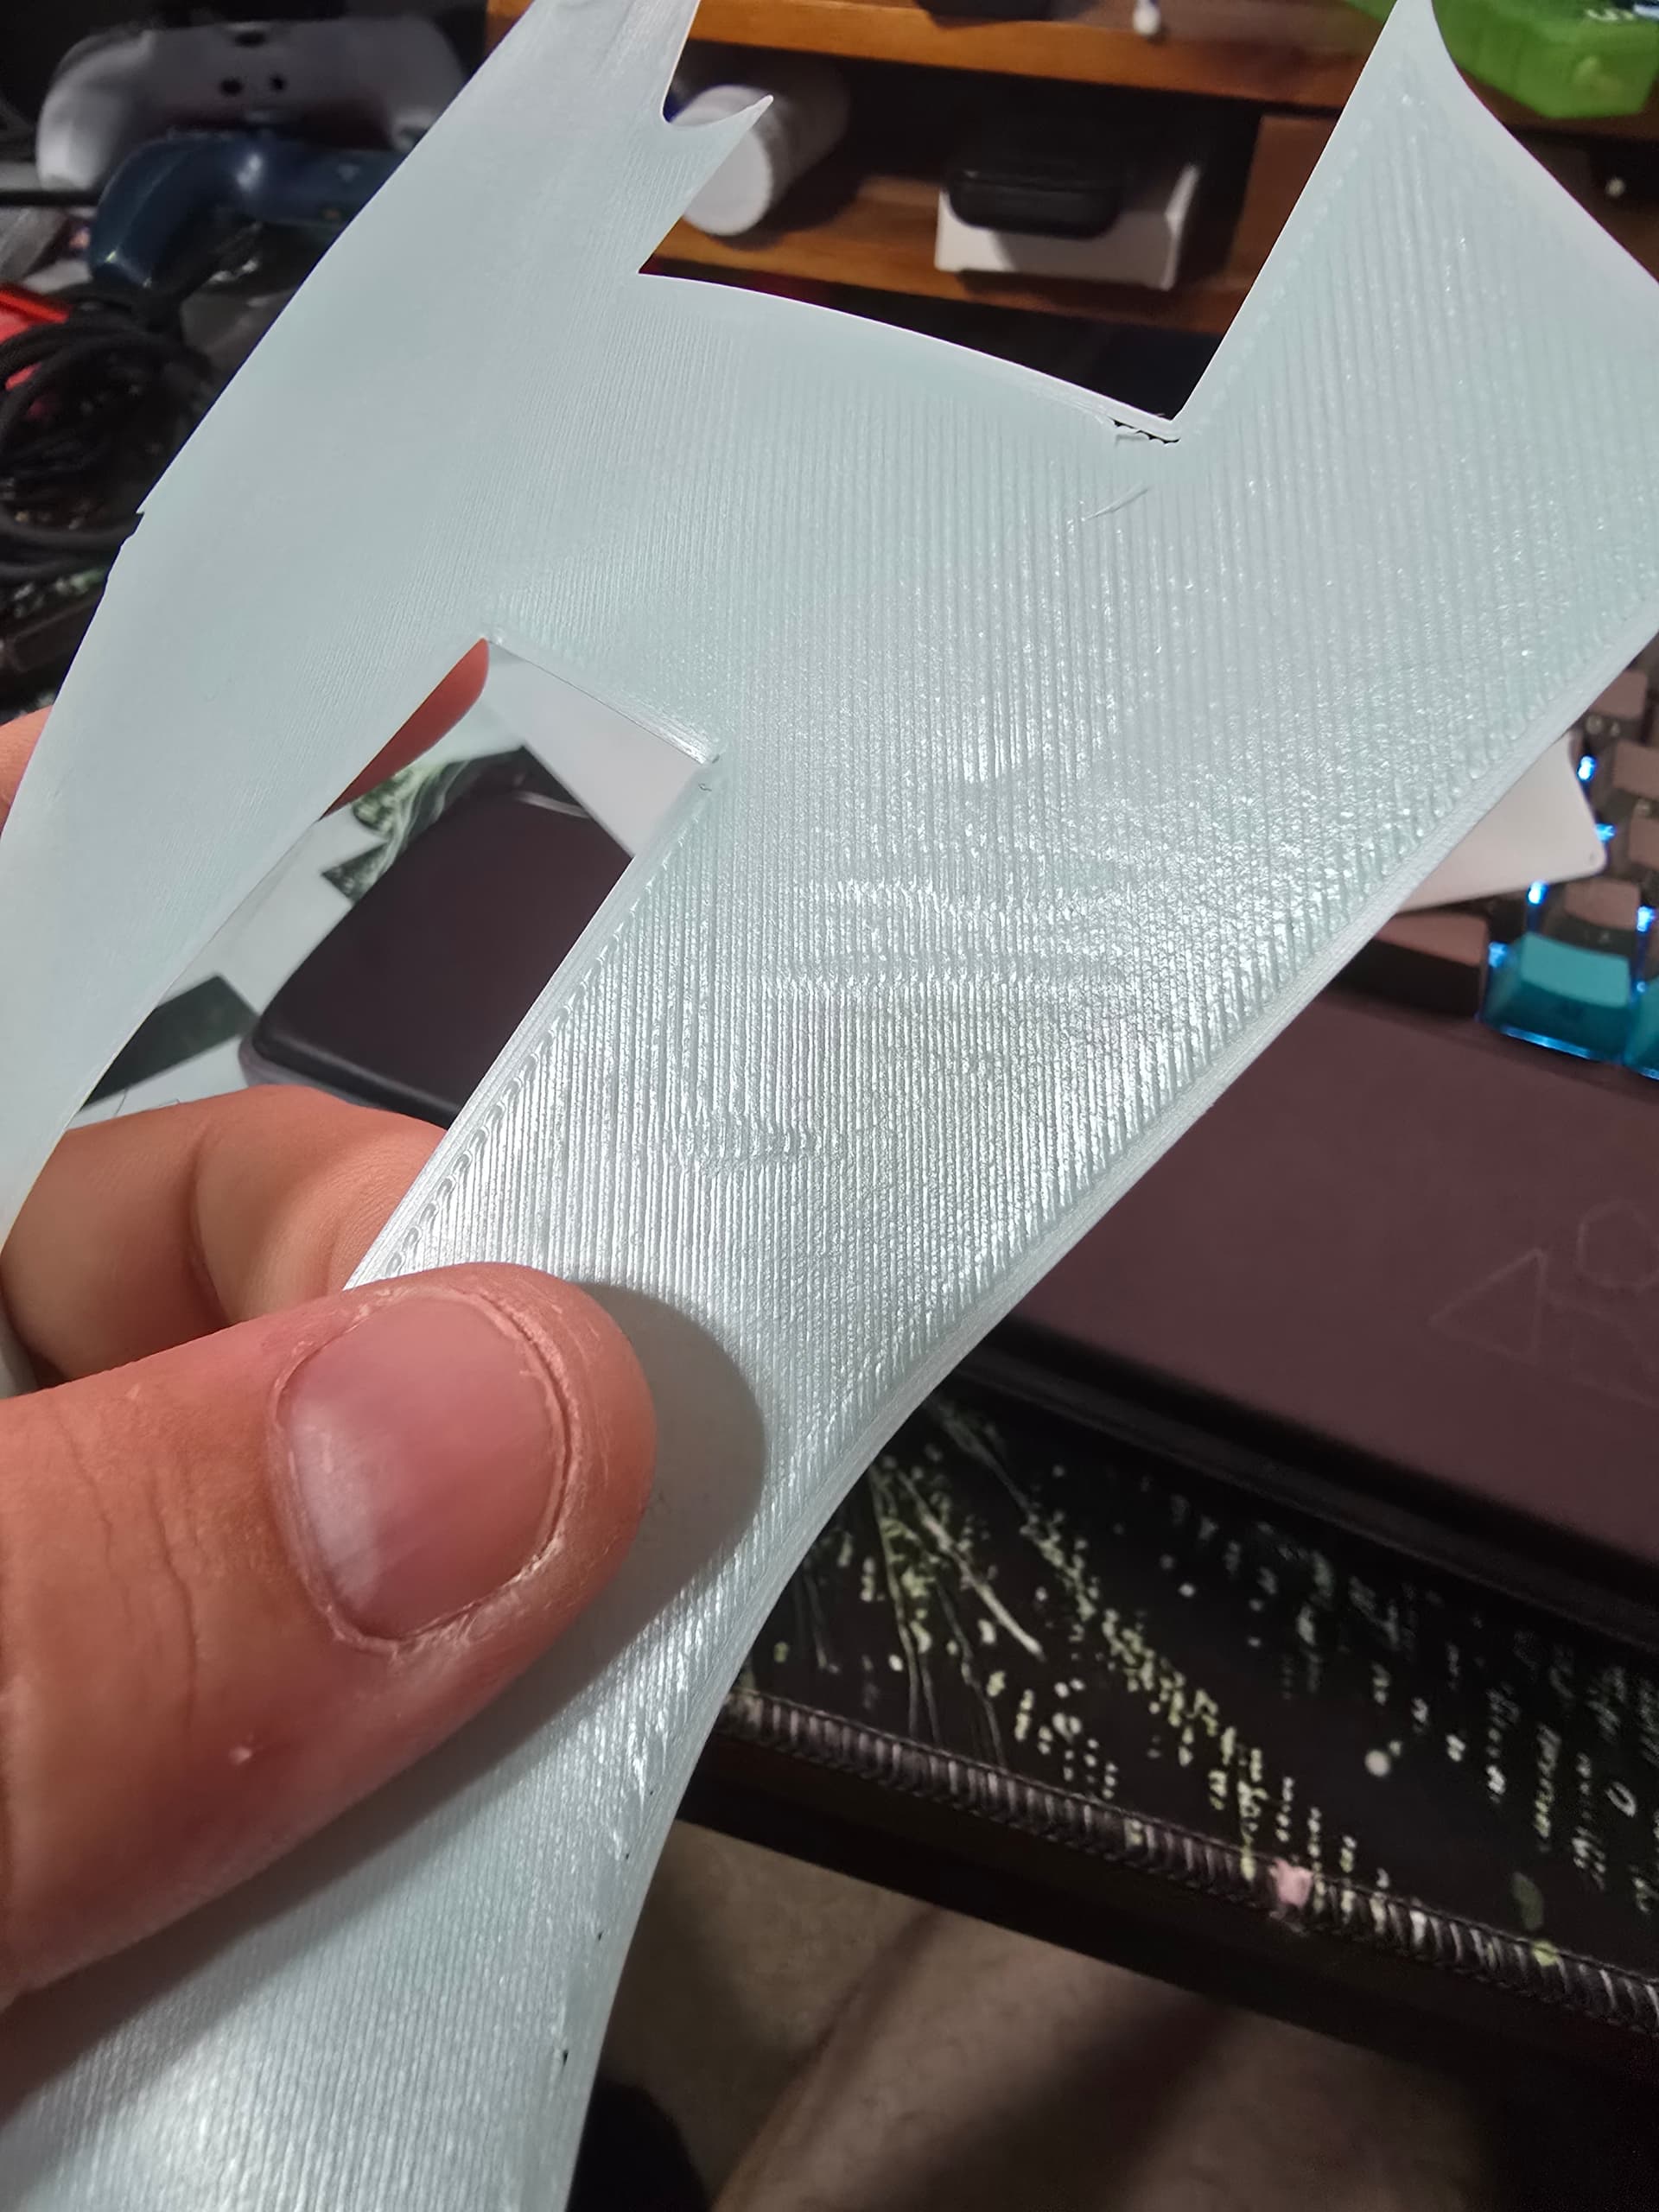
Z-offset I’ve taken up and down. If it’s too close I get these ridges that ruin the surface, and once I’m high enough to resolve that I’ve got gaps in my layers.
I’ve run the PA and flow calibration probably a dozen times. I auto level every time I turn the printer on, and run calibration before every print. I’ve halved the print speed for layer 1, and increased the layer width up to .65 and nothings fixed. It’s either the mushed ridges, or patchy gaps. I really just don’t know what to do, and it’s frustrating, because the printer works great in every other circumstance so far. I’ve had zero issues with finishing parts where I’m not worried about the bottom finish but I need these parts to look good.
I’ve been through dozens of forum posts for similar issues and other printers, and I just cant get it resolved.
Please somebody give me something, I hope I’m just stupid and overlooking simple things, but this is driving me crazy.
If you mean the build plate, this is the second one I have and they both seem to have this same issue for me. Is it a common QA issue with these plates not being flat, or would you assume over time warping because I’ve only had the printer for about a month.
Do you fixed this problem somehow? My friend got the same printer and we have this failure also. I personally have ender 3 v3 ke and there is no such stuff.
Does this pattern with gaps always appear in the same place?
Still working on it, currently trying to see if heatsoaking the bed before leveling and printing will help. I’ve read that can help with potential warping during heating on the bigger beds. The location of it can vary, but it is mostly towards the corners. Wouldn’t be an issue if I was printing something smaller, but since I’m trying to make use of the larger bed, I’m suffering for it. I’ll let you know if the heatsoaking helps at all, definitely let me know if you guys find anything else worth trying.
Hola cómo estás, yo tengo una Ender 3 v3 plus es decir con una cama de 300 x 300 mm me sucede lo mismo de lo que me mostraste en la foto y pueden ser 3 cosas
1 ) mal regulado el flujo de filamento y las crestas se deben a un sobre aplastamiento , calibra el flaco con los tests de calibración que trae el slicer, yo uso orcadslicer
2) la cama está con grasitud , limpiarla con un desengrasante líquido neutro no con alcohol y otro solvente.
3)la humedad del filamento también juega un rol importante y puede ser un factor ya actual al momento de la adherencia a la cama.
I appreciate the input, but I’ve worked on all of these things. I’ve tried calibrating flow, while it will fix one of the issues, it exacerbates the other issue. I’ve calibrated PA, which did improve things overall but did not resolve either issue. I’ve run my zoffset multiple steps in either direction, and as with the others I can resolve one of the issues or the other.
Also, while it may not be clear from the pictures, but bed adhesion is not an issue I have. Everything whether its printed in nice layers or with gaps sticks to the bed quite well. Regardless I have cleaned the bed multiple times with soap, and wipe it with alcohol after every attempt/print.
As for humidity, I have a dryer and I’ve run it at normal room humidity and perfectly dry and it doesn’t make any difference to the end result.
Again I appreciate the input, but as those are some of the top results on google for the particular issue, I have done everything possible within my knowledge to account for them.
From my observations trying to fight this issue. I believe its just due to an uneven bed, specifically being lower towards the edges/corners for me. What I don’t understand is why thats so big of an issue. From my understating the autoleveling that the printer does is supposed to measure and adjust for differences in height, but it just does not seem to do a good enough job.
I appreciate you trying to help, but I was literally talking about heating the bed before leveling 2 comments up, and while it made for a bit more consistency in the first layer, it did not resolve the issue.
Managed to get the software to work again, and it has made a big difference. Still not perfect, but far better than I could get consistently with orca. Their slicer must integrate better with the autoleveling and such, didn’t even have to manually adjust the zoffset this time. Hopefully their software will stay working for me and not brick itself again.