- Arrival & Initial Setup
The printer arrived with nearly all screws loose—it shook like a 1990s washing machine on a solid floor.
I tightened every screw, then printed an STL calibration file to set belt tensions.
- Heatbed Misalignment
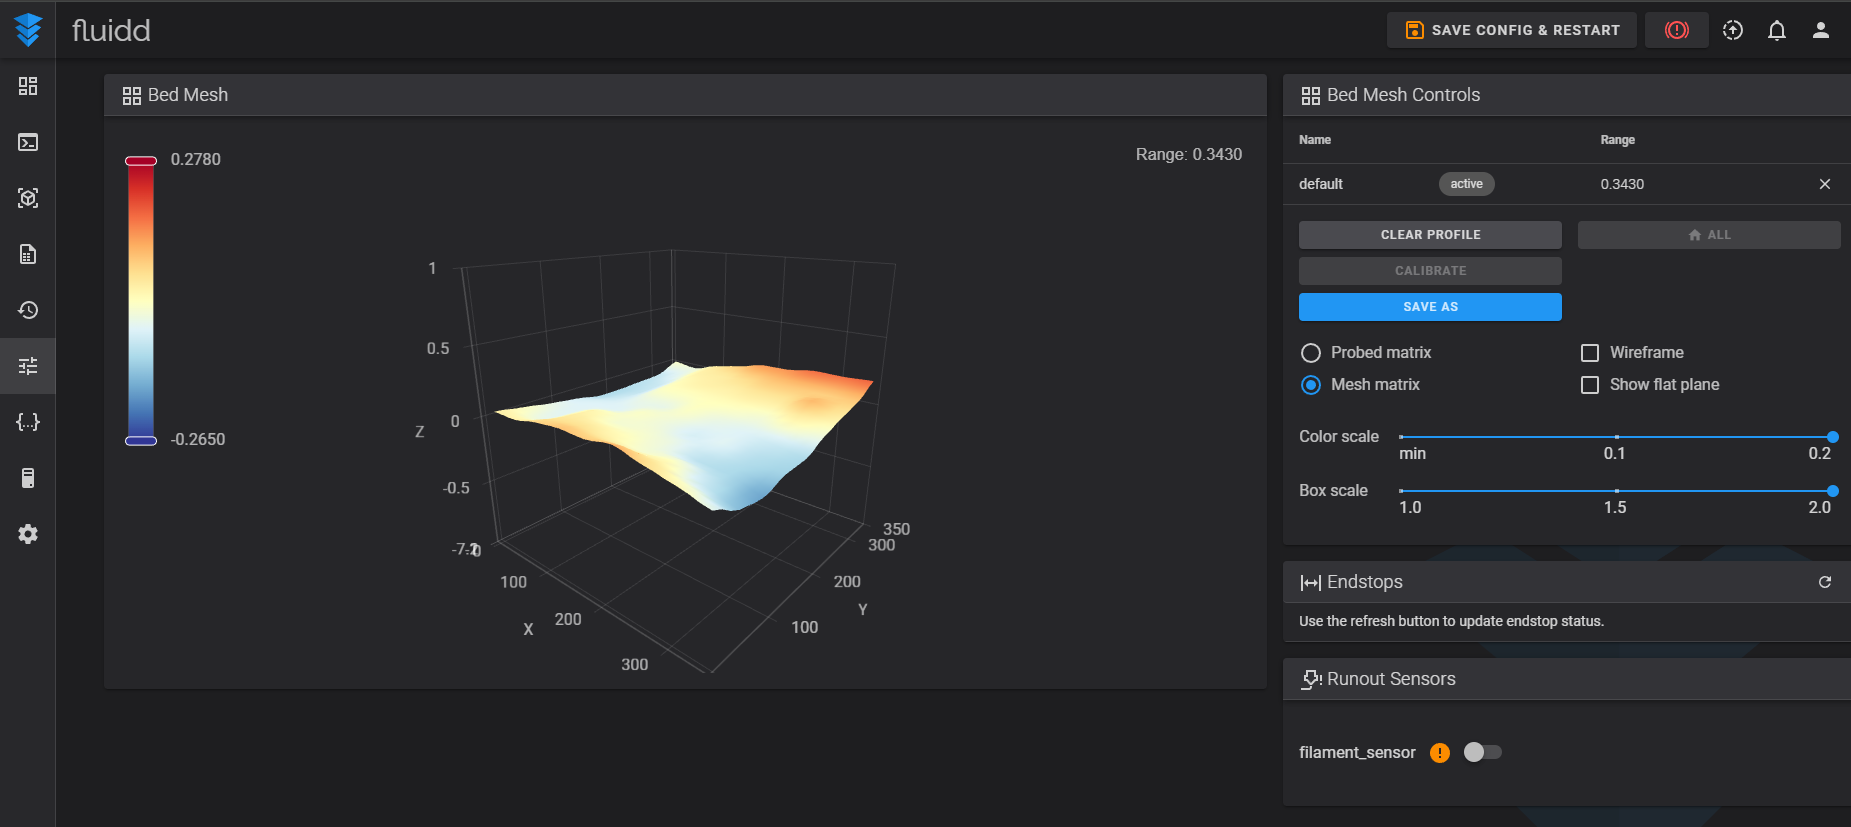
The rear-right corner of the heatbed sat 1.8 mm too low.
I spent the entire weekend trying to level it but couldn’t succeed.
I received a replacement heatbed that was within 0.4 mm tolerance, which finally fixed the problem.
- CFS (Cartridge Filament System) Sensor Failure (still awating replacment part to arrive)
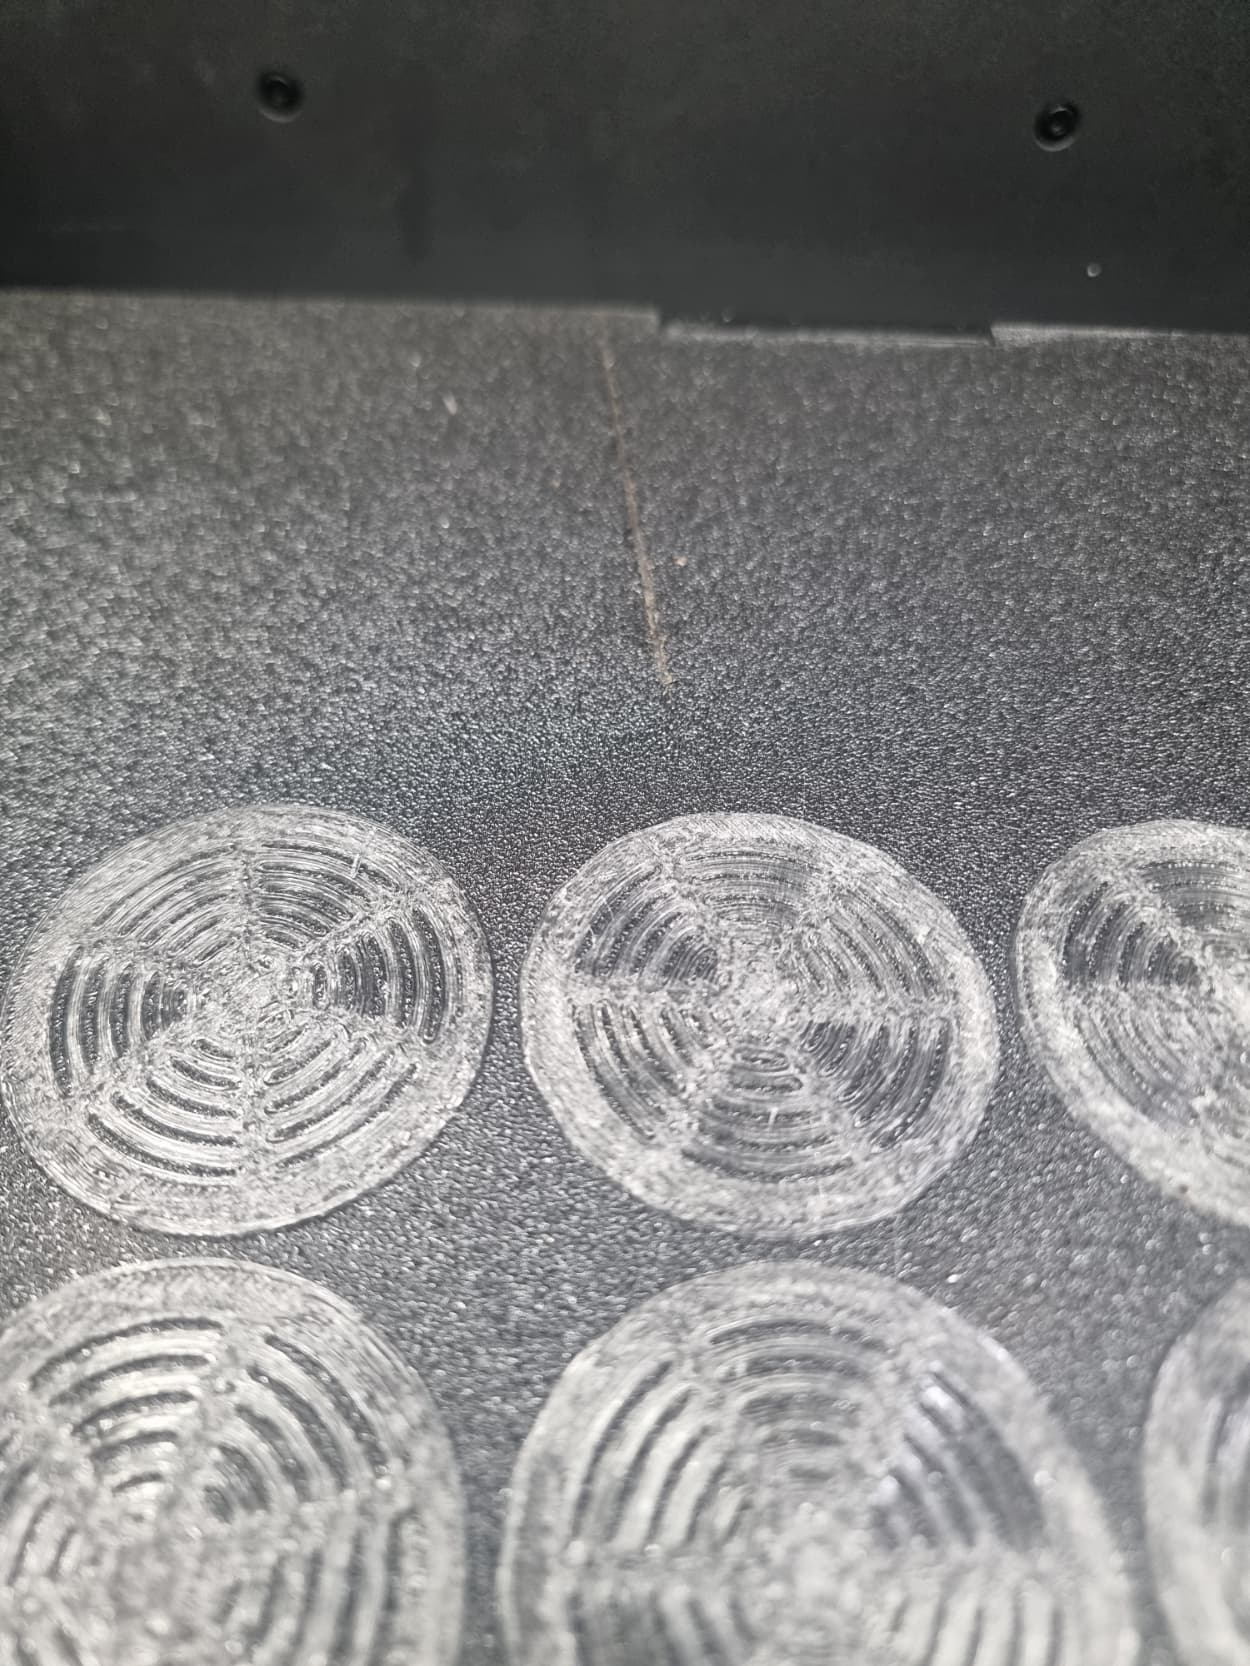
While waiting for the new heatbed, I printed a small model in the centre of the bed (which looked fine).
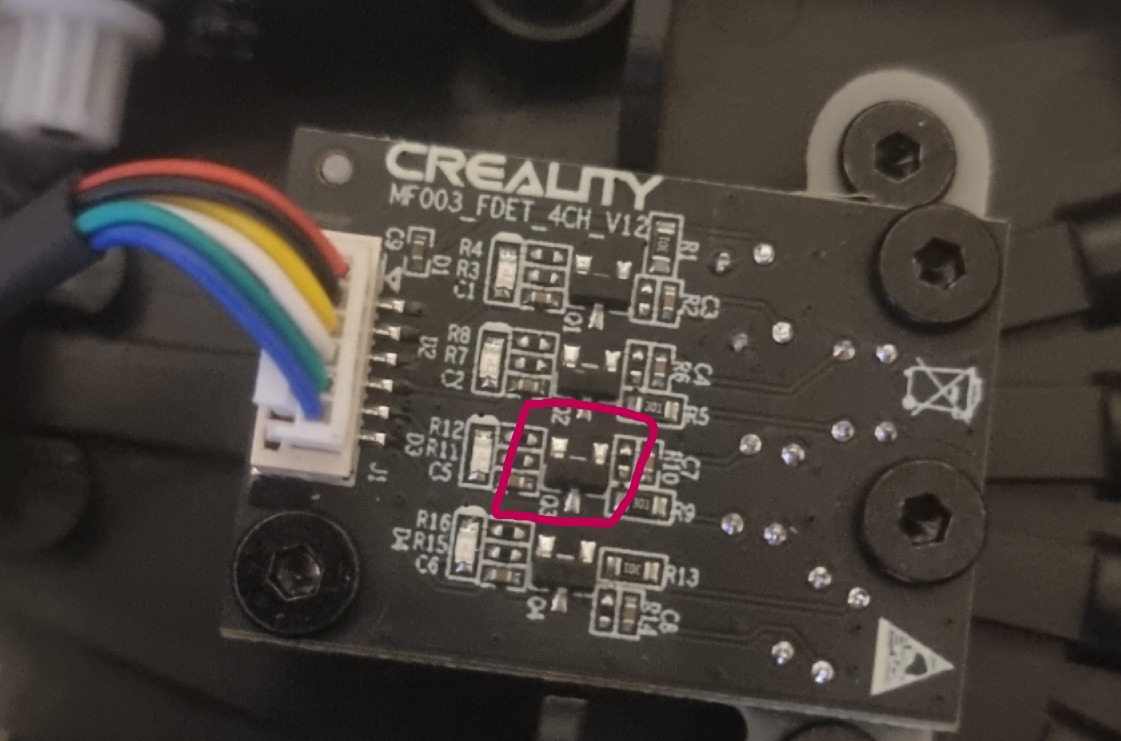
Then the CFS on socket C stopped working: it kept trying to retract filament even though none was loaded.
The “filament-present” sensor had failed. I reported it and am still waiting for the replacement part.
To continue printing, I removed the capacitor from that sensor so I could use the other three CFS slots.
- PTFE Tube Release from CFS
After about 20–25 hours of printing, the PTFE Bowden tube began slipping out of its fitting in the CFS during each retraction.
This caused frequent jams and poor filament feeding.
I ended up 3D-printing a custom retaining clip to hold the PTFE tube securely in place and ordered the replcement of aliexpress.
- Nozzle Clog & Crash
A few days later, filament built up around the nozzle during the first layers, touching and ruining the print.
I paused the job, ran the “NEW_CLEAR_NOZZLE” macro in Fluidd, then hit resume button on display.
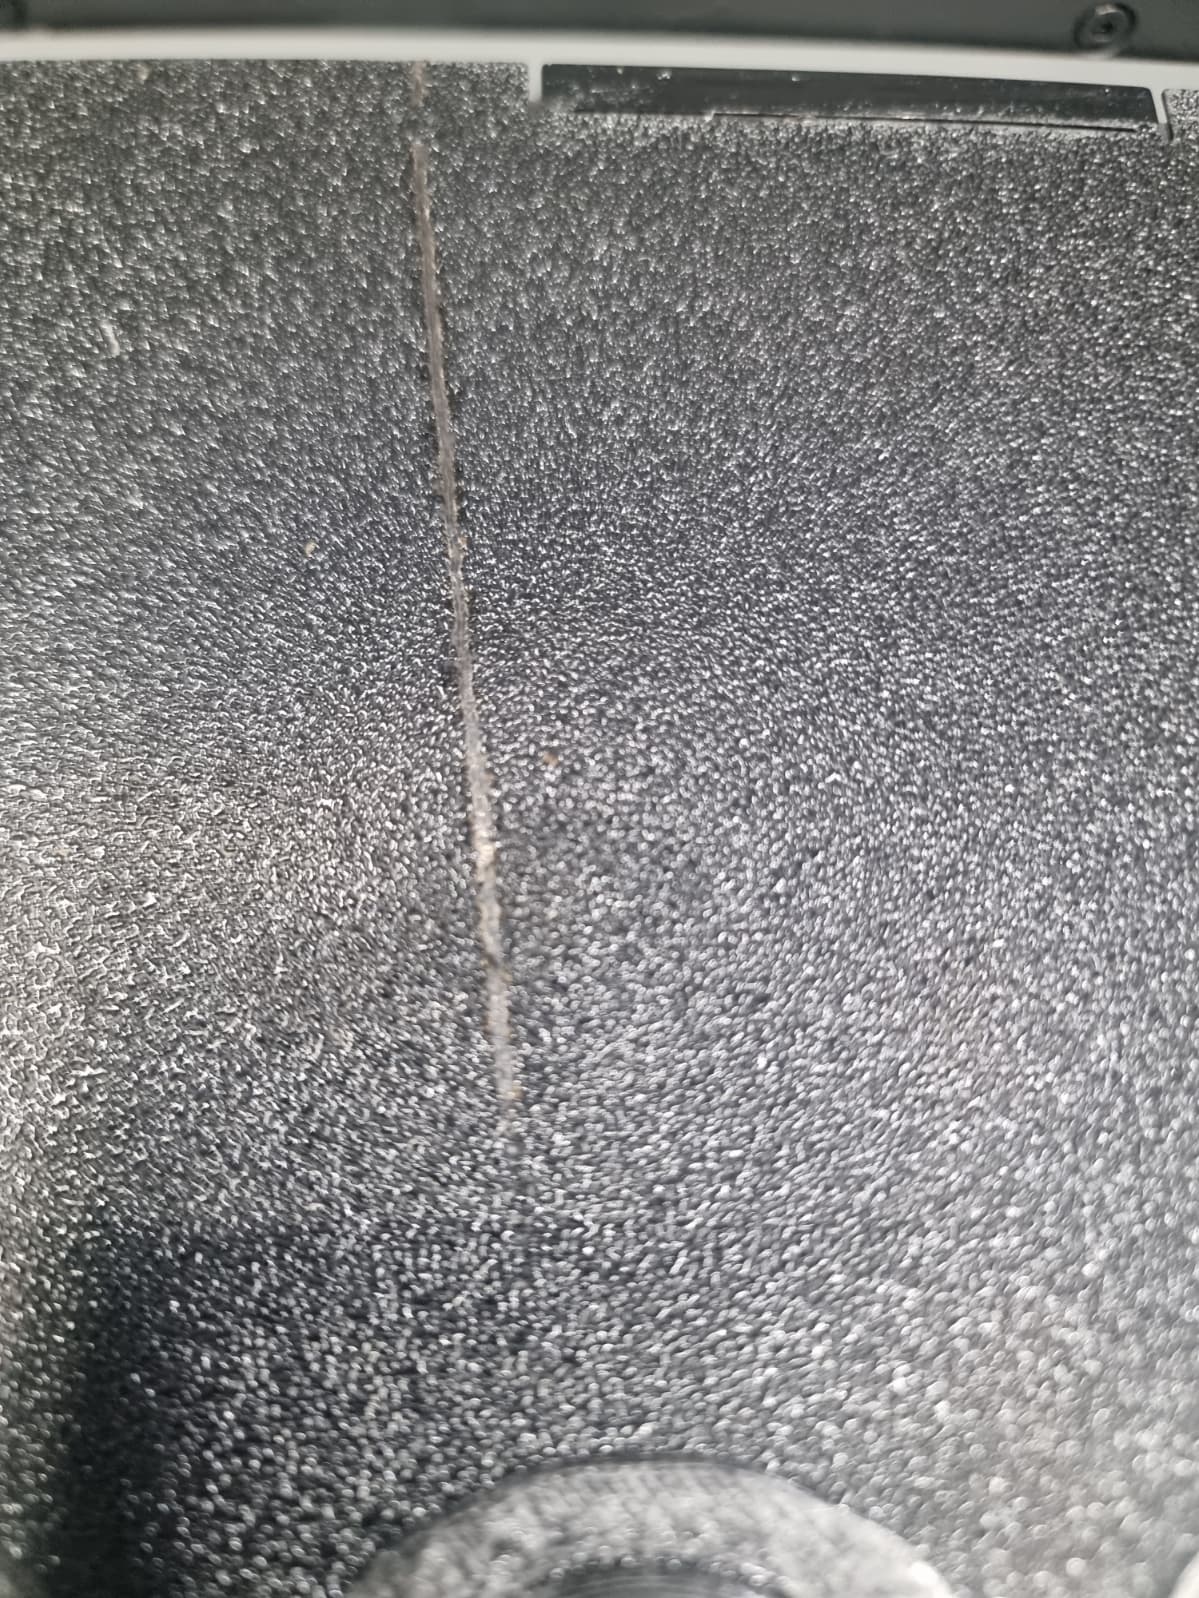
Immediately the nozzle scraped across the heatbed at high speed, bending the nozzle and damageing build plate about -1mm scap —yet the printer logged no error.
i have used Emergency-stop in Fluidd took 2 seconds to react, by which time the nozzle was already damaged.
- Total Failure Under “Professional” AI Monitoring
I flipped the heatbed, then re-ran every calibration: input shaping, bed leveling, belt tension, and nozzle height.
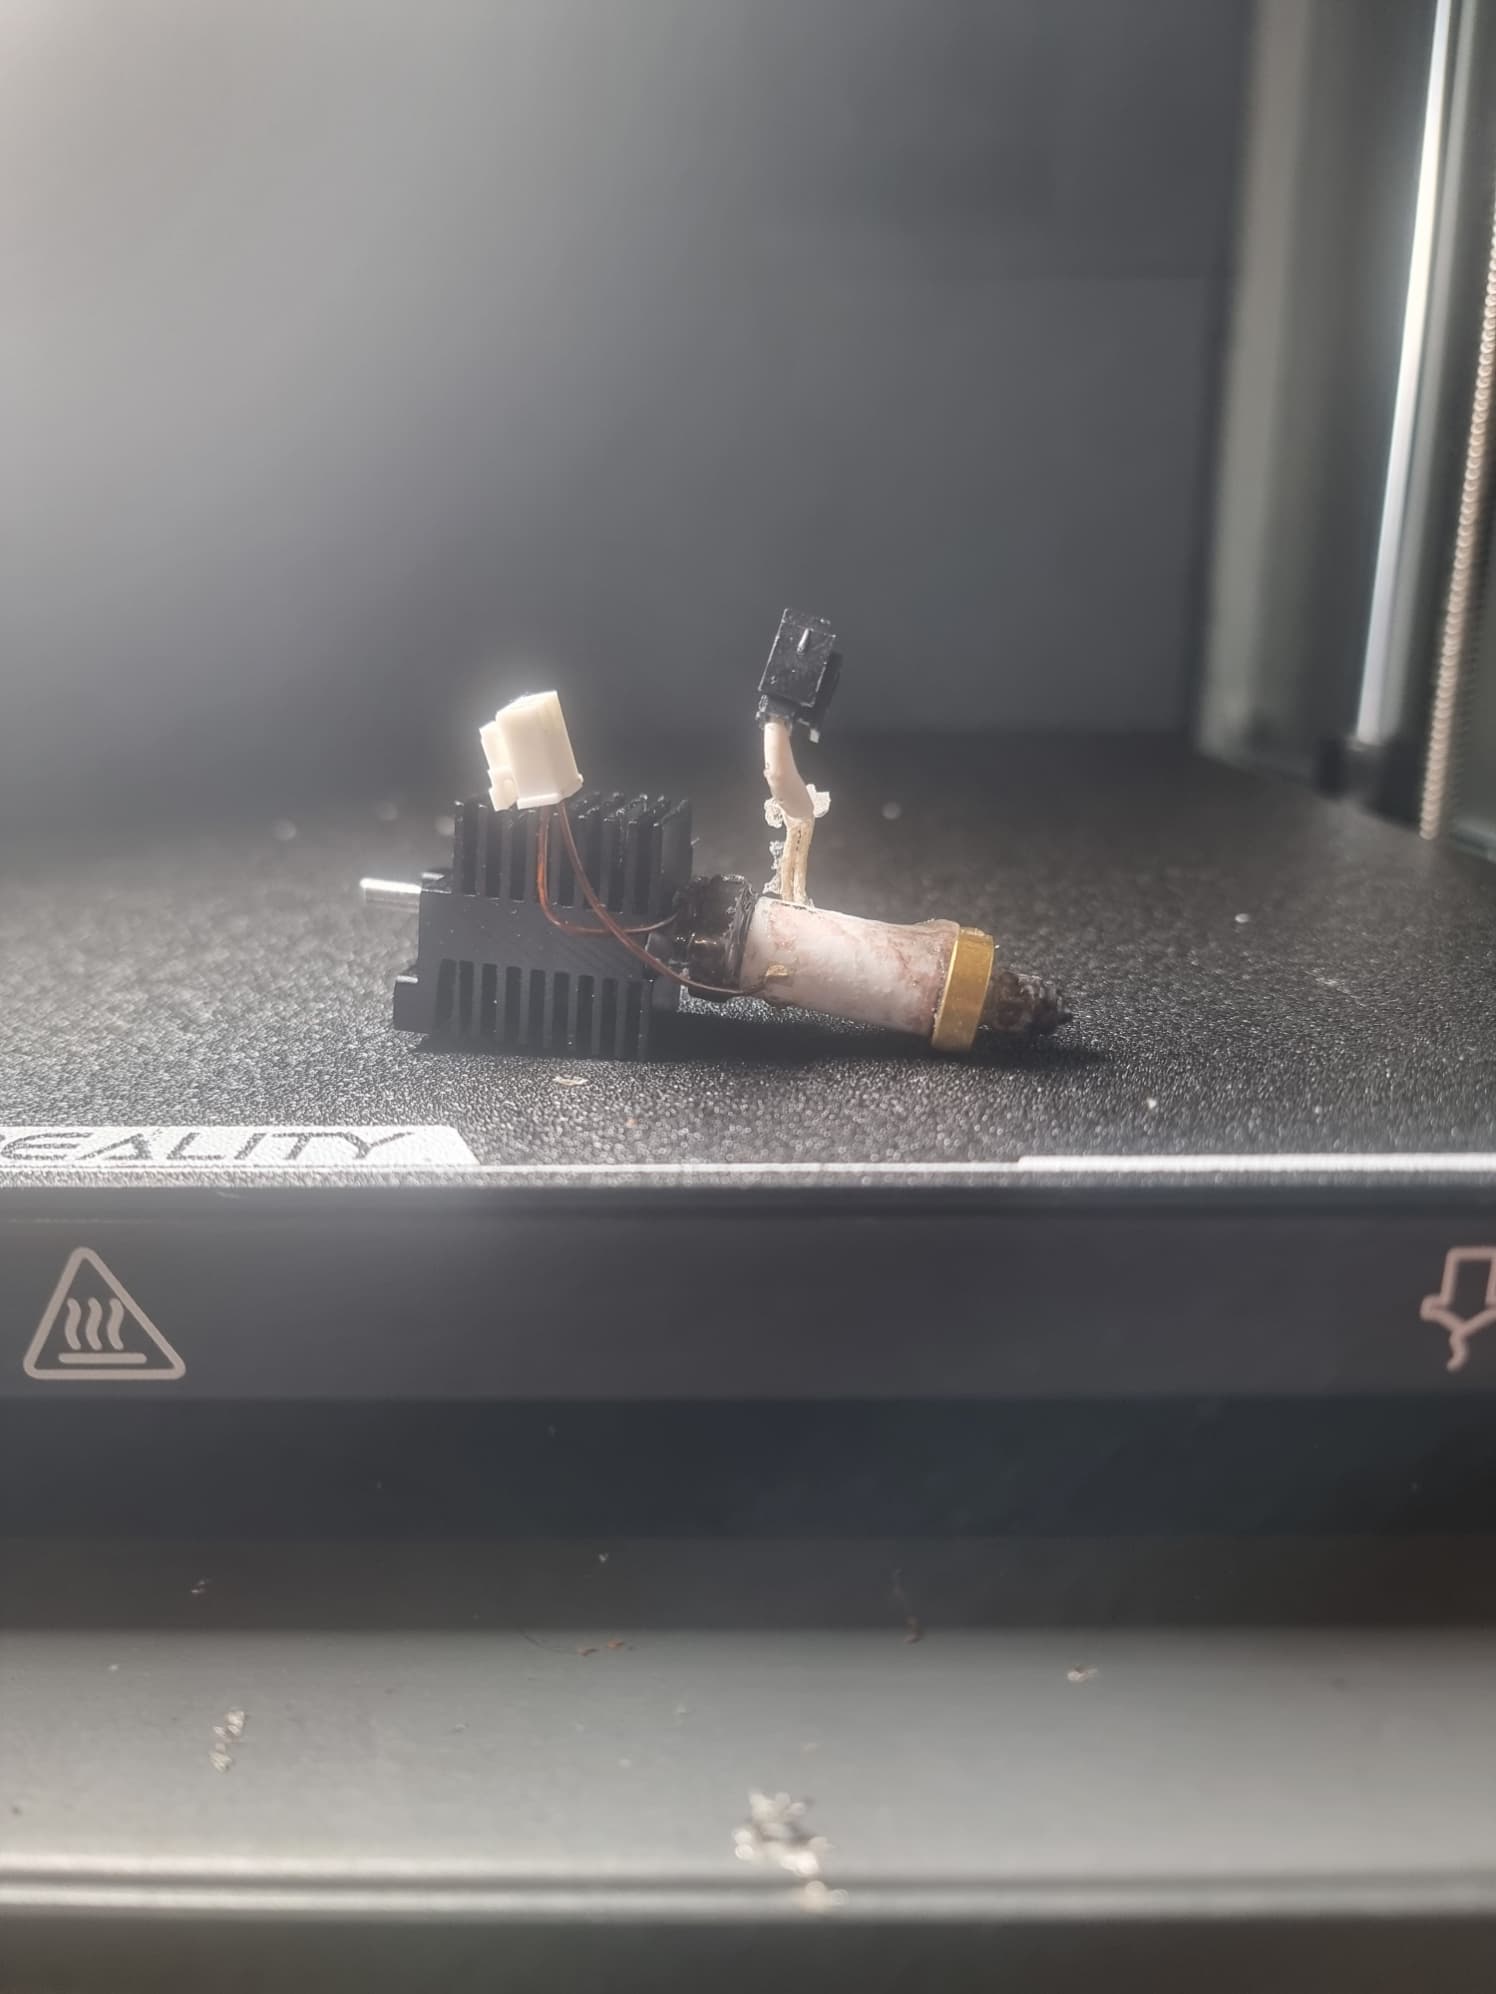
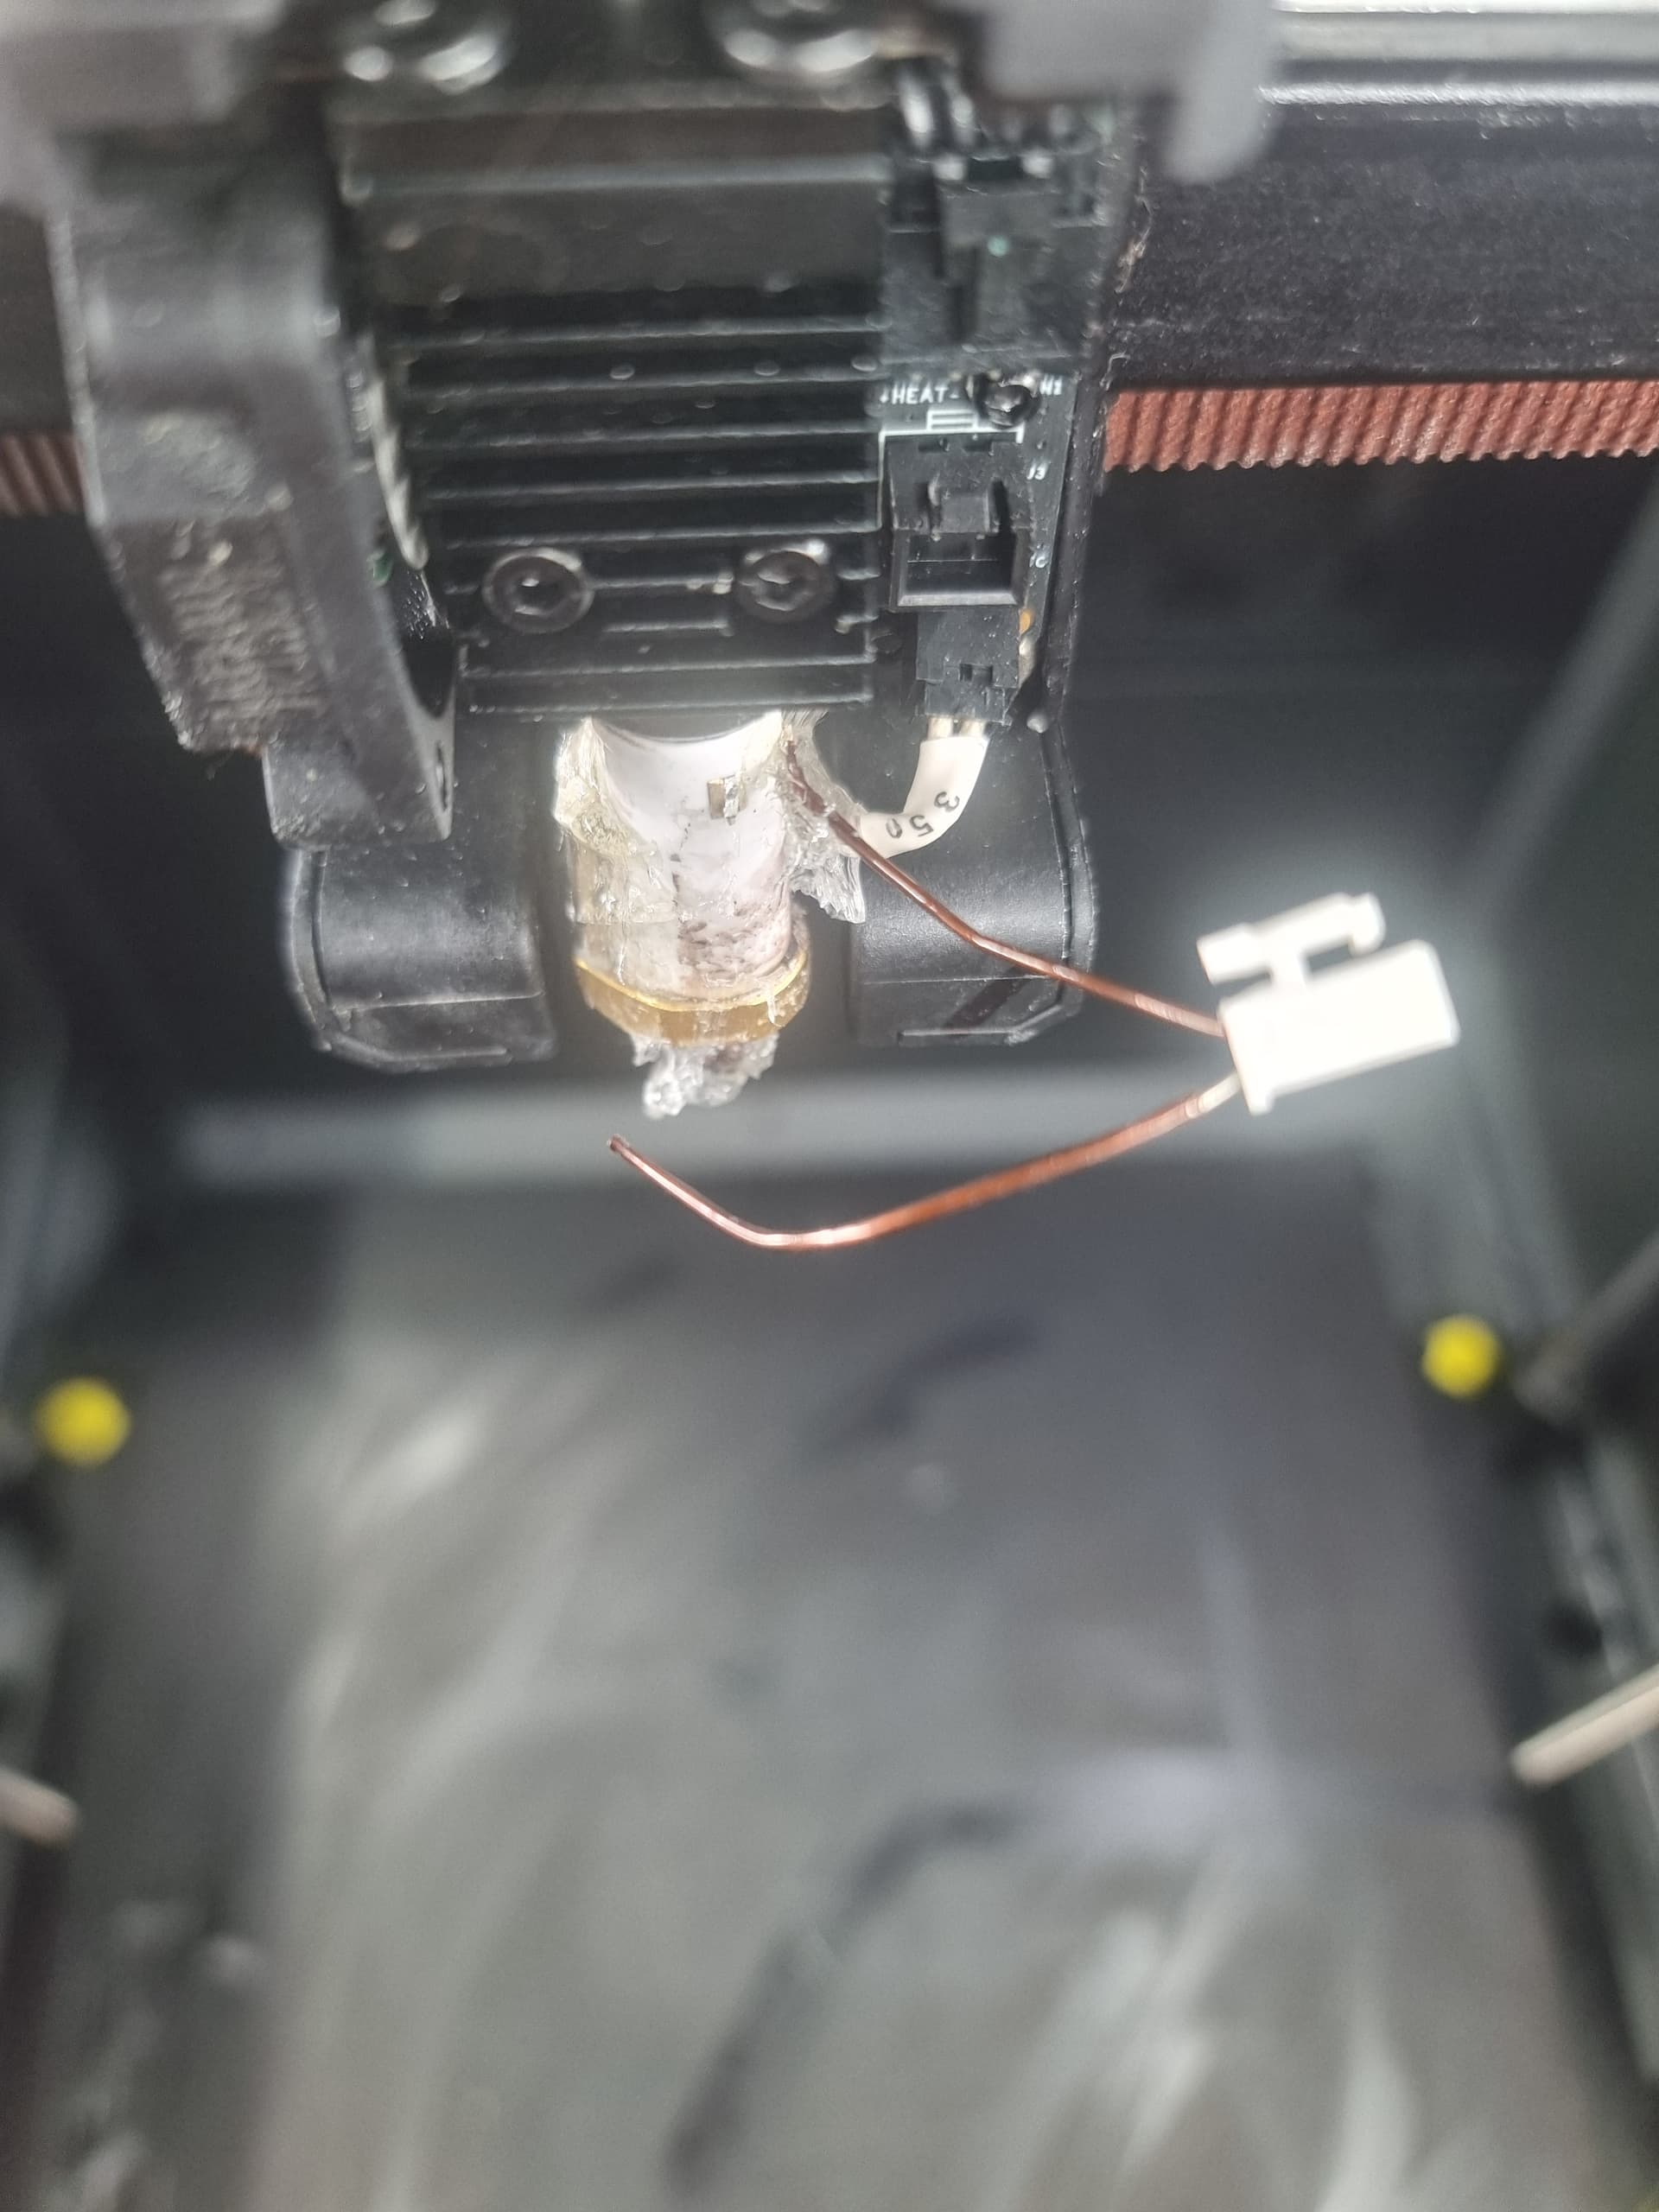
I started a calibration print and fell asleep. When I woke up, there was no model—just 150 g of PETG wrapped around the nozzle and extruder.
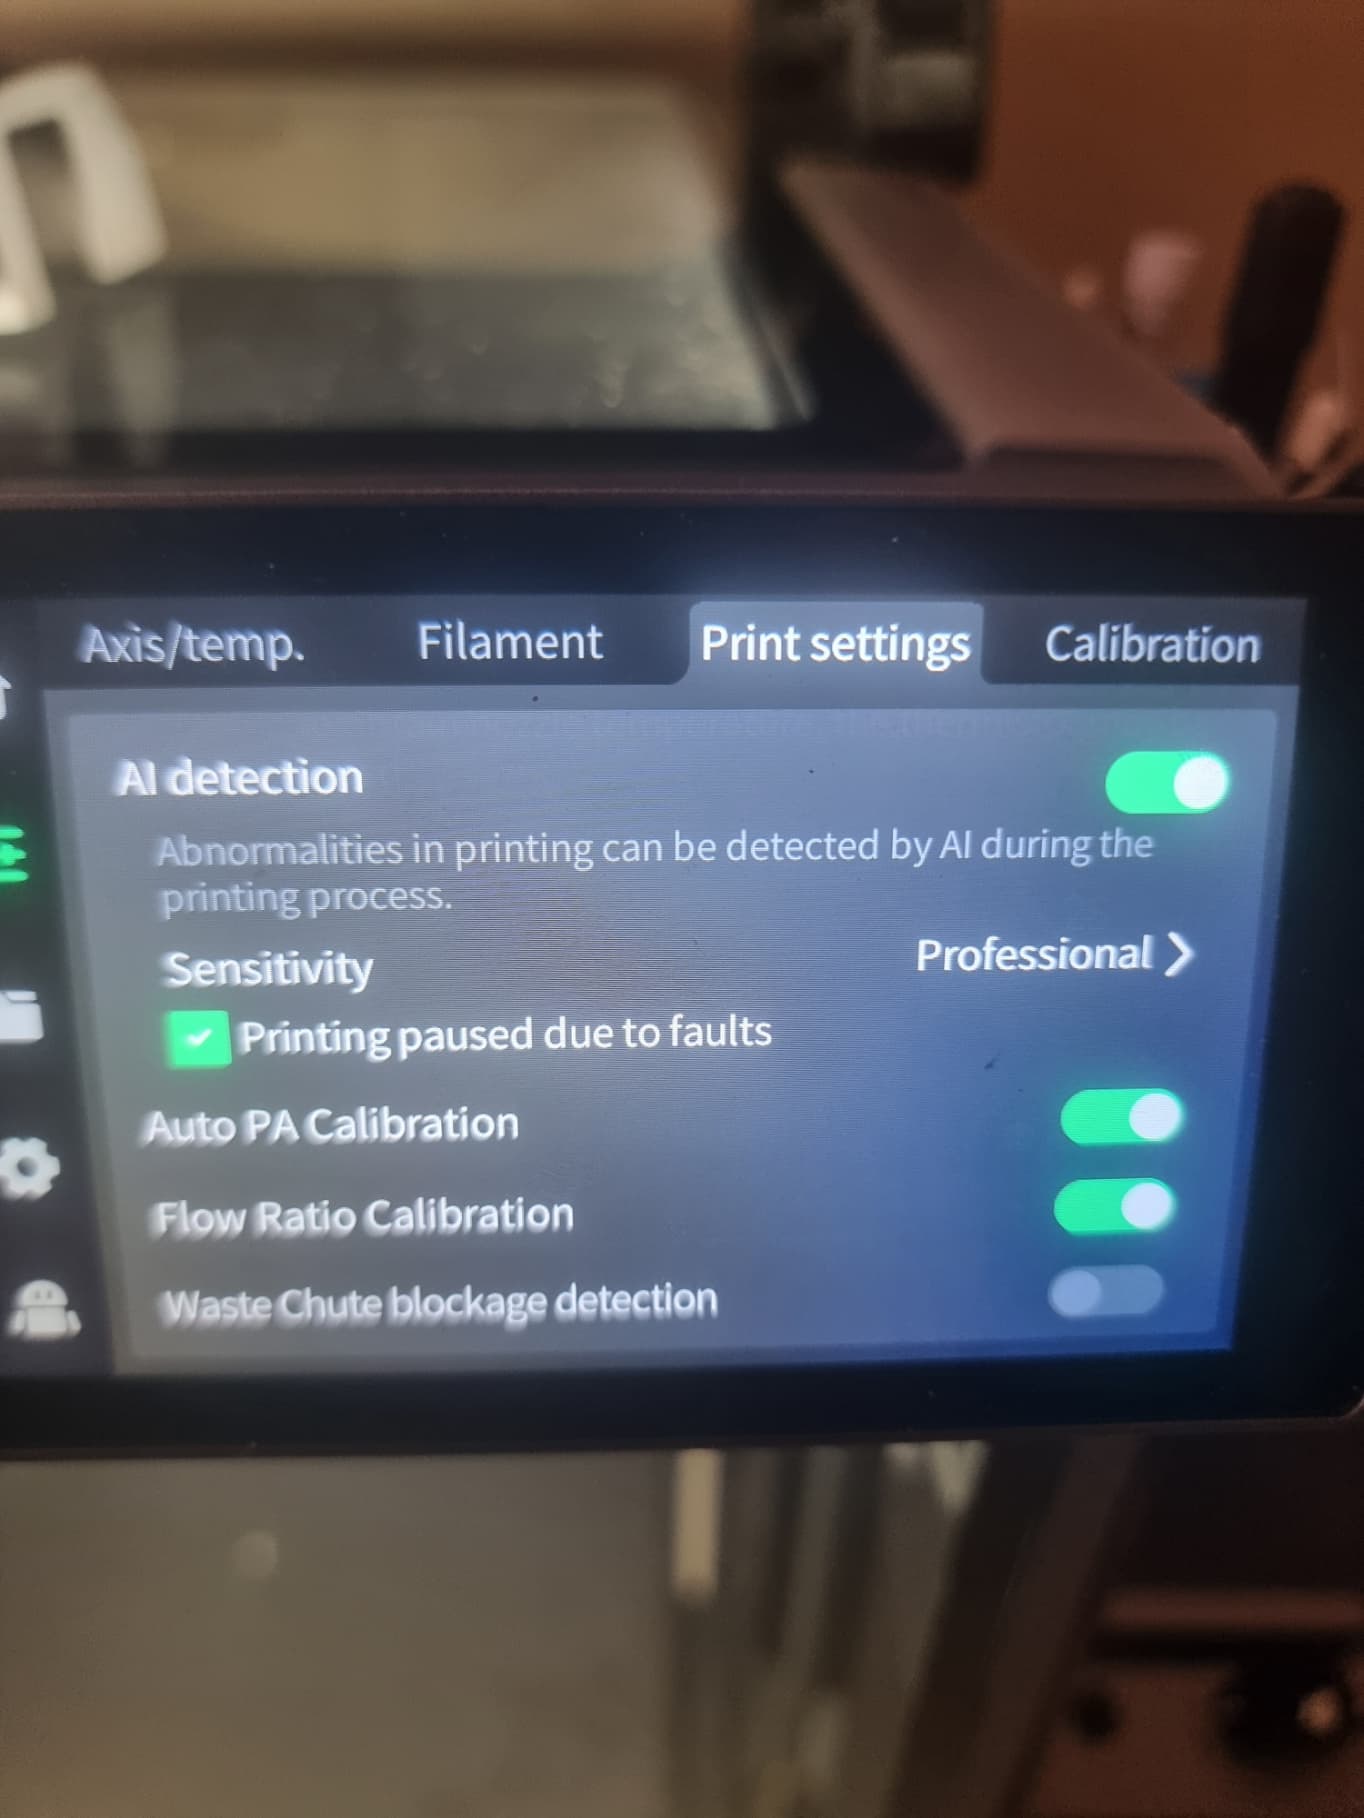
The “Professional” AI quality-check (supposed to pause every 15 seconds on errors) did nothing.
It ran over 65mins, extruding filament into its self endup whit huge blup of petg filement all over nozzle and extruder, i tried to heat nozzle to 250c to remove the blub of petg but i damaged the sensor wire, lucly i found that on amazon for 35gbp same day delivery and ordered,
what pissed me off most is that when i report this first to support whit out realising that nozzle is bend after the print pause resume > build plate damage, they told me its user fault, at that moment i wasnt even demanding anything i send them both moonraker and kippy logs . just to get told its user error and would need to pay for replacment … still waiting to hear explanation what was my error pausing print ? or buying this printer at first place ?
Summary & Questions for Creality
This unit is under two months old and marketed as having 17+ sensors—yet none prevented these failures.
How would your quality-control and supervisory teams feel if this were their own machine?
I intend to pursue all legal avenues to return this defective “piece of garbage.”
I’m told the nozzle crash is “user error” for pausing, clearing, and restarting—how is that my fault?
yes i do have a fault that i havnt listened my friends insteed of bambulabs i purchse this bug