Printed well out of box, now several issues...VERY Frustrated and Puzzled (listed below)

Ender -3 Pro (Not sure exact model)

0E3094C1-48F1-401A-BB9E-E0BD1C950564_4_5005_c

Worked fine out of the box before I had any clue about anything such as bed leveling.
Made several items with nice finishes.

Initial default settings were 200 degrees for nozzle and 60 degrees for the bed.
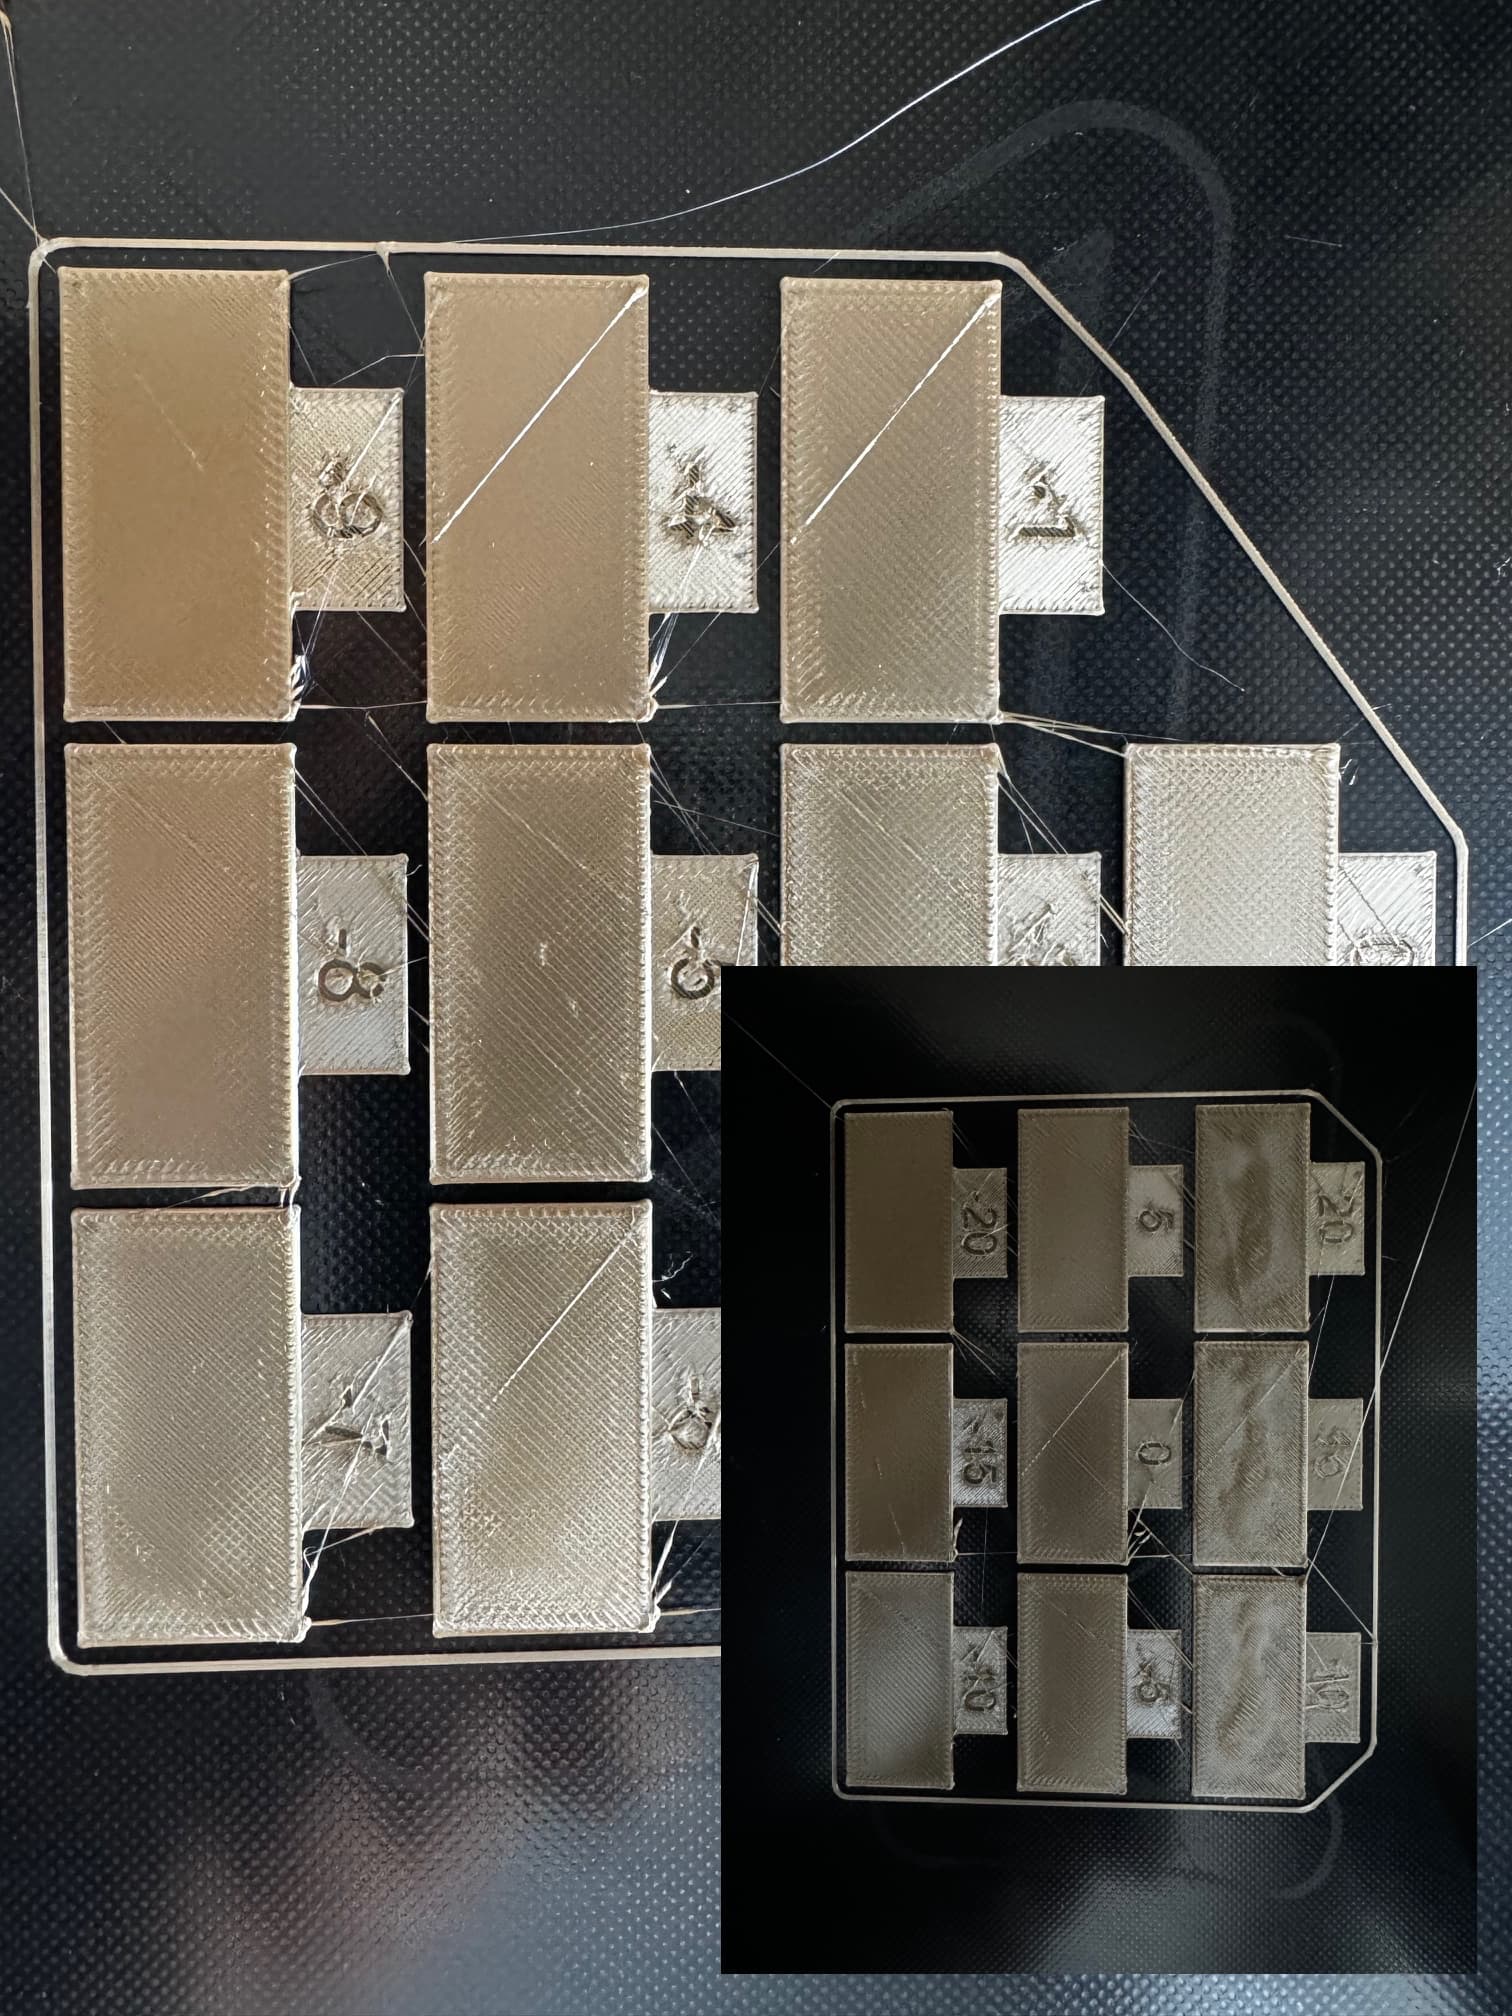
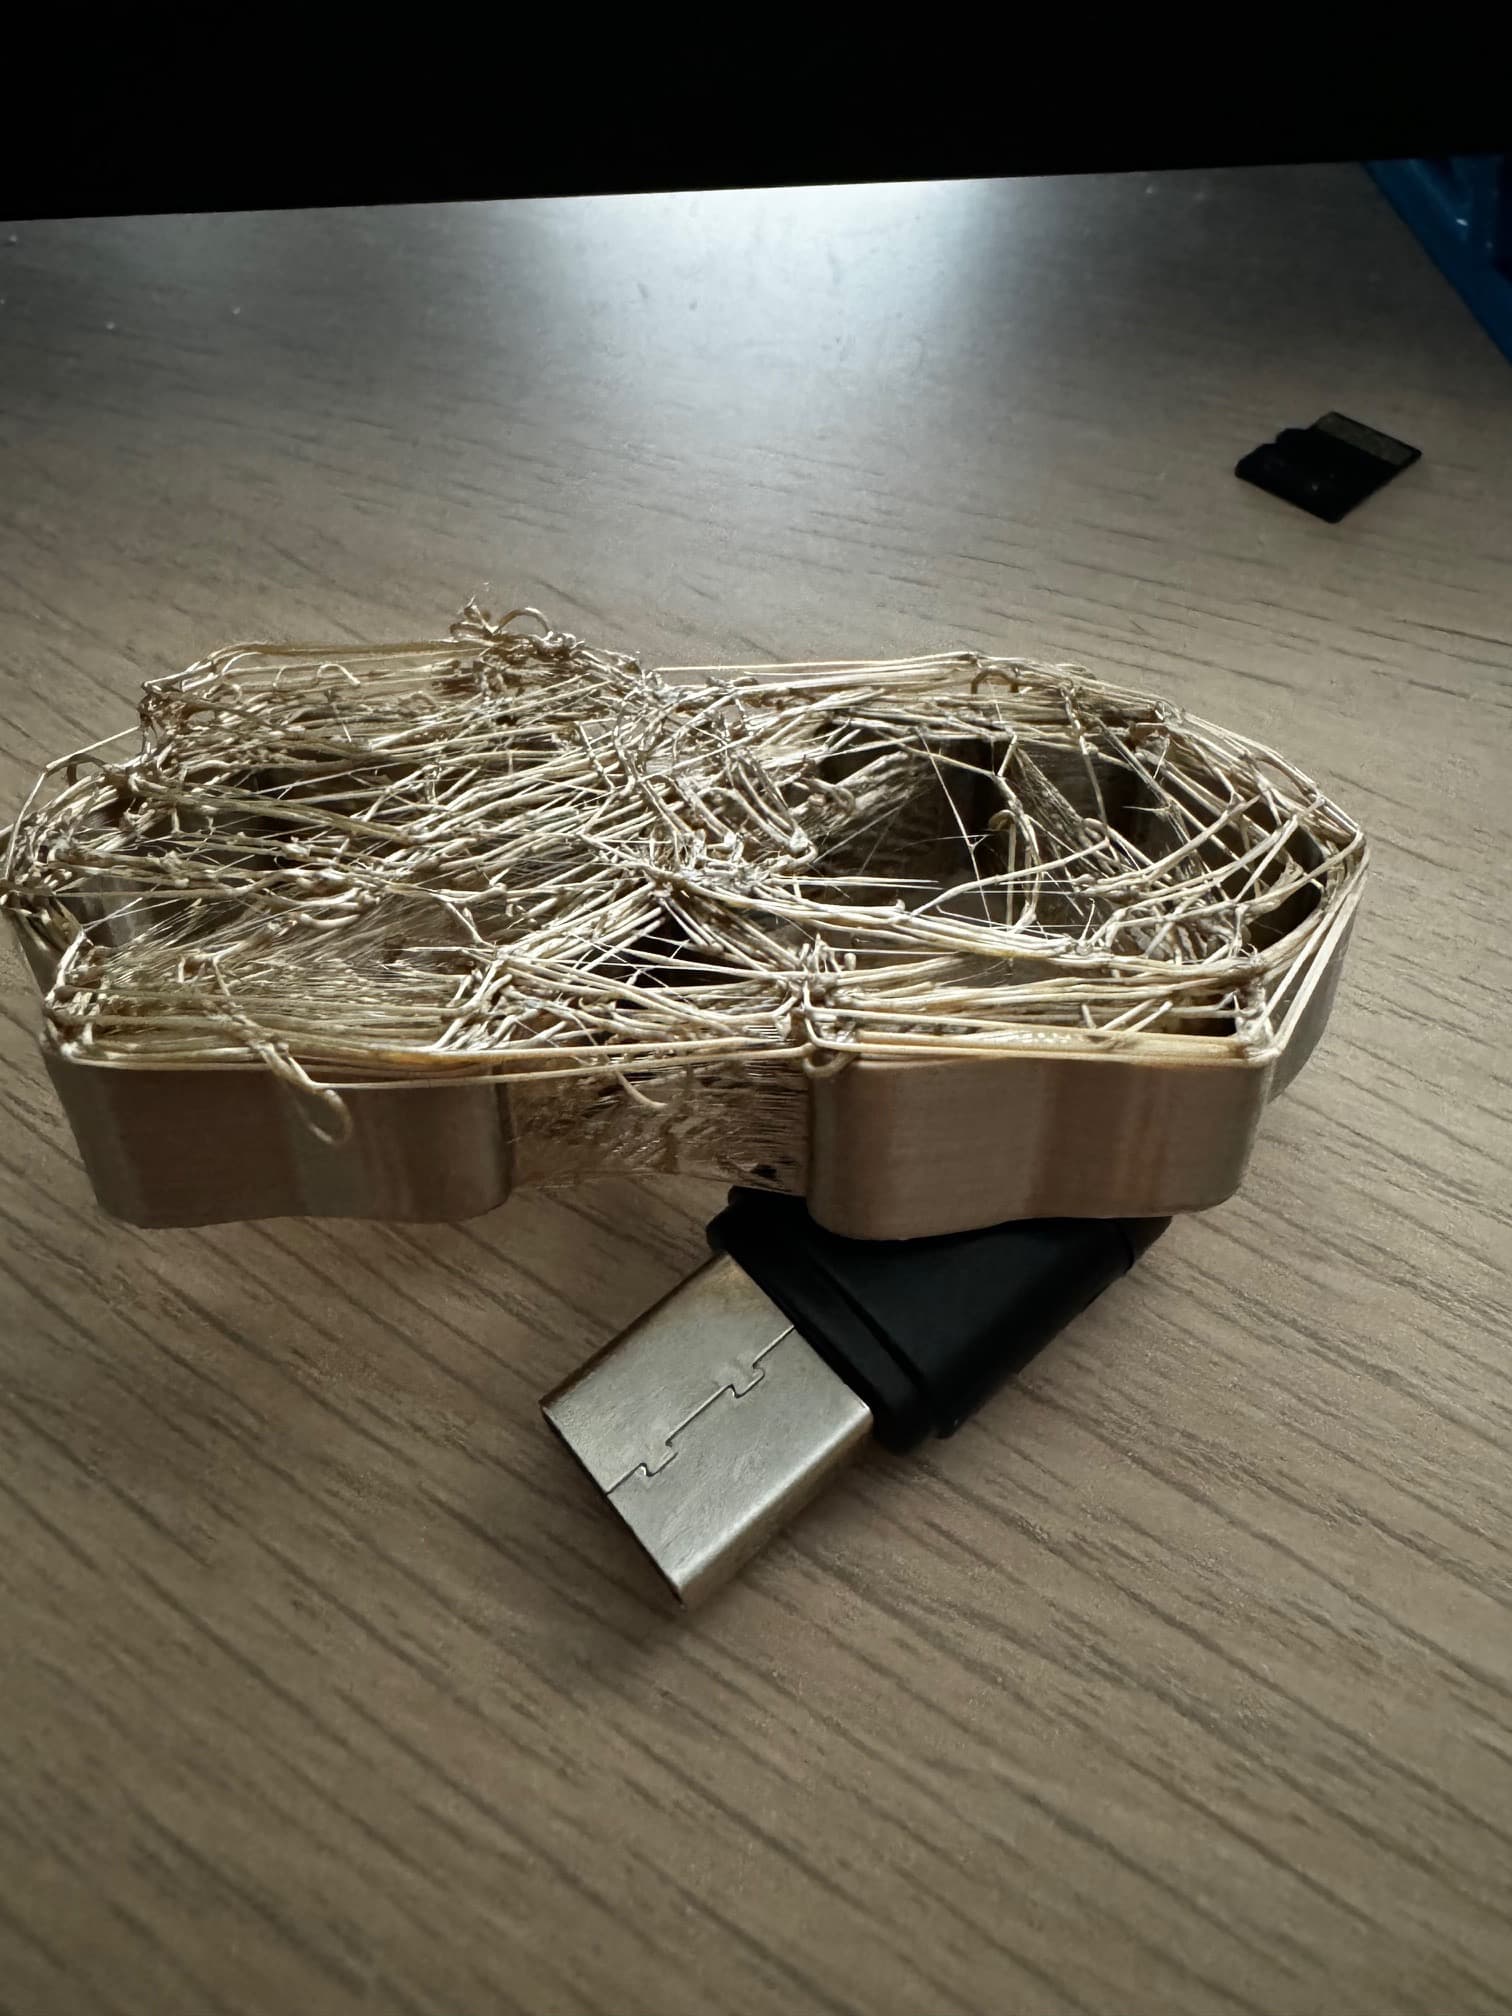
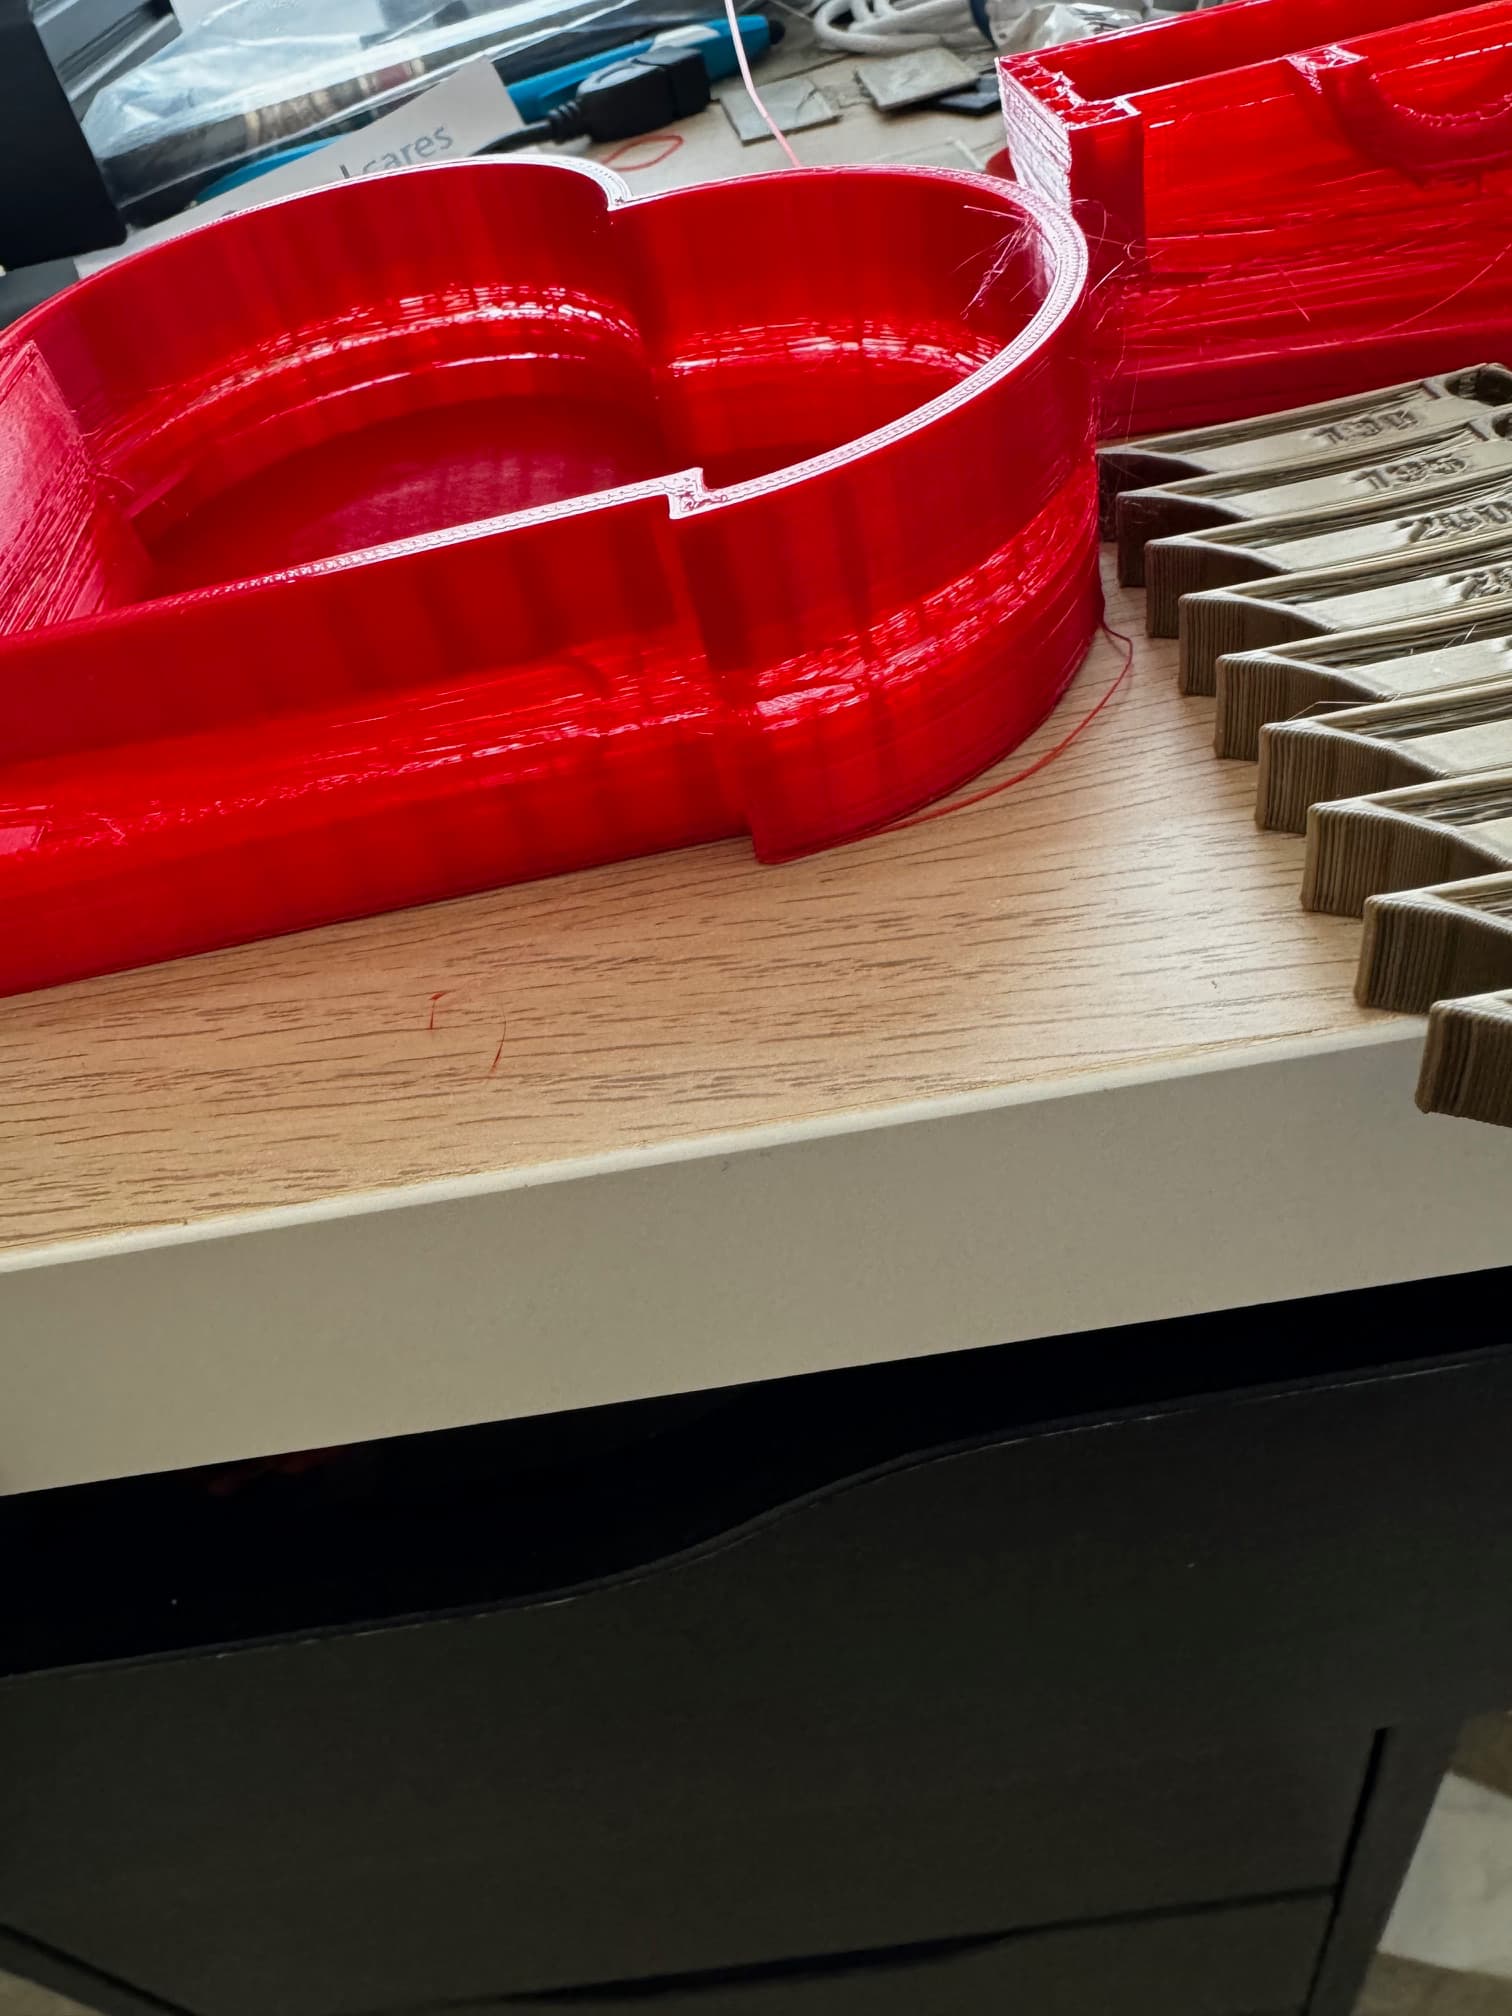
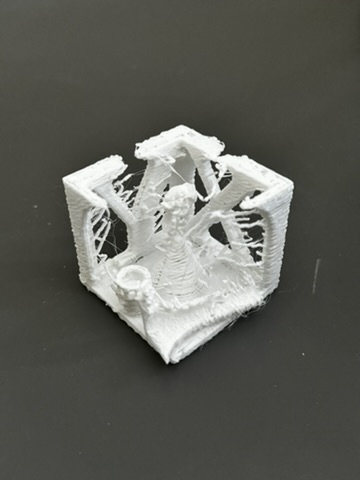
Printer started acting erratic and printing string

After numerous YouTube videos I did these upgrades/fixes.

Leveled bed several times

Purchased Creality Glass bed, worked fine for a few prints. Eventually set the bed to 85 degrees which read approx 60 degrees with infrared thermometer

Cleaned bed with 91% Isopropyl Alcohol

Replaced the extruder mechanism where feeds through gear

Changed Bowden tubes, fittings and replaced nozzle.

Extruder SEEMS to be fine if I manually extrude

Tried Creality & Cura slicers

Tried printing different prints

Tried many different heat settings on nozzle

Changed extruder motor and also replaced one wiring harness (for the extruder only)

Tried different PLA

I started to get close agin to printing somewhat, not perfect but kind of ok. I was just getting stringing and felt like I was back in business with just some needed tweaks.

Then it went erratic again. Seems 1/2 way through a little Benchy print, it comes off the bed and just started making string.

All the axis’s seem tight

I am about over this Ender 3D Printer after endless hours of trying and getting no where.

Pics Attached.

Any advice?

Thank you in advance!

Wayne

Hi @wjo1000 and welcome to the forums.

Sorry to see your having issues with the E3 Pro. I would recommend running some of the calibration tests that are available in most slicers these days. I dont know if Creality Print has a profile for the E3 Pro but I believe that OrcaSlicer does. I would recommend running though some calibrations to ensure the printer is extruding the correct amount of material.

I would also check your esteps calibration to ensure that the printer is extruding the correct amount of material. You might find that its slightly under-extruding.

I would also recommend investing in a PEI sheet, smooth sheets work well but often the textured sheets will offer better bed adhesion.

Hi Nikoli!

Thank you for responding!

I downloaded orcaslicer, I did the 2 flow tests. Since I’m a newbie on the site I can only upload one pic, it is flow rate pass 2. (but I kinda of merged the 2 results into one pic)

I did order the PEI and expecting that tomorrow.

Not sure how to check “estep calibration”

Both tests did stick to the bed, maybe because they were not tall tests? Time will tell…

Thanks again…Wayne

1 Like

You’re welcome wjo1000

Glad to hear that the flow rate tests went well and thanks for supplying the photo.

What I would recommend is now that you have Orca installed and setup work your way through the calibration list. Start at the top with the temperature tower and work your way through them. Ideally you will only need to print the temperature tower at the temperature ranges stated on your filament spool.

As a general rule the only tests you would need to perform to properly ensure correct printing is temperature tower, flow rate and retraction tests. All the other calibration tests should not really be required for your printer setup. Calibrating all of these 3 will not only ensure you filament is being melted and dispensed correctly but will also ensure close dimensional accuracy for your prints.

Here is a link to the OrcaSlicer calibrations tutorial and how to use them…
OrcaSlicer Calibration

To check your esteps you would usually put a mark on the filament at 100mm and 110mm from the entry point of the extruder, then heat the hotend and tell the printer to extrude 100mm of filament. If it extrudes too much or too little then you can easily measure and do a quick calculation to work out what your steps should be. Here is a link to a guide which should help explain things a little better…
How To Calibrate the Extruder Steps

Glad to hear you also purchased a PEI sheet, you should find your prints will adhere to the surface and also release so much easier from the flexible plate :slight_smile:

Hi Nikoli,

So, I received the PEI. I printed out the temperature tower and it did stick to the bed, so I was happy to see that. Cannot say it was a perfect print, there was stringing, but I knew there would be more calibration and tweaking. So I just went ahead and tried another test print.

About 1/3 of the way through it detached from the bed.

Any clue why this is happening?

Appreciate all of your assistance.

Pic attached.

Sincerely,

Wayne

Hi Wayne, glad to hear you got your new sheet.

You may find that you need to lower your z offset very slightly so that the model is being squished into the surface to help it stick better, usually increments of 0.05 are best.

Hi Nikoli,

Is there a way I can lower the Z offset through the interface without having to bring the bed up?

My Z Axis limit switch is all the way down. I would have to modify or grind it to lower.

Thanks,

Wayne

Yes you would usually be able to access and adjust the Z offset on the actual printer via the “Control” menu while a print is running.

Hi Nikoli,

I thought I was out of the woods last week, I thought my issue was just stringing.

When I printer the heat tower, all levers look very similar. You can see a piece of it in the pic.

Then I tried to print another piece, it was adhering to the bed ok, but then as you can see, it’s not sticking between layers.

I feel stuck in a loop. Being a newbie I do not fully understand all calibration settings. I did find one article and set a retraction.

Again,

I am Clueless…
Wayne