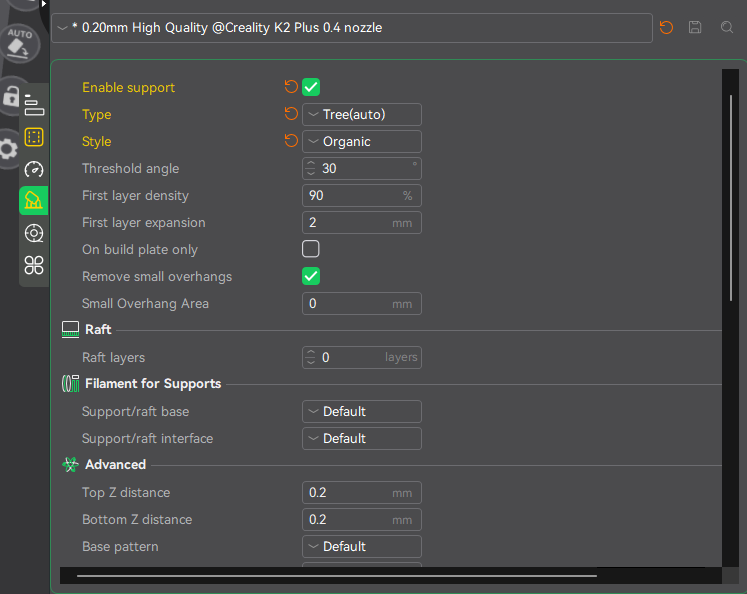
Been a while because I working on the K1. Now it has a diamondback nozzle and a cartographer now, but feeling the slowness. I want to update the MCU to a m5p unit but need to research that more.
Now for this issue, as @Anubis132 has mentioned the Z-Offset is not being set which leads to issues with the first layer printing. After doing a cursory review of the gcode_macro.cfg this code stood out. especially after looking at the shared links where frankjoke had posted some code about Z-Offset.
[gcode_macro G28] gcode: ACCURATE_HOME_Z SET_GCODE_OFFSET Z={printer.toolhead.z_offset|default(0.0)}
Now to my understanding to this is that G28 correctly homes the printer, but SET_GCODE_OFFSET Z=0.0 wipes out any stored offset. If your Z offset was tuned for perfect first-layer adhesion, this macro removes it. If you use G29 (automatic bed leveling), Klipper calculates adjustments for an uneven bed. But since G28 resets the Z offset, the printer ignores the leveling data.
Here is a sample code with a sligtly modified code.
Preformatted text [gcode_macro G28] gcode: ACCURATE_HOME_Z SET_GCODE_OFFSET Z={printer.toolhead.z_offset|default(-0.1)}
Where {printer.toolhead.z_offset|default(0.0)} is now {printer.toolhead.z_offset|default(-0.1)} represents a manual entry for the Z-Offset.
Why Use -0.1 for Z Offset? Can It Be Any Measured Value?
** What Does SET_GCODE_OFFSET Z=-0.1 Do?**
The SET_GCODE_OFFSET command adjusts the Z position of the nozzle relative to the homed position.
- A negative value (-0.1mm) moves the nozzle closer to the bed.
- A positive value (+0.1mm) moves the nozzle farther away from the bed.
This is useful for fine-tuning the first layer height to improve adhesion and print quality.
** Why -0.1 Specifically?**
The value -0.1mm is just an example.
It is not a fixed number and should be adjusted based on your printer’s needs.
The Correct Z Offset Depends On:
-
Your Printer’s Mechanical Accuracy
- Each printer has a slightly different Z height after homing.
- Some machines may need
-0.05mm, while others may need -0.2mm.
-
Bed Leveling and Surface Type
- If your bed is slightly higher than expected, you may need a smaller Z offset (e.g.,
-0.05mm).
- If using a thick build surface (like glass), you may need a larger Z offset (e.g.,
-0.3mm).
-
Your First-Layer Calibration
- A well-tuned first layer sticks well to the bed without being too squished or too high.
** How to Find Your Correct Z Offset**
Since -0.1mm is just a starting point, follow these steps to find your ideal offset:
** Manually Home the Printer**
Run this command to home the Z-axis:
G28 Z
This moves the nozzle to the printer’s default zero position.
** Move the Nozzle Down in Small Steps**
Move the nozzle closer to the bed using the following command:
G1 Z0.2 F300
Then keep moving down in 0.05mm steps:
G1 Z0.15
G1 Z0.1
G1 Z0.05
- Stop when the nozzle barely touches a piece of paper (common test method).
- You should feel slight resistance when sliding the paper under the nozzle.
** Set and Save the Offset**
Once you’ve found the ideal height, use:
SET_GCODE_OFFSET Z=-0.15
SAVE_CONFIG
(Replace -0.15 with your measured value)
** Test with a First-Layer Print**
Start a small test print and observe:
- If the nozzle is too high (poor adhesion), increase the negative offset (
Z=-0.2).
- If the nozzle is too low (scraping the bed), decrease the negative offset (
Z=-0.05).
The next thing that stands out is the bed mesh. I looked at that section because I felt like the mesh was not being loaded. And here is what that macro looks like:
G28
G29
From here, the firmware does a G29 command and performs a be leveling procedure. However, if there is a mesh it does not load it. A possible fix is
G28 Z ; Home only Z
BED_MESH_PROFILE LOAD=default
G29
** What is Happening?**
In the original Klipper firmware, the START_PRINT macro calls G28 (homing) and G29 (bed leveling), but does not load the previously saved bed mesh.
Original Code
G28  ; Home all axes
G29  ; Run bed leveling
What this does:
G28 homes the printer → Moves the nozzle to a reference position.G29 runs bed leveling → Probes the bed to generate a height compensation map.- However, if a bed mesh already exists, it is not loaded, meaning Klipper ignores previous leveling data.
** Why Is This a Problem?**
-
Bed leveling (G29) takes time
- Every time a print starts, the printer re-probes the bed, even if the last mesh is accurate.
- This wastes time when a saved mesh could be used instead.
-
The printer doesn’t compensate for an uneven bed
- If the printer restarts, Klipper doesn’t automatically load the last mesh.
- This can cause first-layer adhesion issues, as the nozzle doesn’t adjust for bed inconsistencies.
-
If a new mesh isn’t generated, the printer might use no compensation
- Without loading a saved mesh, the printer might print as if the bed is completely flat (which it usually isn’t).
** Correcting the Issue**
Instead of running G29 every time, we should first load the last saved mesh.
** Fixed Code**
G28 Z  ; Home only Z
BED_MESH_PROFILE LOAD=default
G29
** How This Fix Works**
G28 Z → Homes only the Z-axis, reducing unnecessary XY movement.BED_MESH_PROFILE LOAD=default → Loads the last saved mesh before running G29.G29 → Runs a new bed leveling only if needed.
I have not tested this theory but I am just looking through the firmware to see what is going on at the moment. the next area I want to look at is the heating issue taht was mentioned. Also, I am not an expert nor do I claim to be I am mostly posted what I see as possible issues and looking for confirmations or different opinions. These code section can be found in the gcode_macro.cfg under the [gcode_macro START_PRINT]