I purchased my Ender 3 v3 SE in January and was very impressed by the printing quality. Both from files generated using Creality’s printer software, as well from Prusa looked amazing. The auto-levelling worked a treat.
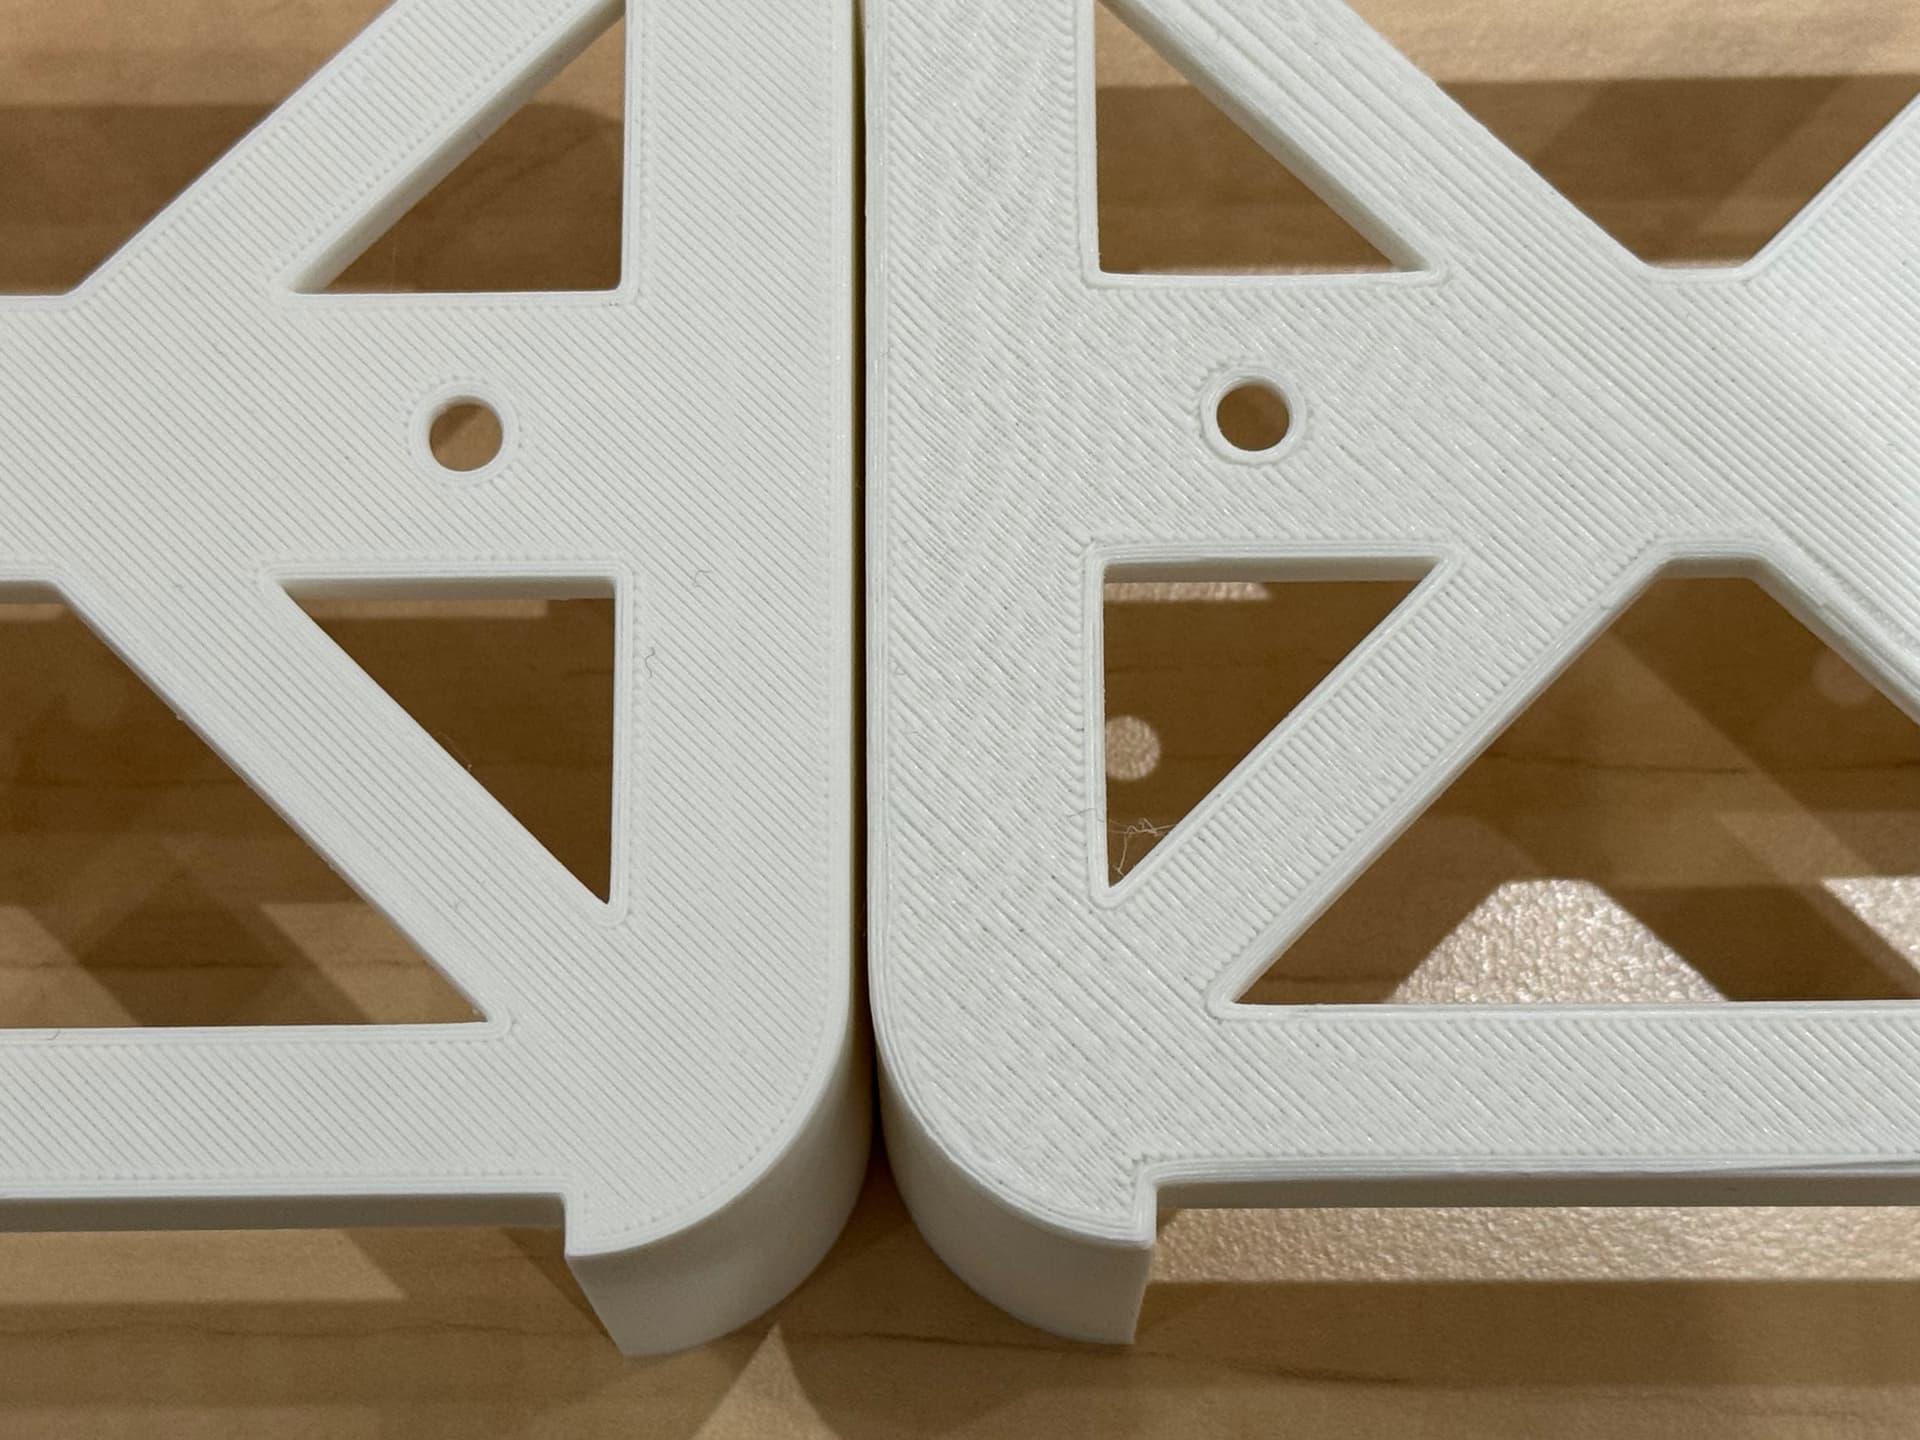
Over time the printing quality has deteriorated though, to the point that especially the first layers are very-very sloppy.
The source print files are exactly the same, and so is the type of PLA. I tried swapping PLA, putting in freshly opened PLA, and the problems remained.
Is this because of wear-and-tear? Anything broken, or is it a setting?
Please help, I want my great printer back and continue on making stuff!
How it was in January, to how it is now. Actually, the latest print today came out even worse, the screw / mounting holes you see in the photo had some diamond shaped print inside.
Also I don’t know how many hours the nozzle has on it but they do eventually wear some and can cause prints to not look as good…
Remember even a new freshly opened filament doesn’t guarantee that it is dried and in good condition for printing. Sometimes it still needs to be dried out in a dehydrator for best results …
As I’m quite new to this, before I print a square, I’d like to try your suggestions.
I haven’t done anything to the printer, I unboxed it, put it together and I run the pre-print calibration.
The nozzle probably has about 100-150 hours on it, but would a bad nozzle not also affect upper layers? It issue seems to be only the first 2 mm or so from the base.
Can you please help me in your suggested solutions, any tutorial or guide would be helpful on:
How I can adjust the nozzle to be closer?
How I tighten the belts and/or tweak the eccentric wheels on the X?
Your help is much appreciated, I would love to learn.
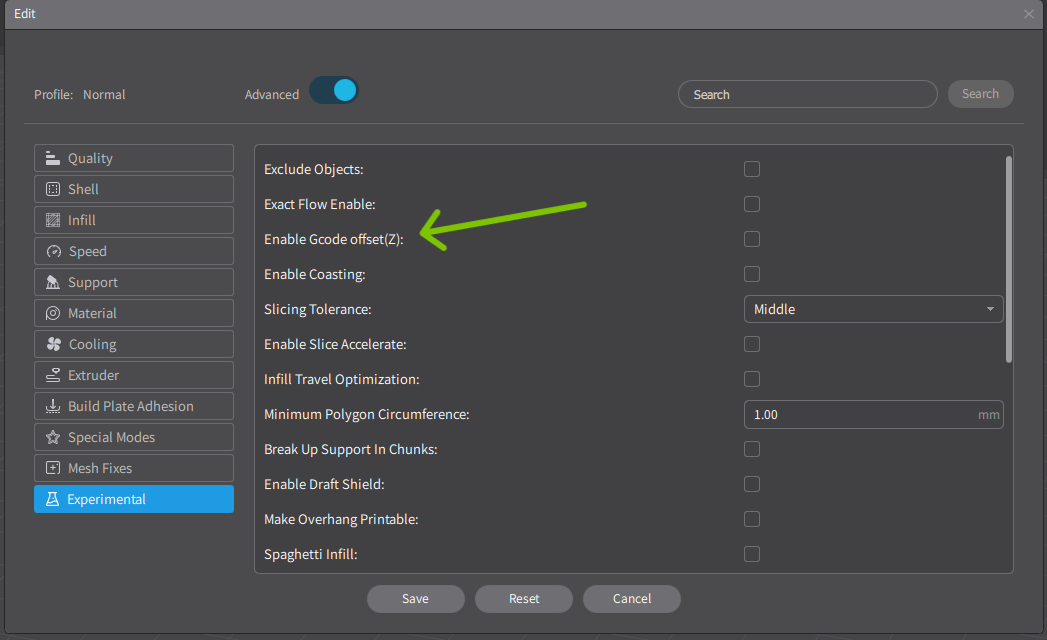
DO NOT DO THIS, you’ll get leaking plastic everywhere between the nozzle and hotend, messy cleanup and could leak onto thermistor/heater and break those. When you start a print on the pad you should be able to select TUNE on that menu you should find the Z adjustment. You should be able to raise/lower the Z offset in 0.05 increments.
Adjusting belts will need an allen key, I think it is 3mm. For the X axis it is on the RH end of the gantry. For the Y axis it is at the back of the base in the middle. The eccentric wheel is one the lower wheel behind the printhead and will need a 10mm spanner but only needs doing if you can feel any rock in the printhead.
A bad nozzle will affect all layers. First couple of mm could mean that the Z is slightly too close to the bed, might need raising 0.05/0.1, go back to the TUNE menu.
Z offset is a bit of an art to get right, I tend to print a 3 wide skirt to tune mine in before it gets to the main print.
Have to do my SE from memory now that it is on the Sonic Pad. But the TUNE menu is where the Z is found. Might also find it on another menu when it is not running, could be the CONTROL menu after levelling. The manual on the WIKI isn’t too clear.
I noticed something very surprising the other day - all the screws holding the magnetic print plate in place (the ones that you see when you remove the magnetic print plate) had loosened up to the point where the bed was actually wobbling significantly. I was surprised I could print anything, actually. While you are tightening those, tighten everything else. Hope this helps!
My V3 SE bed screws had loosened off like that too, given them a judicious tightening now. Did notice the SE used Pozidrive screws and the KE used Allen screws, can’t see that would make much difference though.
Wanted to feed back here that tightening the various nuts/belts/wheels has resolved the issue and I not get satisfactory results again! There was in this case no need to make any software adjustments, it was all hardware.