Instructions
The cutter is installed on the right side of the extruder. When the toolhead moves to the rightmost position, the cutter rod compresses the internal cutter through leverage action to cut the filament; after cutting, the cutter returns to its original position by the magnetic force of the built-in magnet.
Multi-color printing and other tasks with frequent filament unloading operations will execute the filament cutting action. After long-term use, the cutter will experience some wear, so regular inspection or replacement is required.
The replacement steps can be referenced as follows:
Tools
Hexagonal wrench
New cutter
Replacement Steps
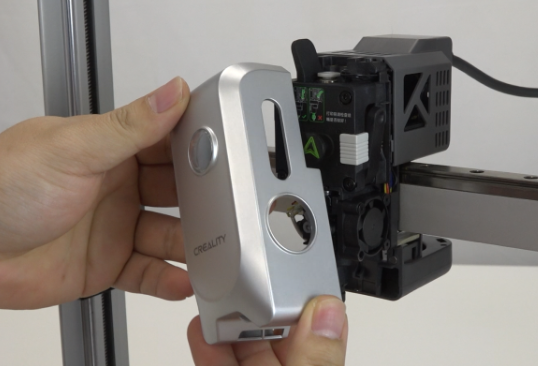
Removal
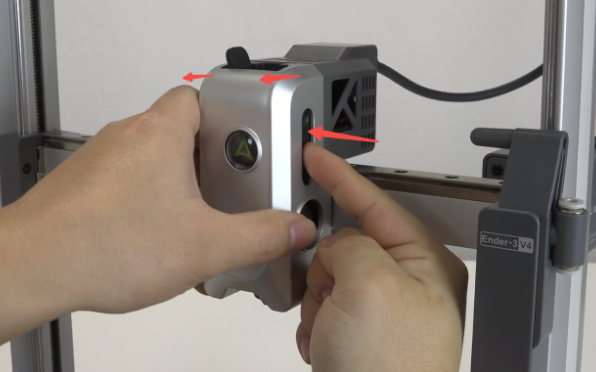
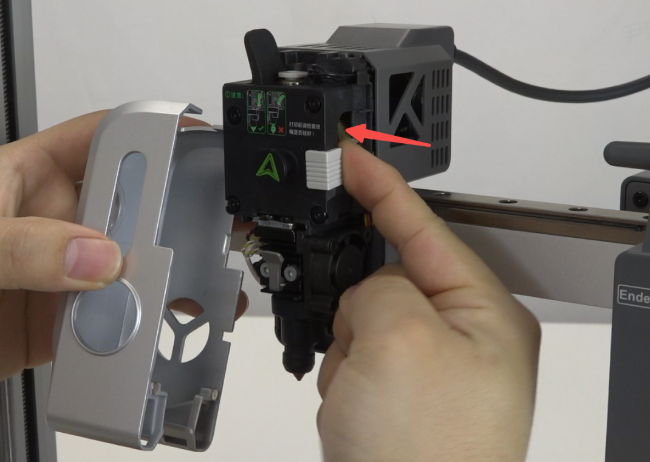
Remove the magnetic front cover. Note: When removing, push in the cutter push rod.
Push the cutter clasp upward to open the cutter push rod.

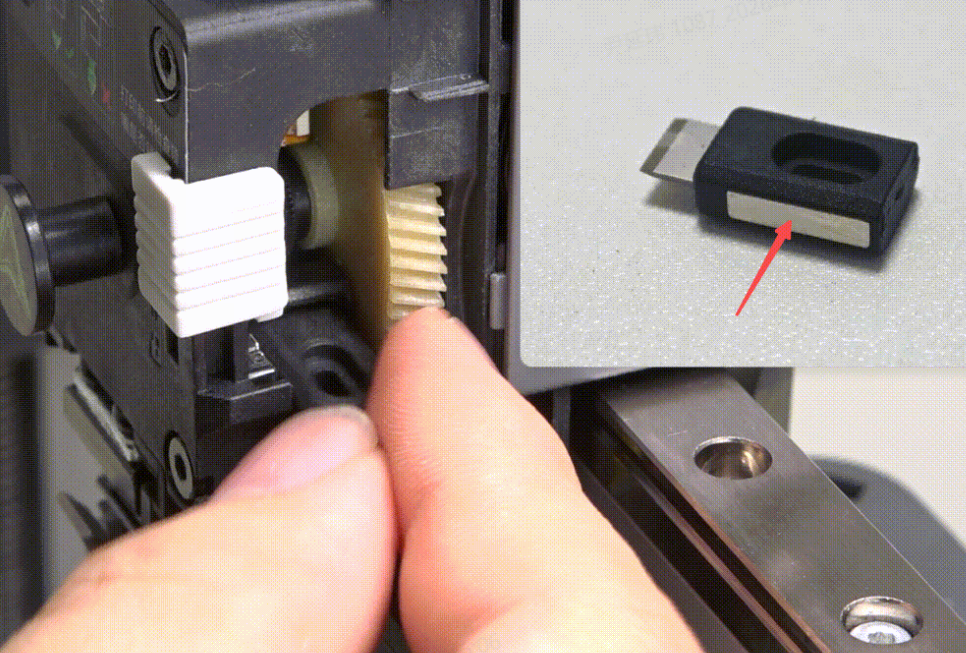
Use the hexagonal wrench to pick out the cutter.

Installation
Install the new cutter. Note: The side with the magnet should face outward
Close the cutter push rod and slide the cutter clasp downward
Install the magnetic front cover. Note: When installing, push in the cutter push rod

Device Self-check
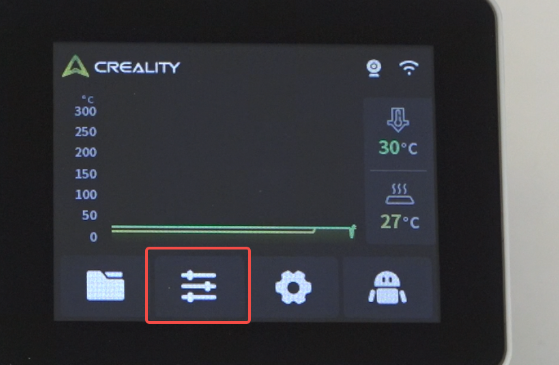
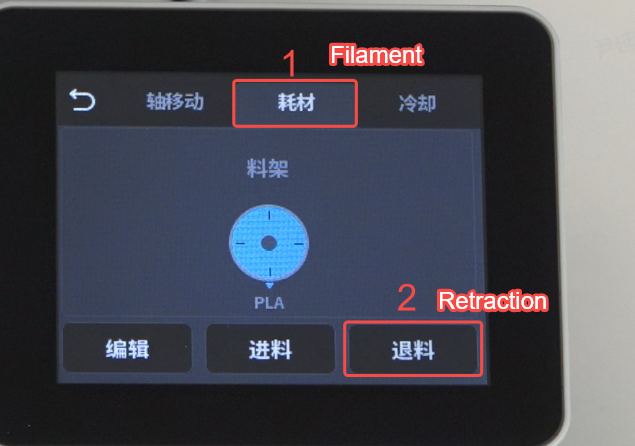
Click “Prepare” - “Filament” - “Retraction”, wait for the filament unloading to complete, then click “Return” to return to the home screen.

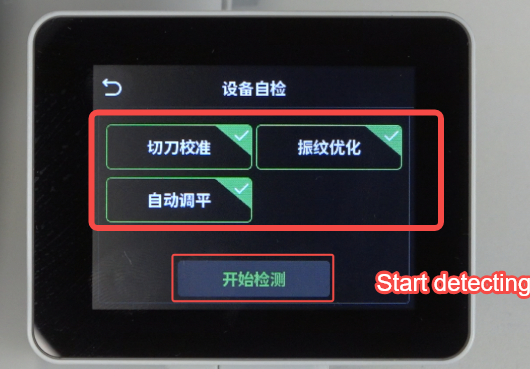
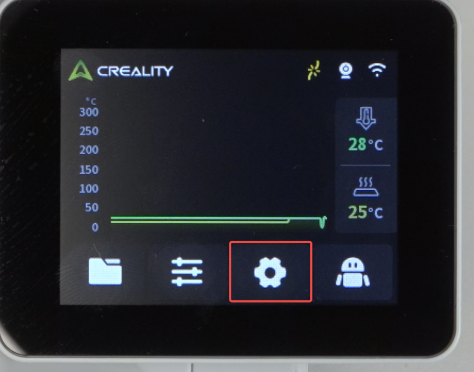
Click “Settings” - “Device Self-check”.
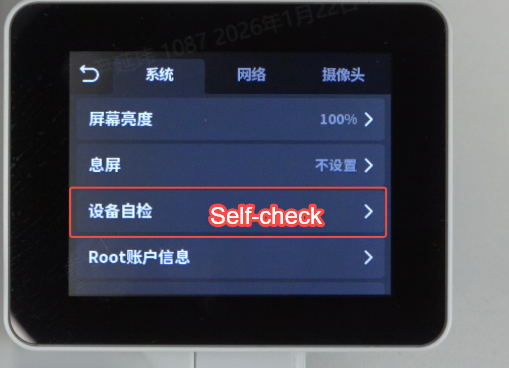
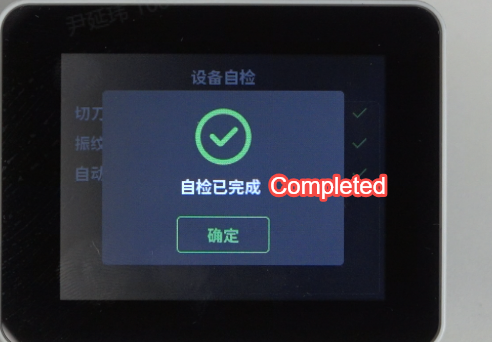
“Select All” - “Start Detection”, wait for the detection to complete