Here is my initial evaluation of the Sparkx i7 that I received Wednesday.
I am impressed with this little bedslinger. It is well made and sturdy. The bed is large for its footprint. I have printed several files from the printer and the prints are excellent. The first layer is without flaws. It is smooth and adheres very well to build plate. This adhesion without any glue or other substance for adhesion.
Ease of setup: The box was manageable to carry and move to my print room. Out of the box, the printer is very easy to assemble. I didn’t have to assemble the printer. I just pulled it out fully assembled and ready to setup with CFS lite. I had no trouble picking up printer. It is light and can be positioned with one hand. I was able to assemble the printer in about 7 minutes. This was done using one arm since I have partial paralysis of my right arm.
CFS Lite: the CFS is light compared to standard CFS or CFS-C. The loading was simple and straightforward. The filament release is easy to use and placed in front for access. I can load and unload the filament with one hand. The PTFE tubing was simple to insert in the top of the CFS. The only trouble is inserting the tubing into the small hub on the tool head. A adapter tool would be needed to depress the releases on the hub. There is a tool created by Millin 3d that assists with depressing the hub releases to remove the tubing. The sensor and feed motors are easily accessible and seen from across the room.
Printer impressions: The printer is lightweight compared to other printers, including the original Ender 3s. The frame is strong and without any defects. The X, Y, and Z axis work flawlessly and smoothly.
The build plate: excellent construction and surface. The bed adhesion is excellent. This is without any glue of any type. I cleaned the bed I initially with Dawn soap and warm water. Then wiped it down with IPA and lint free cloth. The finish on the plate is excellent for adhesion and double sided plate makes for simple removal and use.
The lighting: the small led on left side is adequate for visualization of build plate. The RGB is cool to see and provides some fun to the printer. The RGB is programmable using the screen and can be turned on or off on your preference.
Camera: the location is similar to Creality Hi but on opposite side. The camera allows you to watch progress and Timelapse video are good to use to identify any print problems such as spaghetti and layer defects.
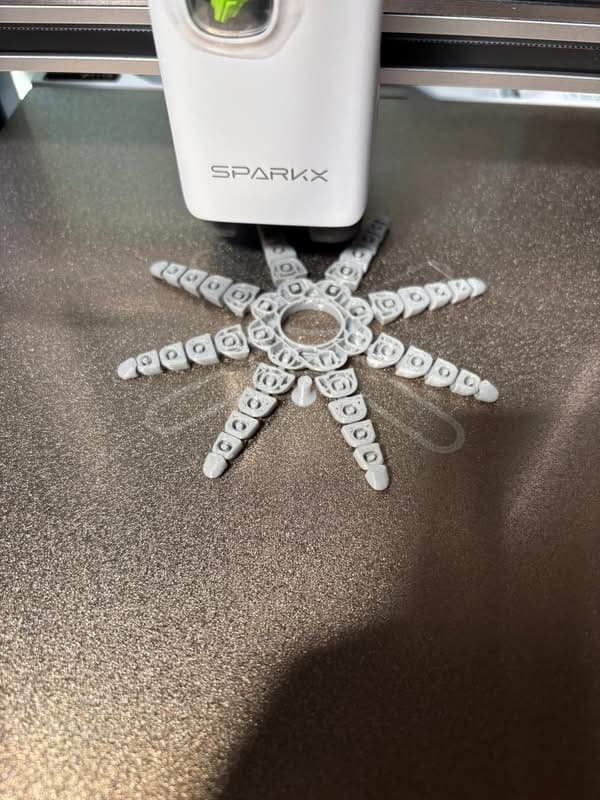
Printing: my first prints were excellent. The first layer adhere perfectly without defects. The benchy it printed without any flaws or stringing. I printed the articulating octopus and it was great! The articulations move easily and right from the plate. I didn’t have to do anything to initiate movement of the legs. I next printed the “Sparkx” keychain and utilized three colors. The waste was minimal for the amount of filament used. The texture was smooth and the lettering was clear and nice edges. All these prints were done without adhesive. They peeled off the plate with little effort.
Adjustment performed: using “Expert” mode, I had to reduce speed on poop bin print. As you can see in photo and video of the poop bin in Green Creality Hyper PLA, the second had severe gouges or defects at the beginning of second layer. I tried adjusting z-offset and that didn’t solve problem. So I then reduced speed for second to 85%. This corrected problem. As you can see after defects, the layers after were good to go. I decided to change filament to Black Creality Hyper PLA and the poop bin came out excellent. Check your filament and make sure it’s dry and not very old. This printer wants good dry filament or you will get what I got with the green filament. Last video shows poop bin printing great!
Overall, I highly recommend this printer for all ages and enthusiasts. It’s simple to use and even using expert mode, a beginner could easily make adjustments with no trouble. I have seven printers with the Sparkx being my latest acquisition to my print room.