Hi. Noob here.
How do you asses the tower?
When I use the finest print and then use that, i.e 195C, the actual print of my items get really bad. If I just change to 205C the print looks good but not perfect according to my standards. In the tower there are strings when using 205.
Any suggestions?
Cheers.
The temperature tower is just one tool in a broader set of calibration tools. Many users prefer to calibrate pressure advance and flow rate first, since those directly affect extrusion consistency, but there are differing workflows and opinions on order.
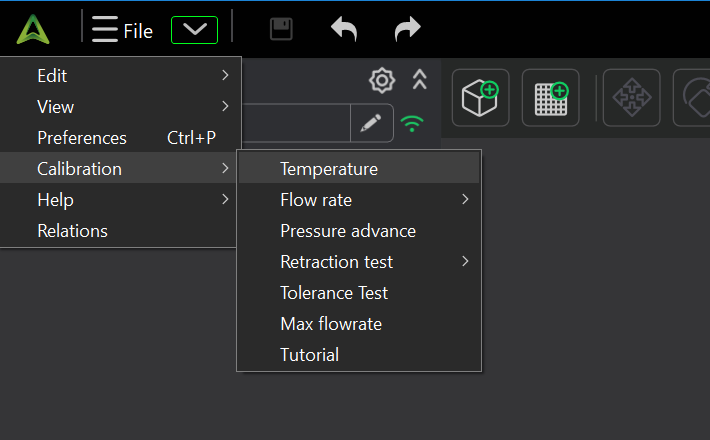
If you are simply downloading a temperature tower model and printing it as-is, it is likely not being used correctly. A temperature tower only works if the G-code is generated to change the nozzle temperature at each height of the model. Fortunately, most modern slicers handle this through their built-in calibration menus.
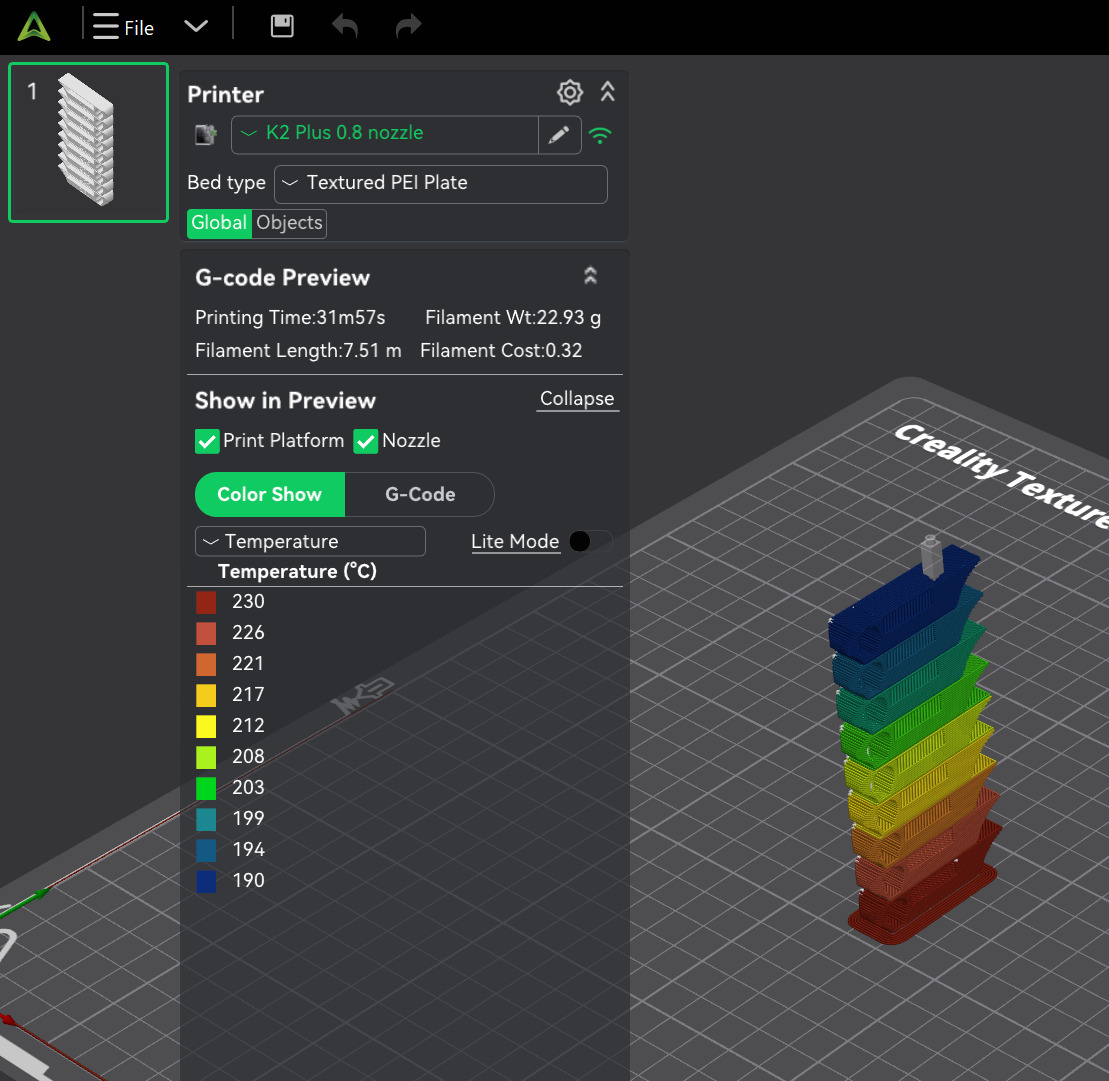
After slicing, switch to the temperature or preview view in the slicer. If you do not see a clear color gradient or “rainbow” indicating temperature changes by layer, then the model is static and will print at a single temperature, which defeats the purpose of the tower.
A complete explanation of temperature tower interpretation is too dense for a single post. Many people rely on YouTube for examples, but be cautious. There is a lot of incorrect or oversimplified guidance, so it is wise to cross-check more than one source and verify what the slicer is actually doing.
https://www.youtube.com/results?search_query=3d+printing+temperature+tower
If you have a specific question, post an image of your printed tower and annotate what you are unsure about. With that context, it is much easier to point out what features to evaluate and why.
One final point: there is rarely a single temperature that is optimal for all models and filaments within a class. Some filaments have a wide tolerance for overhangs across a temperature range, while others perform better in a narrower range to control stringing or surface finish. A temperature tower should be treated as a “voting” tool, balancing tradeoffs between features. It is perfectly reasonable to maintain multiple profiles for the same filament depending on the type of part being printed.
Thanks a million for that fine explanation. A little mote experimenting is in place then for me. ![]()
Cheers.