Newbie here. Have a new Sparkxi7. Trying to print a basic name key fob in three colors for granddaughter. Made in Tinkercad. When I transfer to print it asked in stl or obj. I did both, but get no color transfer.
How do I get the colors?
Thanks in advance for any help.
Hello there, welcome to the community.
Once you have your 3D model, you must to convert the model on a file suitable to be printed.
there are some formats, STL, AMF, 3MF which are industry standard of “printable“ models.
In order to your printer be able to print the model, those model must be converted on a format understanded by the printer, that step is called “Slicing“ and is done with a “slicer” program Creality have his own one called Creality Print. there are some others open source used by most people like Orca Slicer.
The process is called “slicing”because the program make the calculations to create each “slice” printed by the printer on each layer before take the head up for the next one.
You run your slicer and import the STL, AMF or 3MF file generated by your modeling software and then on the slicer you set the parameters of strength, color, etc. and generate the code for the printer, even you can send the print from the program.
I know seems a lot, but believe me is not you just need to get used to.
On ThinkerCAD you can export to a STL file using the export shortcut on the upper left part of the screen:
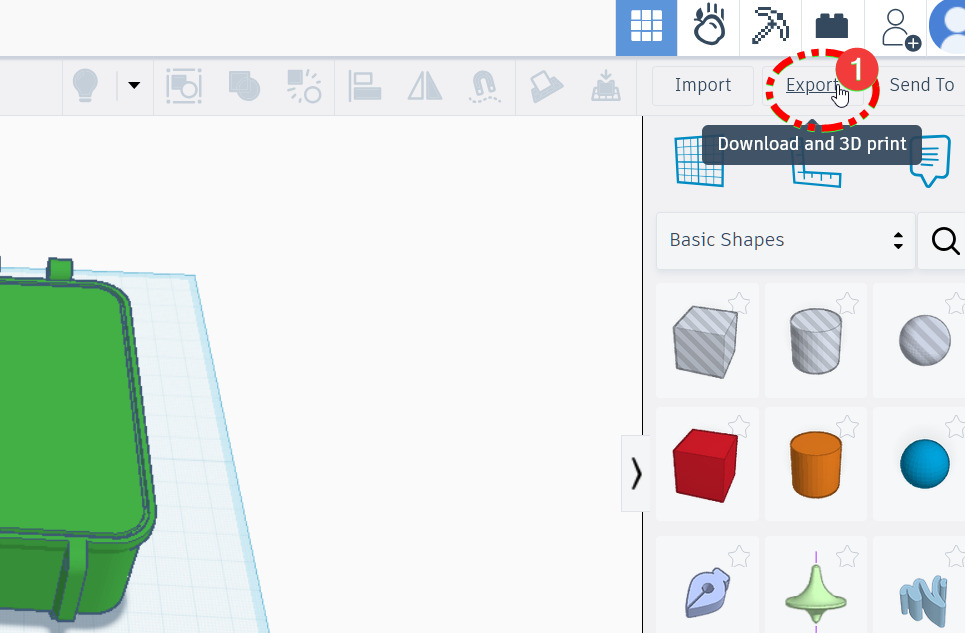
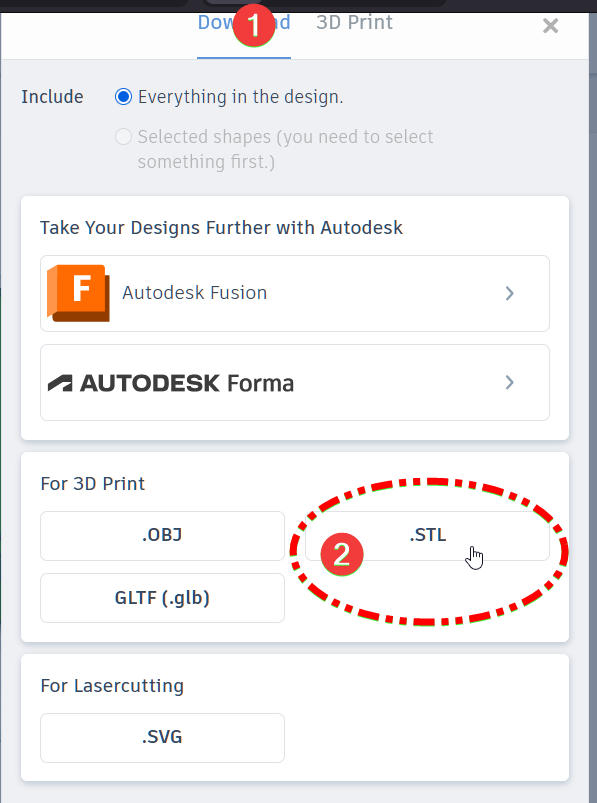
this generate a SLT file which can be open on the Creality Print slicer
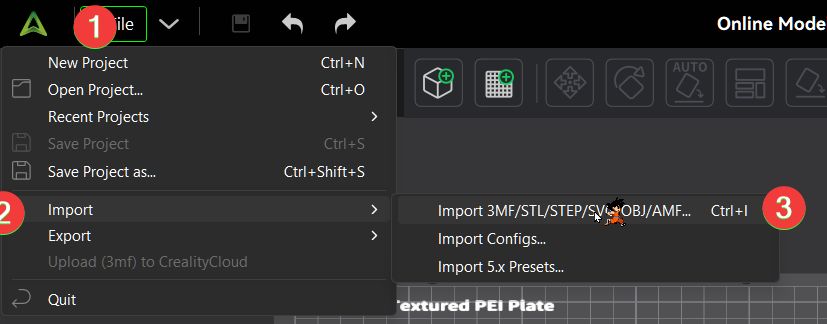
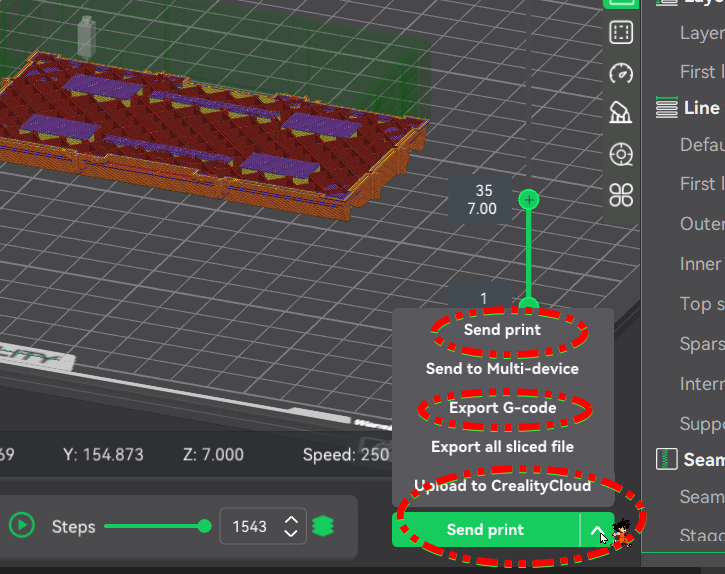
Once you imported the file you can go to “preview“
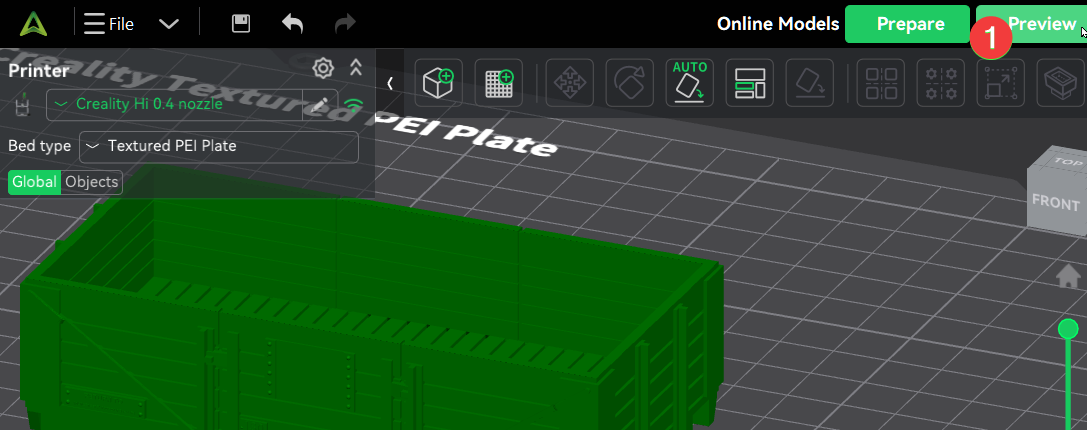
to test how the printer will create the piece.
From there you can print, create a file with the code or upload the printing to the cloud and print from there
Sorry if I made errors or I am not too clear, English is not my native language,
Let us to know if you need more help.
2 Likes
Thank you Impeeza1 for your response. Great job at explaining the process. I finally made thru all of that, but when I get it to the Creality Print, it loses all the color choices made in Tinkercad.
I tried painting the color. Separating the objects to color them. Nothing seems to work. When I print, it just prints white!
Hello @Dman14534 ![]()
Welcome to the Creality Forum…! ![]()
Everything @impeeza1 said ![]()
The stl file that you export from Tinkercad doesn’t carry any color information like a 3mf file does so you will have to color the parts in Creality Print.
2 Likes
You really did a great job with all the visuals on this one explaining the process
2 Likes
Finally figured the transfer out. Thanks to everyone for their help. Love this learning experience.
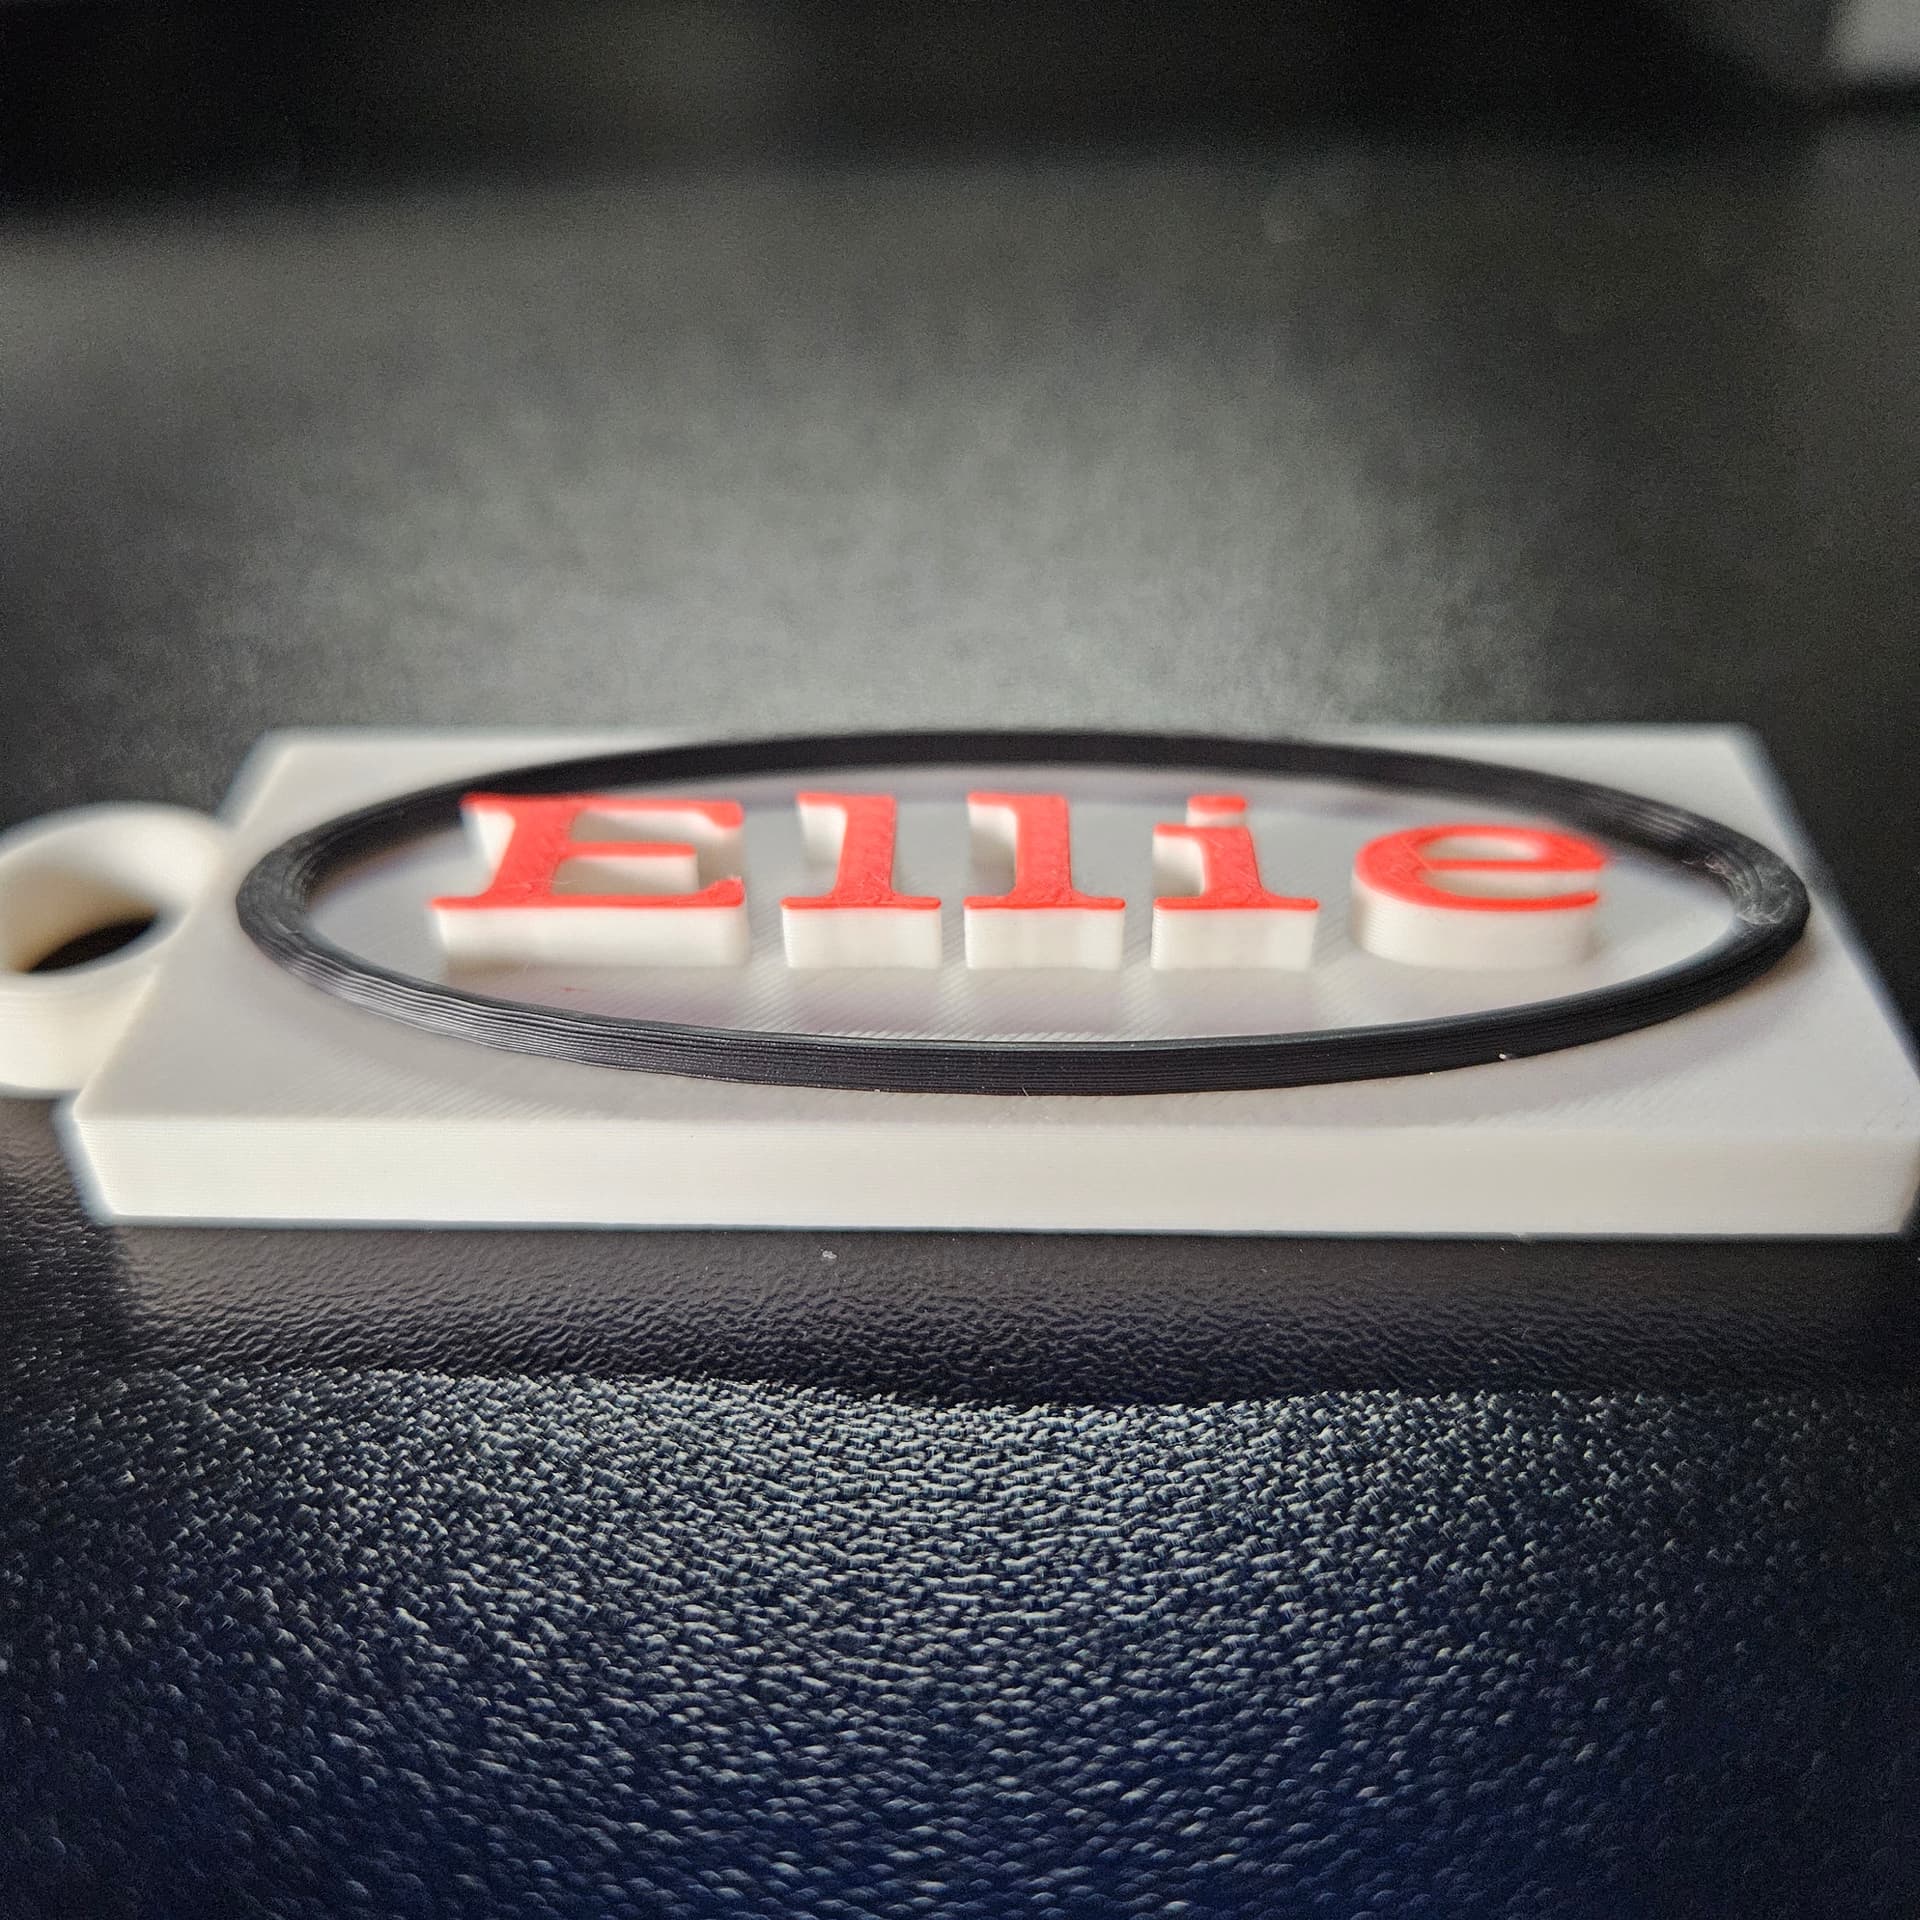
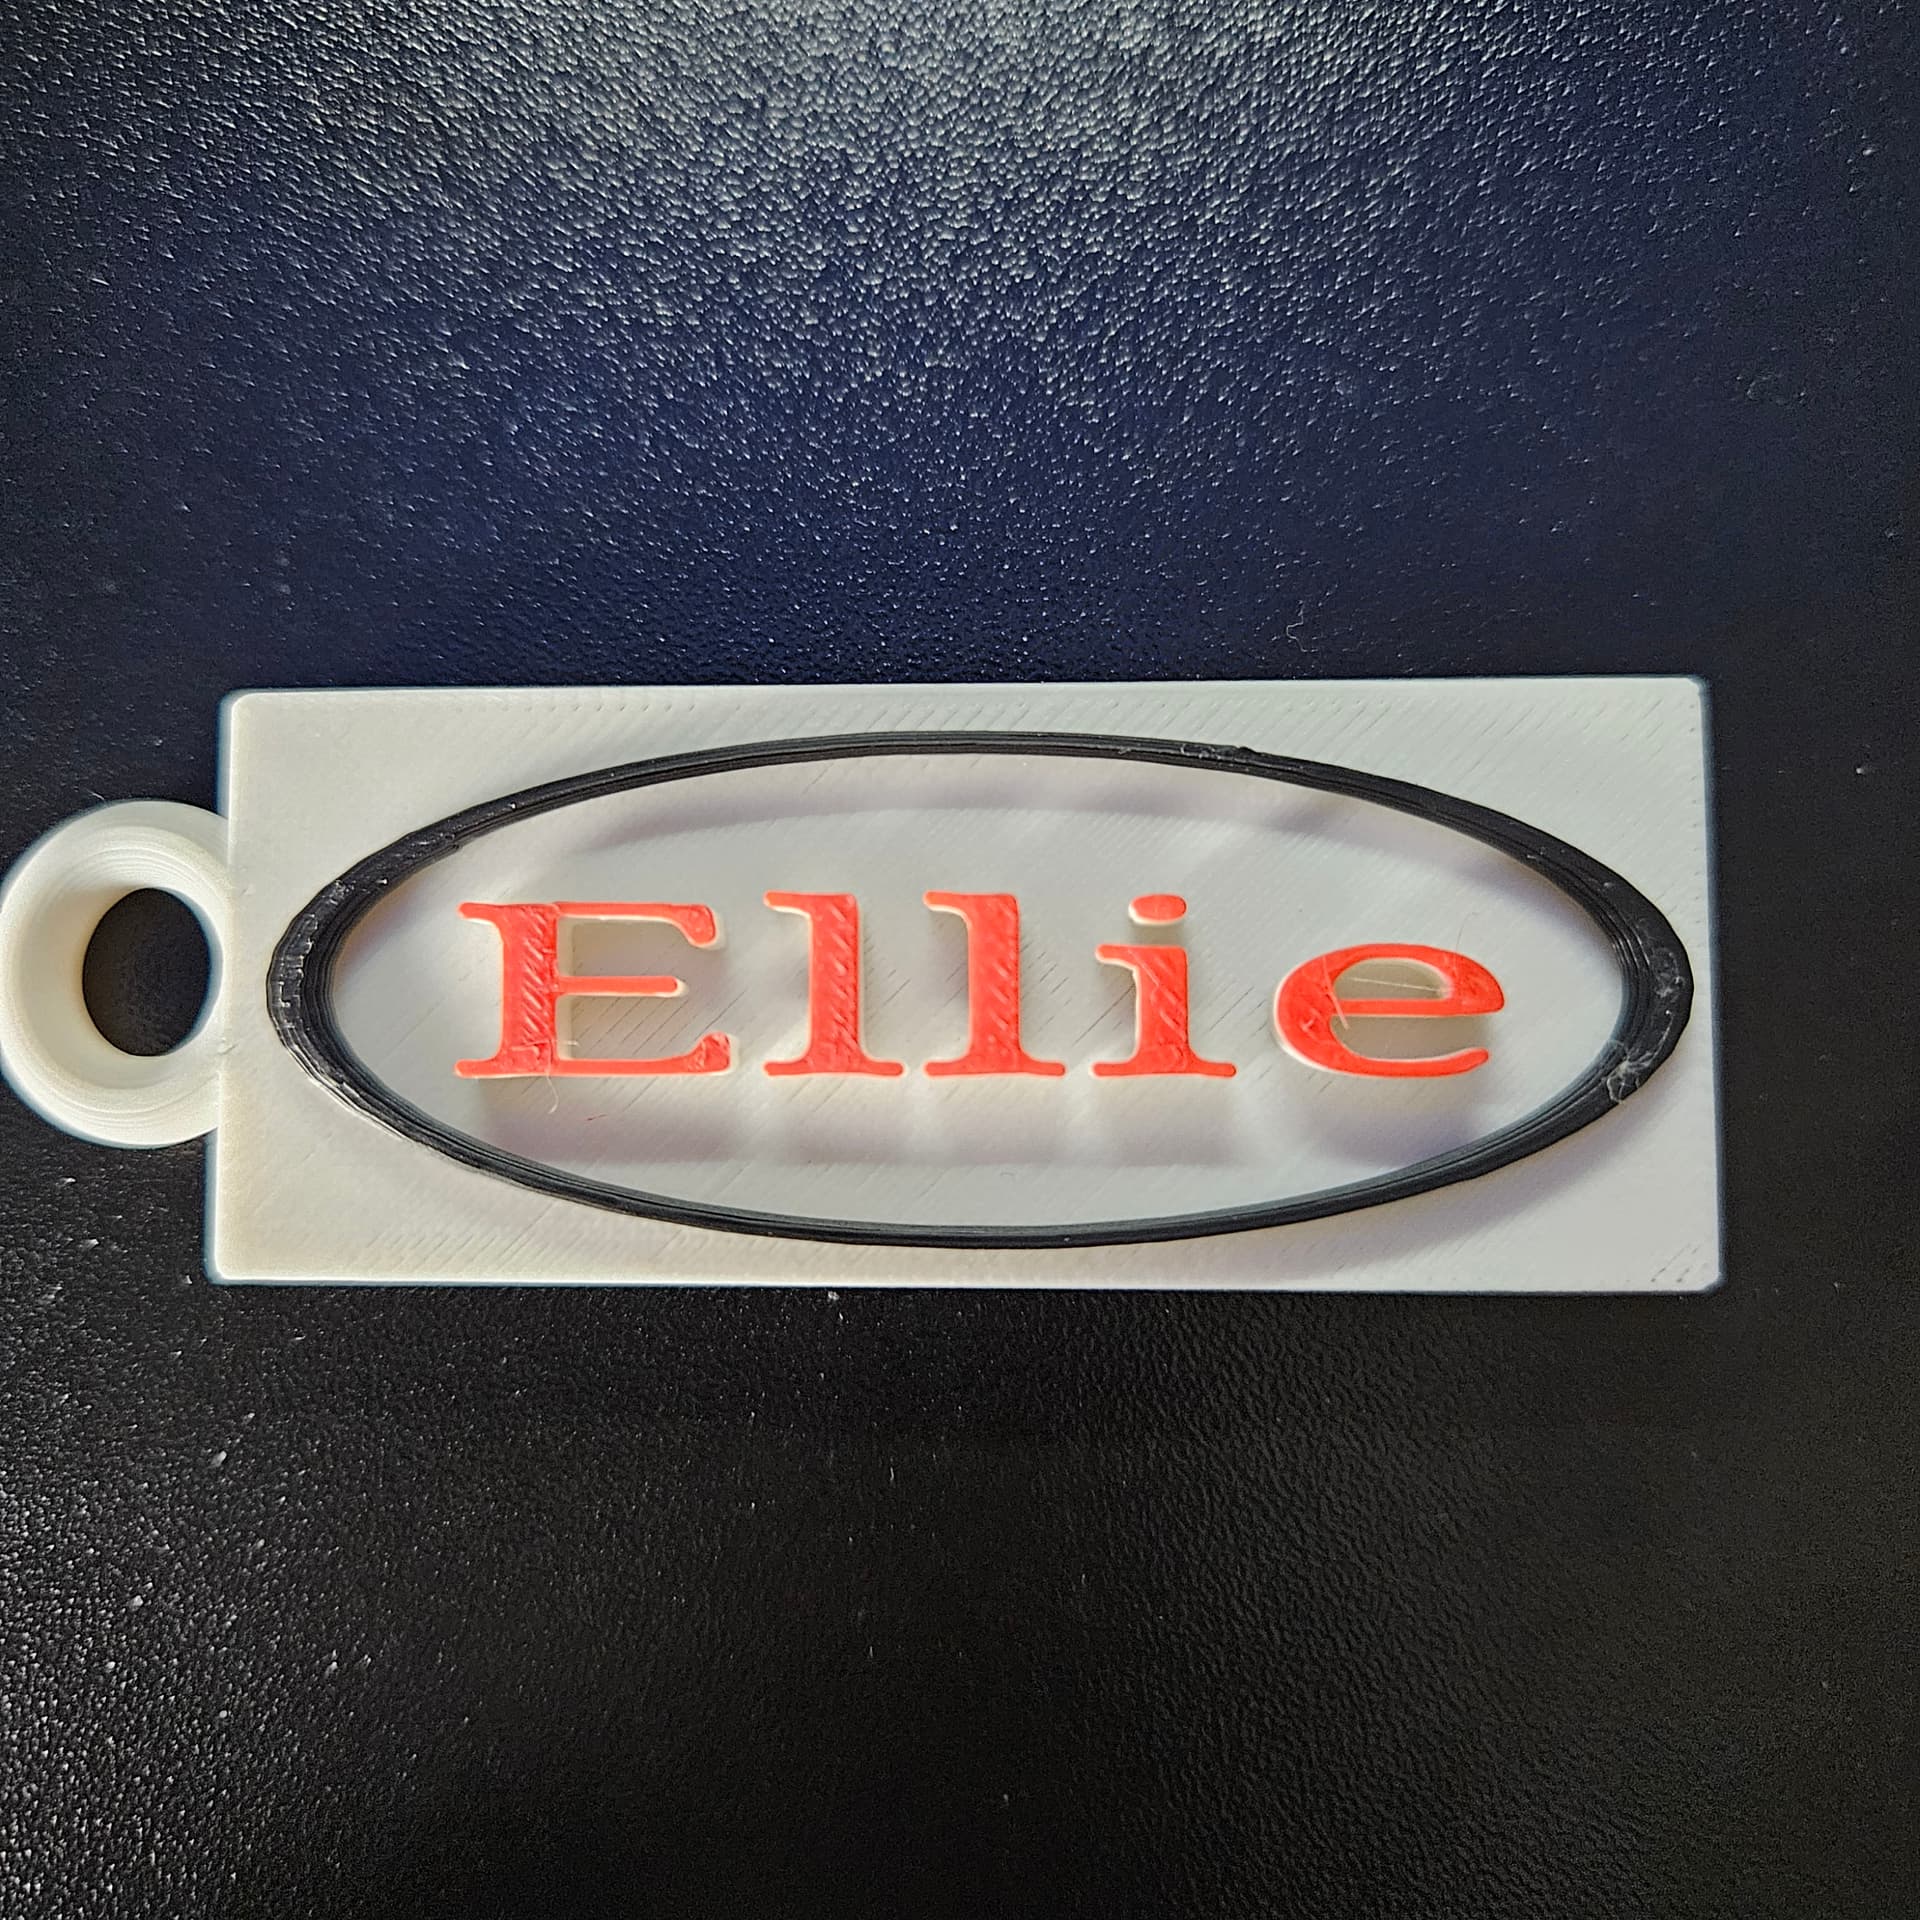
Hopefully these pics come through .
Thanks again!
3 Likes
Sadly the Color information is not an standard of the models format, supposedly 3MF and AMF support color information but no CAD software I know export it.
So you must to import the model on the slicer and then on the slicer put color to different parts or pain it with the paint color tool. that is a tool you must to study and learn because is very powerful but you can get undesirable results if you do not know what are you doing. One of the most common problems I found is the use of color on only invisible parts of layers making waste of filament. but all that is tweaking.
1 Like
Nice work!! well done.
1 Like
Correct me if I’m off here but I think you can save the colored model in Creality Print as a 3mf to keep the color information for that printer if I remember correctly. ???
1 Like
Awesome gotta love this community
1 Like
YES IT WILL.
The one do not saving color info are the modeling software
1 Like
You are painting the object. Save the design as a .obj and when you import it you can right click the design and split into objects. When you do that sync your cfs. This way here you can select each object and colour it not just the top layers.
1 Like