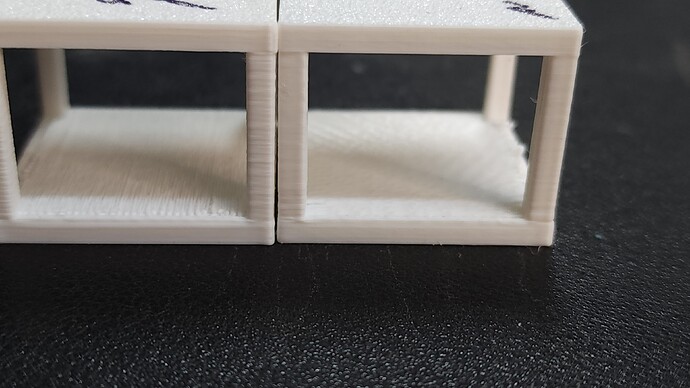
@Chris.S_NZ WOW, thanks for the analysis & testing. This is a lot to take in. I’ve got a big print cooking right now, so I won’t get to fiddle with all the suggestions until tomorrow. Again, thank you so much for the deep analysis and all the thoughts.
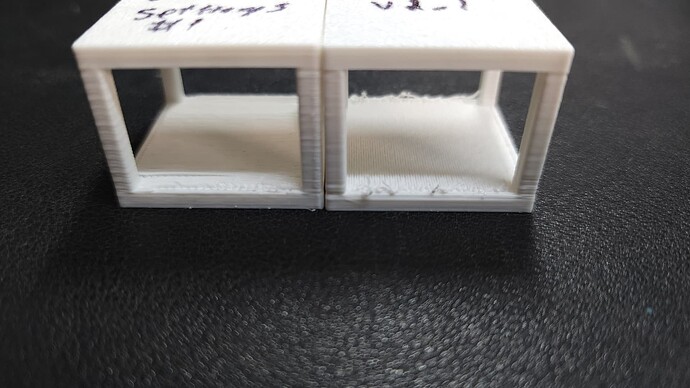
@Chris.S_NZ @Frans_Lambrechtsen I incorporated your suggestions into v1.1 profile. I had some interruptions. I include the settings here in case I missed something.
support test_defaults_standard support_v1.1.3mf (22.1 KB)
Overall, this is a huge improvement on the bottom side of the top, except for one pair of edges that got worse (v1.1 settings on the right).
If you have any more suggestions, please pass them along. You have really helped my set-up and understanding. If this is a good as PLA gets, so be it. Thanks for getting me this far.
That looks like a tough print. How wide are the vertical columns/members? I’ve found when they got tall and skinny like that the print head tends to move them around a bit, causing the columns to not look as smooth. Thicker vertical elements help with that, enough that you get some of the sparse infill to strengthen it.
Generally overhangs, the undersides of objects, are very difficult to get perfectly clean and smooth. My understanding is if you want smoothness you need to do post-processing like sanding. From all the resources I’ve looked into, the best way designers get around the bottom not being smooth is they actually design it in multiple pieces. In that scenario the underside lays on the bed and at least gets the smoothness/texture of the bed. Designers will design a connection between the two parts that either snaps together or making a tight fit that they super glue.
For your gear, the only ways I know how to improve the underside is either supports or design it so it’s in two pieces that you can connect after printing them separately.
The only other thing I can think of that I’ve been looking into is slowing down the overhang and bridge print speed. This allows it to cool faster preventing the material from sagging due to the warmer temperature. Related to cooling is your fan speed. Make sure that your fan speed is maxed out for overhangs so they receive the maximum possible cooling.
That’s about all I know. I’m still trying to figure out the best settings to print for overhangs myself. If I want a really clean look then I’ve been leaning towards designing it so the part that is the underside gets printed on the bed itself.
Hope some of that helps. Sorry I don’t have the silver bullet to solve the problem.
@Frans_Lambrechtsen The little cube is a test. it is supposed to be hard to print. I’m only really concerned with the underside. Ironically, the gear was a separate part in the previous version. I made it part of the end-cap because it was difficult to align as a separate part. As fate would have it, there was another revision so I printed the Gear again, but this time with tree supports and the revised settings we discussed. It came out much better. The underside still isn’t great, but it is good enough. If there is another revision on that end cap, I’ll try slowing down the overhang and bridge.
Thanks again for all the help.

