Top Interface layer sticking to the model

I am having intermittent problems with the top Interface layer sticking to the model (i.e. top interface layer is getting embedded in the bottom of the model layer it is interfacing to)

The problem is somewhat intermittent (more often than not), but repeatable. I’ve compared the presets and they all match (this is for “normal”" supports).

I’m not sure what to adjust for this. Does anyone have a suggestion?

Suggest posting your print profile you are using.
A lot of unknowns, too many really to assist without a lot more information, what nozzle size, what layer size, support type, interface layers, using any offset… etc etc

Probably a good staring point is this:
https://wiki.creality.com/en/software/update-released/Support/Advanced

The phenomena happens on many different print profiles. All of tghem use the 0.2mm default z-top distance. I thought that would suffice. It that the right place to
tweak the settings. here is a sample.
Untitled.3mf (10.6 KB)

I love the way the creative print app links to the manual.

what stands out if infill overlap.. did you choose that on purpose ?
I never even print with the CR defaults of 30, I drop that down to 15 max

try lowering this back to 10-15 and see if the problem goes away..
what filament are you using ? I find 15% work well with PLA & PLA+/PETG/ABS & TPU

haha, just noticed my preset is 25, must drop that back down to 15.. :frowning:

Thanks for the help. I mostly print in PLA. Yes, I did increase infill overlap on purpose. I was trying to increase the strength of PLA print rather than go to a stronger filament. Ironically, that setting is a left-over that i forgot about. I need to take it out anyway. I got much better strength results with more walls. I’m not sure how it snuck into my other pre-sets. I’ll throttle it back and let you know how it goes.

P.S. it is specific to certain models, so it might be a while before I run across one of those again.

1 Like

Yeah saw the 8 walls :eyes:
I find PETG , ABS prints far stronger than PLA,
PLA + is quite a bit stronger than standard PLA but depends on your use case, prefer PETG as my default for chemical, heat and UV resistance…

1 Like

I just ran one of the “problem models”. Infill Overlap set to 15% and still had the problem. May be worth noting, This time I was using tree supports. last time was with regular supports.

Any other thoughts I might try?

Before going down the rabbit hole of fine tuning parameters to “get It to print”, look at changing from default layout mapping to either minimize support or minimize print time, the orientation button in CR top menu, next to layout, long press, often just changing the orientation is the simplest for problem models. Especially if other models are printing fine.

Fine tuning parameters, or adding supports into a model to print is options 2,3 in order of ease (if you have basic 1st layer calibration working) no oddballs and all the simple / benchy type of prints work

1 Like

I usually run with minimize support because picking off supports has ruined more prints than I’d like.

Have you tried adding supports in via software ?
I’ve a couple of things I’ve designed that would never print, but adding support structures made it printable

But as to what parameters to use to reduce sticking, there was a video a while back… can’t remember who did it… but a good guide to interface layers, if not using separate filaments for supports…

Will try to find that again

1 Like

You might find the vid useful in terms if how to improve strengths etc https://youtube.com/shorts/ZVVGxXAdz7E?si=7wnuz0T3DkuT6t0a

1 Like

Thanks, but not a ton of info there. the infil type tests were interesting. the video seemed to have a lot of testing behind it, but skipped past the data and just gave conclusions. Do you have a link to the research?
edit: later in the day… @BoBL There is a long version of this video with all the data. https://www.youtube.com/watch?v=1Xuw93DnWwM
That helps a bunch, although strength wasn’t the issue at hand, I do try to press PLA sometimes and this will help.

I got a good picture of the phenomena. I’m posting it just to be sure we are all working on the same problem. The rough/loose finish on the bottom of this gear happens on a lot of flat undersurfaces’. When this was printed, the messy side of the gear was on the bottom, but suspended above the print plate by the bearing holder.


it isn’t just one model, seems pretty common on the underside of flat surfaces. Just happened yesterday on a simple box. I remain perplexed.

can you upload all your parameters being used…

And an image with the supports still attached will help.

there is a number of settings that can effect/cause this, but instead of guessing what you are using, if you share the lot, we can compare to what we run, that doesn’t exhibit this effect…

i.e I can think of about 5 parameters off the top of head I’d try. but depends on what you are using now as to which ones to recommend to change.
I.e supports remove small overhangs, small overhangs area, or normal snug type & threshold angle, support/object first layer gaps, distance priority… what interface pattern… top& bottom interface layers…

Without knowing what you are using, there are too many variables in play to be able to offer advice, othan than what defaults are you using within which nozzle system profile.

So many of these are “one and done”, I don’t always have the parameters around. Would the gcode that Creality Print archives be useful? I’ll post what else I can find. I may have some .M3F files I can post.

I don’t have any pix with supports inplace. For what it is worth, this happens with tree and Normal supports.

Just for the record, I’m on the original K2 0.4 print head. Generally with 0.2mm layers, although I occasionally use the variable layer height settings.

I really don’t want to print that gear again. It may be ugly, but it works. When my next print finishes, I will toss together a model that is small and causes the problem consistently. Then we can really start filtering out the parameters. Thanks for hanging in there with me. This one is a bugger.

A top z distance height of 0.25 to 0.27 works really well for me. I agree the default 0.20 is too tight. Never go more than 0.30. I’ve found it’s too far away and can loses the connection to the rest of the model.

1 Like

@Chris.S_NZ I made a little cube to test with. This first test was all default settings (unless my defaults got messed up). I uploaded the project for your comparison.
support test_defaults_standard support.3mf (22.0 KB)

Here’s the picture with the supports in place.

Here is a picture that shows the problem well. Note, off to the left, you can see that things are not lining up correctly.

Flipped upside down, here is another shot of that edge that seems so off.

Then as I was cleaning up, I noticed it happened on the original test Benchy that the K2 prints as a start-up test.

@Frans_Lambrechtsen Thanks for the “top z distance” tip. I’ll give it a try tomorrow.

1 Like

Cheers, will have a look and compare settings and do some test prints to compare results, that first image the bottom left looks quite bad, I normally only get walls splodging that much with very wet filament.
Or input shaping/extruder z motor calibration is very far off… Does either a VFA or a small solid square calibration test print Ok, are you getting dimensional accuracy ?

I like the cura test cube myself, or any Cura/Orca/CR tolerance test…
I’ve only have the PETG cura gcode on hand, as I normally only print in PETG.
While looking at your project file, Ive some CR ender PLA (somewhere) I’ll compare against, will see what your geometry prints like with all my current settings.

Here is a comparison using current setup.. and I’ll note, i’d never use this setup for this type of object, but just as an experiment to see how badly it would come out.. if I forced it to print badly

0.8 HS nozzle, .standard 40mm layer height profile, CR PETG, side spool with no real PTFE (just out of my space pi dual towards the extruder) printed at 200% (fluidd adjusted) “standard layer” speed, with 0.051 PA & 0.95 Flow.
Changes from default .40 standard profile are.
print at 200% speed to force some issues.
:support enabled,

  • tree slim (experimental 0 interface layers),
  • remove small overhangs (default 5mm)
    with slim there are 0 interface layers, so its literally ripping the tree support off the base with clippers.

ok, thats the play-test, i’ll switch back to a 0.4 and do a real print..

Switch out 0.8 nozzle, for 0.4 HS nozzle (only a week old) not new, but only PETG through it to date.
Ender PLA
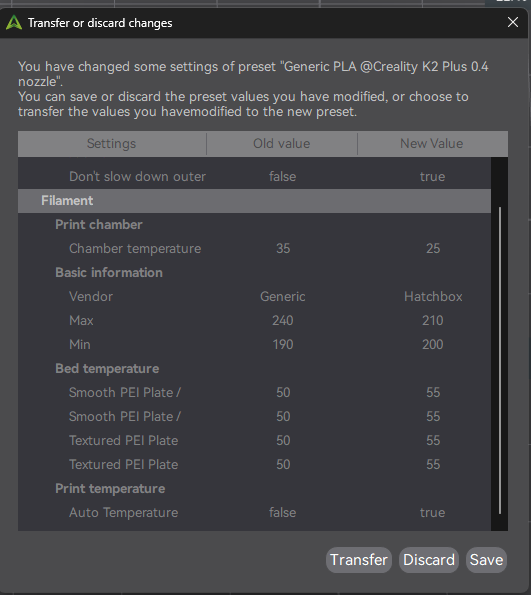
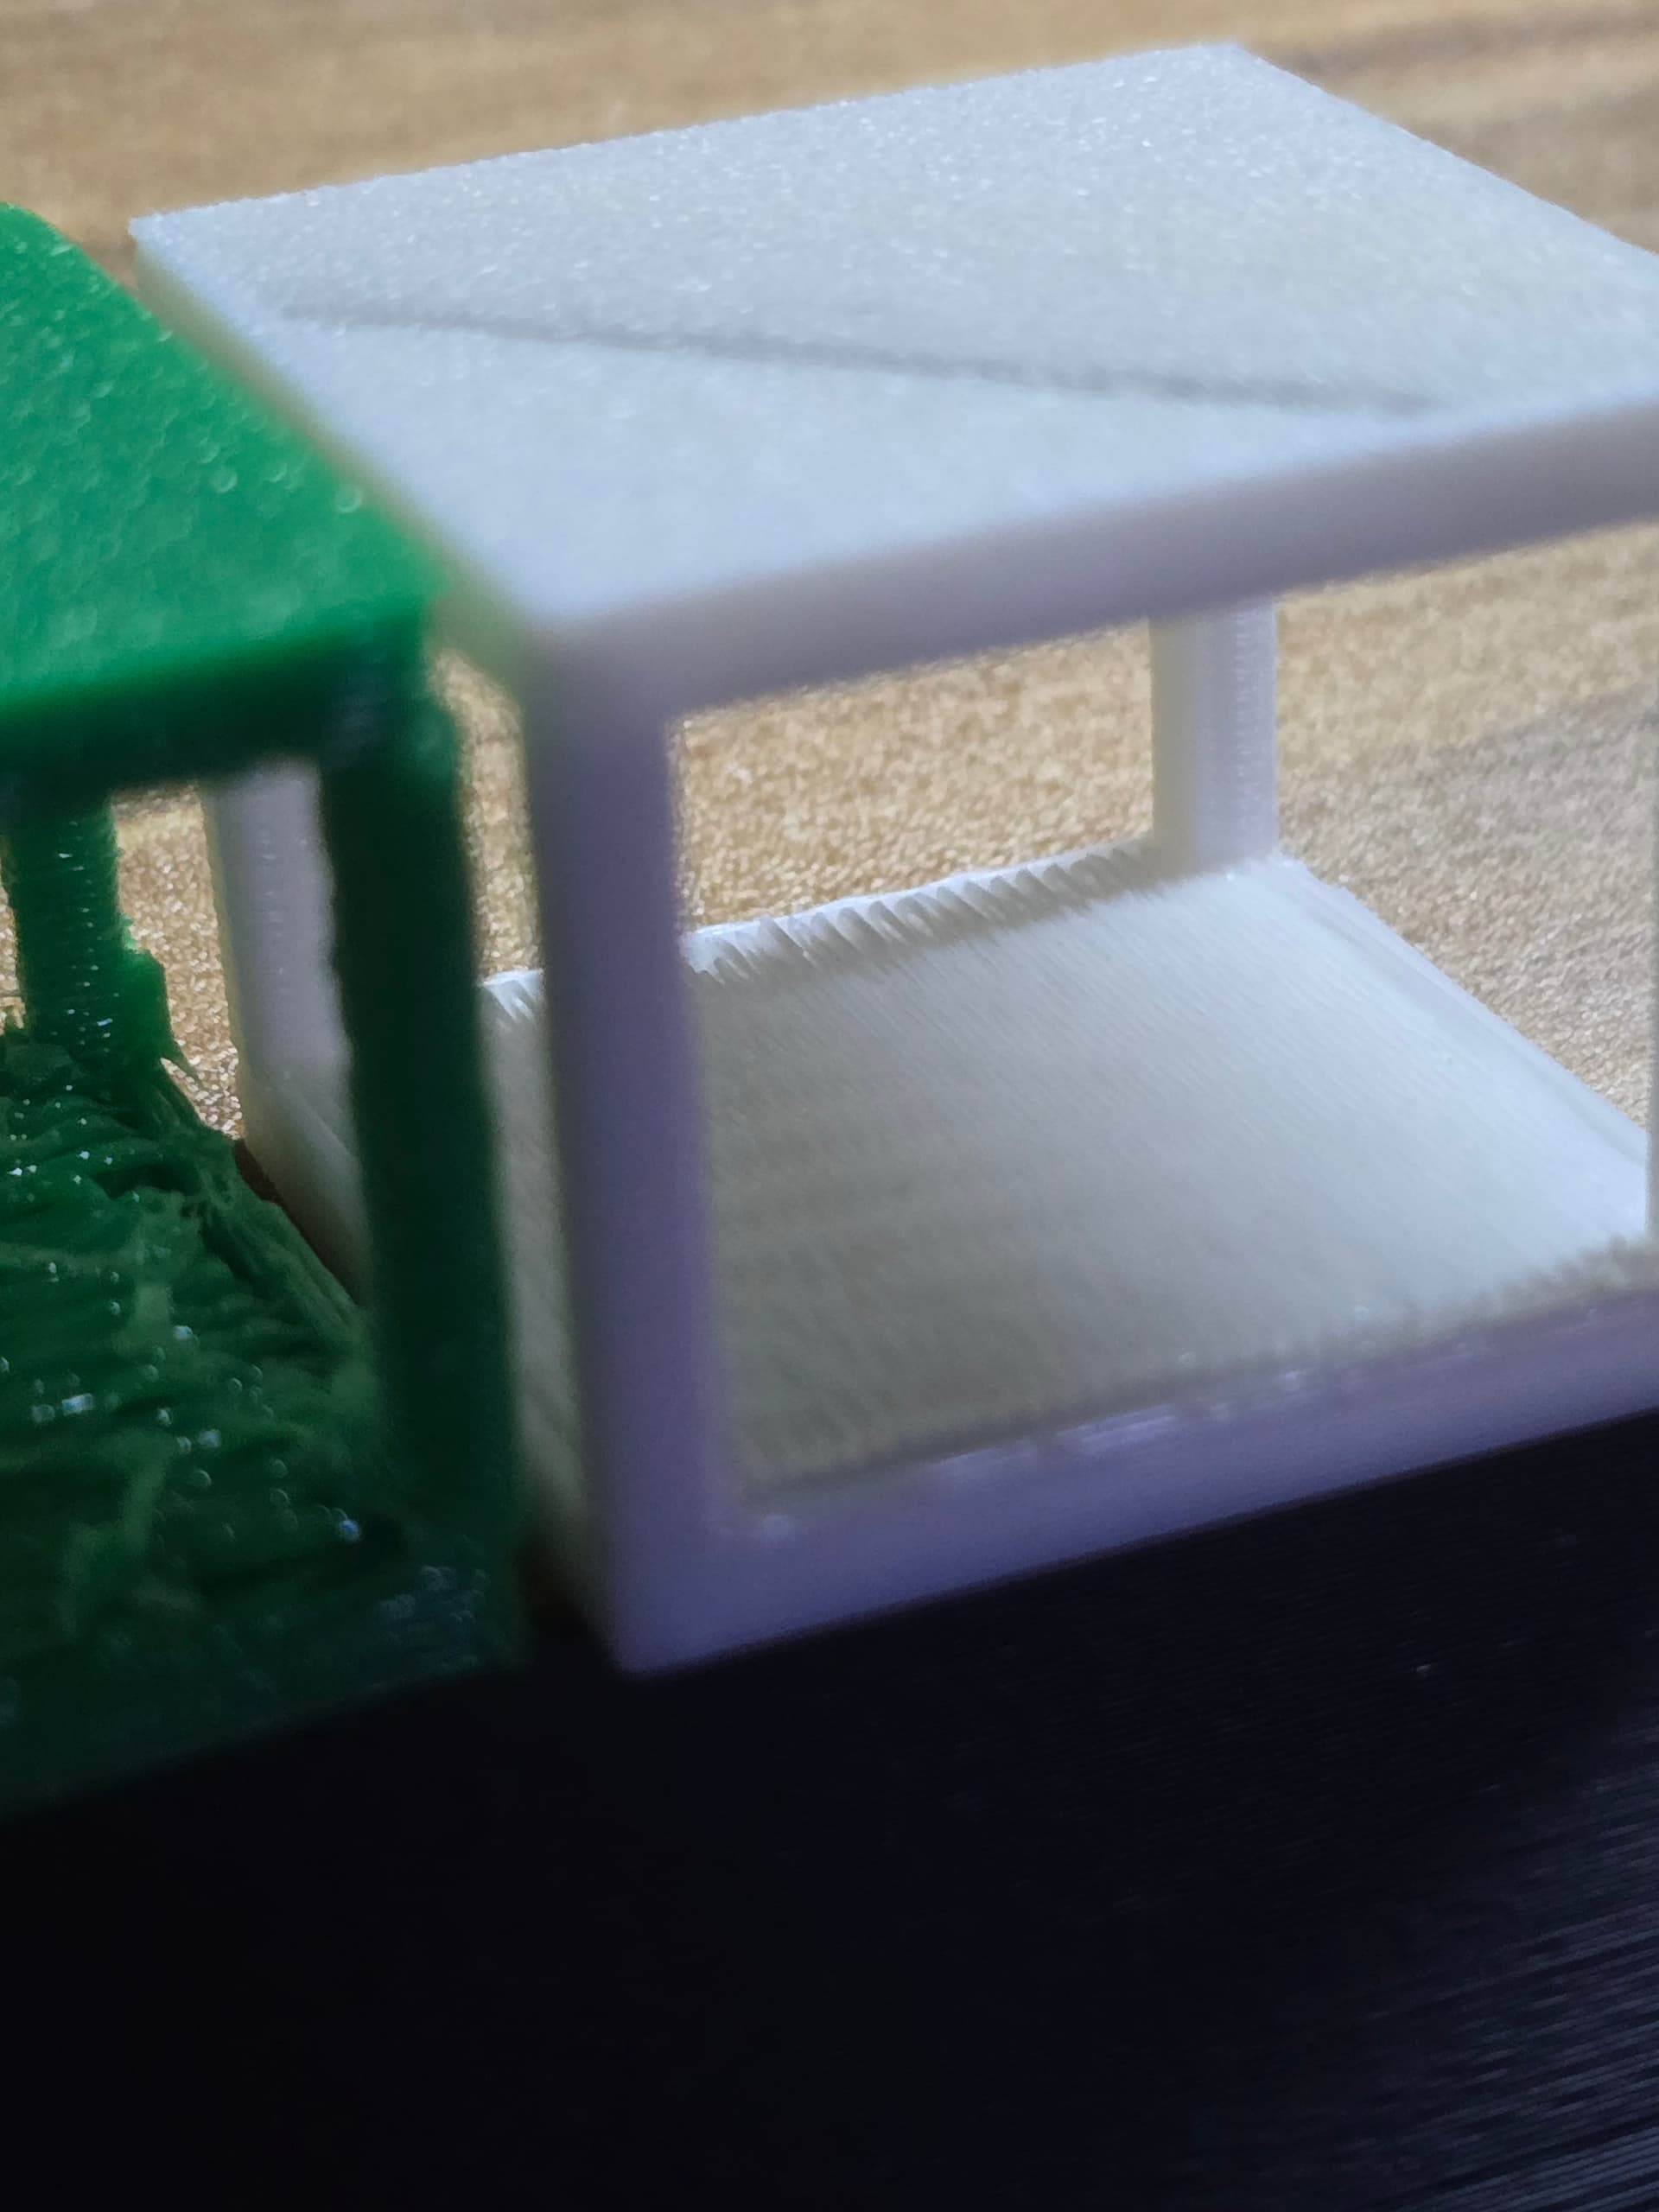
your project, my printer, only change I made to settings, is I disabled "remove small overhangs - 5mm) as I’d never have that if trying for underneath “good” surfaces, no other changes. to print settings, just what my PLA white setting/0.4 nozzle setup is:
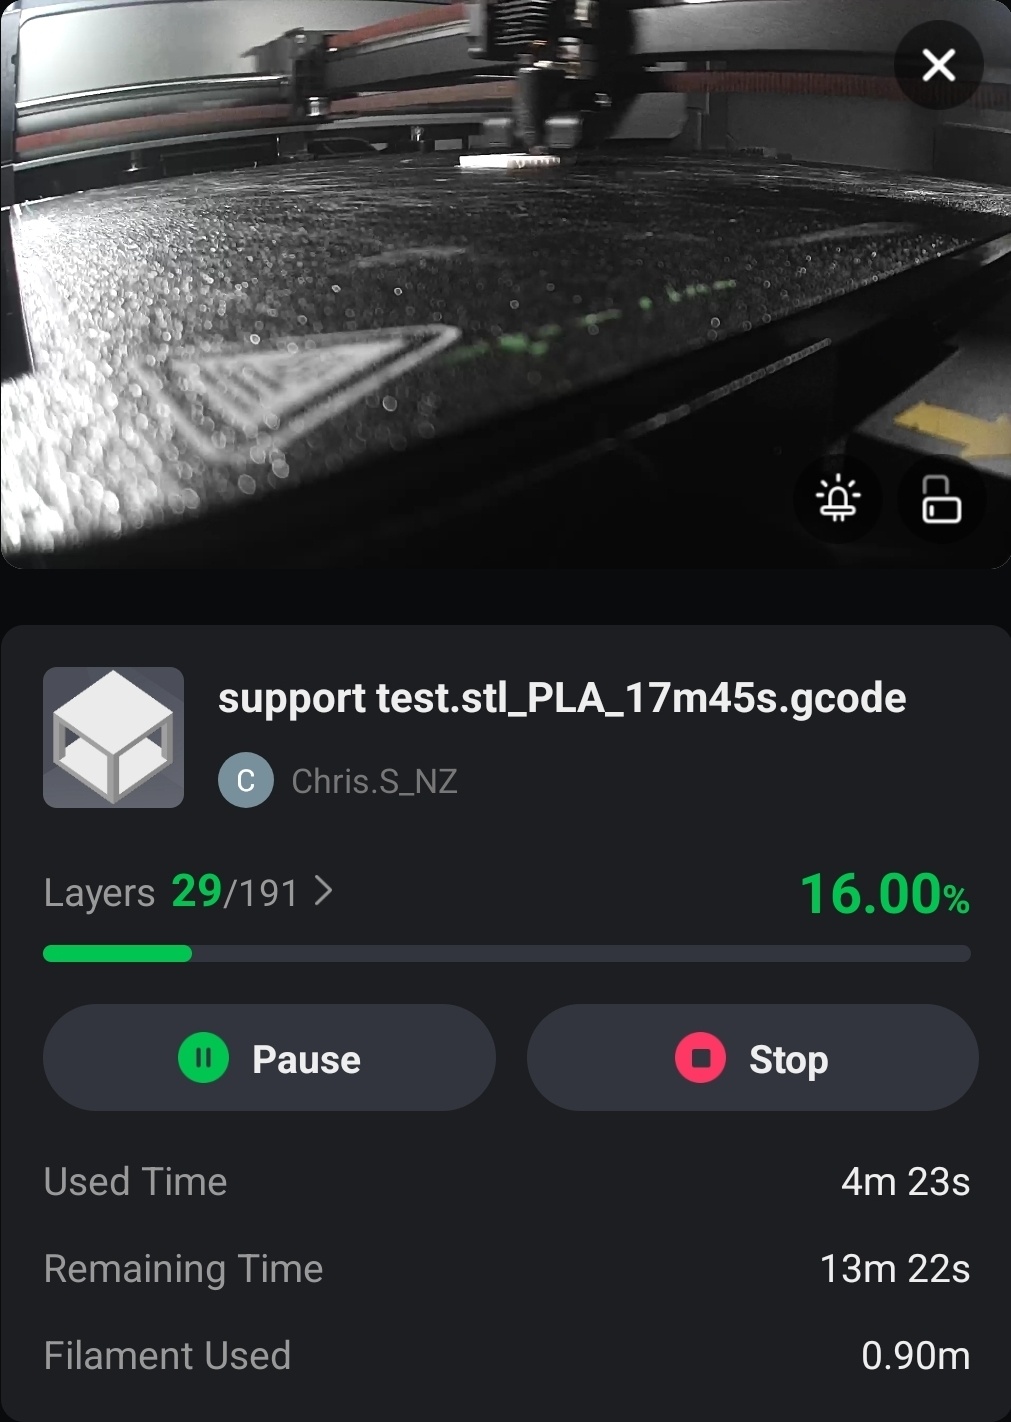
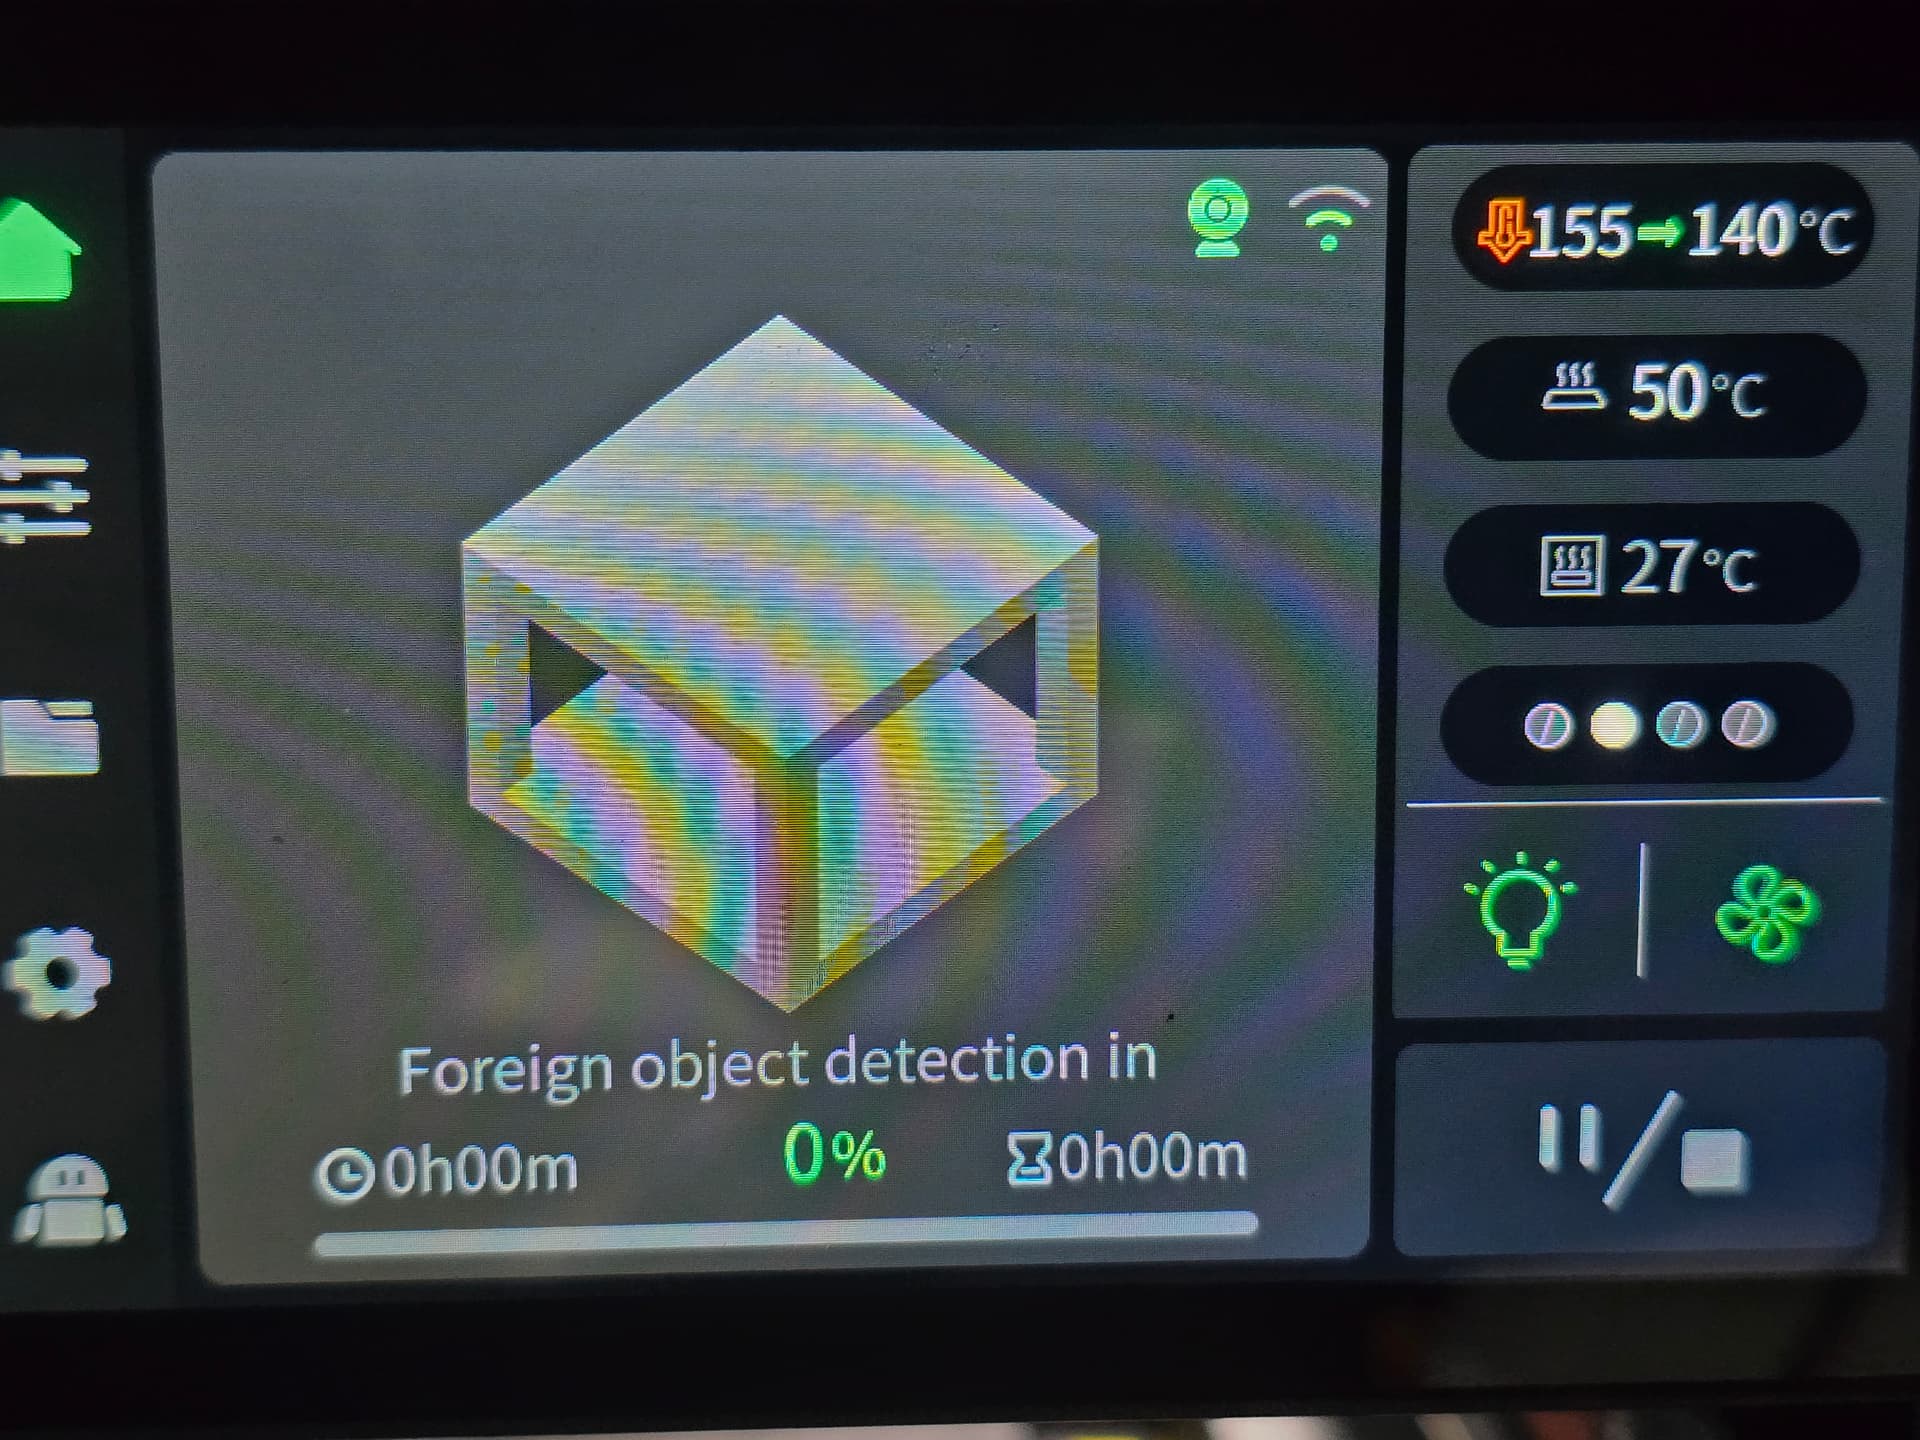
And she’s off :smile:

Edit, a coffee later..and remember this is cheap ender PLA..


due to 3 replies limit, i’ll edit this post:
what I’d change to improve print…
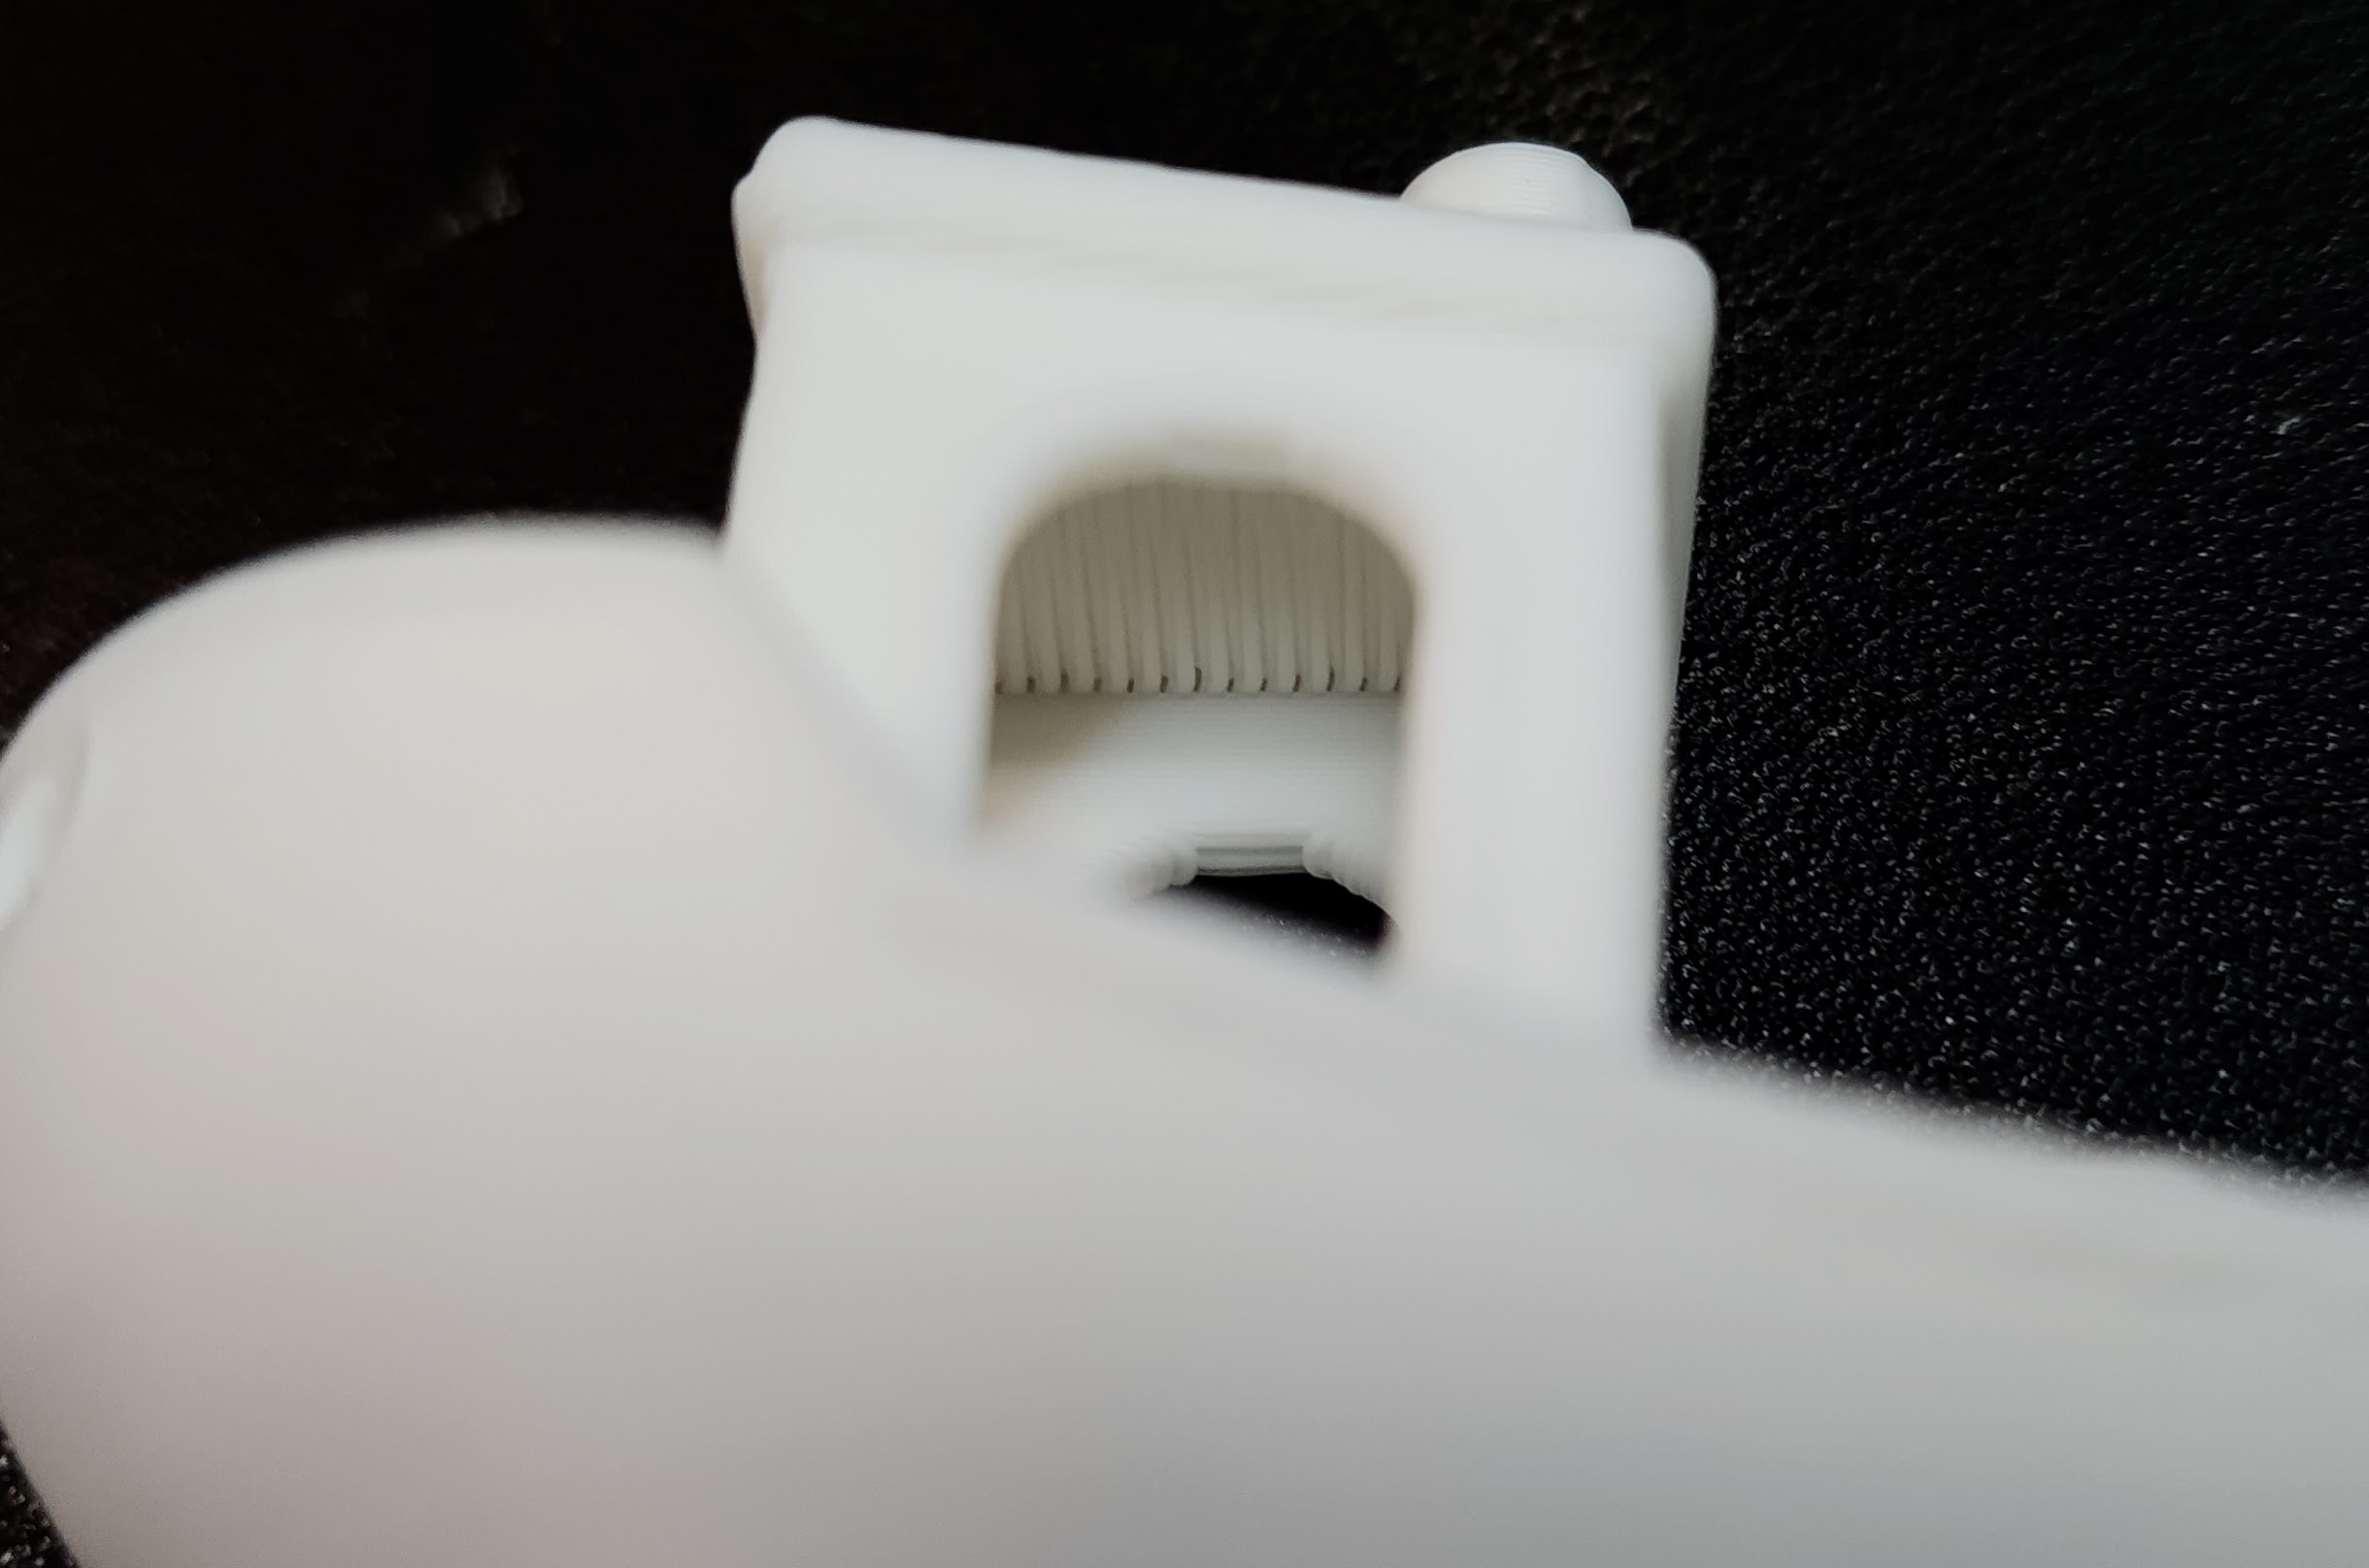
Support:
Support type - Tree (auto) (I hardly ever use default, uses too much filament)
style - tree hybrid
top z distance 0.18
top interface layers 3
interface pattern - rectilinear interlaced

Stength:
Top/Bottom solid infill wall overlap - 15%
apply gapfill - top and bottom surfaces
infill/walll overlap - 15%

quality
first layer height - .24
precise wall - enabled
precise z-height - enabled
small area flow compensation (beta)
thick bridges - enabled
thick internal bridges - enabled

I’ll give this a go and see if better…
printing via side spool, calibration enabled, as I’m not sure how old this ender pla is, and now its used the first layer off the spool, let the machine find what PA & flow ratio’s to use..
will take a bit longer with all the changes & calibration..

will edit in about 30 minutes with results

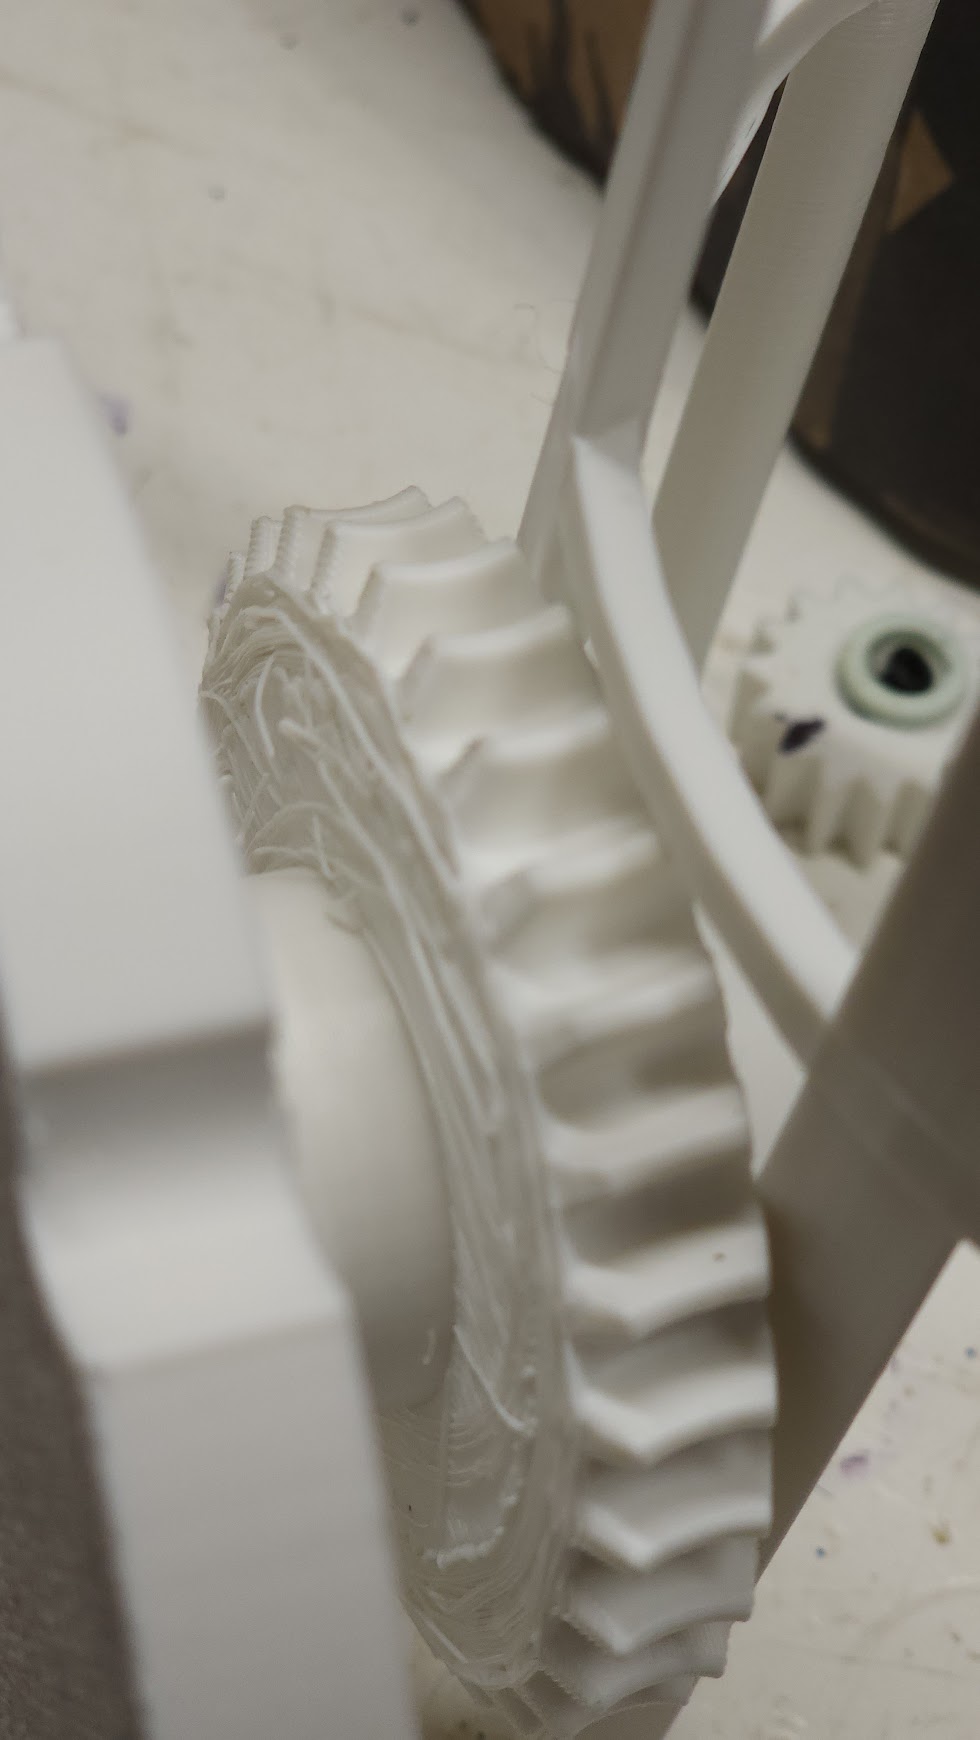
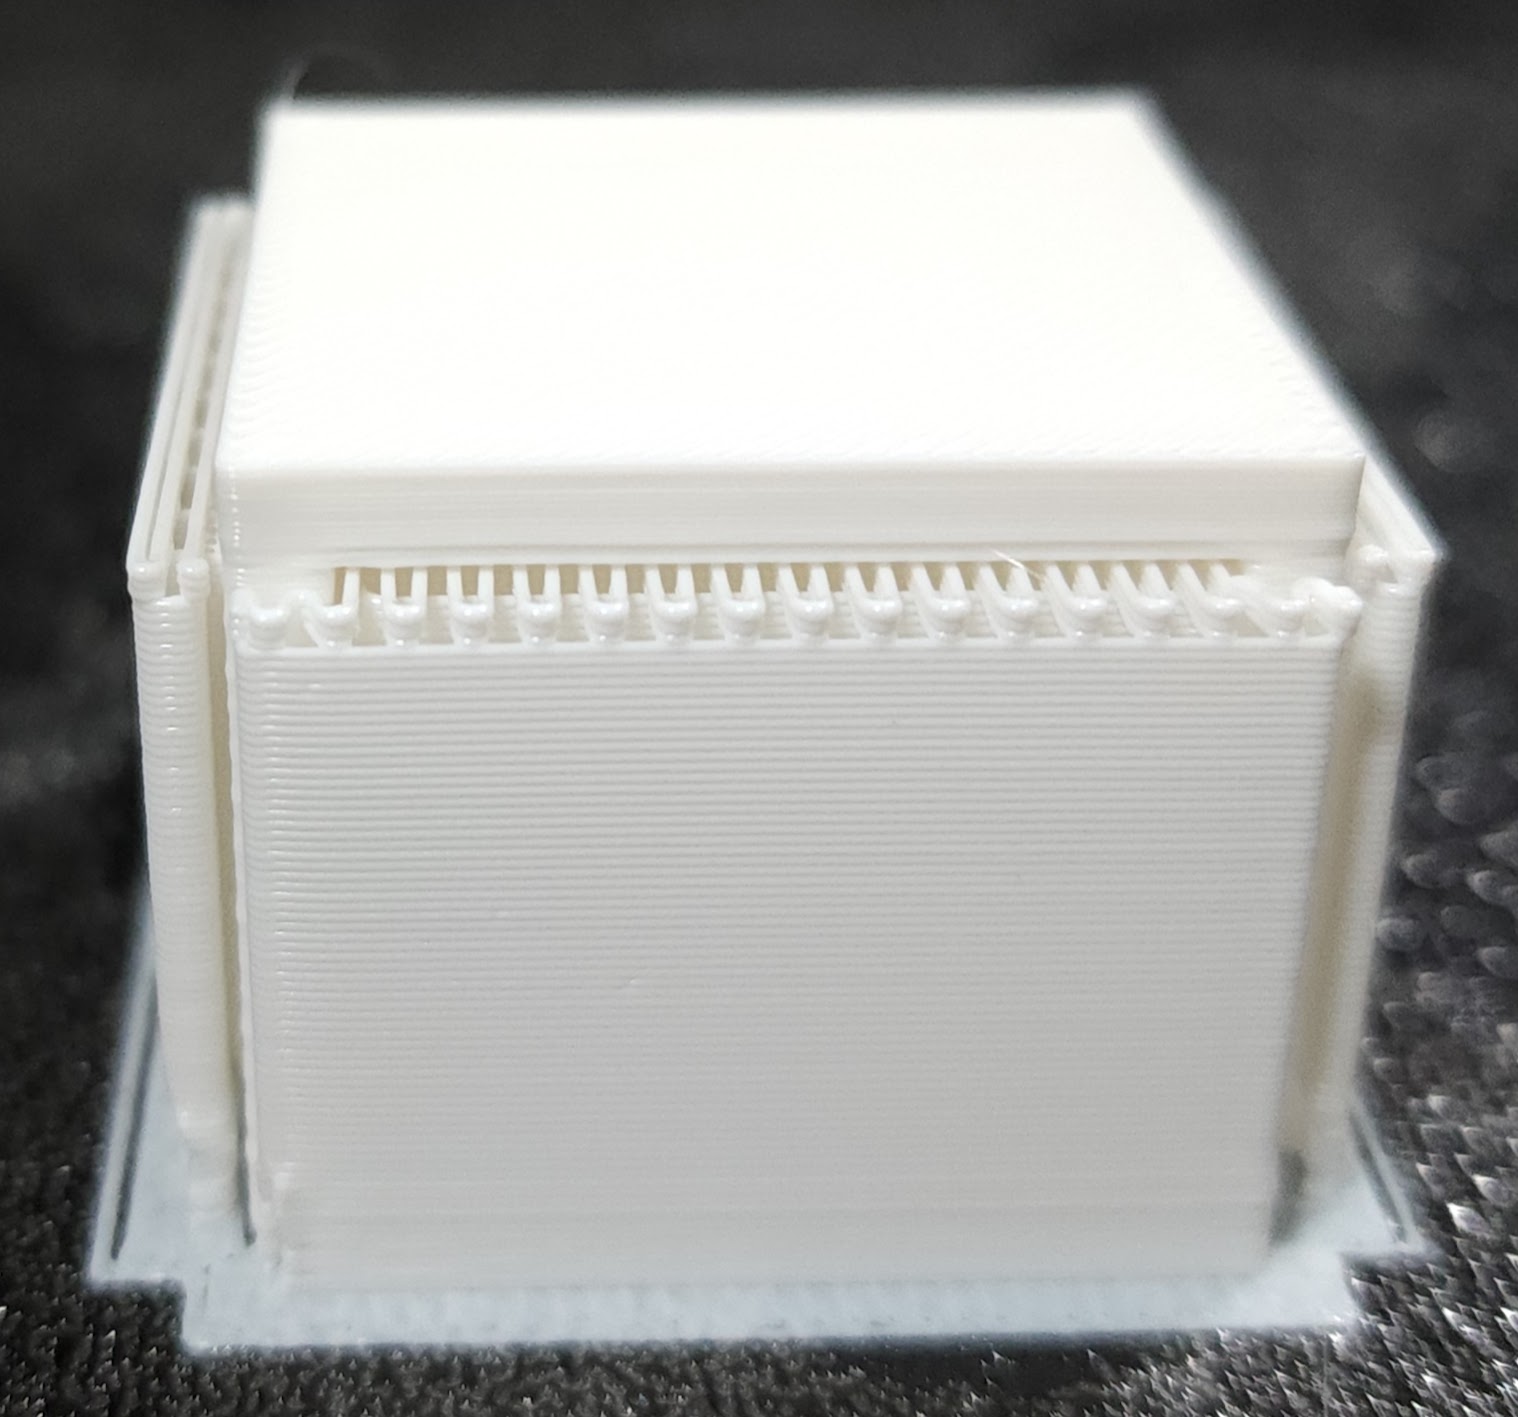
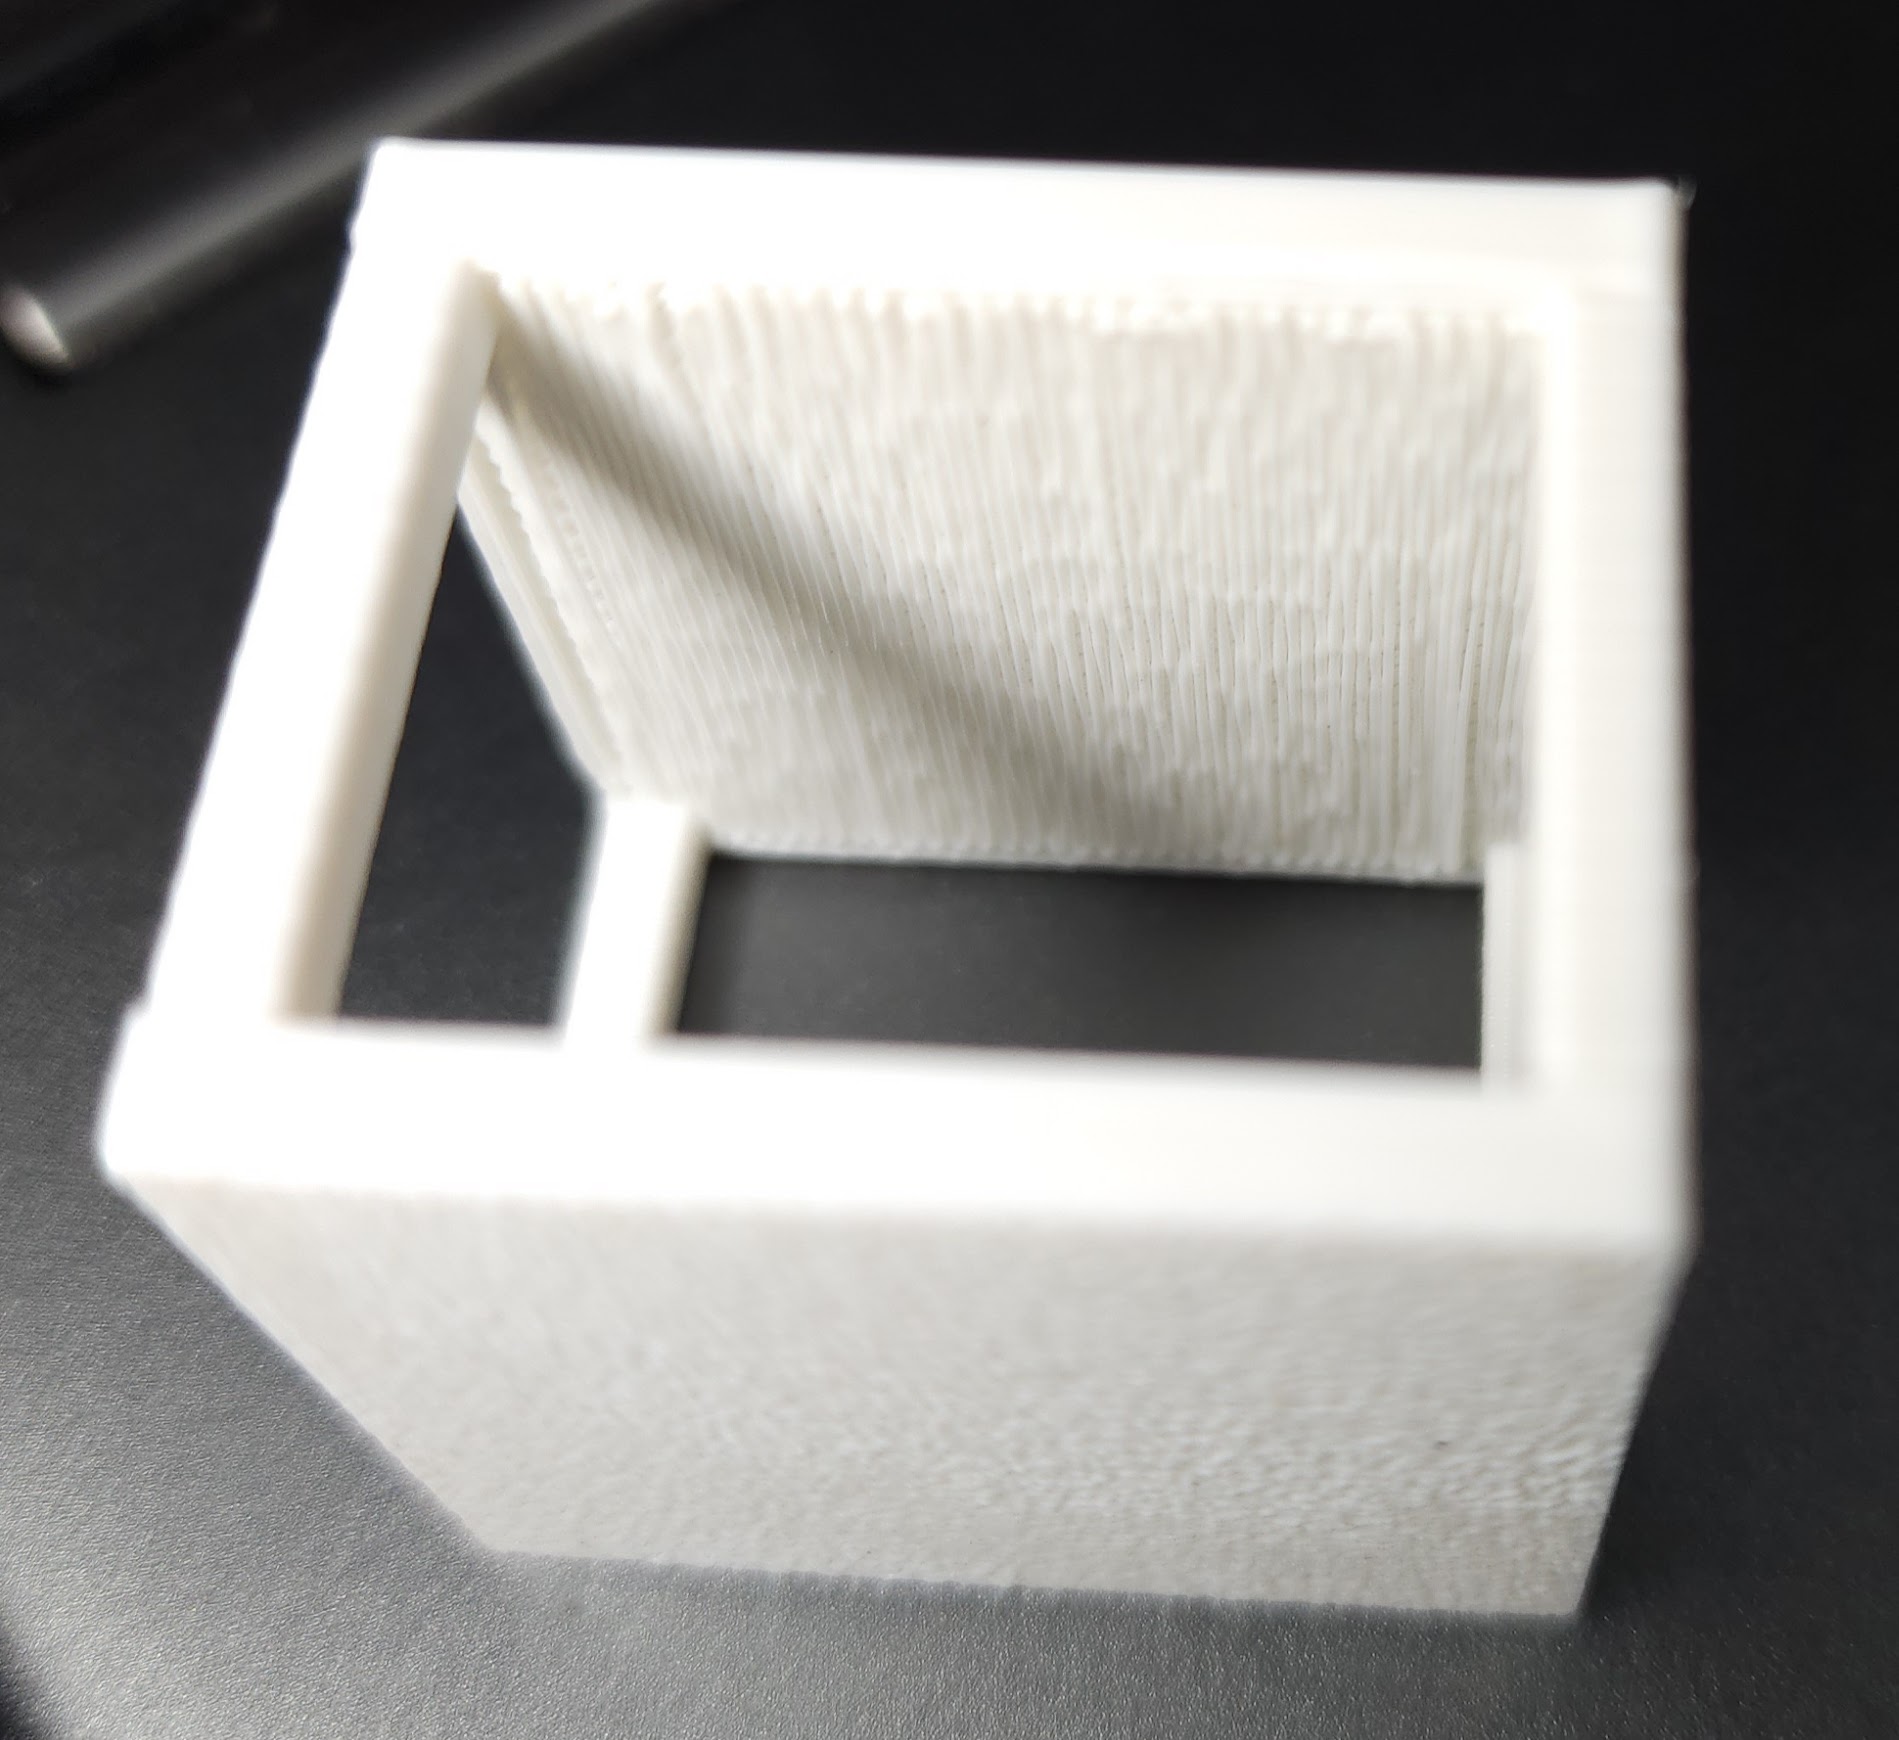
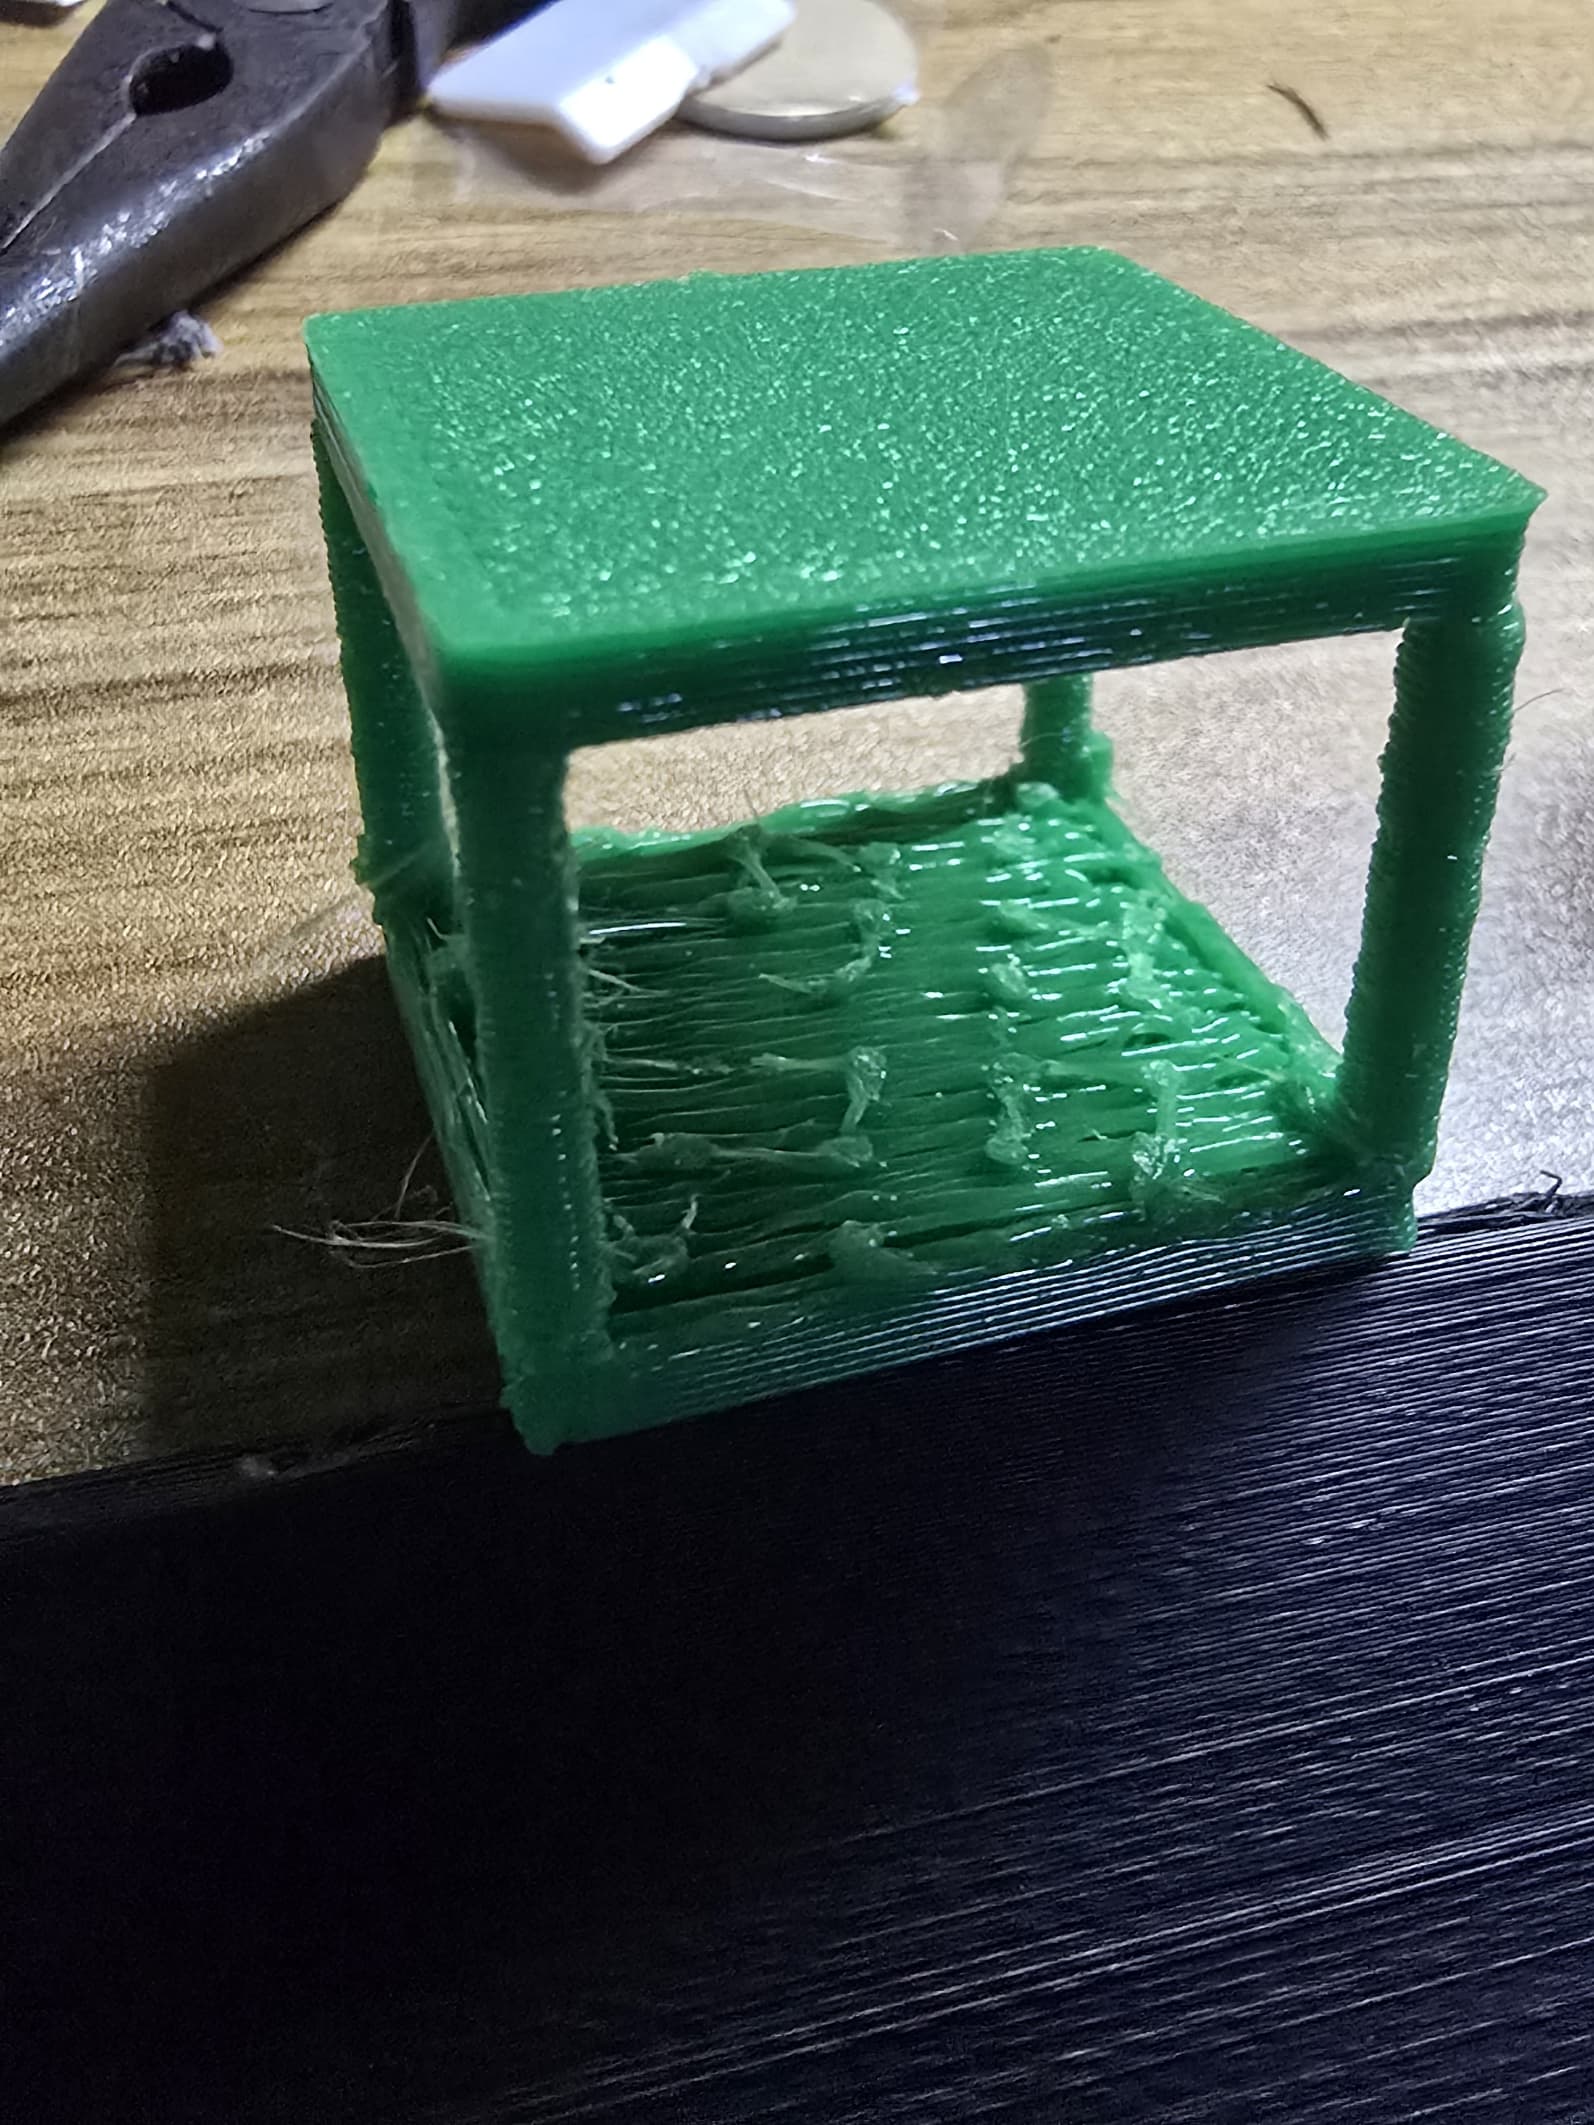
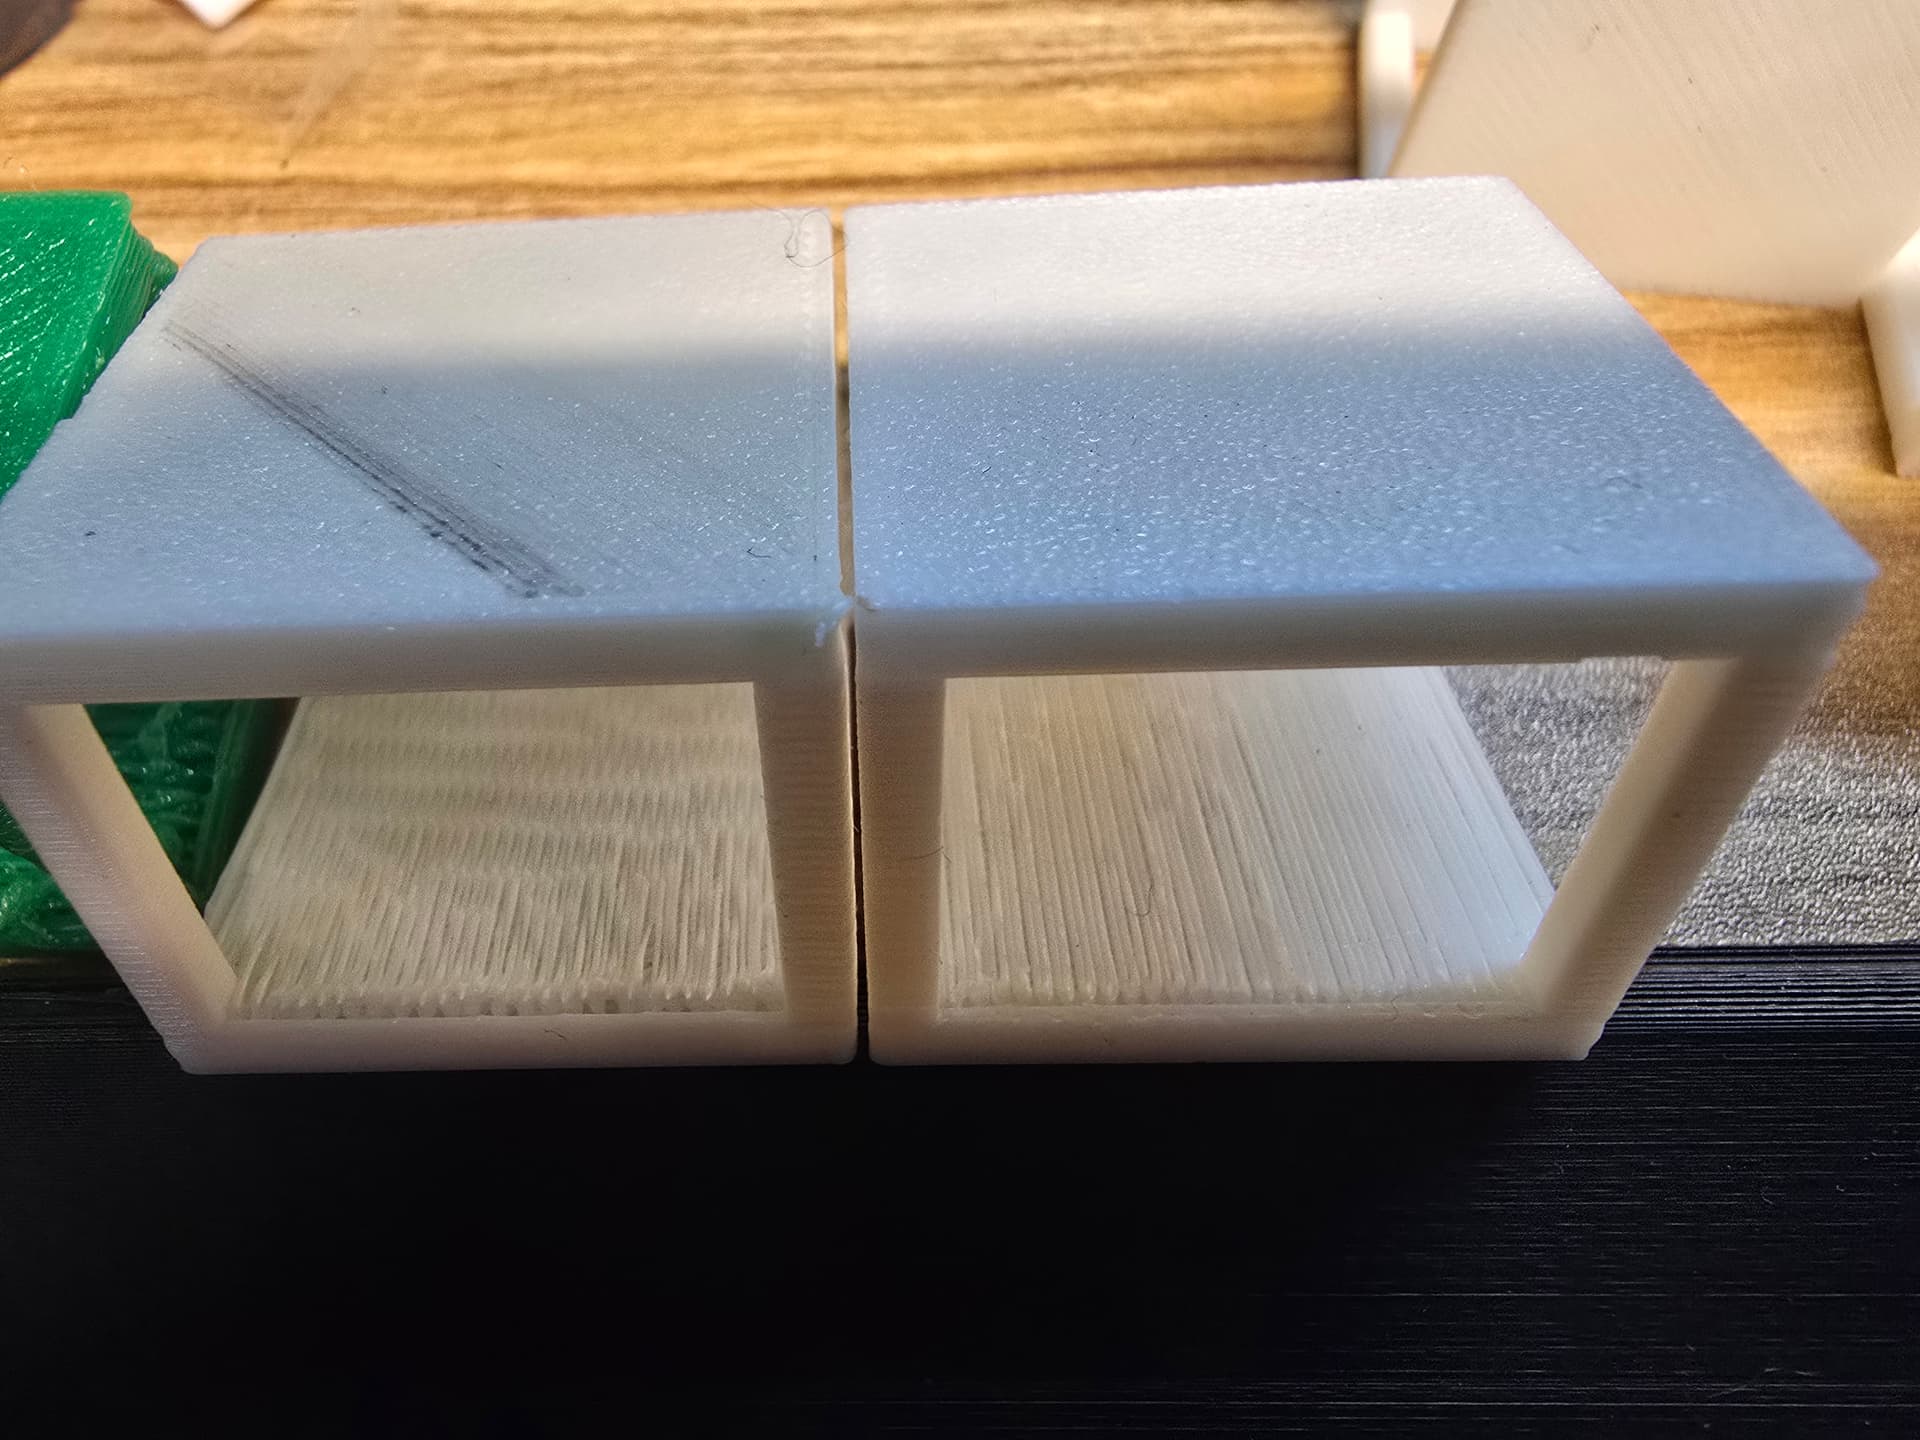
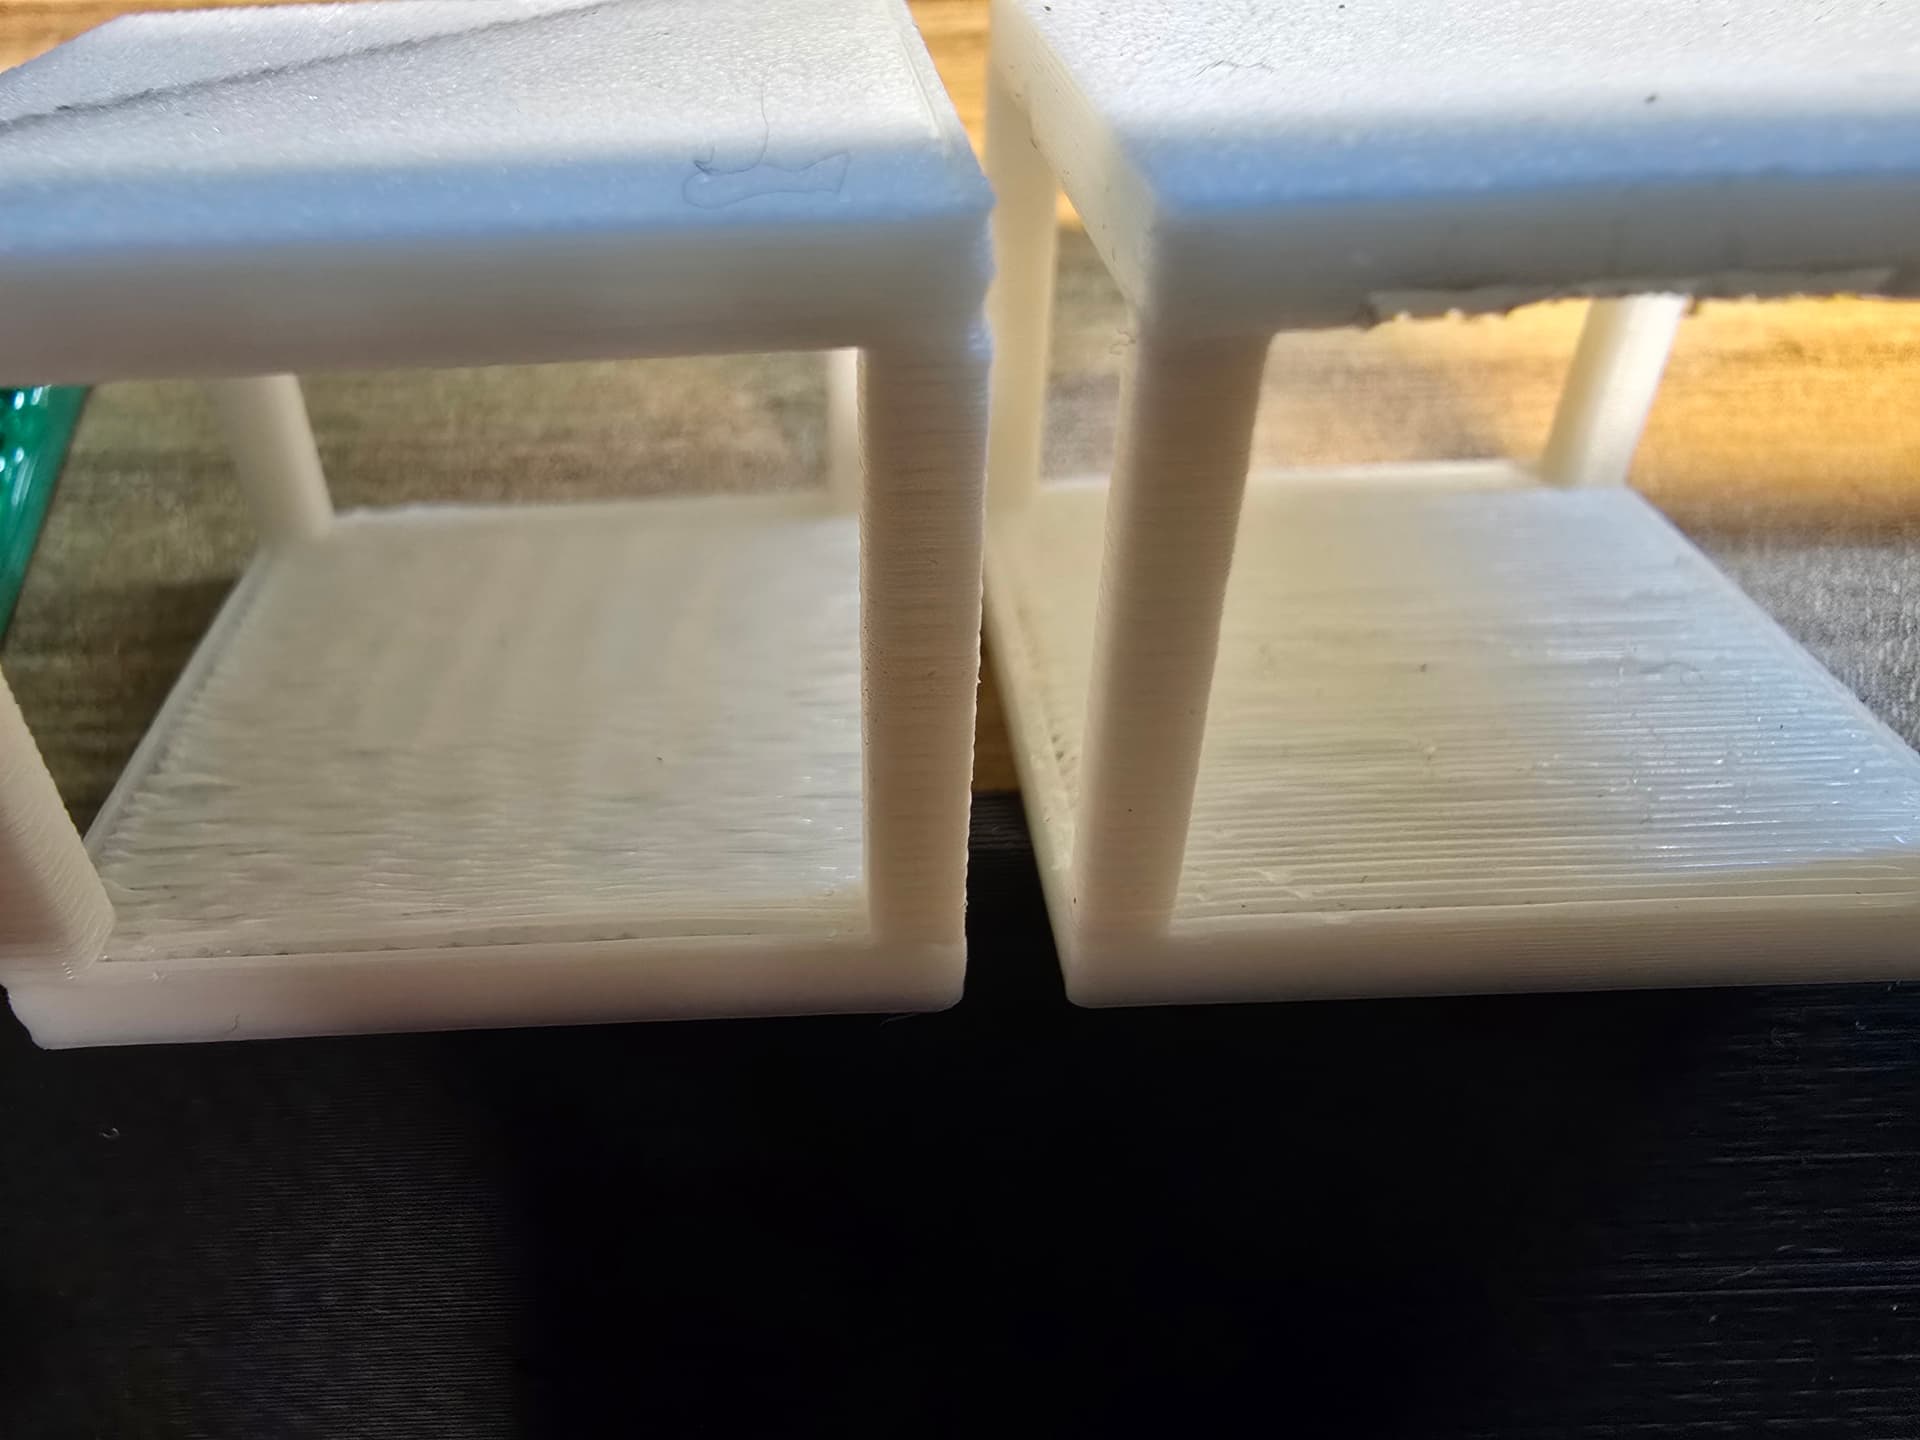
results, I’d not both with 3 interface layers again on such a small object, too hard - fiddly to remove, just defaults for that..
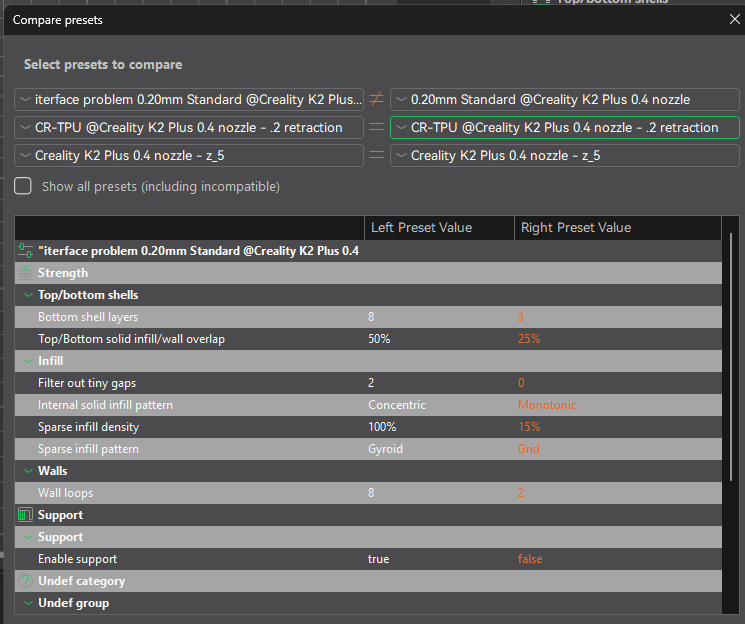
left was project settings, right changed settings.


probably change layer heights to improve quality would be next step.. use either variable layer height or reduce the tpo z distance &/or spacing until it was tight or too difficult to remove, there is also the default support type snug to try…

1 Like