How do I turn on the red dot pointer? I can’t find anything that tells me what to do.
Thanks. New user and first post on this forum
What laser do you have?
The Diode laser are blue. So not sure about anything Red.
However, if you talk about LightBurn software to show where the laser points when framing or trying to set your origin, this is a setting you have at the bottom of the “Move” tab.
It shows a text box labeled “Power” with a percentage value, and a “Fire” button.
Make sure you start with something really small like 0.1% - you only want to see the light, not the laser to cut/engrave at that point.
If this is not what you talk about, please give more info.
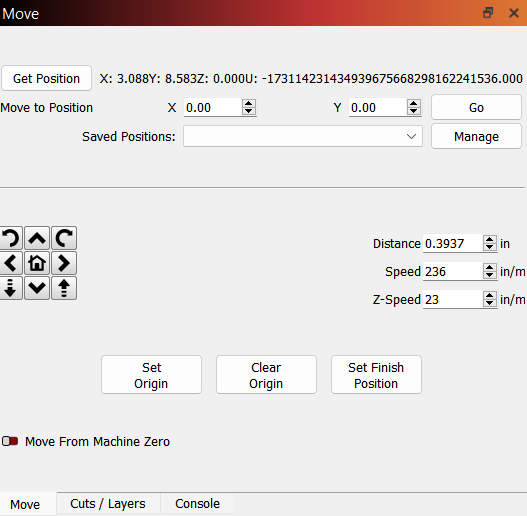
I don’t have a setting marked “power” or “fire” on the “move” tab in Lightburn. Just “distance”, “speed”, etc.
Sorry, I overlooked your first question. I have the Falcon 2 12W laser. This is what my “Move” tab looks like.
Can you tell me what version for LightBurn you have installed?
Mine is 1.5.00 and this is what my Move tab looks like:
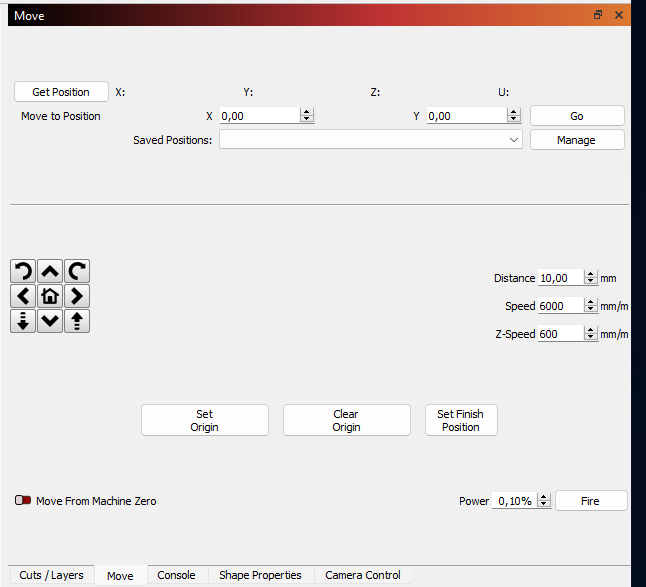
You can see at the bottom-right the settings I talked about.
Also, you didn’t confirm if this was indeed what you were looking for when talking about the red-dot ![]()
I just updated to 1.5.01 and my move screen doesn’t show those 2 boxes in the lower right corner. See the above screen shot I sent yesterday.
And yes, this is what I’m looking for re the red dot. I want to be able to physically see the dot on the material before I start actually cutting.
Thank you for your help.
I think I found it.
On the toolbar, click on the “Device settings” icon.
Then, from the “Basic Settings” tab, enable the “Enable laser fire button”.
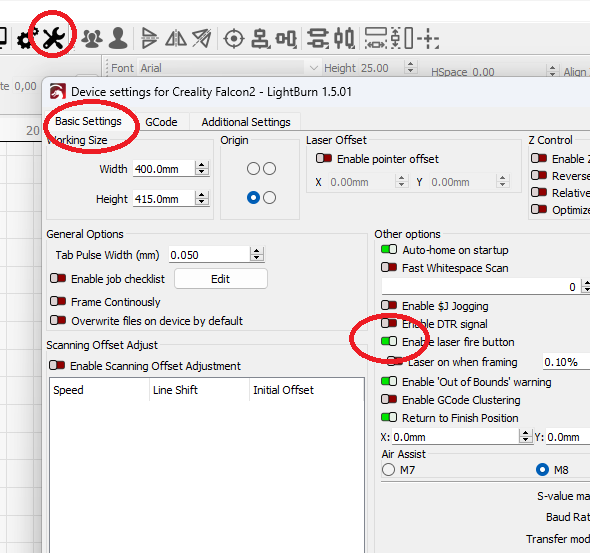
That should make the Fire button appear in the Move tab.
Cheers!
1 Like
That worked. Thank you very much.
1 Like