1 & 2 layer strong problems

I have had the printer since December 6th and I am constantly frustrated with the first and second layers. It even got to the point where I had to take the extruder apart several times because the first layer in the middle was too close to the print bed and at some point it stopped extruding.


And that was just PLA, with PETG there are even more problems until the extruder can no longer feed the filament.


PETG

The 1st and 2nd layers are actually perfect at the edges, but the problems always occur towards the middle and in the same place, even though I calibrate the 1st layer every time.

At the moment the K2 Plus is just a decoration item, since I can’t print large parts and if it takes me 10 tries to get it right, it’s frustrating.

By the way, my bed mesh is in the range of 0.6

1 Like

Here in the last picture the 1st layer was still ok, but there were problems with the 2nd layer and I had to take the extruder apart again because it couldn’t transport the filament because the printing of the 2nd layer was again too close to the 1st layer, even though the 1st layer was still ok.

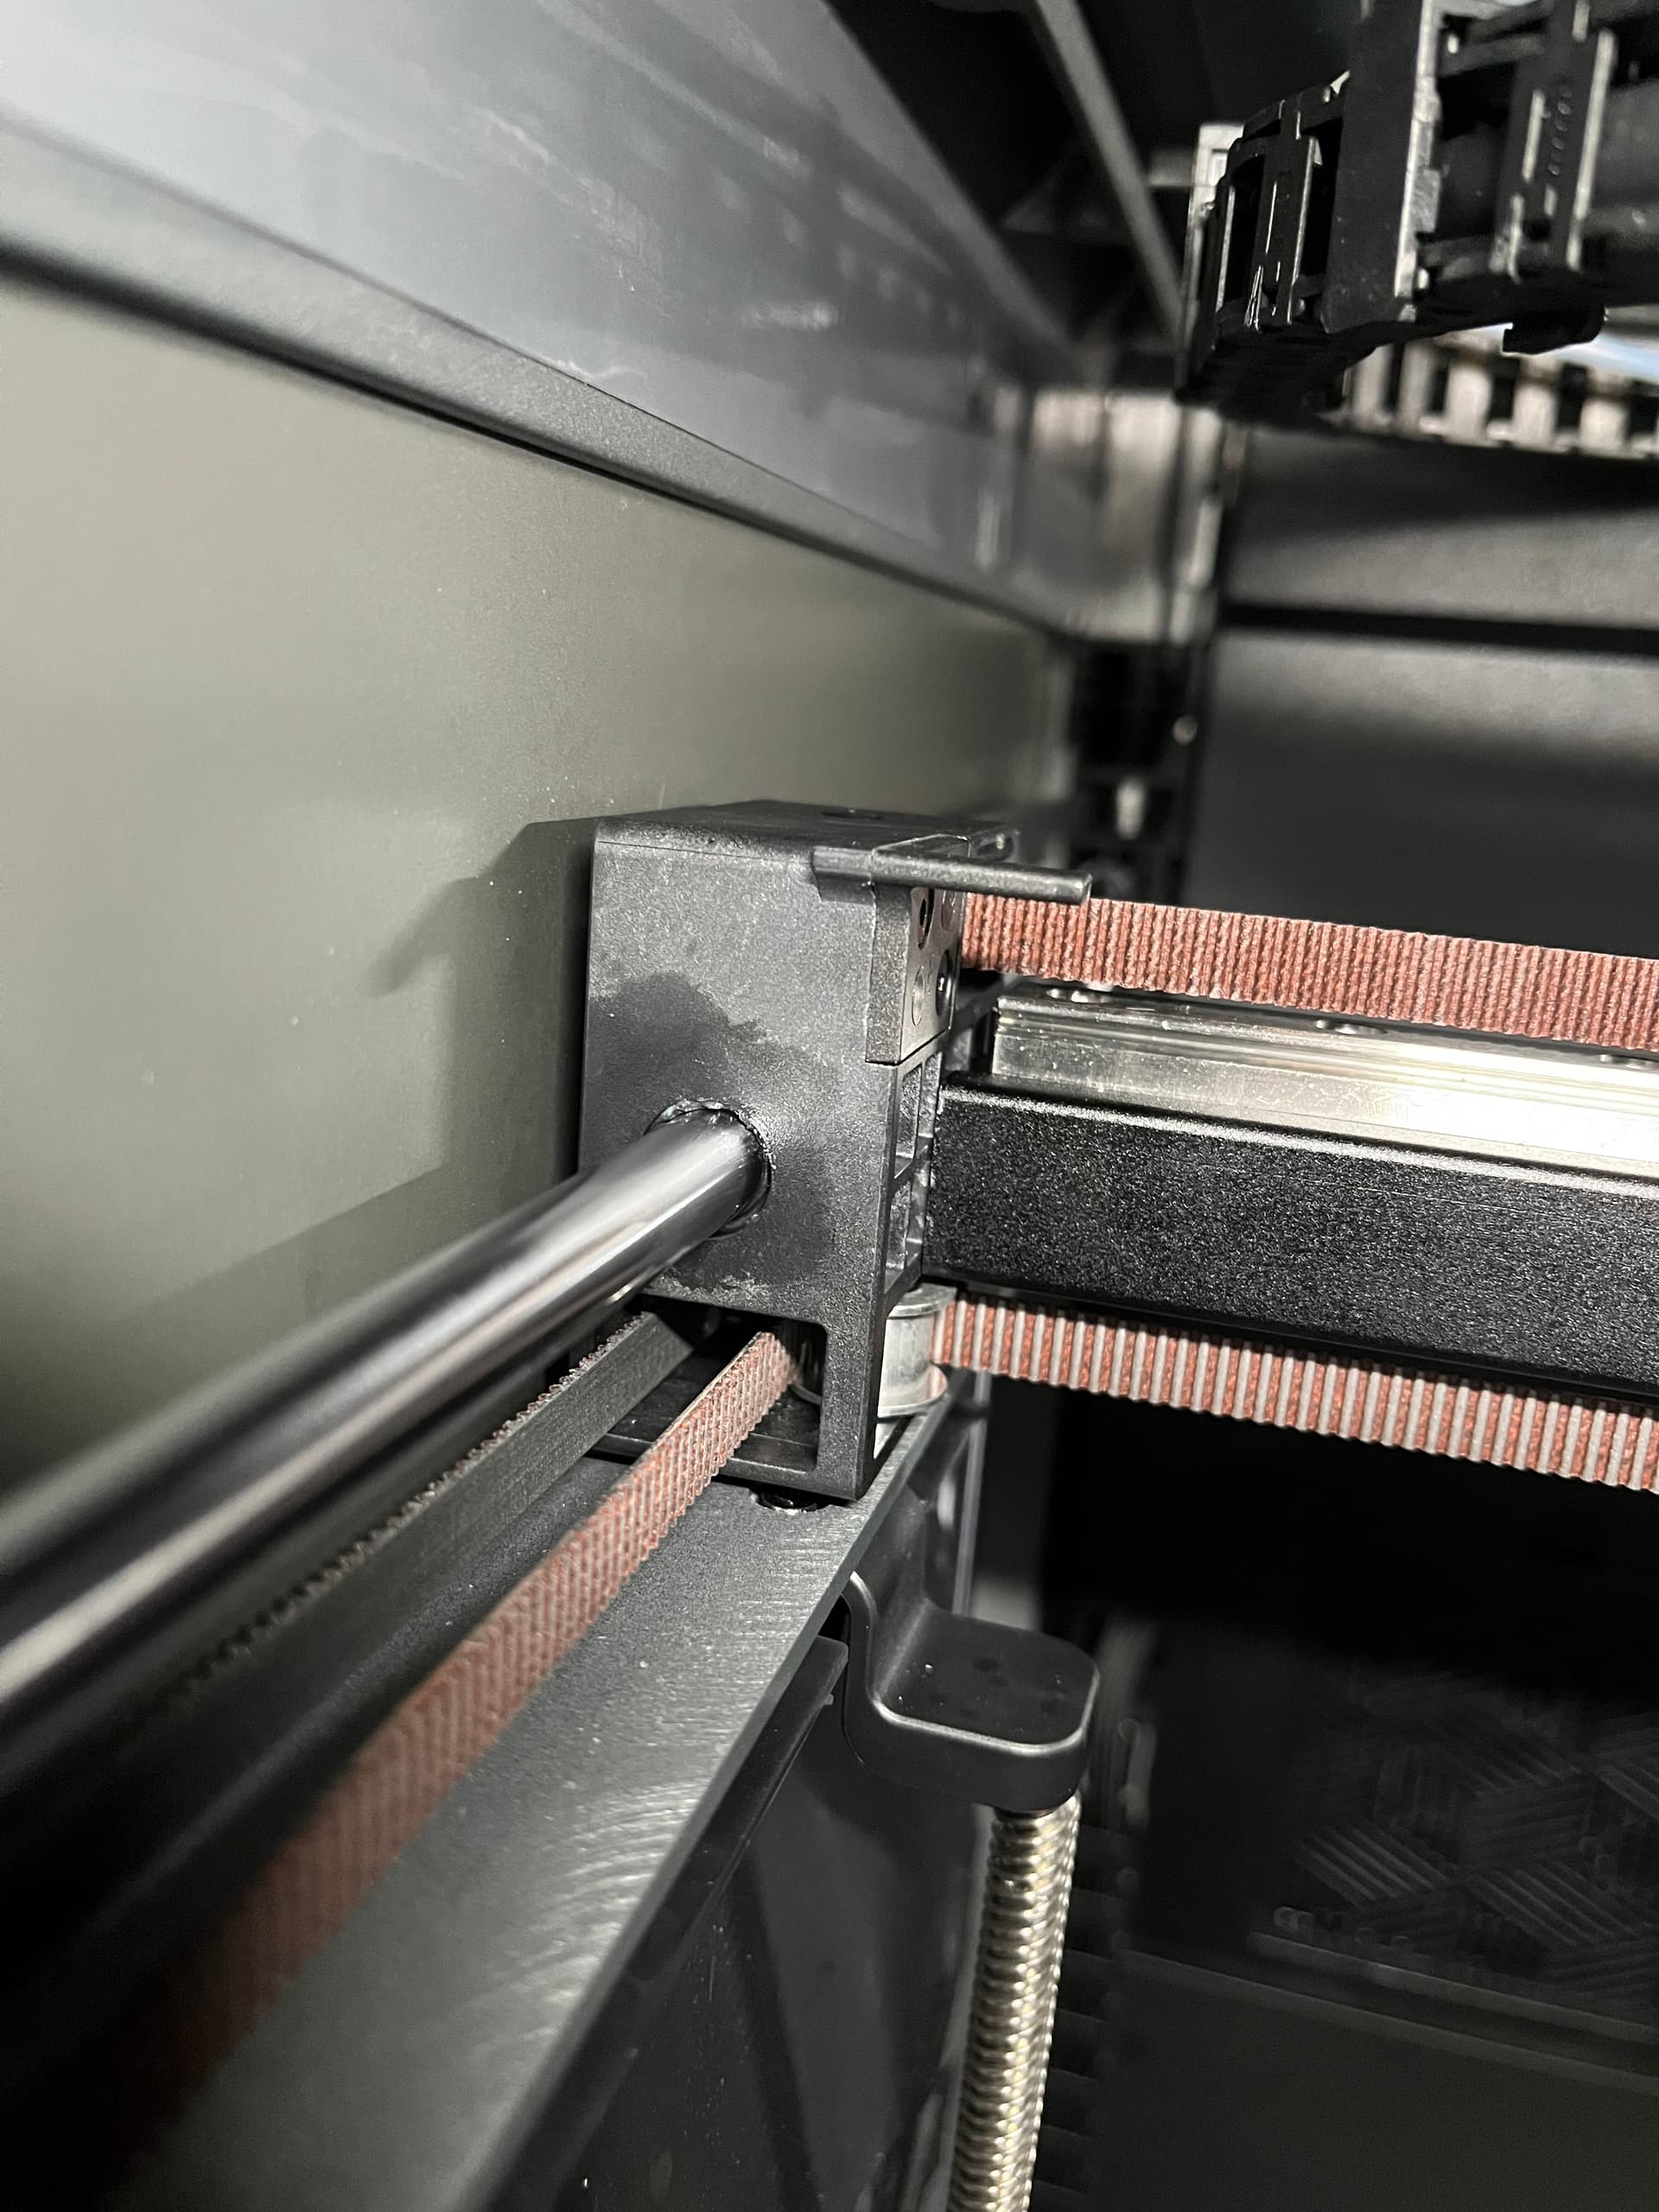
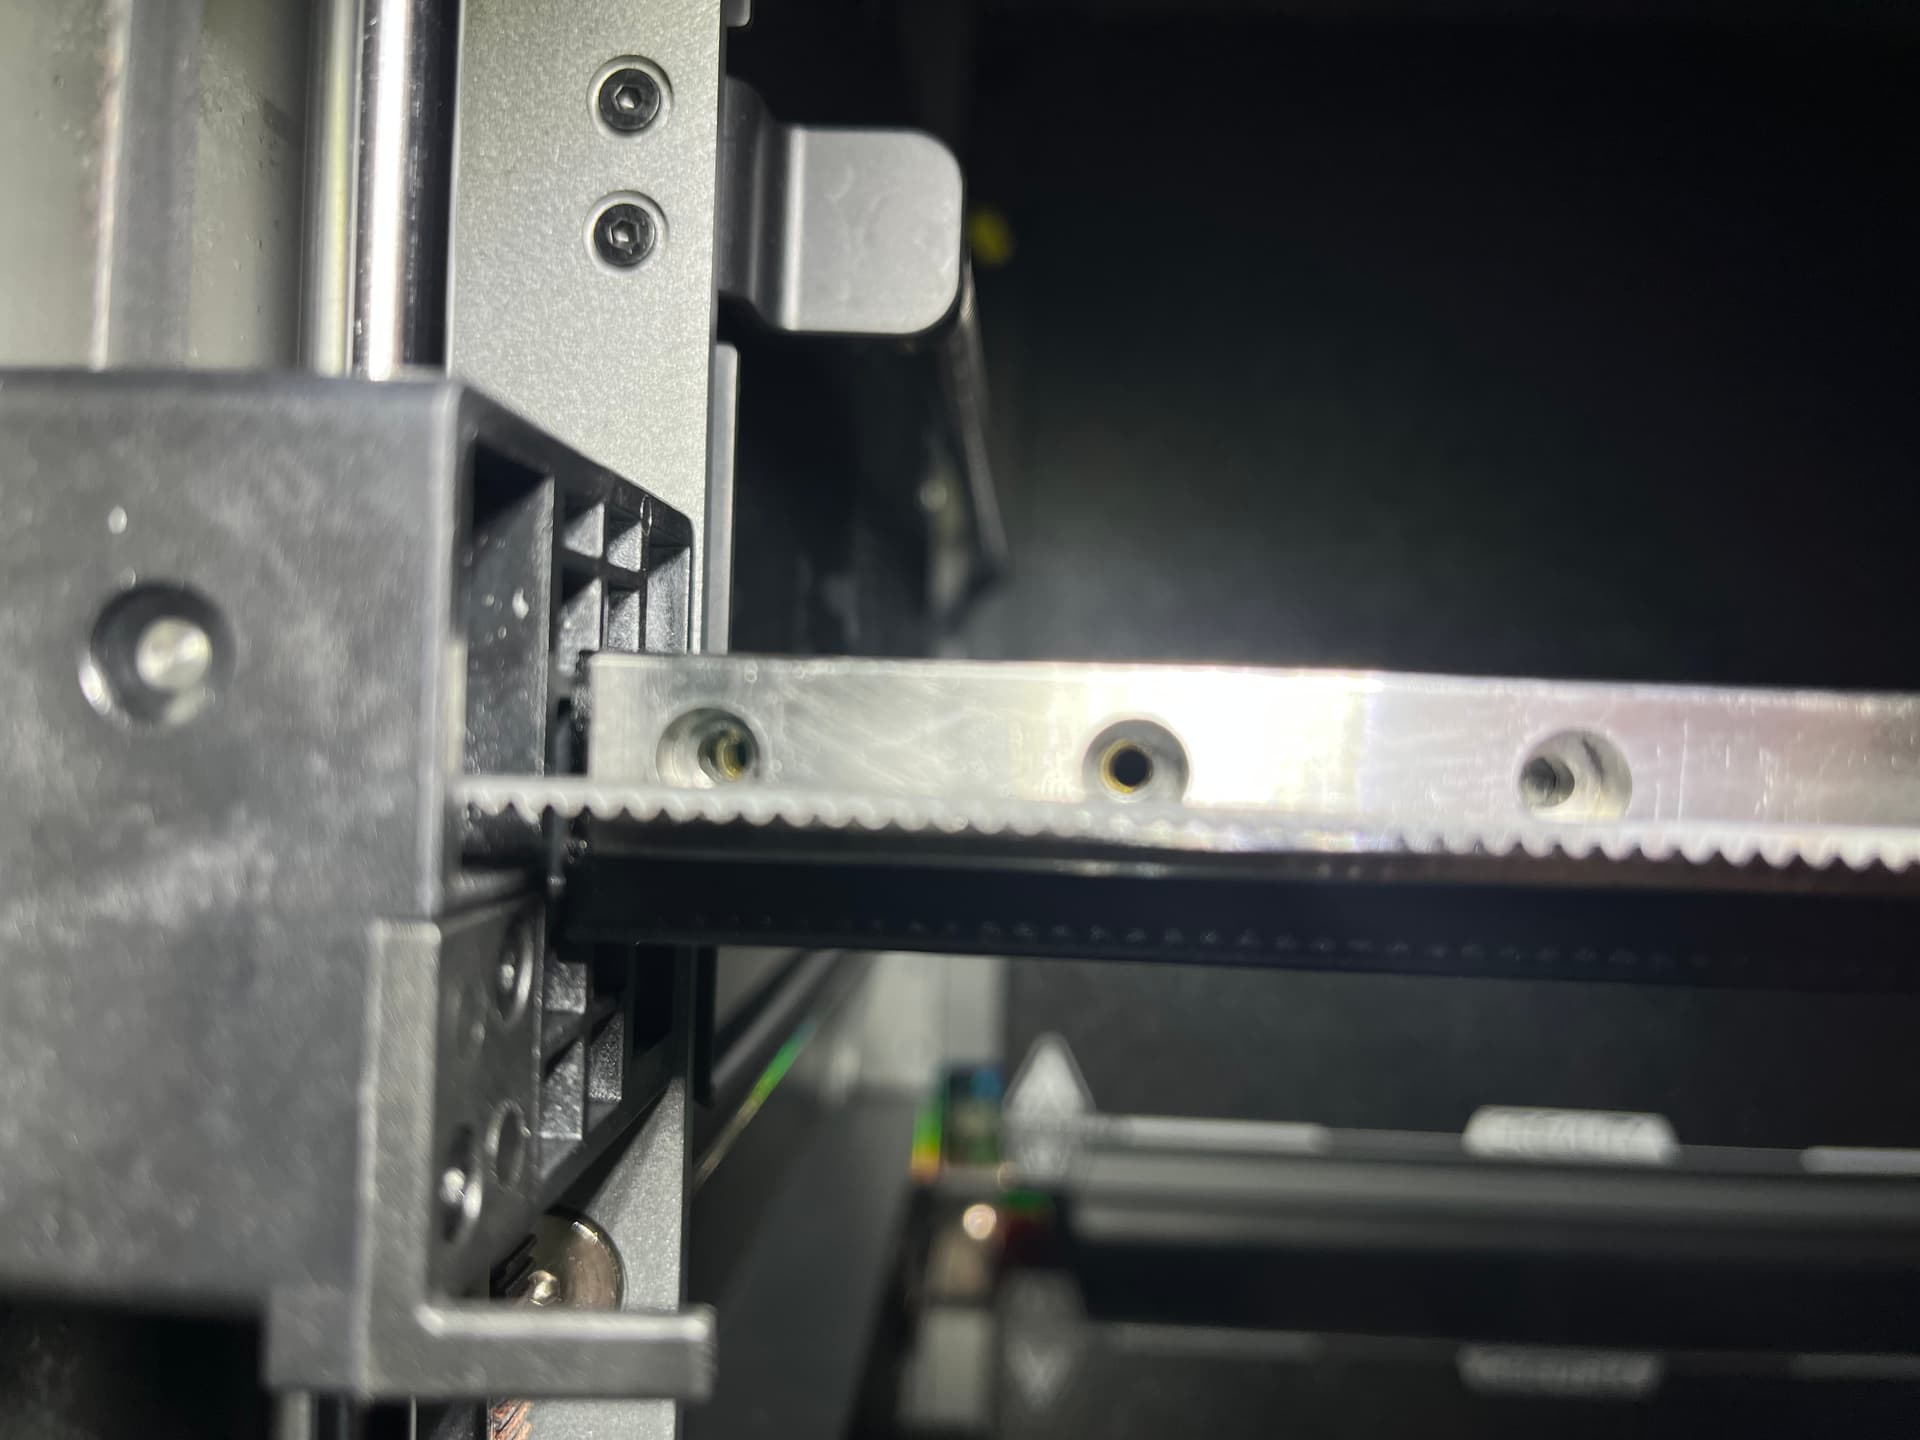
I found the error and it is a big mistake by Creality or rather the absolute worst case scenario, as it is mechanical because the 20x20mm square tube on which the MGN9 rail sits is too long or the thread position is not manufactured precisely.

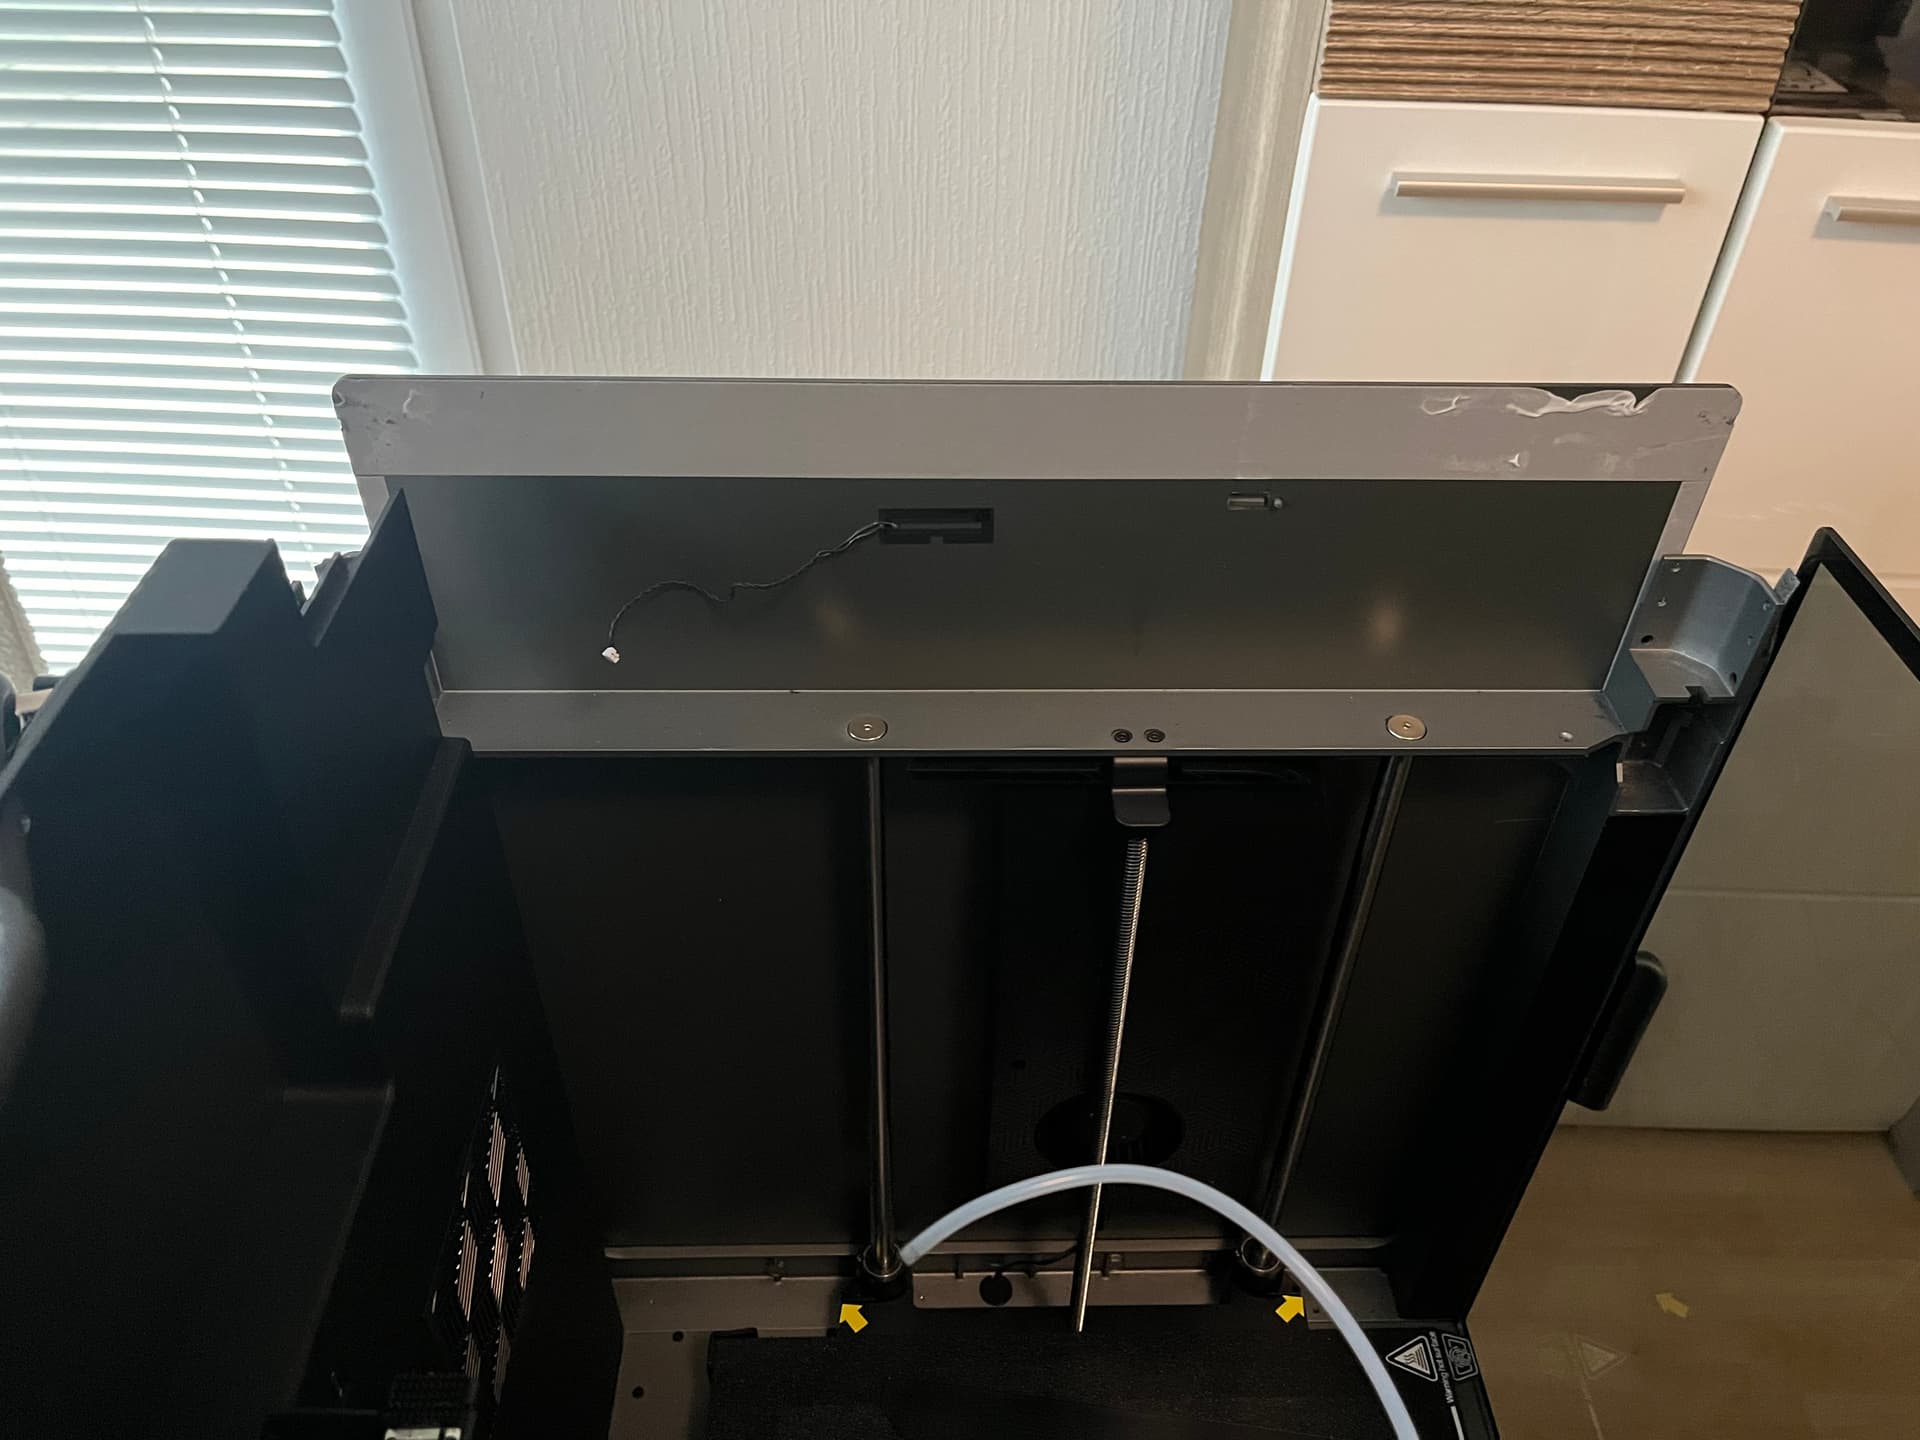
The square tube, which is screwed to the side guide with 4 screws on the left and right, presses into the side guide on the right side because the threads are not flush at the top and if you screw the screws into the thread with a bit of force, you press into the side guide and have tension, which then has an effect when printing, you could avoid the whole thing if the tube was simply 0.5mm shorter on the left and right.

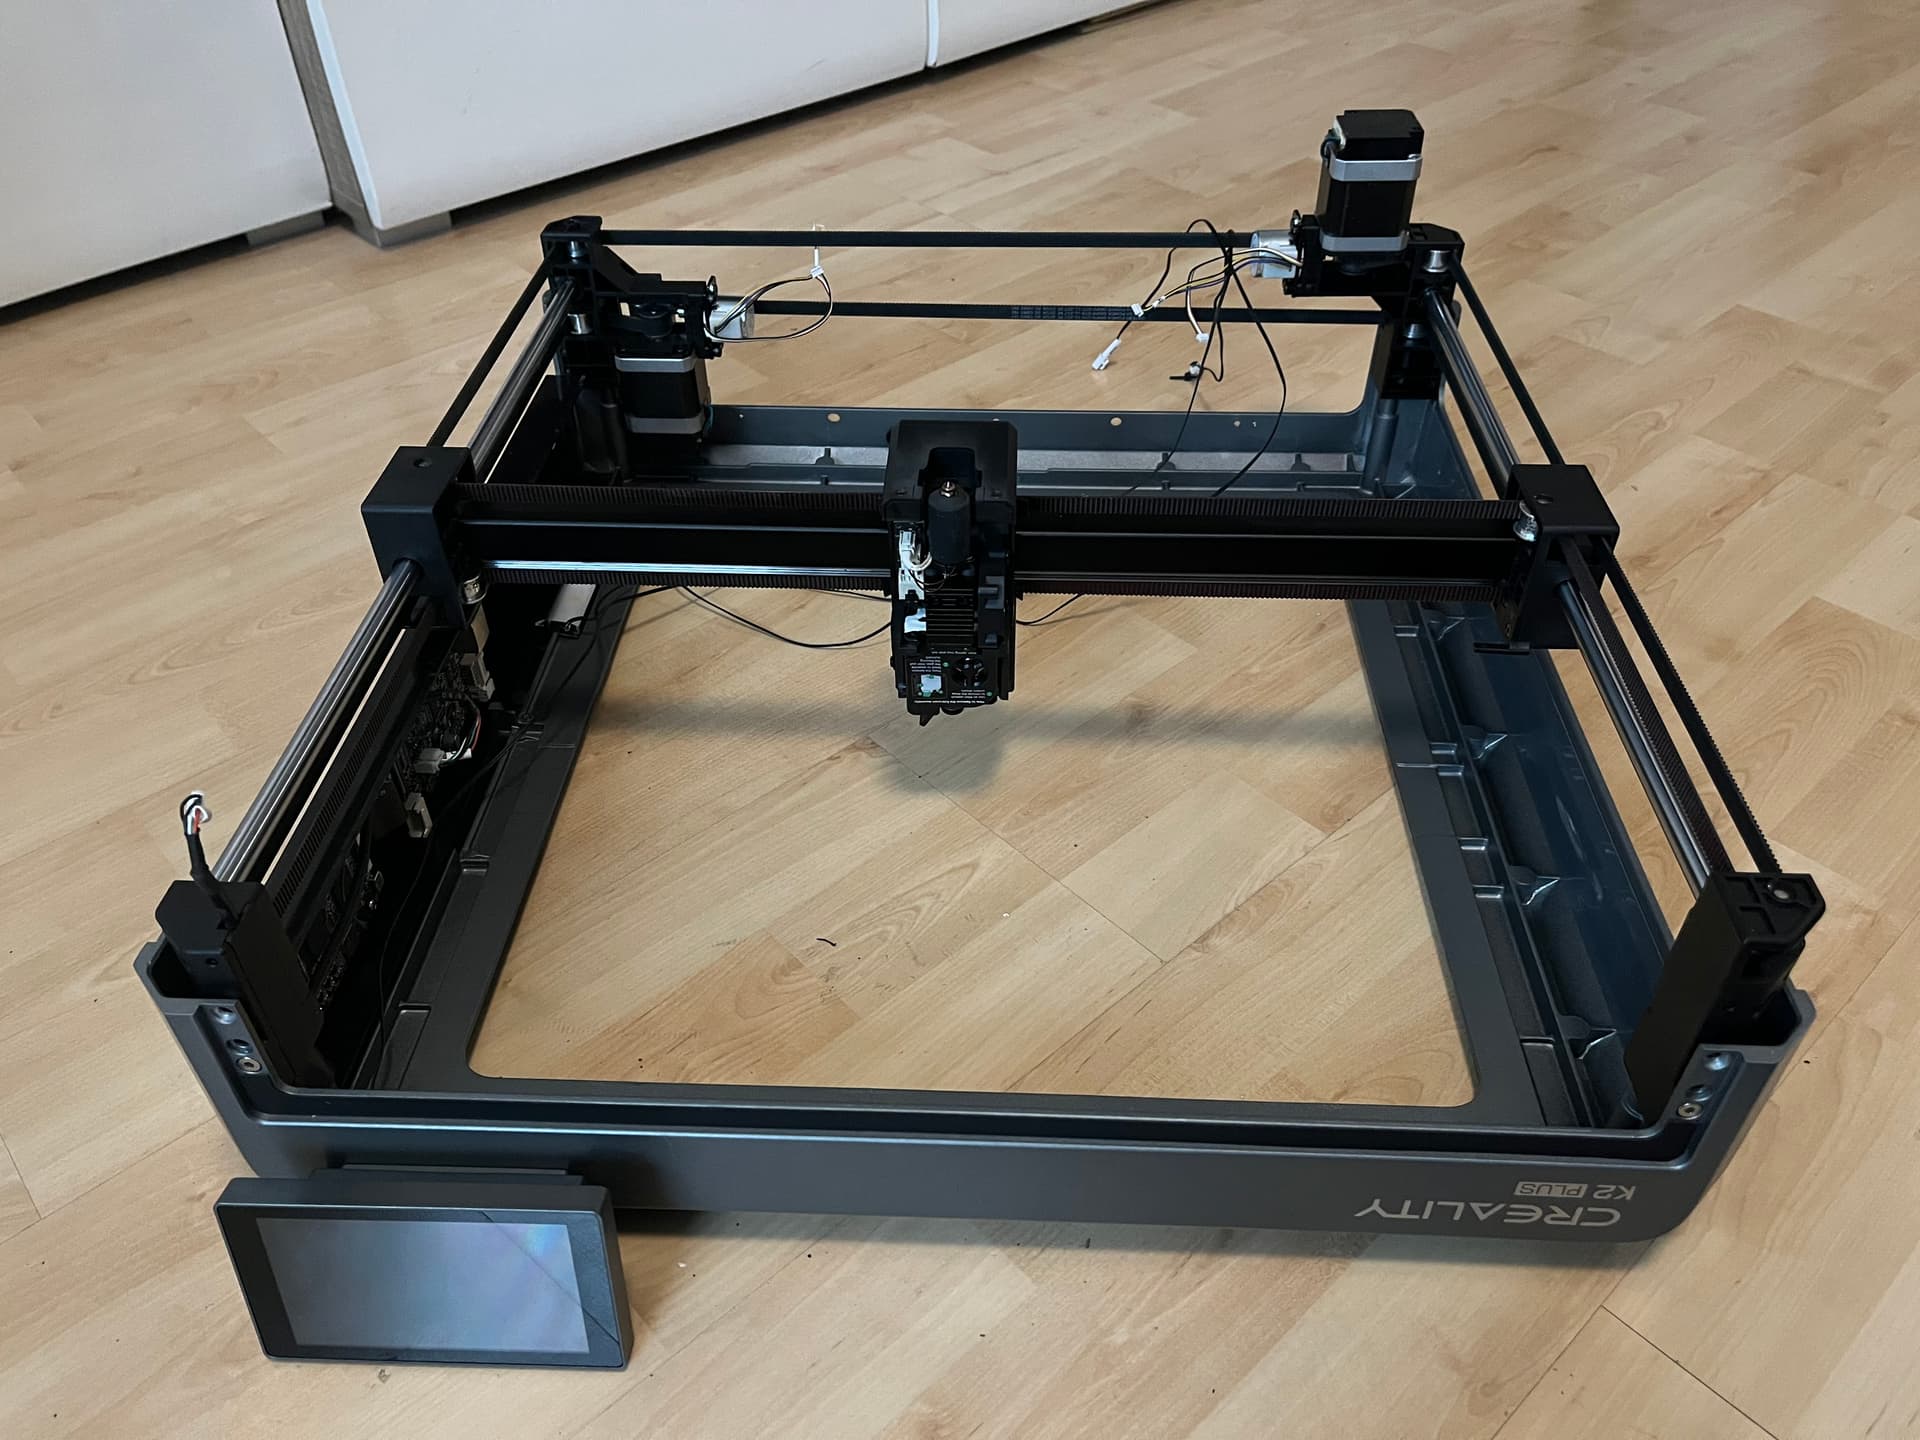
But Creality has not provided for the MGN9 rail, let alone the square tube, to be able to be unscrewed, unless you remove the upper part, but that is not easy because the side parts are glued and I cannot get to the necessary screws, so I can’t do anything for now because of the warranty claim, as this is a major intervention on the printer and Creality has not yet contacted me.

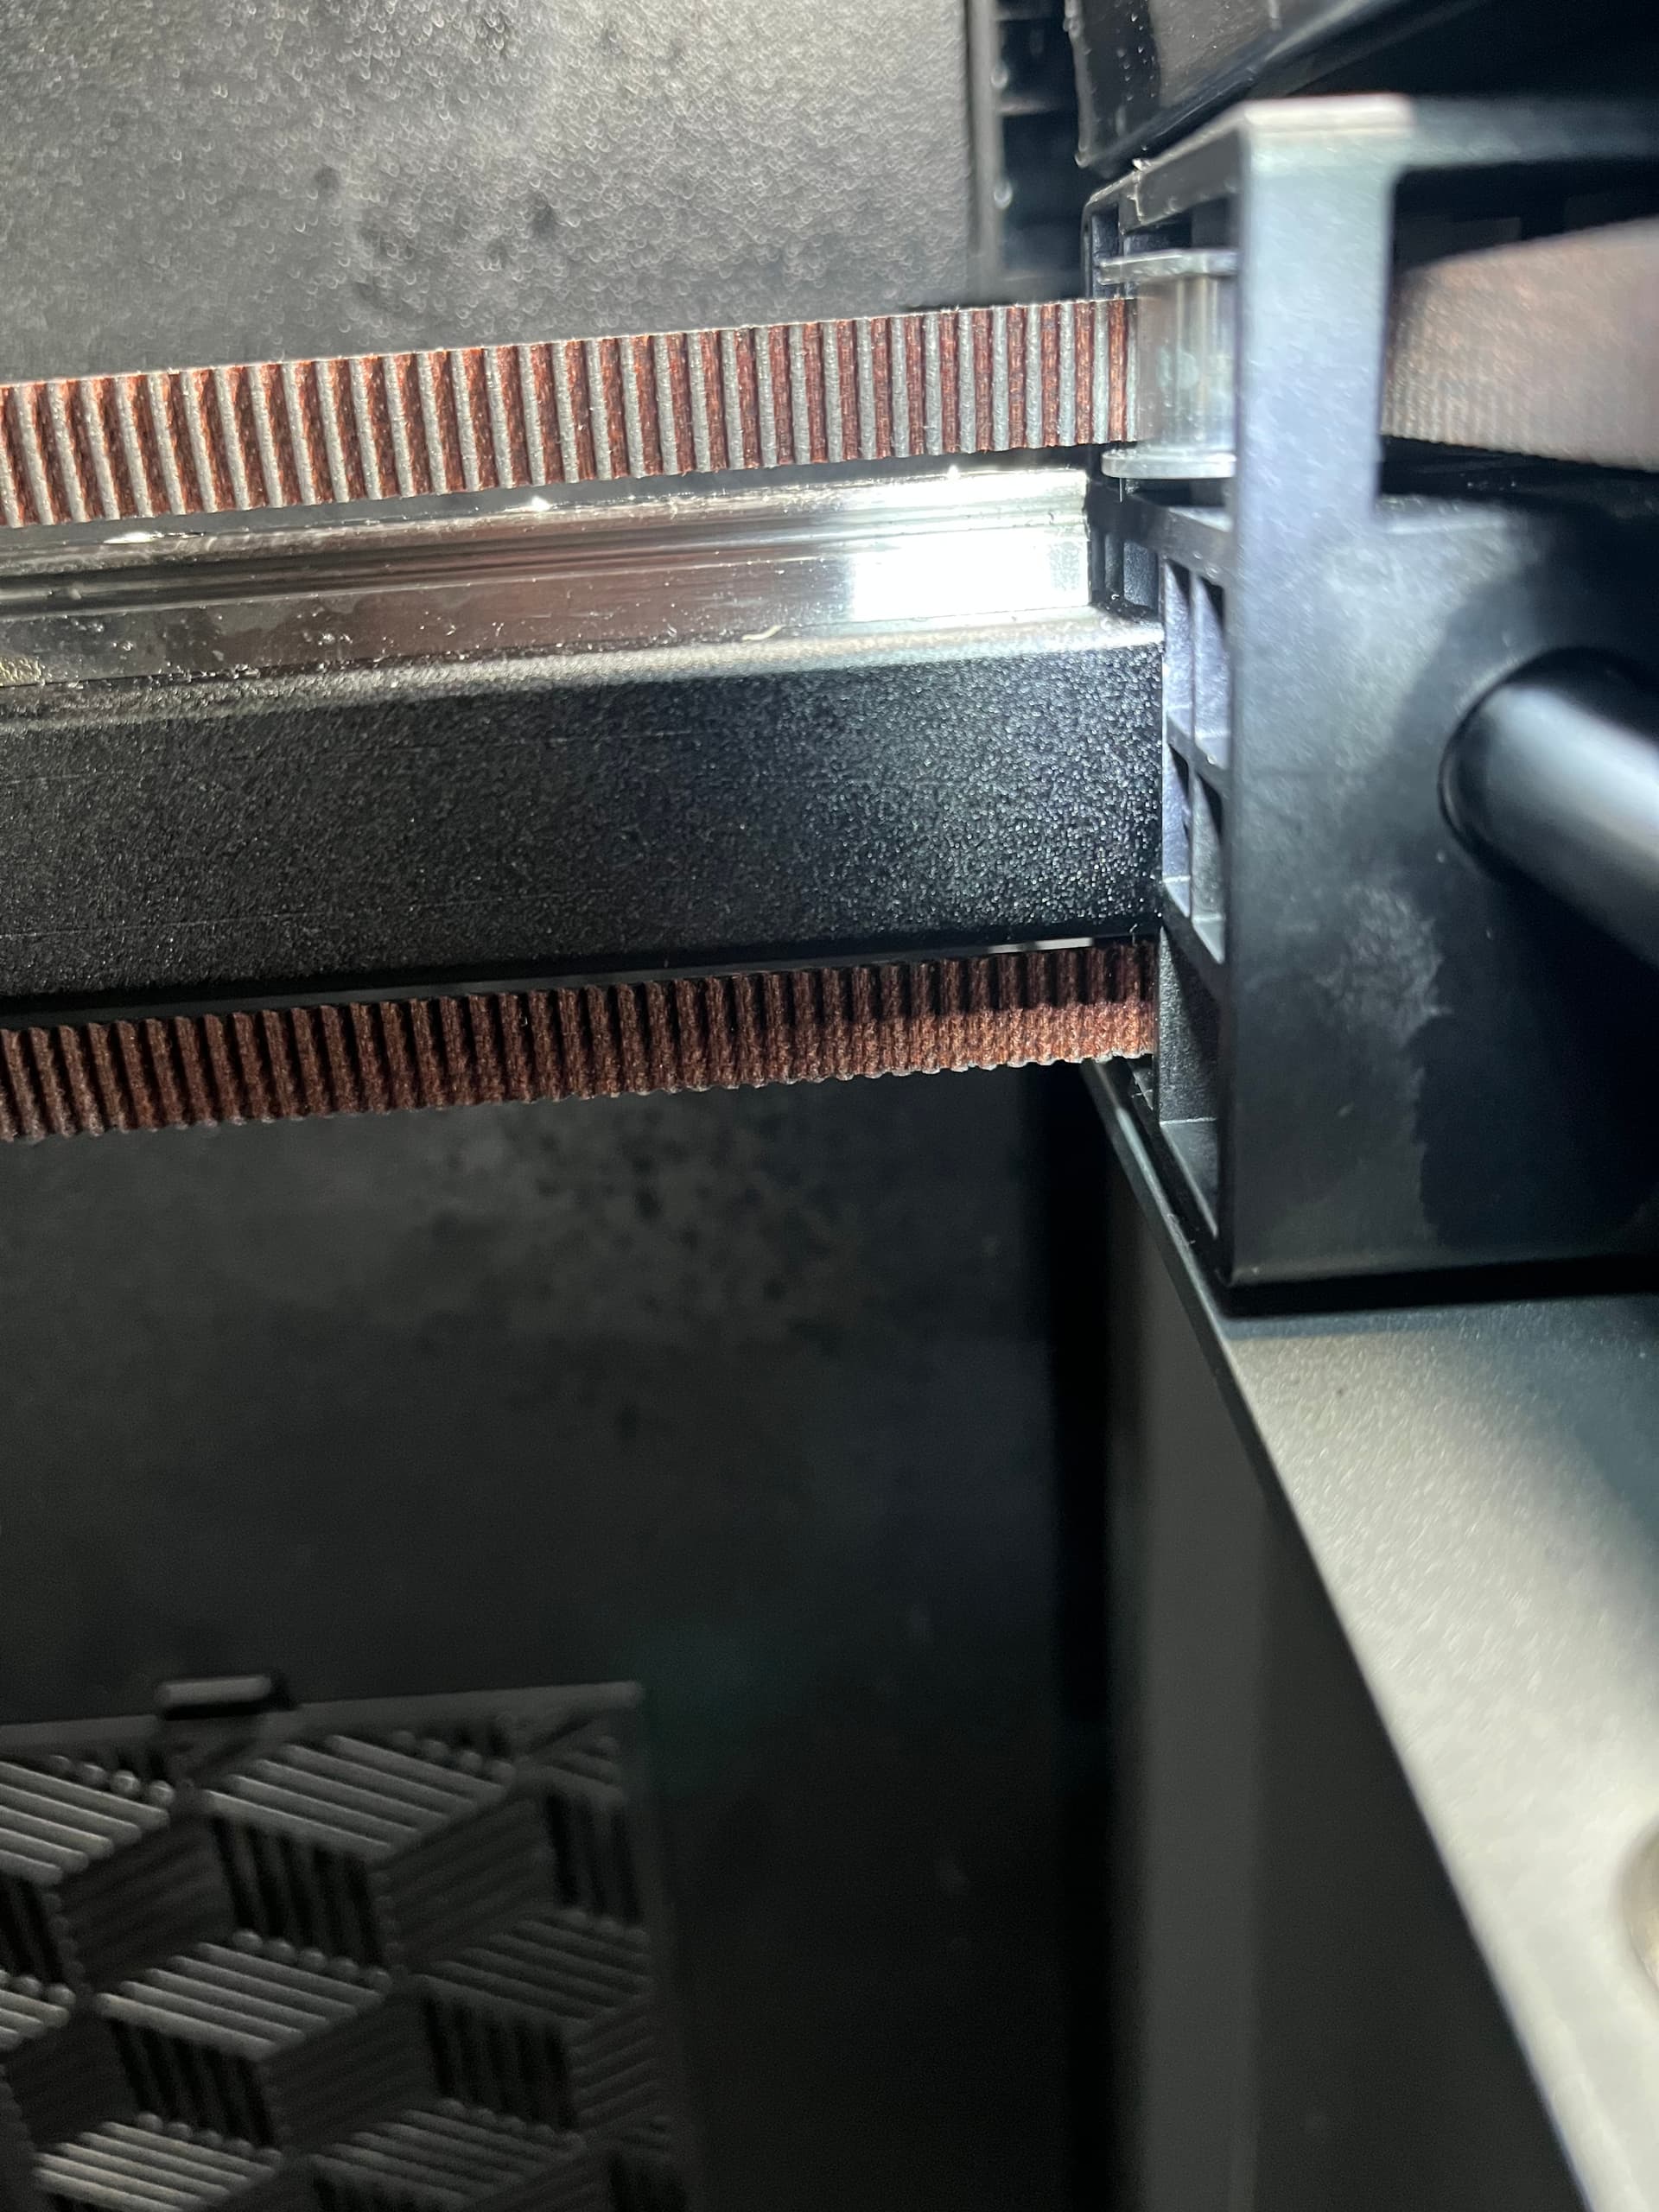
Unfortunately, this is difficult to see in the pictures; it is precisely this square tube that is causing me problems because it is too long.

And when I have all the screws in, it pushes the side guide about 0.4 mm to the right with tension.

Update:
Small correction, it’s not the square tube after all, it looks like it’s the round bars that are under tension, i.e. bent, because if I push the X-carriage all the way back or forward, I have enough play to push the square tube back and forth and can screw it tight without tension, only towards the middle does it get tighter and is under tension.

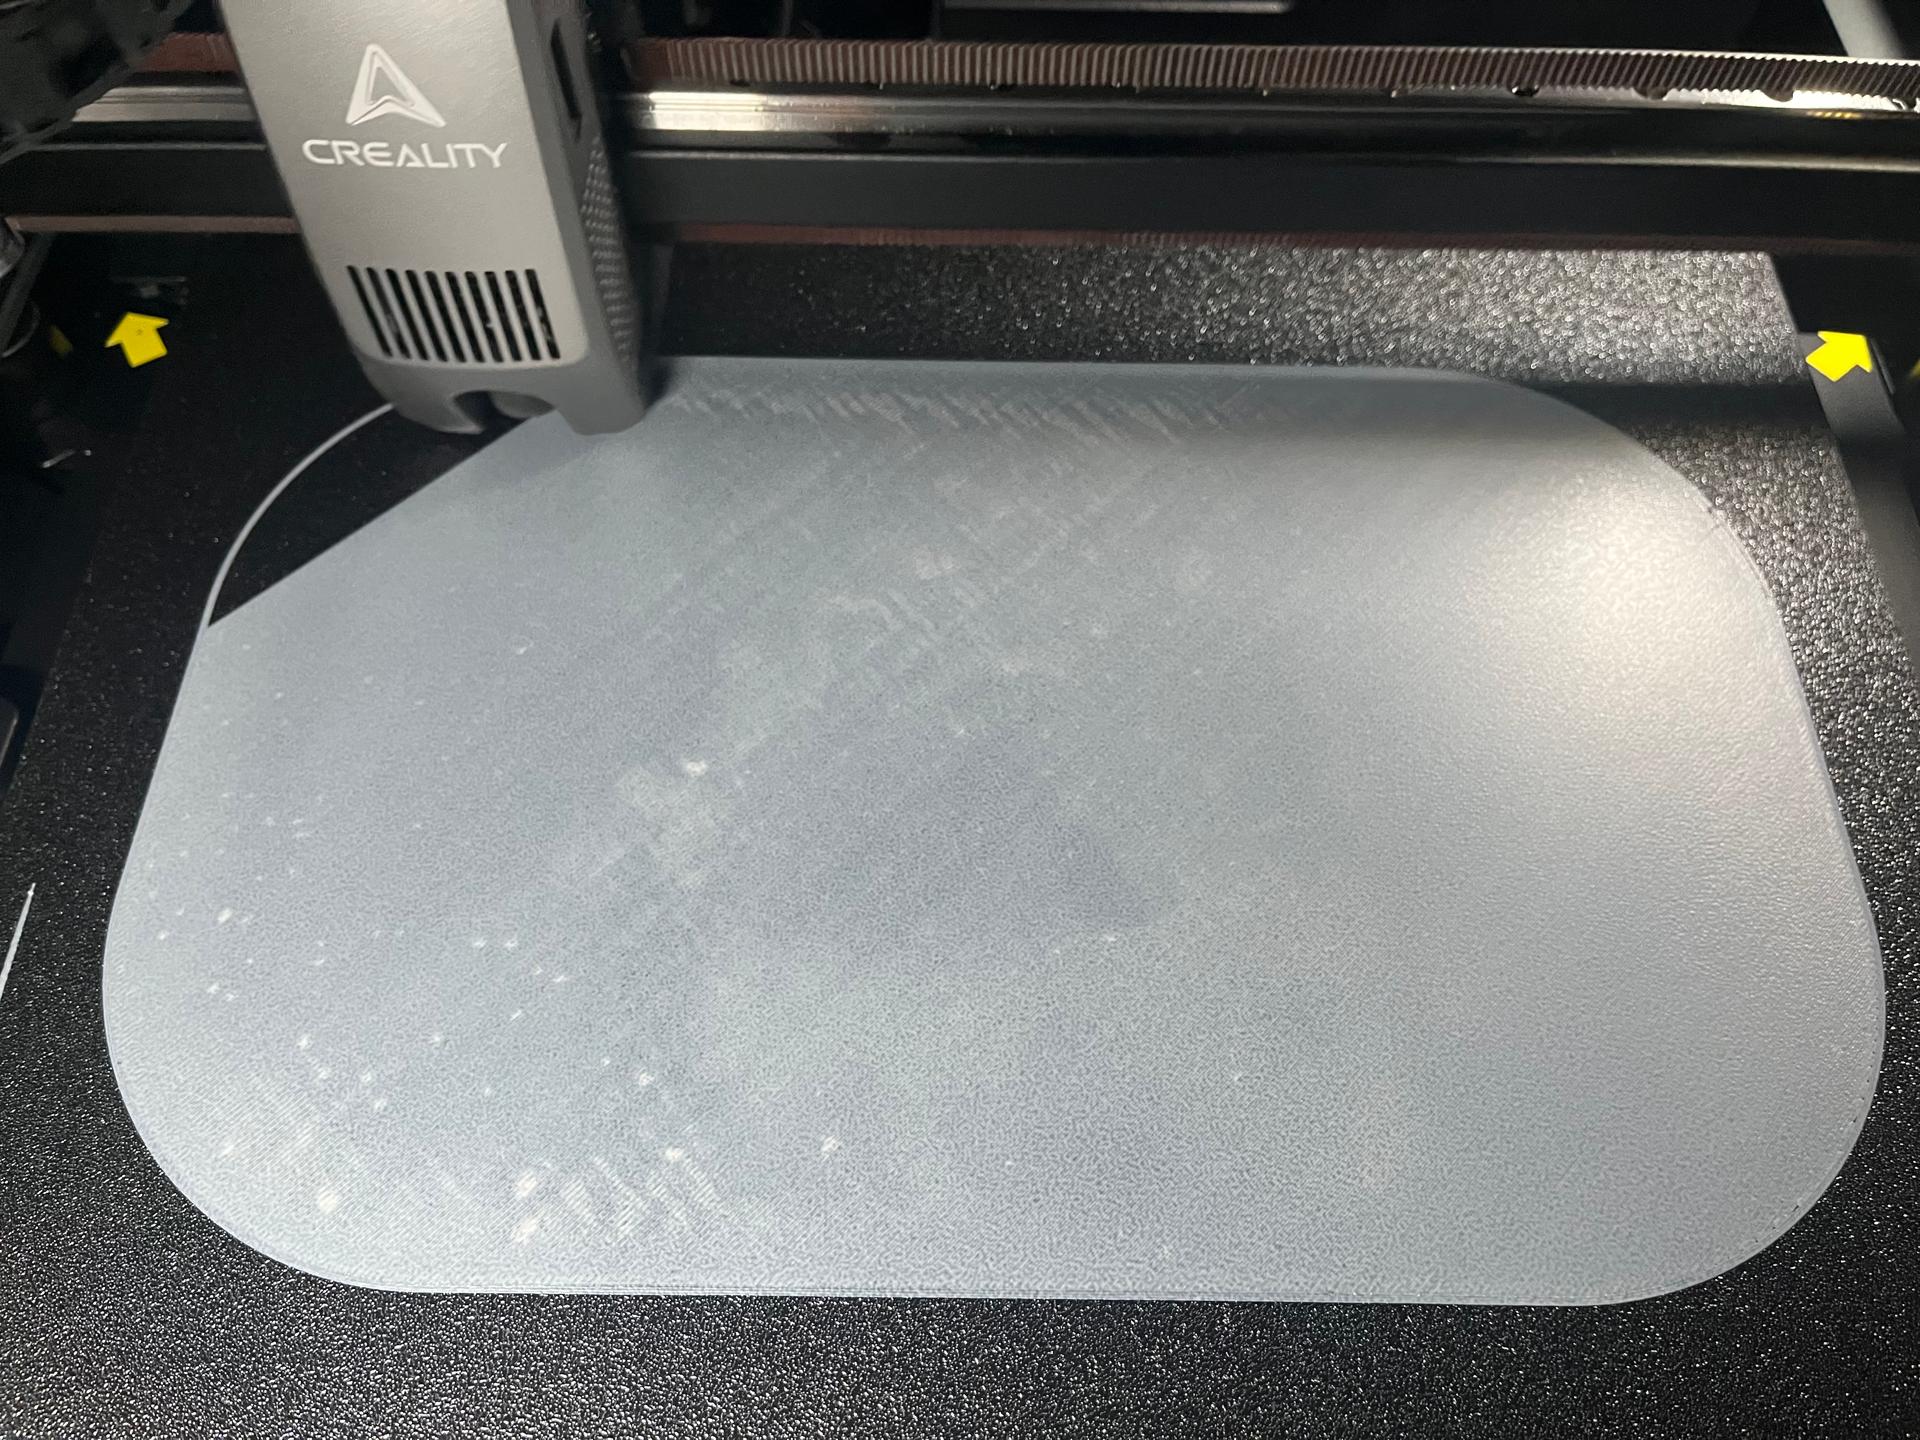
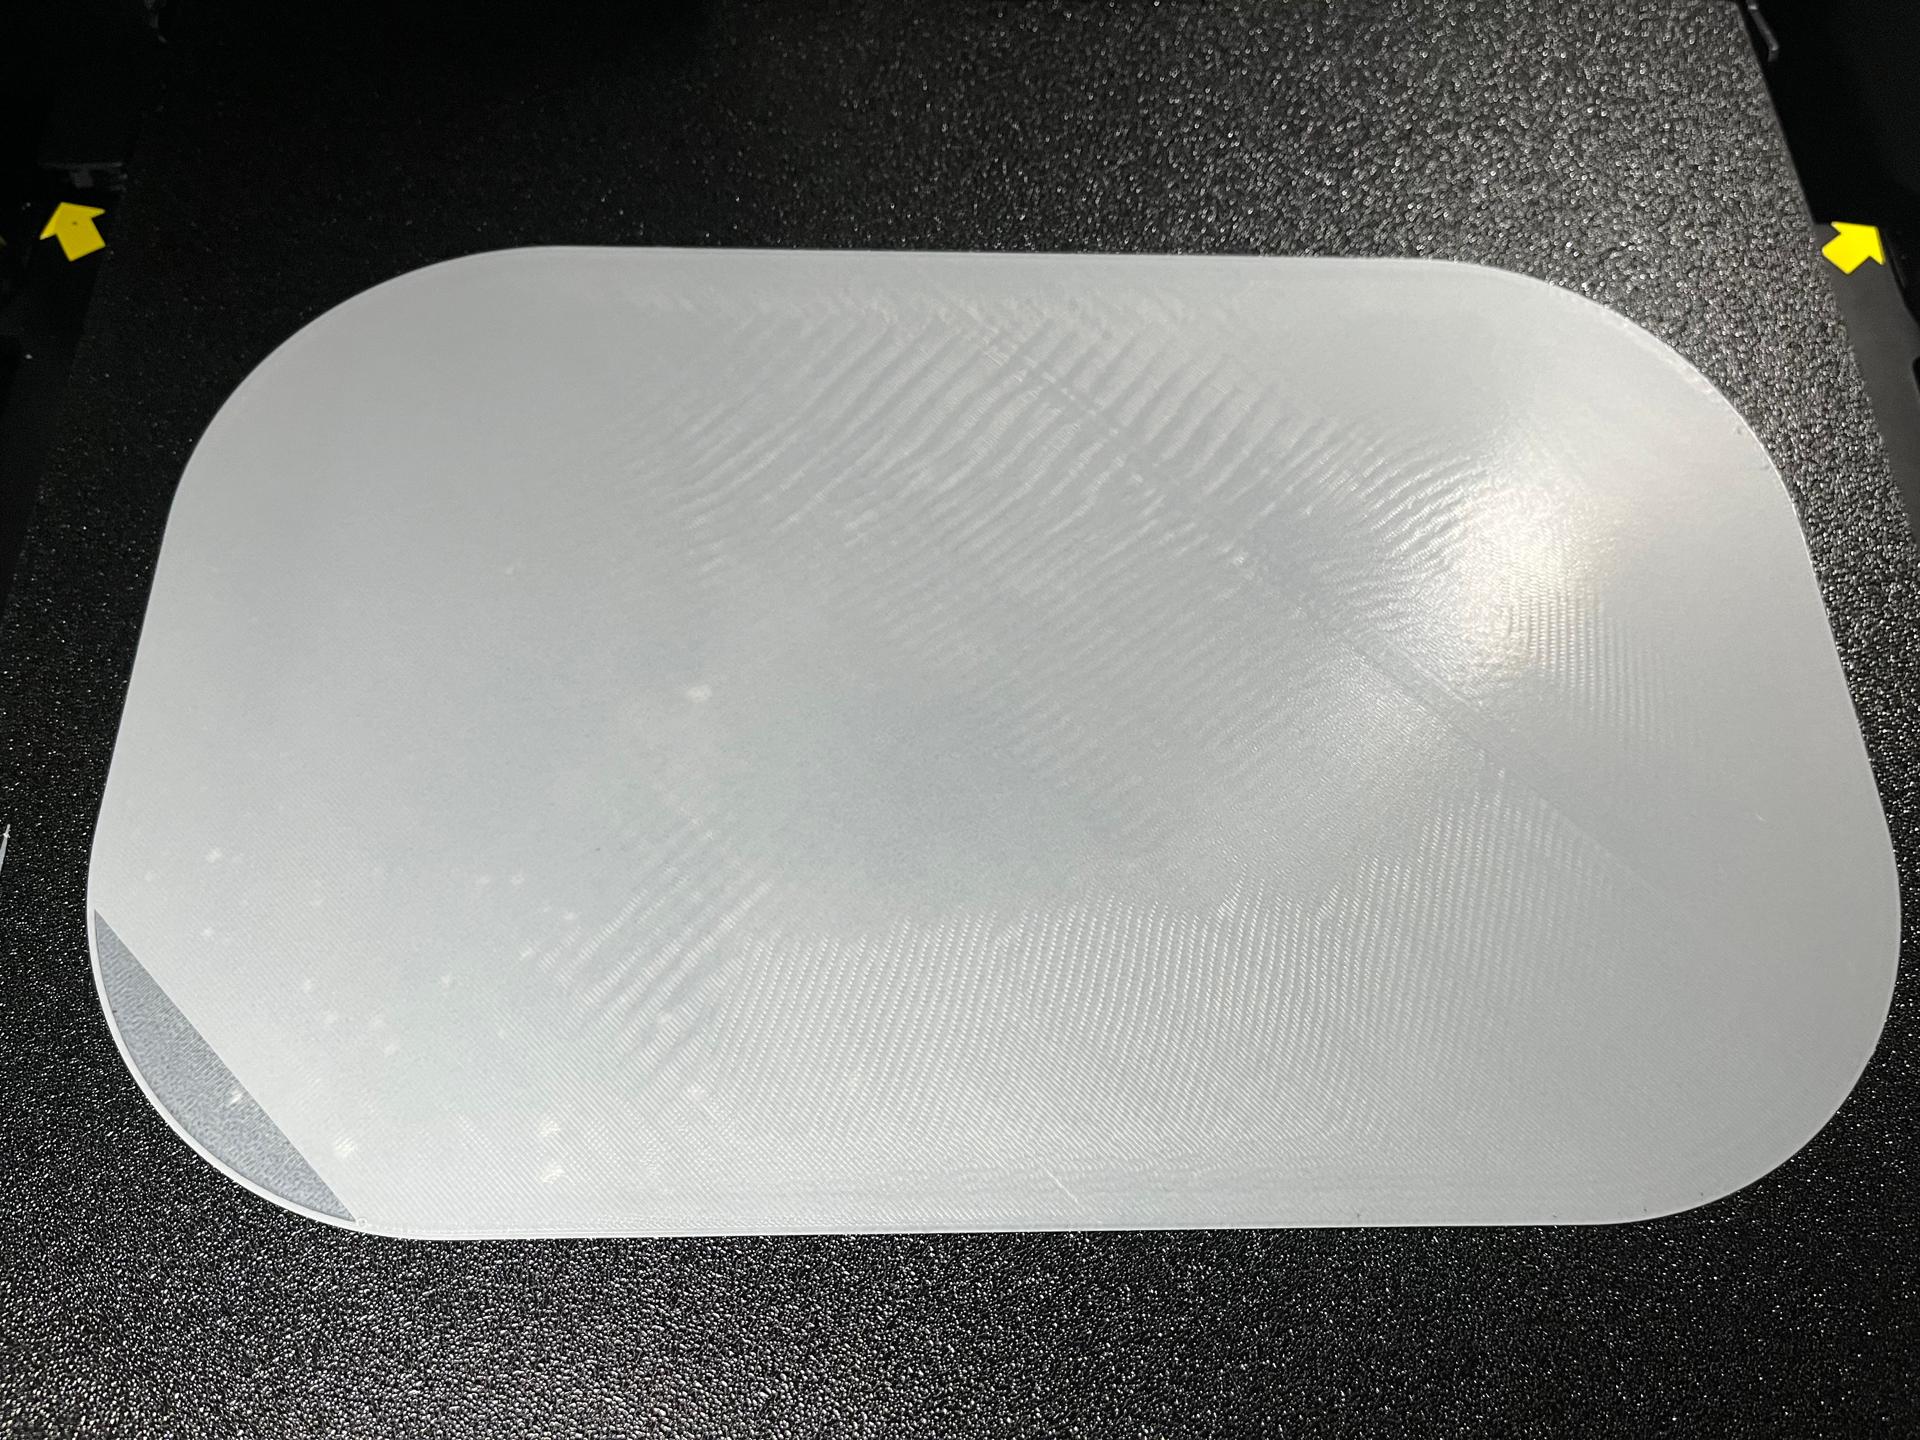
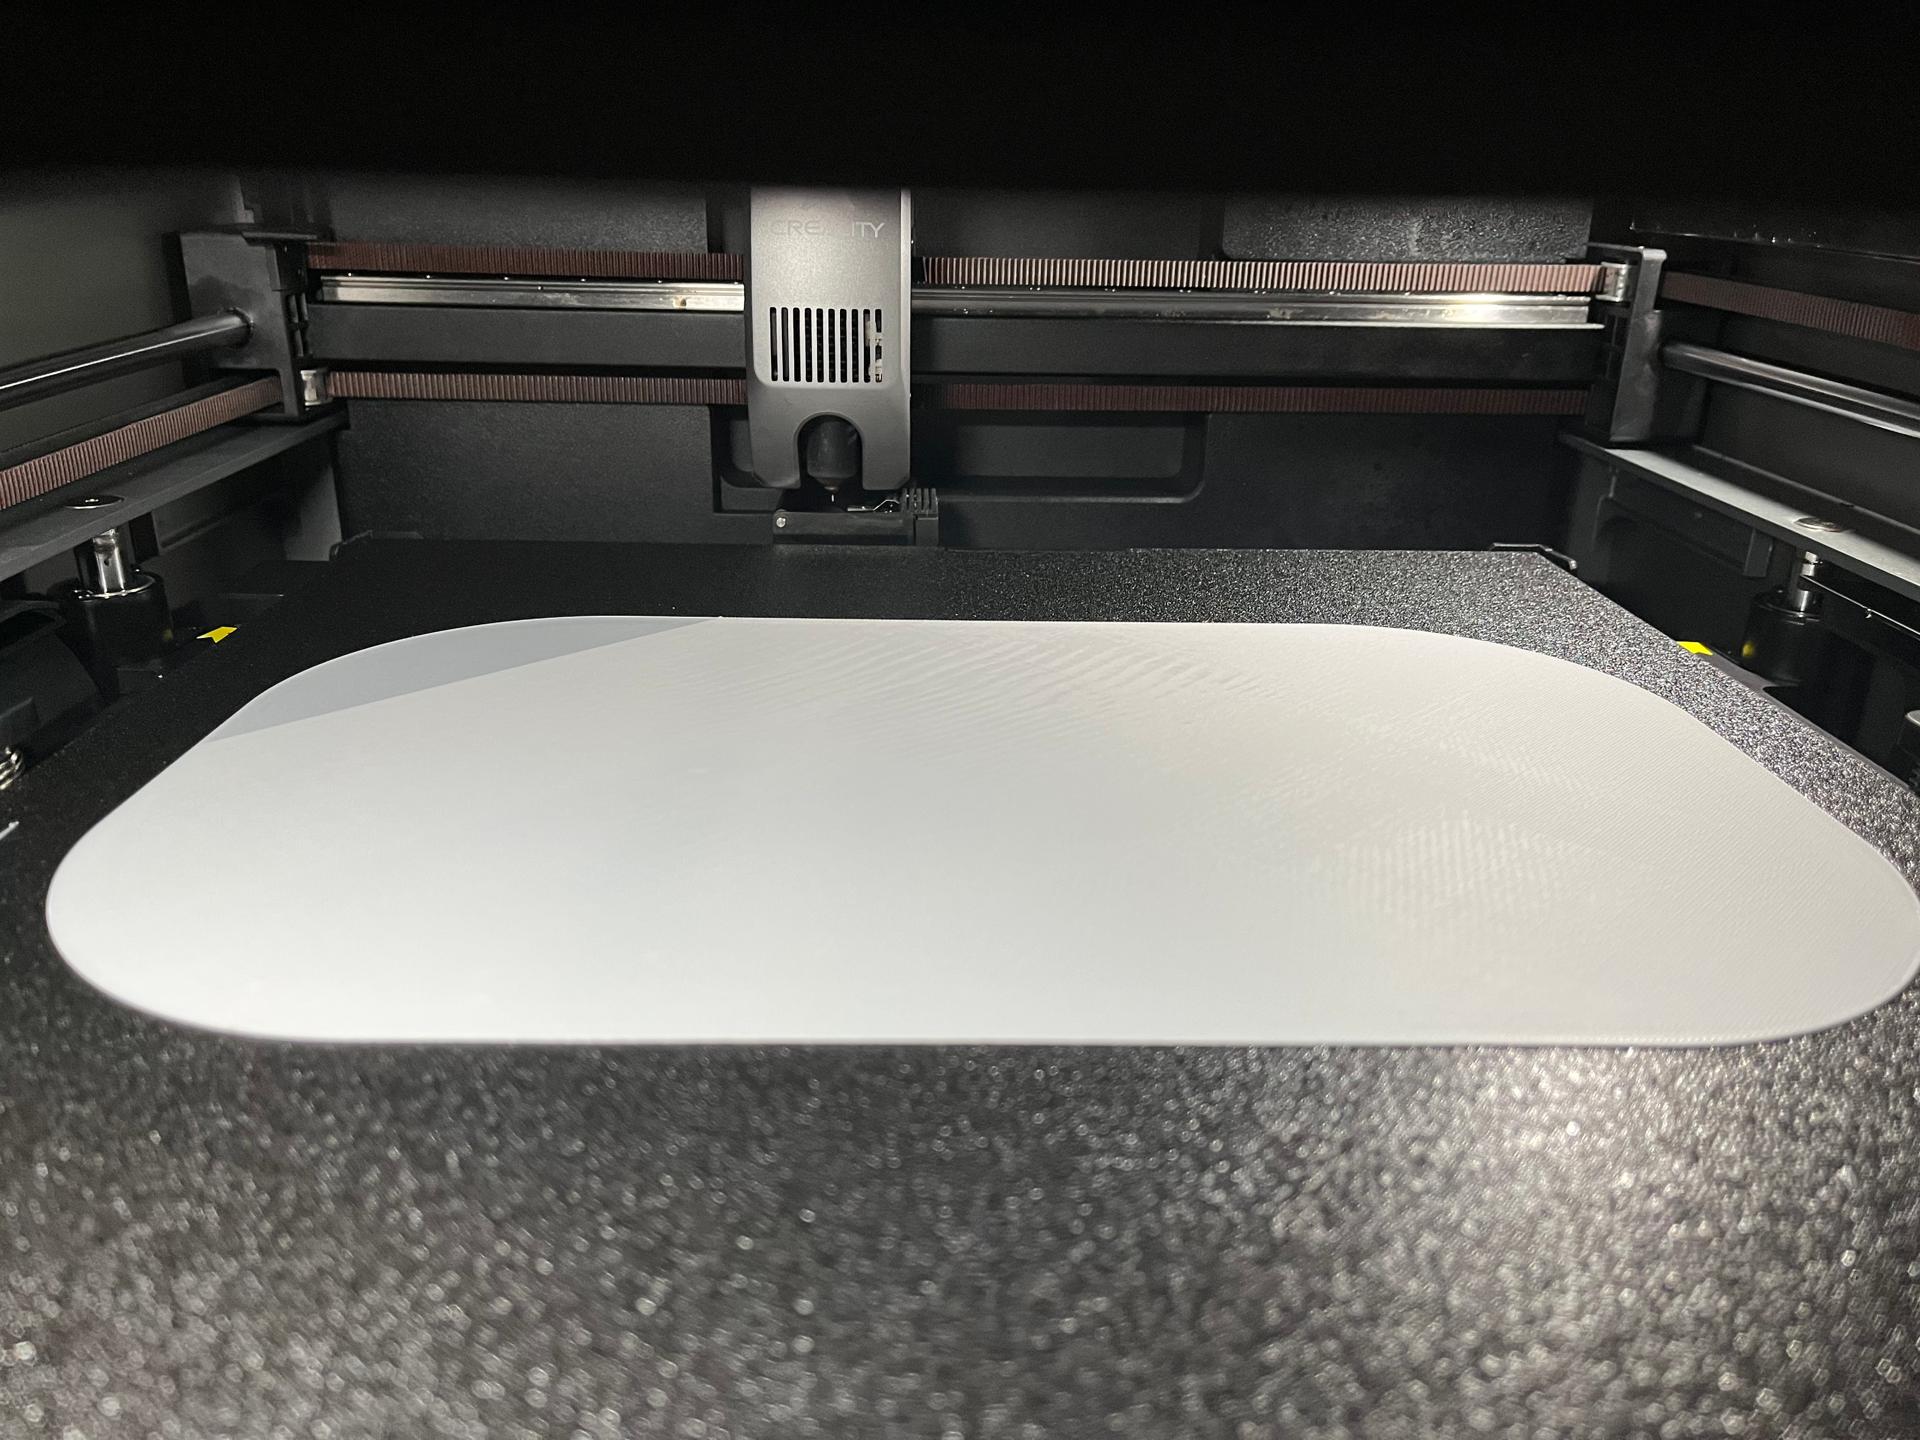
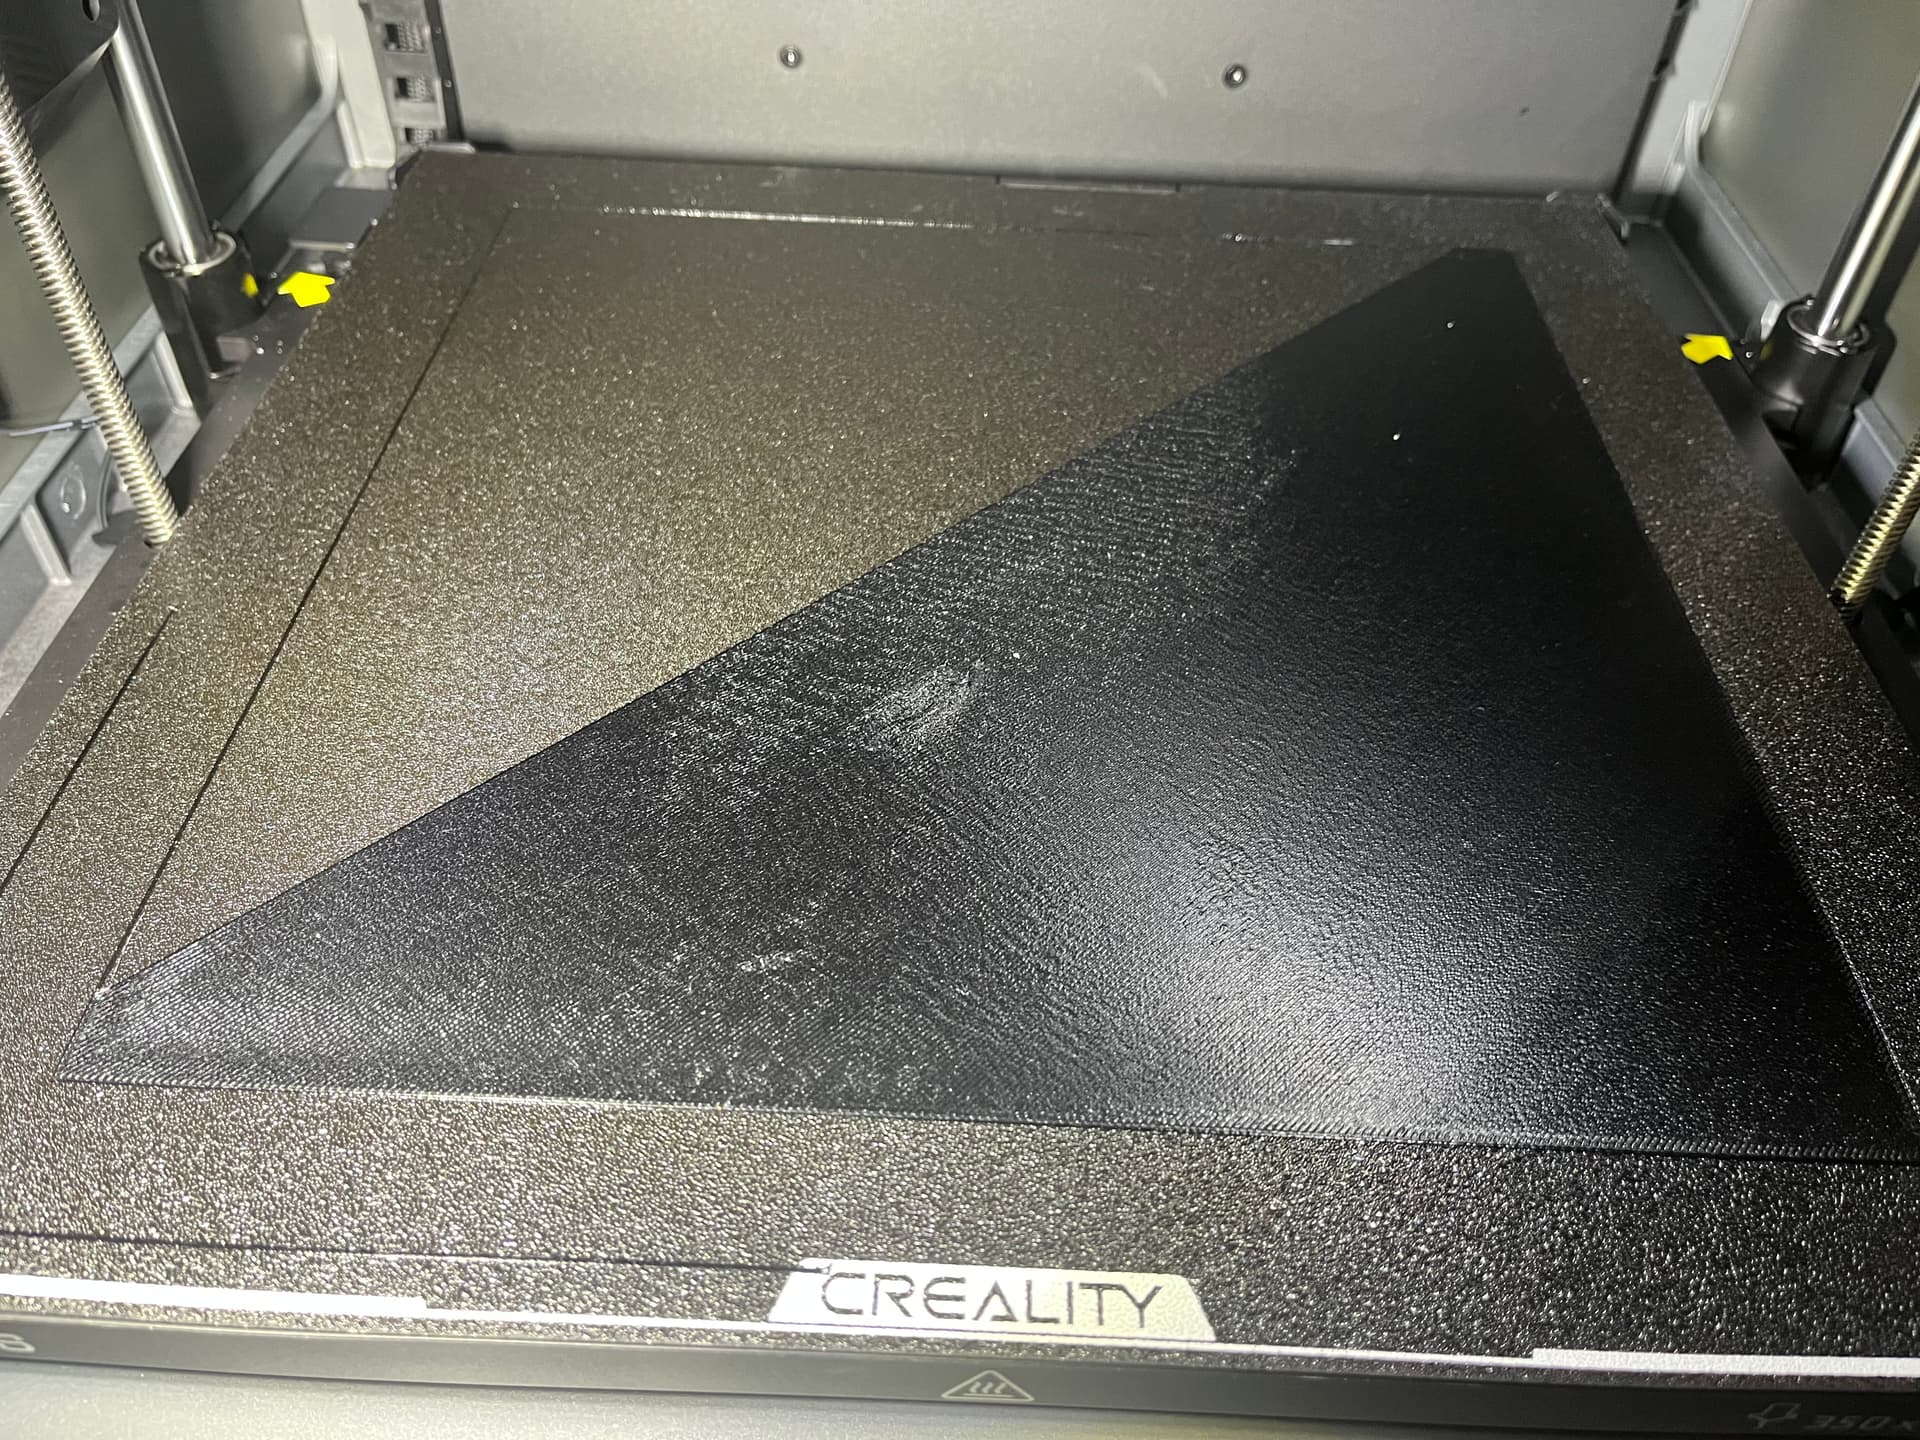
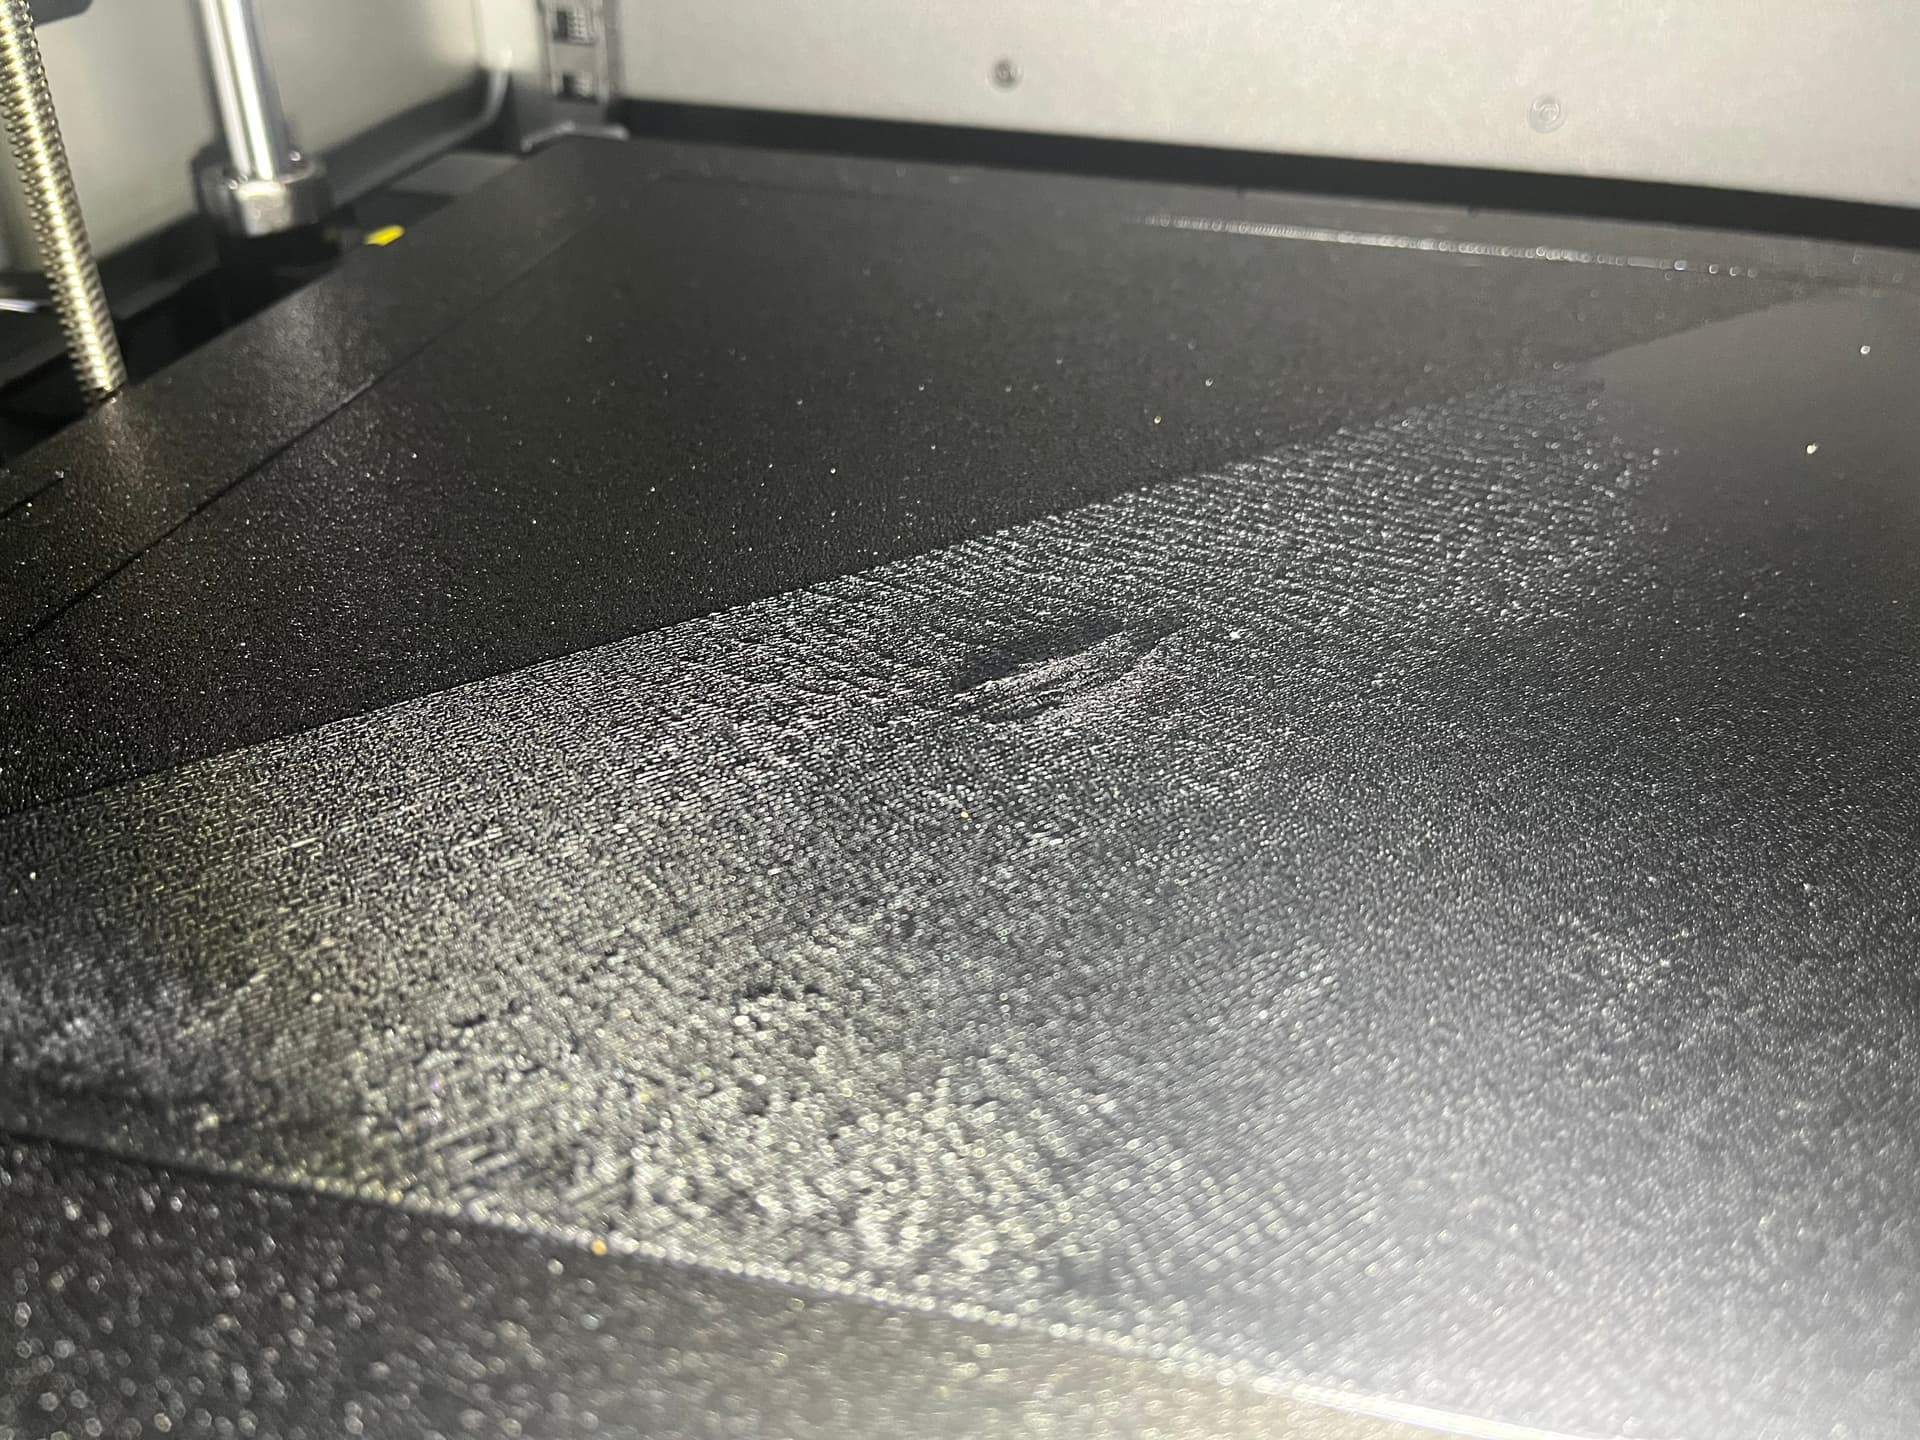
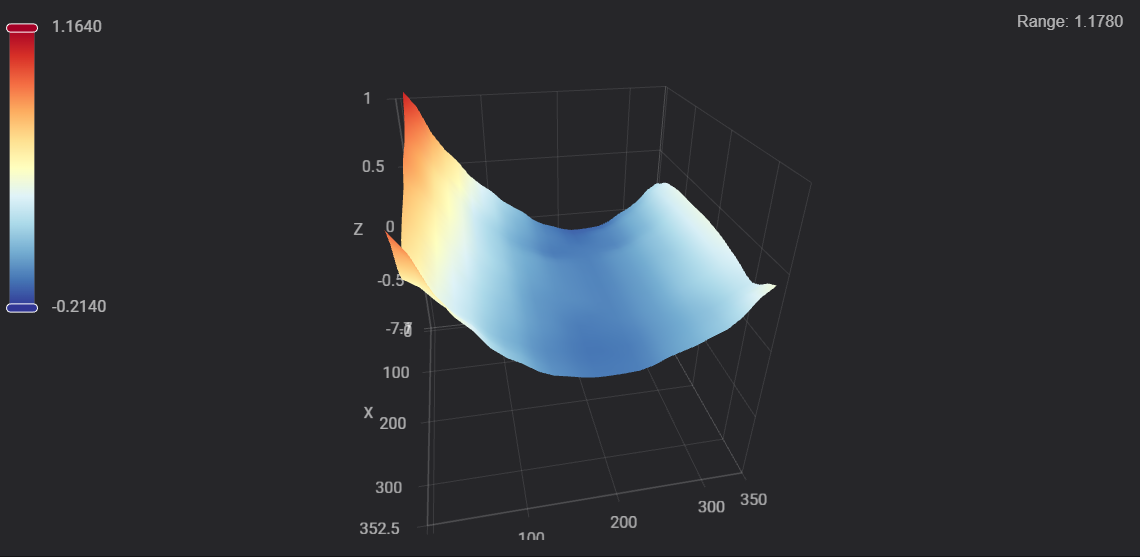
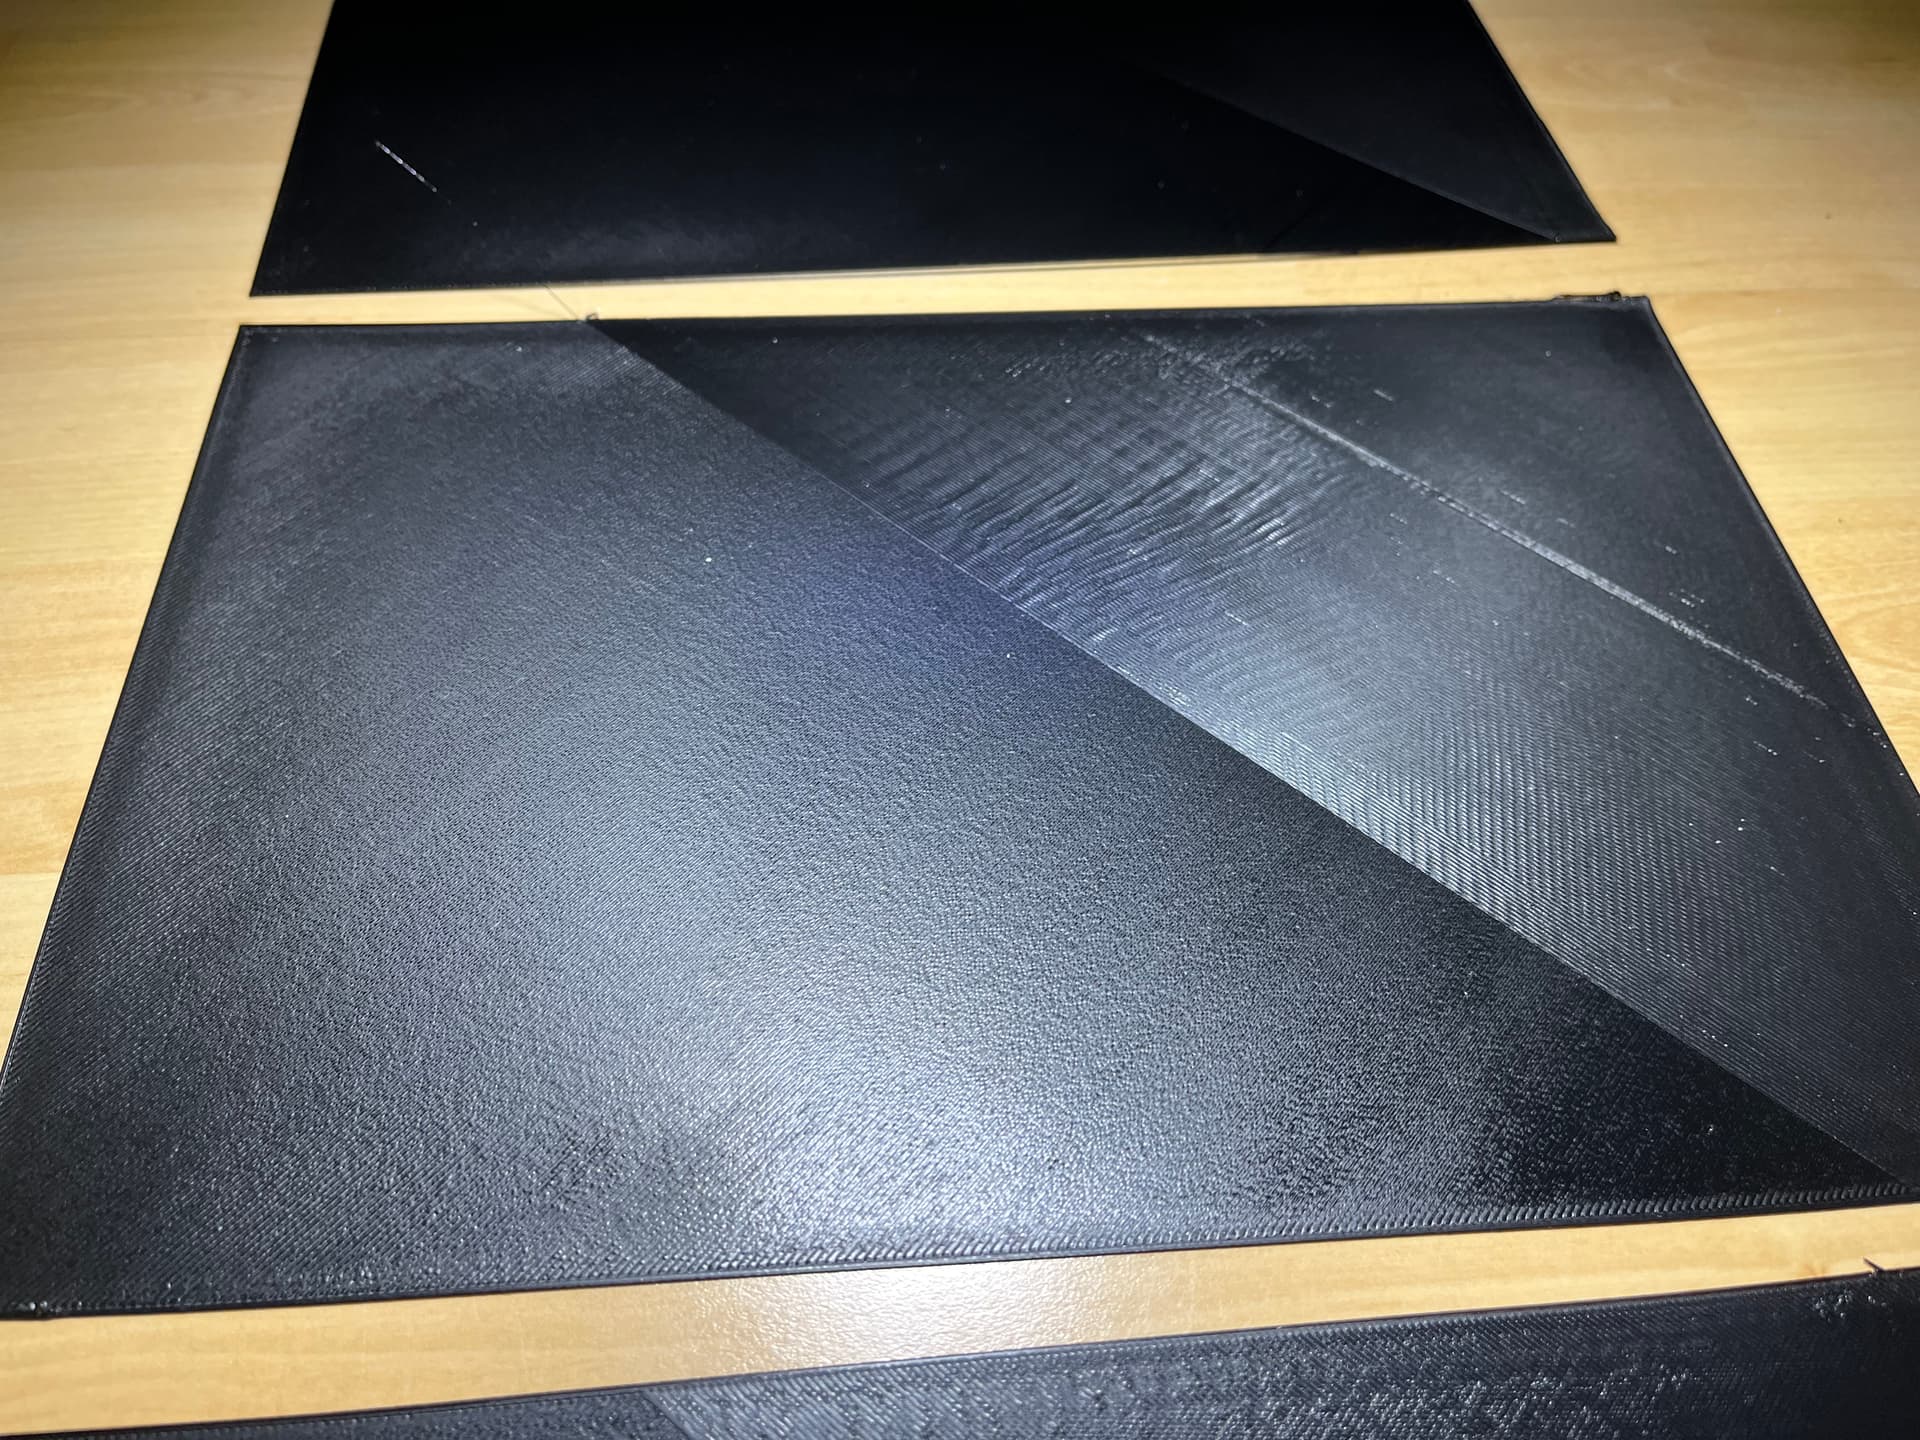
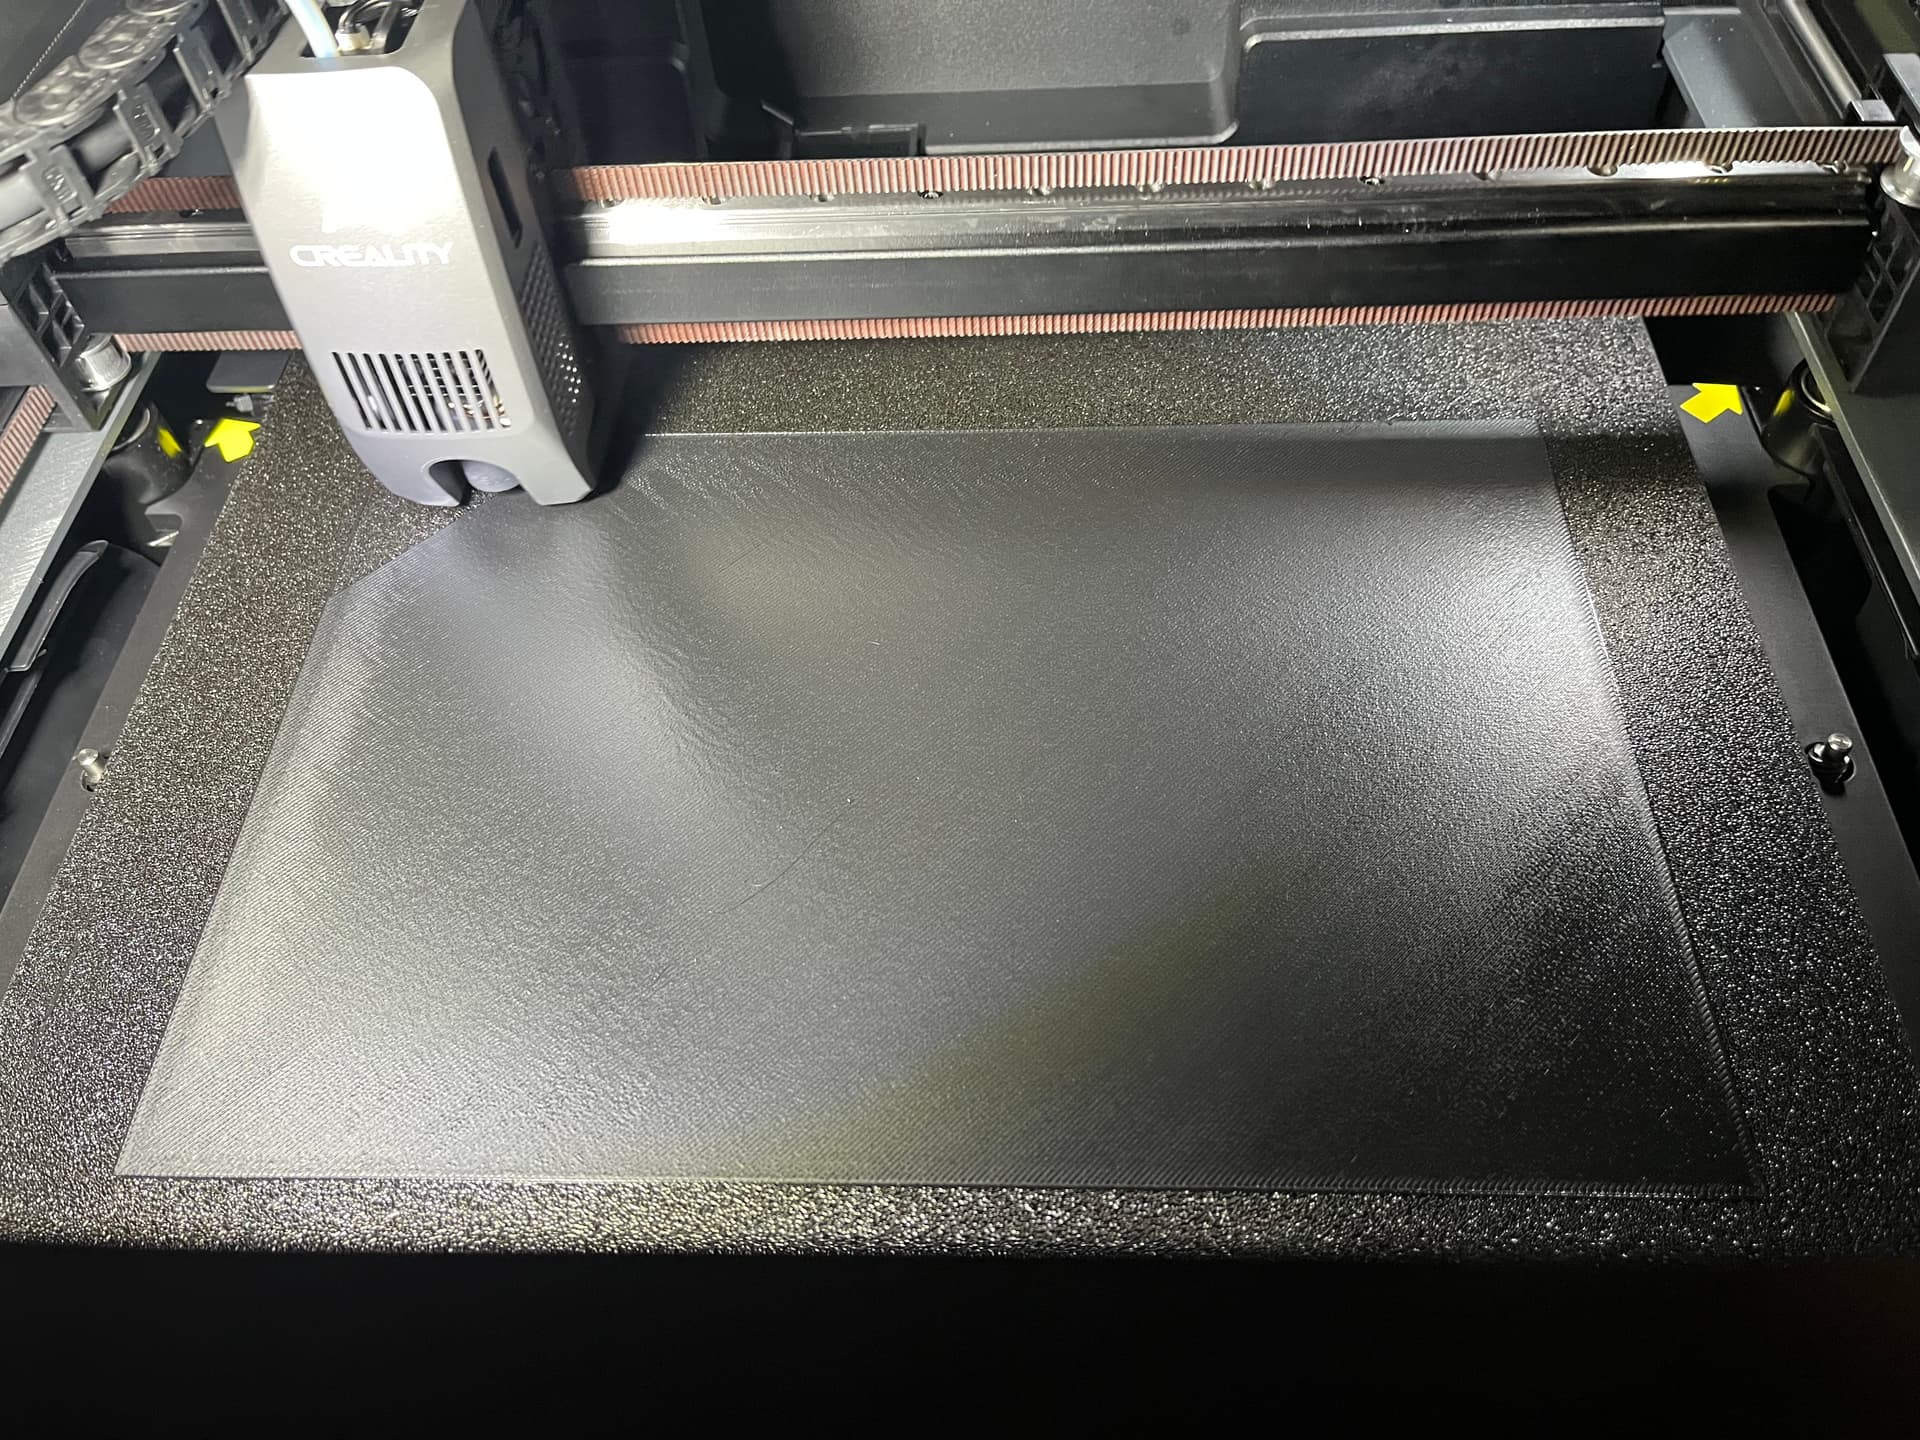
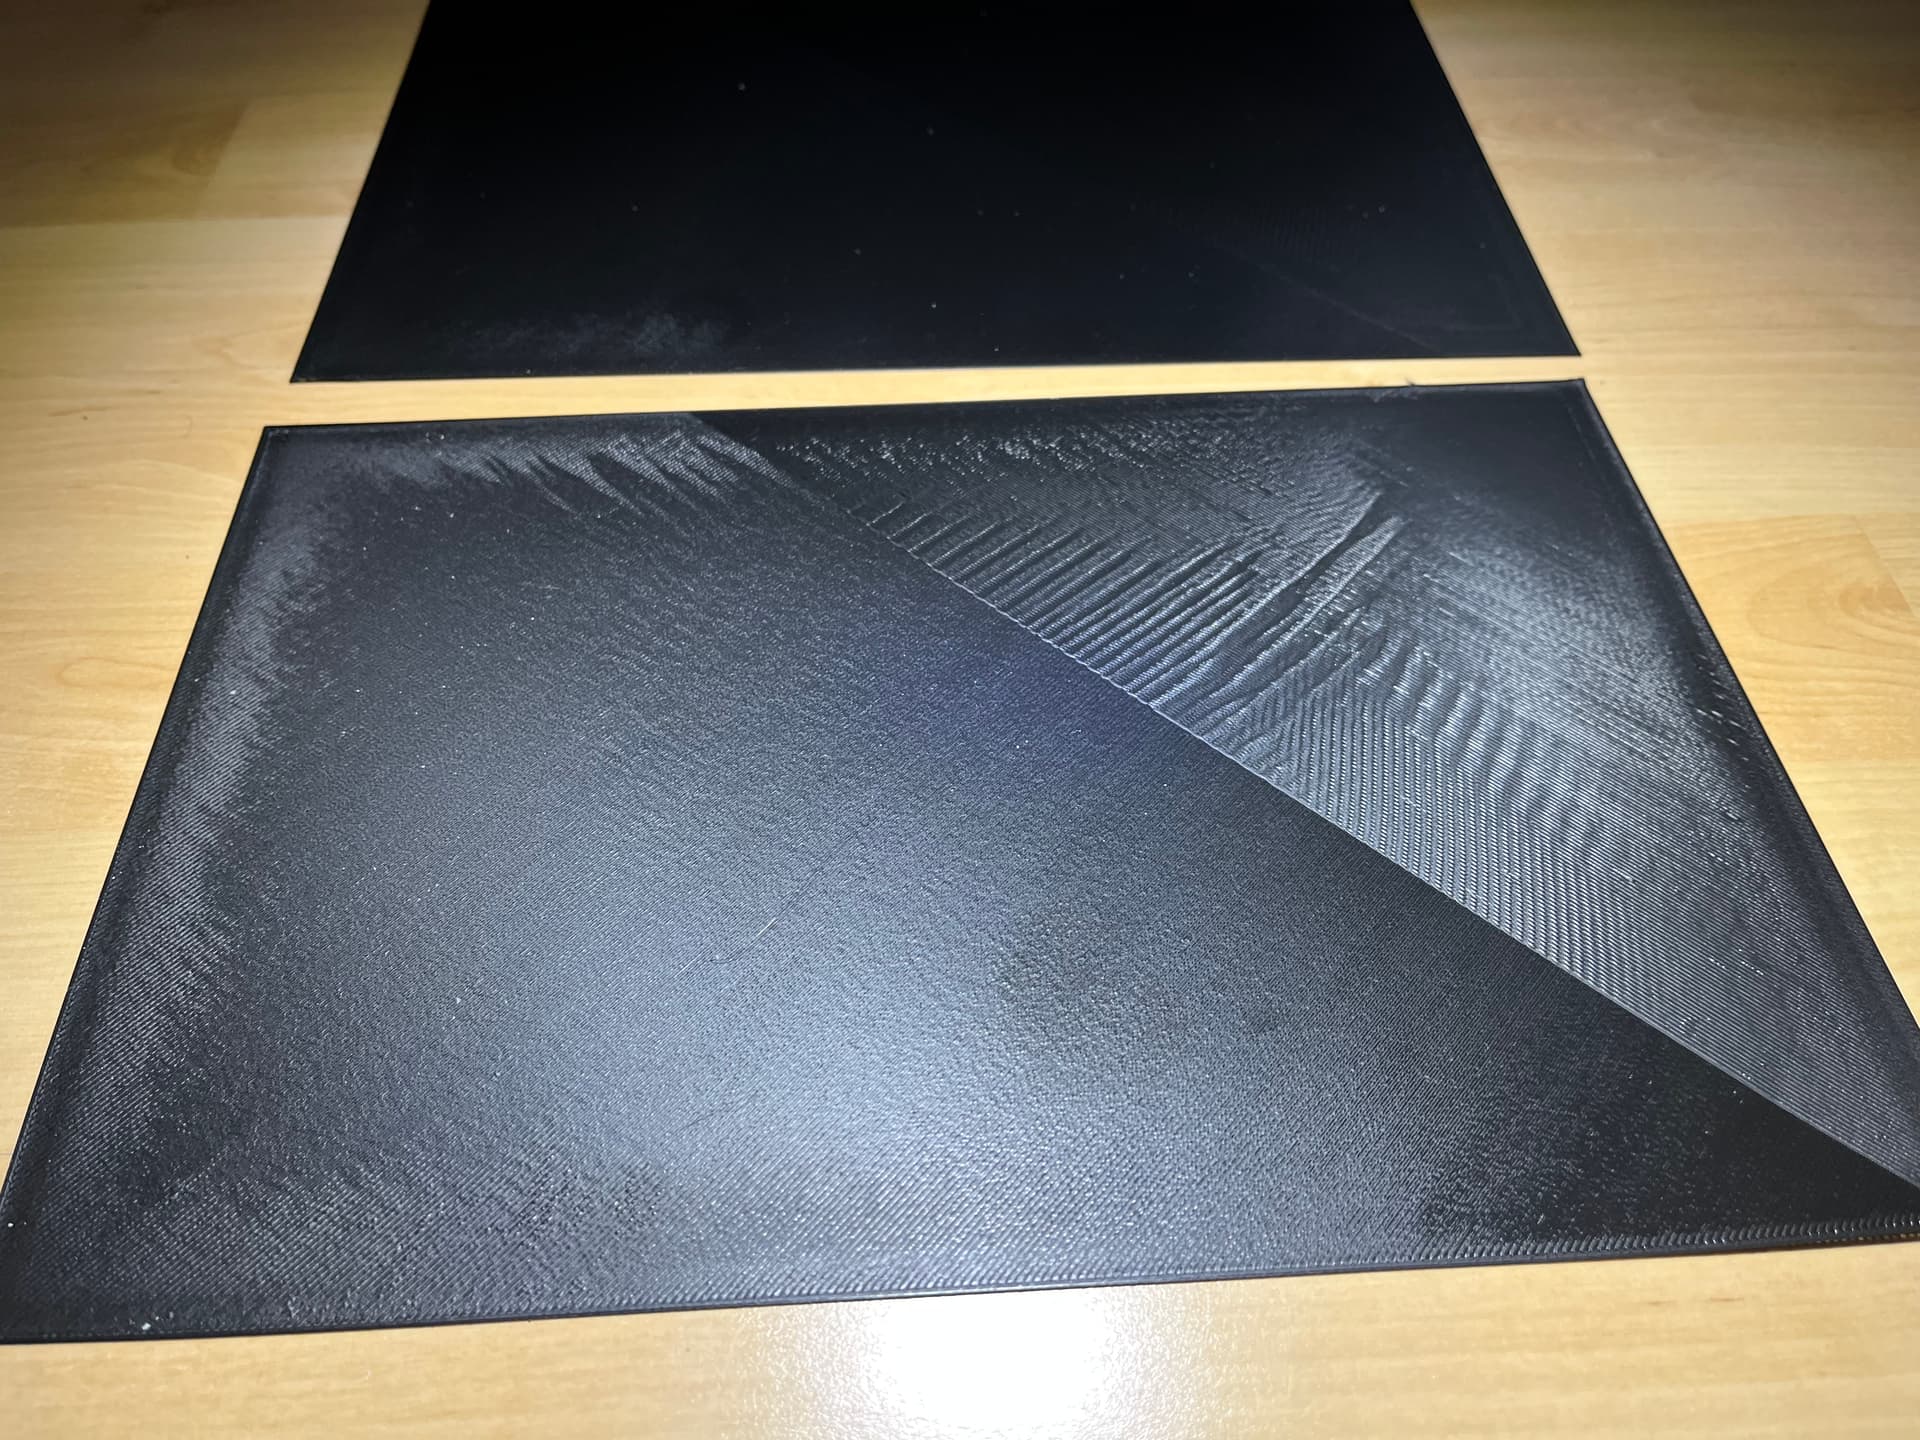
But to reinforce the theory again, I printed out a 300x300x0.2mm sheet and the problems start in the middle, I just wanted to clarify that again.


Since you have some debugging done here, I thought it would be better to reply to this thread.

The printhead sits on a base that’s attached to the linear rail with 4 screws. One thing that I noticed, is that when the nozzle touches the bed my printhead was slightly moving - just trying to tighten the screws didn’t help, I also had to put some pressure to the front, pushing it upwards.

My prints weren’t affected only on the first layer, but if printing something like a box, the walls wouldn’t be perfectly stacked on top of each other.

Adjusting the printhead with the above method almost entirely fixed both issues for me, I think there’s still some play involved because my printhead is broken due to twisting of the frame during shipping.

If the probe touched the areas 3 times, there might be some room for averaging the measurements and get a better precision but I don’t know if that’s the only problem here.
The printhead still twists a little under light pressure. Unsure if a better assembly would not allow for this kind of play or if the tolerances are just too loose on the current machines, maybe mine is just too much damaged.

I don’t see this kind of twist on a dual rod system.

1 Like

I also suspected that the belt tension was too high and that’s why there was too much tension in the middle, but even with the belt manually adjusted, so not as tight as Creality set it, that didn’t solve my problem.

But even without belt tension, after disassembling the extruder (head) and loosening the belt tension, the tension in the middle was still way too high.

It could also be that my frame is warped, but maybe everything is fine and the problem is that the print bed or Z-guide is not running cleanly, but that’s hard for me to check.

Try disabling chamber temperature control for your filament in Filament → Print Chamber Temperature → Activate Temperature Control.

I had a similar results with ABS and ASA where the corners of my first layers were fine but messing up in the middle that was caused by the chamber heater creating airflow on the initial layers when all fans were supposed to be disabled.

I specifically didn’t have any issues with PLA and PETG because my garage happened to be within the temperature range where automatic chamber temperature control didn’t kick in.

That’s not the problem, that much I can say, the height of the nozzle just isn’t right when printing and you can hear it.
It is as if the tension I have in the X-slide or perhaps also from the Z-axis does not run cleanly and the movement causes a distortion and therefore the height of the nozzle no longer fits when moving quickly.

any updates on this, I dont exactly believe its the nozzle belts more like the bed warpage, Iv attached a photo of my bed mesh and will be posting my first layer print you are having the same problems as me and I think its just largely due to a warped bed


they are sending me a new bed right as we speak but even from the ruler photos you can tell the bed is really warped

3 Likes

While you wait, put some kapton tape or foil strips under the bed sheet to flatten it out. Adjust the screws under the bed a little. Should be fine short term!

A range of 1.2 is brutal, mine is 0.6 or if I adjust the bed even 0.3, so it’s fine, but my printing problems still persist and I’m waiting for Creality because the first suggestion wasn’t anything.

Hey, did you ever get a solution? I am having the same problem aswell.

Unfortunately not and I haven’t heard anything from Creality at the moment, either they have too many problems and my problem isn’t important enough or they ignore it because they don’t know exactly where the problem lies.

since the end of December 2024, mind you. There was once an automatic email asking if my problem has been solved, but I just had to reply so that the ticket wouldn’t be closed.

Thats sad to hear. The last firmware update broke this for me. Before it was printing fine. I am currently trying every possible combination of temps, soaking time and other factors so i will let u know when i find something.

Hi? When did you replace the strain gauge?

Mine did this so I bought and installed a strain gauge and it seems to have stopped my layer issue.

I am still using the first strain gauge, but I don’t think that’s the problem. Otherwise, it would occur everywhere. However, for me, this issue always appears in the center.

I’ve also attached a few pictures. The first one is a few weeks old and was taken with the old firmware. In the second picture, I preheated the print bed to 70°C for several minutes before printing, using the latest firmware, the current slicer, and a new nozzle—that was yesterday. Today was the third attempt, printing under normal conditions with the door open, but again, no change.

Normally, I already have issues in the first layer, but here everything still looked fine. However, in the second layer, the infamous waves appeared in the center again.

I’m not a beginner—I have already built printers myself, whether it was a Voron or a custom build, and they all worked. So I know what I’m doing.

Creality also responded yesterday, but only with the usual standard troubleshooting tips: checking if all screws are tight, if the nozzle is loose, or if the print bed is warped or damaged—things I have already checked multiple times.

That’s why I still believe that the guide rods are under tension in the center—maybe the frame is warped, I don’t know. Even without belt tension, the rods/guides remain under stress, and I have checked this multiple times. This is the only issue I can’t fix due to the printer’s design.


1 Like

What I forgot to mention is that my mesh is between 0.4 and 0.6 for PETG, which is actually pretty good - others have much worse print beds.

A Thing i noticed is that the compensation is working to some degree as you can see the z-value changing in the Fluidd interface.
These issues are far more prominent on high temp prints aswell. which IMO means that either the bed profile is bugged or the bed shows extreme warping even after heat soaking and leveling.

I don’t completely rule out that the bed itself could be the issue, but these problems occur even with PLA. However, PLA is more forgiving than PETG when it comes to layer height.

Even when the bed is heated for an extended period—about 30 minutes—it doesn’t change anything. I have also asked others to perform the same test, and they didn’t have these issues, even across the entire 350x350mm area.

I have already removed the entire bed, which is relatively easy, and inspected it. I even milled the magnetic sheet flat using a CNC machine.

I also replaced the PEI sheet because the first one was already damaged—it had a bend that was even visible in the magnetic sheet.

But despite all measures and tests, even dismantling the top part of the printer - I had the entire portal in front of me - nothing helped, except that the automatic belt tension no longer works, which is my fault.

Disassembling the upper part is anything but easy, and I wouldn’t recommend it to anyone.


If anyone is interested, this is what the top part looks like when it is removed and only then can you take the Gantry apart.

The pages are only glued on, but can only be removed with a lot of force.