I thought that this may help other newcomers to the hobby. It’s just the ‘basic’ basics that I’ve found since starting 3D printing. They’re meant as a guide only and just my own thoughts.
(Moderators – if you need to move or delete this post, please feel free to do so)
So,you have your new printer set up, you’ve installed and configured your chosen slicer software. You know it’s correct because you’ve Googled it and watched the YouTube videos – but your print hasn’t come out as expected.
One setting does NOT suit all
Being a complete newcomer to 3D printing, I made the incorrect assumptions that (a) the item was badly designed or (b) there was something wrong with the printer. It was neither of these. I’ve since learned that, depending on the print job, you sometimes have to change the slicer settings to get a better print.
If you download a print file, read what the maker has said about printing. There’s often useful information about slicer settings such as whether supports are needed or what amount of infill is required.
Good advice is to check the slicer settings for each print. I’ve lost count of the prints I’ve ruined because I didn’t change raft settings or support settings from a previous print!
Keep it clean
Everybody says it and many people don’t take any notice but I’ve learned that you really DO need to keep your build plate clean. I use my printer most days to print one thing or another. A couple of times a week, I’ll remove the build plate and wash it in warm, soapy water. It removes grease and oils in our skin that get on the build plate each time we touch it. On top of that, I give the plate a quick wipe over with IPA on a cloth before each new print. A bit over the top? I no longer have poor adhesion issues.
Don’t forget about the main printer structure – it needs to be cleaned as well. All those bits of stray filament or hidden stringy bits can get wrapped around belts or pulleys so give the printer a wipe down. Don’t forget to clean it’s nozzle!
Learn and Practice and Learn
Join a club or forum (like this one) You’ll fine that people are willing to help. Ask questions. If you don’t know the answer then it’s not a stupid question.
Ignore the sarcastic comments (I haven’t ever come across any on this forum) or those who ridicule you for not knowing something. They were ALL beginners at one point. Just ignore them and don’t get into arguments.
Don’t be afraid to experiment or change settings in the slicer software or printer to get the perfect print for your job. Maybe something with a large surface area doesn’t need a raft to sit on; Perhaps increase the infill density or pattern to add strength; Check the axis settings on your printer; Could a slower print speed improve the print quality. Try it on smaller print items to save filament but experiment and practice is the best way to learn. There are so many settings so don’t be afraid to change things. If the job doesn’t turn out right, change the setting and try again. If you get totally lost in the maze of settings, most slicer software and printers will allow you to reset things to the default settings.
Save your gcode files
When you finally get that perfect print and it’s exactly as you want, don’t forget to save the gcode files so that you can print another one. I’ve learned that as hard as you try to remember all the slicer settings, you’ll never do it!
All the settings are stored in the gcode so if you use the same printer, it should print perfectly again.
Regular Maintenance
I was printing yesterday when the filament detector switch suddenly fell off! I guess it’s with the movement caused by printing. It’s only one screw but it made me wonder if other screws may be loose. All those moving parts on your printer need looking after. It’s not difficult or time consuming to give your printer a quick inspection each week. Check that all the screws, bolts etc. are all tightened up – but don’t over tighten them. Check drive belts for wear and tear and replace them if you need to. Lubricate the screw rods and guide rails regularly – personally, I use a light oil on a cloth and wipe them down.
Most parts aren’t expensive to replace and you don’t want your printer breaking down when you’re 80% into a print job! Remember that buying a couple of parts is cheaper than replacing your printer.
Keep it Cool
I’ve learned that it’s much easier to remove a job from the base pate if you leave it to cool for a few minutes. Quite often, you won’t need a scraper and your object will simply slide off the print bed with no effort. It will also give that hot filament a chance to cool and harden a little more.
Stick it!
Even with a clean build plate you may occasionally have problems with adhesion.
I’ve followed the advice of others and used adhesive like a Pritt stick or similar. The advice I wish I hadn’t followed was to ‘give it a good, thick coating or it won’t stick!’ It took almost half an hour to clean afterwards. Just a thin coating will do or you’ll take forever cleaning the build plate.
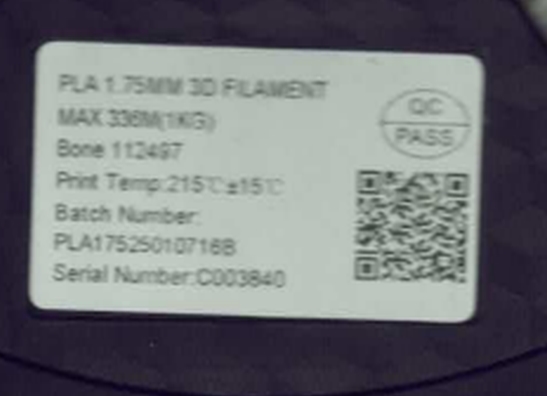
Filaments are NOT all the same
I don’t mean the differences between PVA, PETG, ABS, TPU etc.
I’ve tried filaments from different manufacturers expecting all of them to have the same properties but they don’t. Despite what the labelling on the spool tells you, you may have to use your own judgement at times. For example, I recently printed some small handles for a project using PLA. They looked OK but I thought maybe they would look better in a different colour. I changed the filament for a nice Blue colour and the spool label said to use a temperature between 180 and 210 degrees Celsius. I didn’t change the material temperature as I already had it set for 200 degrees but what a mistake. The Blue PVA filament looked like it was being poured from a jug and was running all over the print bed! After three attempts at changing the nozzle temperature settings I finally had my prints.
If you find a filament brand that you are happy with, my advice would be to stay with that brand. My own experience has shown that different coloured filaments have different printing temperatures and, sometimes, it’s a case of ‘try it and see’
Different Types of Filament need Different Settings
Once you are used to printing with PLA you’ll maybe want to try printing with different filaments such as PLA, PLA Plus, PETG, ABS, TPU and there are plenty to choose from. Some plain, some sparkly, some clear and all with different properties and colours. My advice is to read or watch the plethora of YouTube videos. There are hundreds of them and they all have good advice on different filament types
These are just some of basics that I’ve learned over the last few months of 3D printing so I hope it helps others too. As I said, these are just my own thoughts.