newbie need help , please look at bed mesh pic and give me advices how to fix it thks for your time.
creality ender 5 max .
newbie need help , please look at bed mesh pic and give me advices how to fix it thks for your time.
creality ender 5 max .
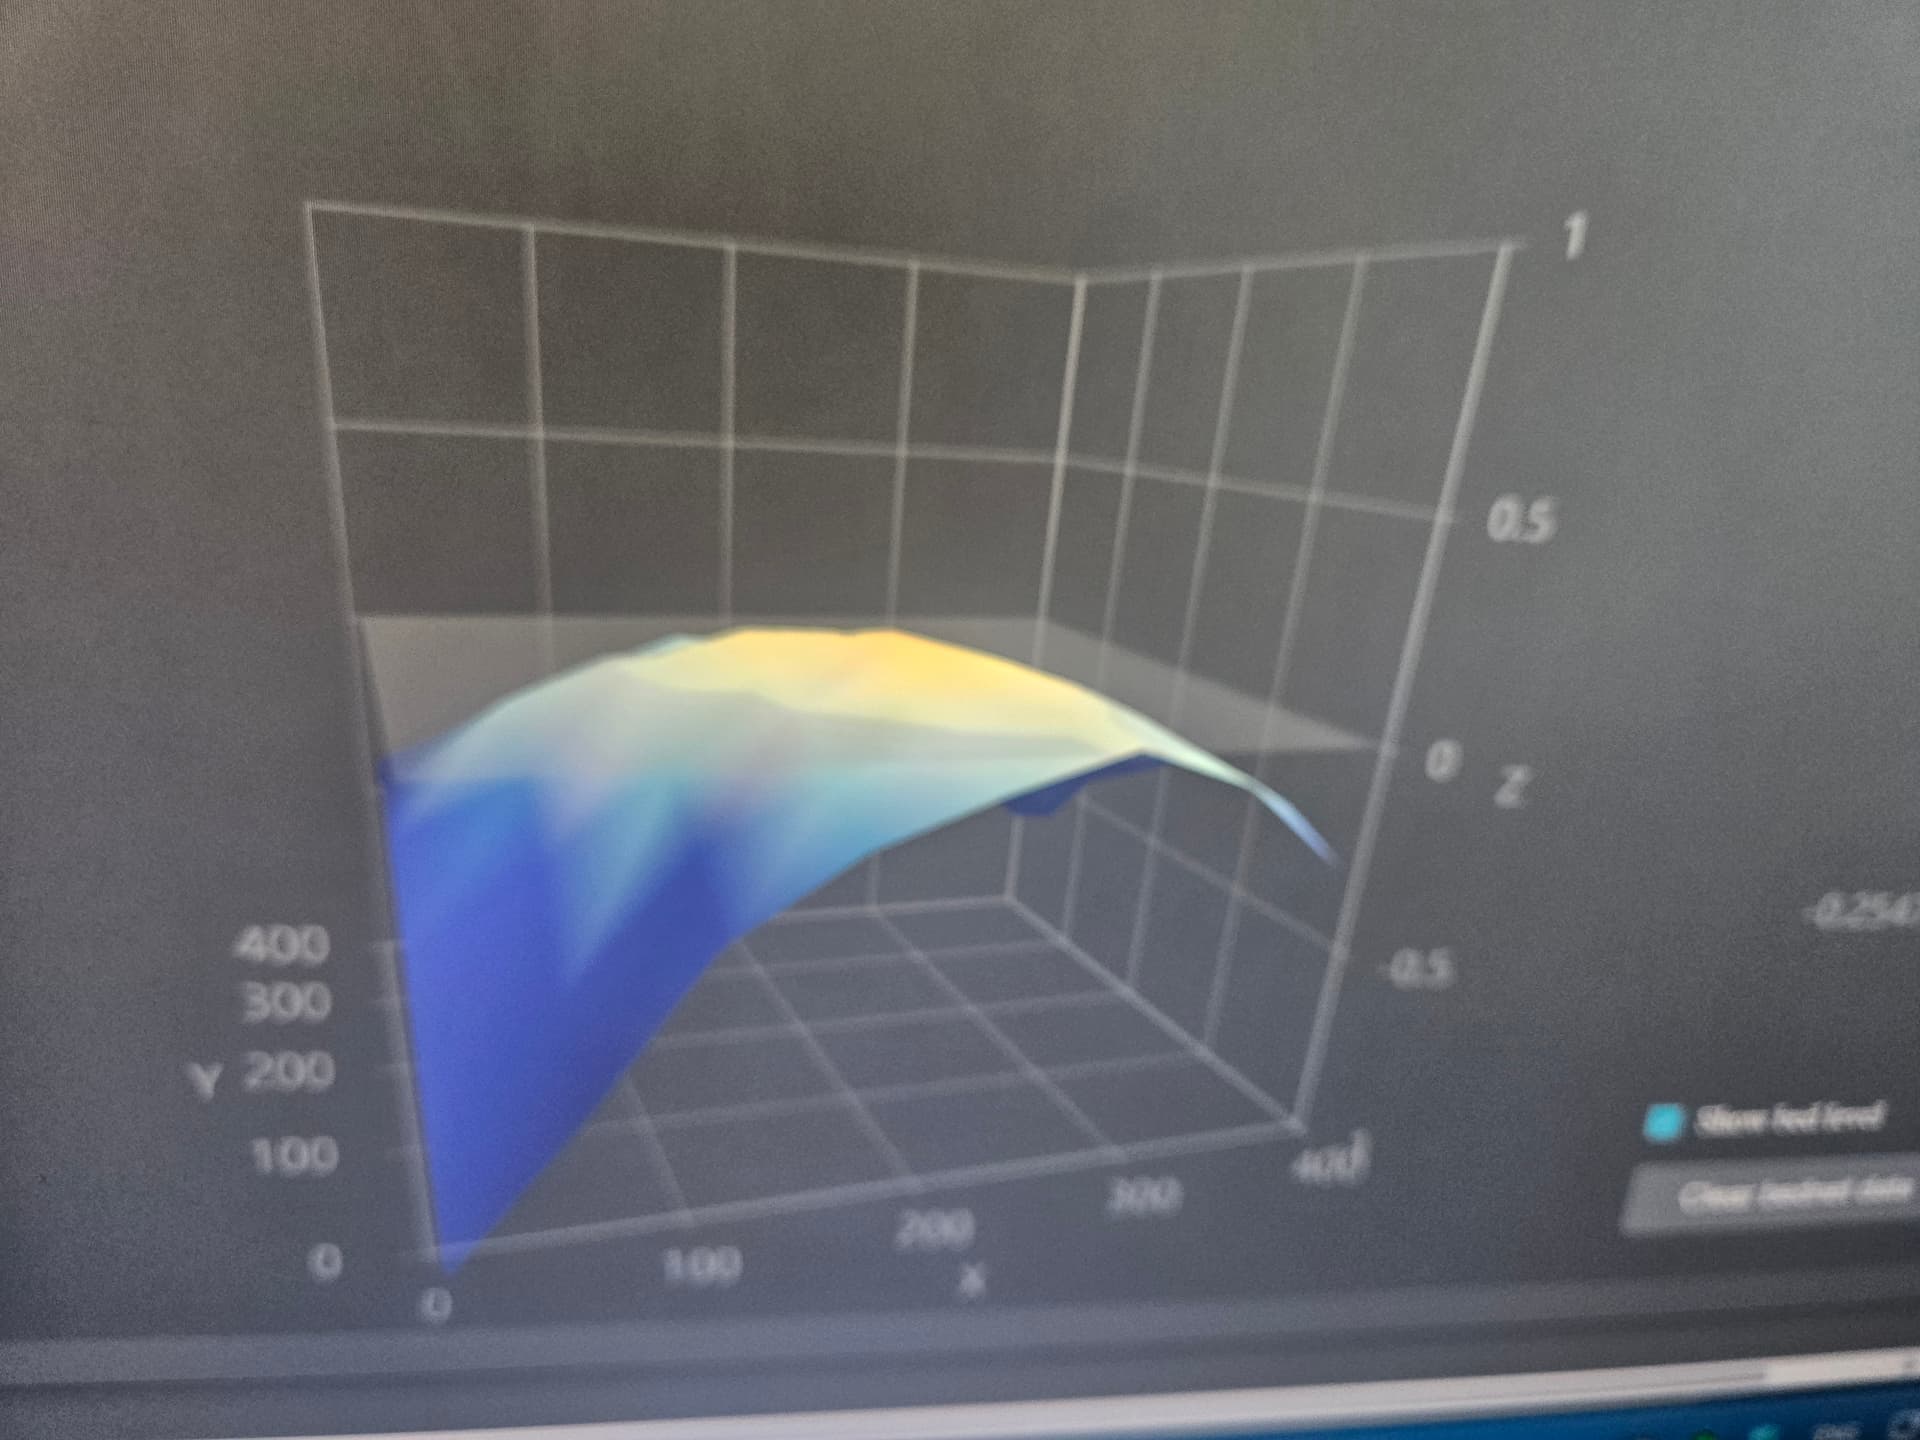
To put your mind at ease, that is not broken. That screen is only there for informational purposes. Think of that as a very exaggerated topographic map of what the probe saw when it performed the bed leveling test.
This mesh shows a real but not unusual mechanical deviation, not a software or firmware problem.
The bed has roughly ~0.5 mm peak-to-valley variation, with one corner significantly lower than the rest. That’s well beyond noise, but that’s the whole purpose of bed leveling. The printer probes the surface, creates a map of vertical deviations and then the firmware compensates for those deviations during nozzle movement.
This is not caused by slicer behavior or the printer firmware. It’s the physical reality of the bed, carrier, gantry, or magnetic plate stack-up. FYI: No printer is perfectly flat. Many consumer printers ship in this range and print fine as long as first-layer settings are reasonable.
Unless you’re experiencing bed adhesion issues, there is nothing to be concerned about.
Having said that, you can run a first layer test which will show real world performance and determine if there is a first layer issue. Even so, usually first layer issues are caused by dirty build plates or improper filament temperature calibration.
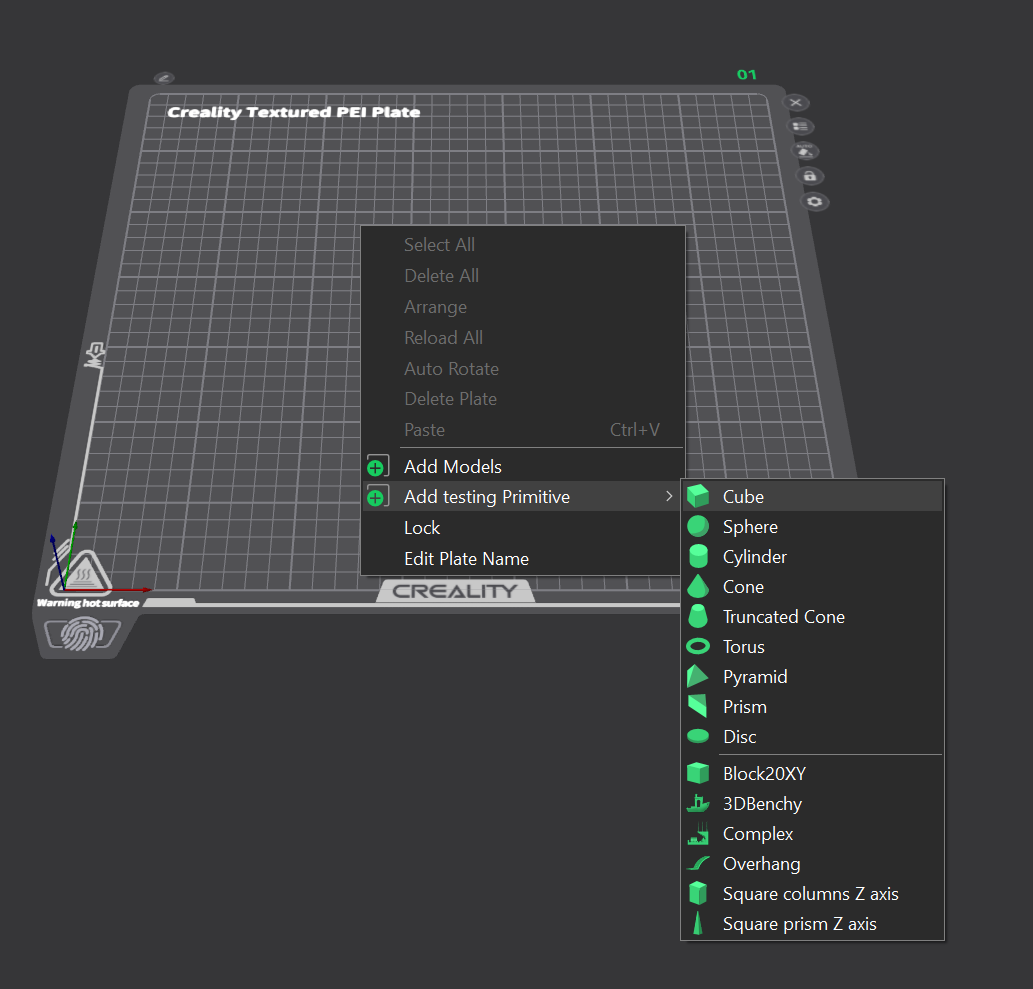
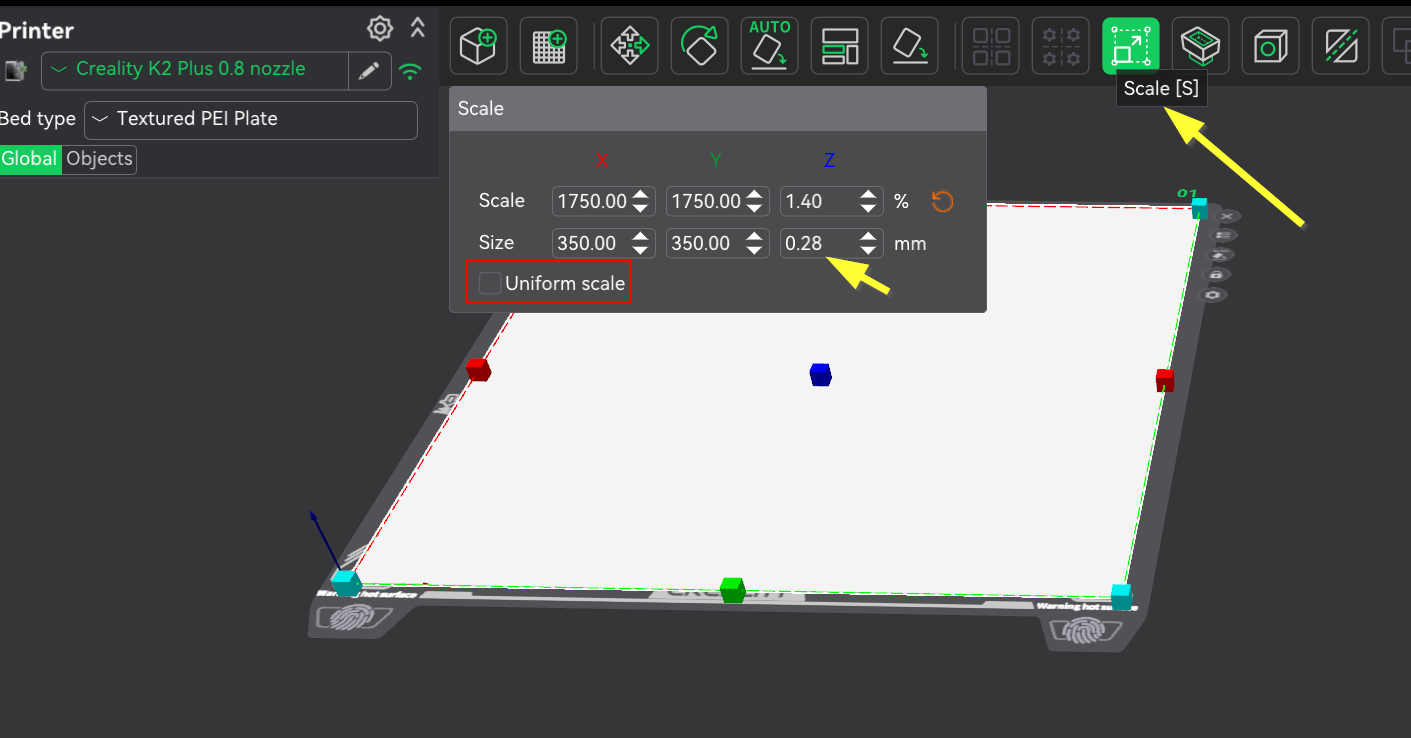
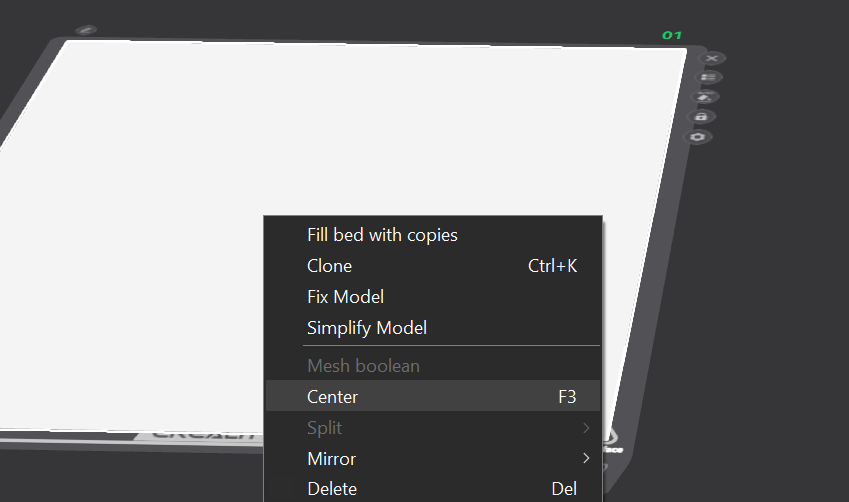
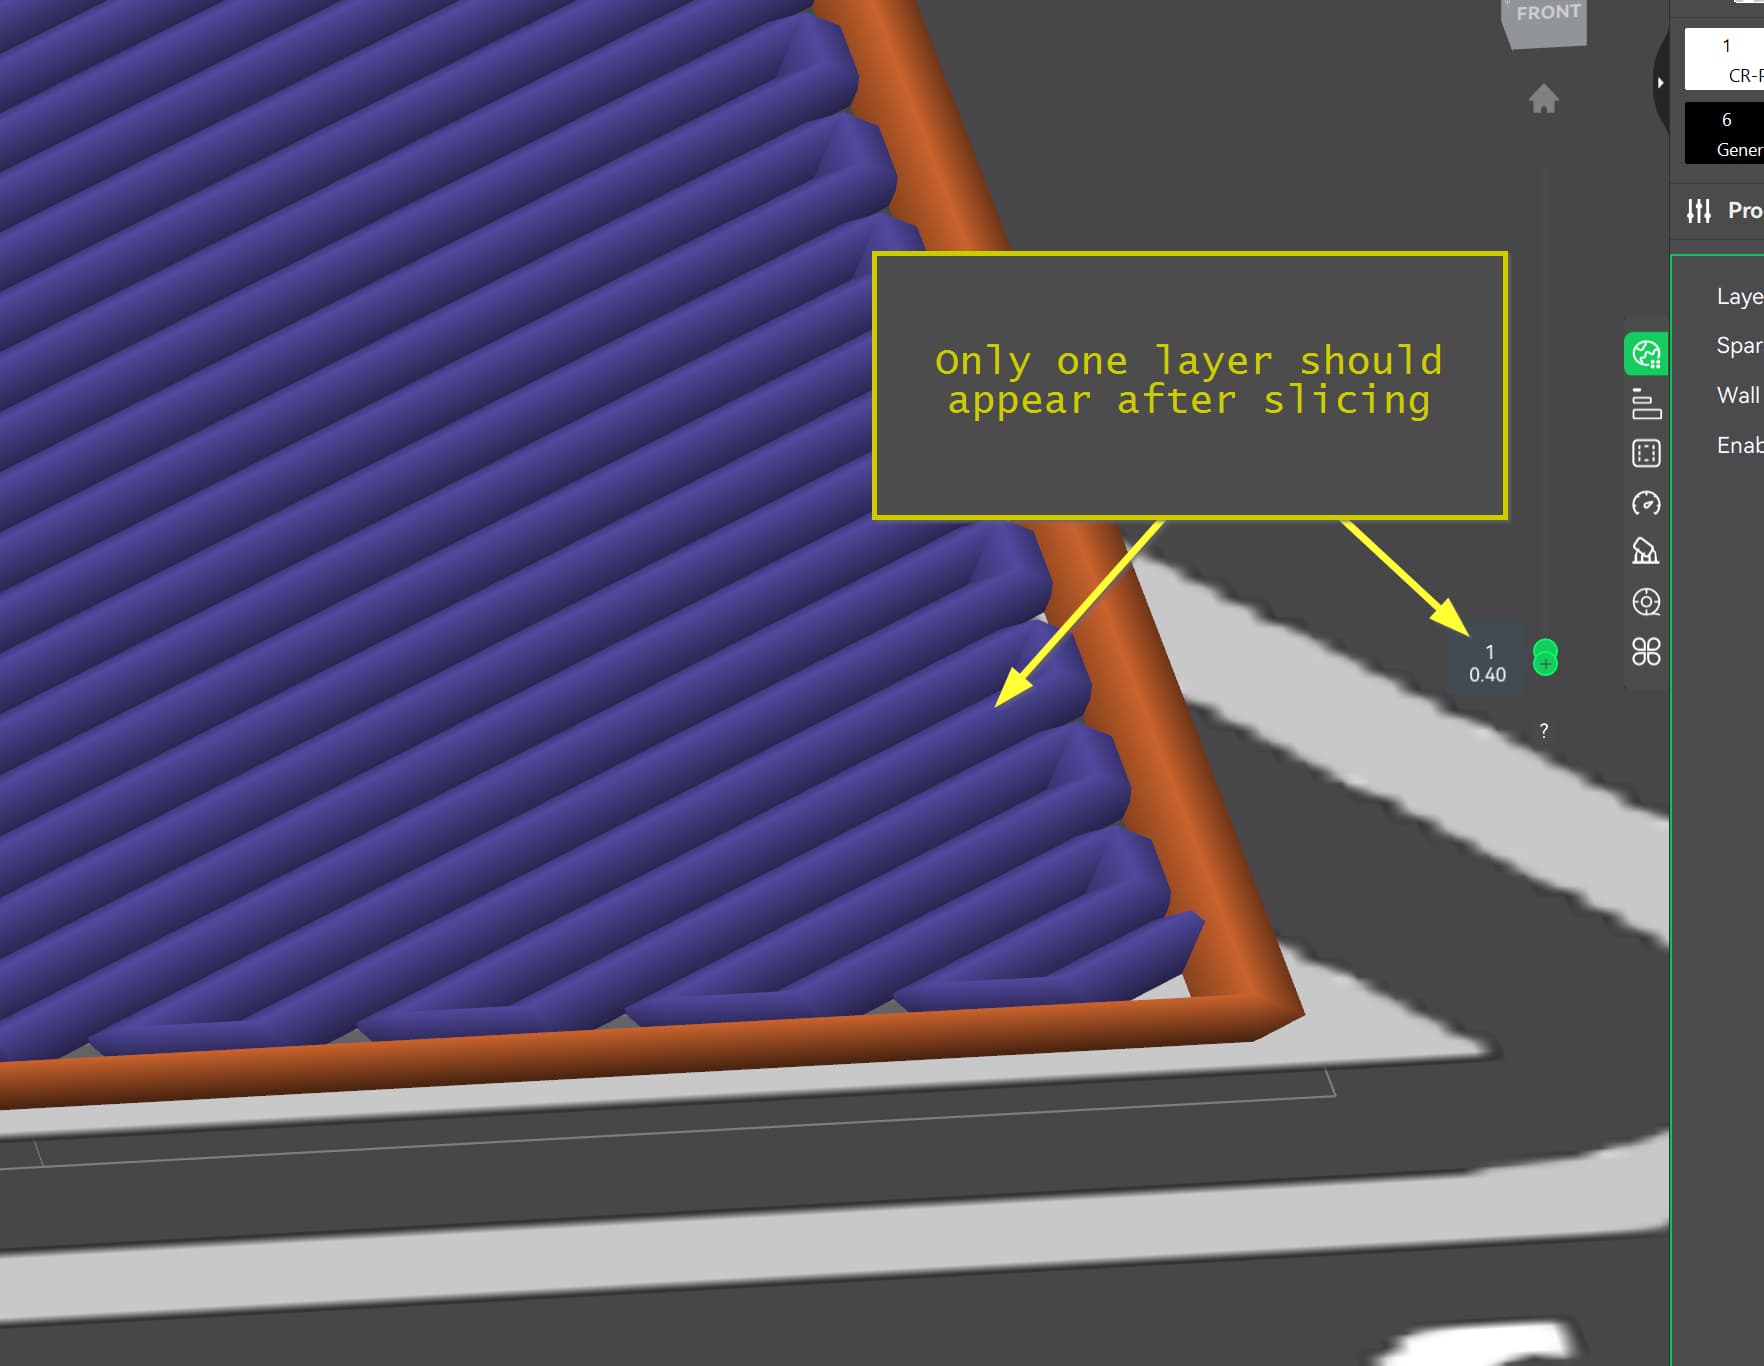
Here’s a simple first layer test that doesn’t require downloading any fancy models. This is done all inside the slicer:
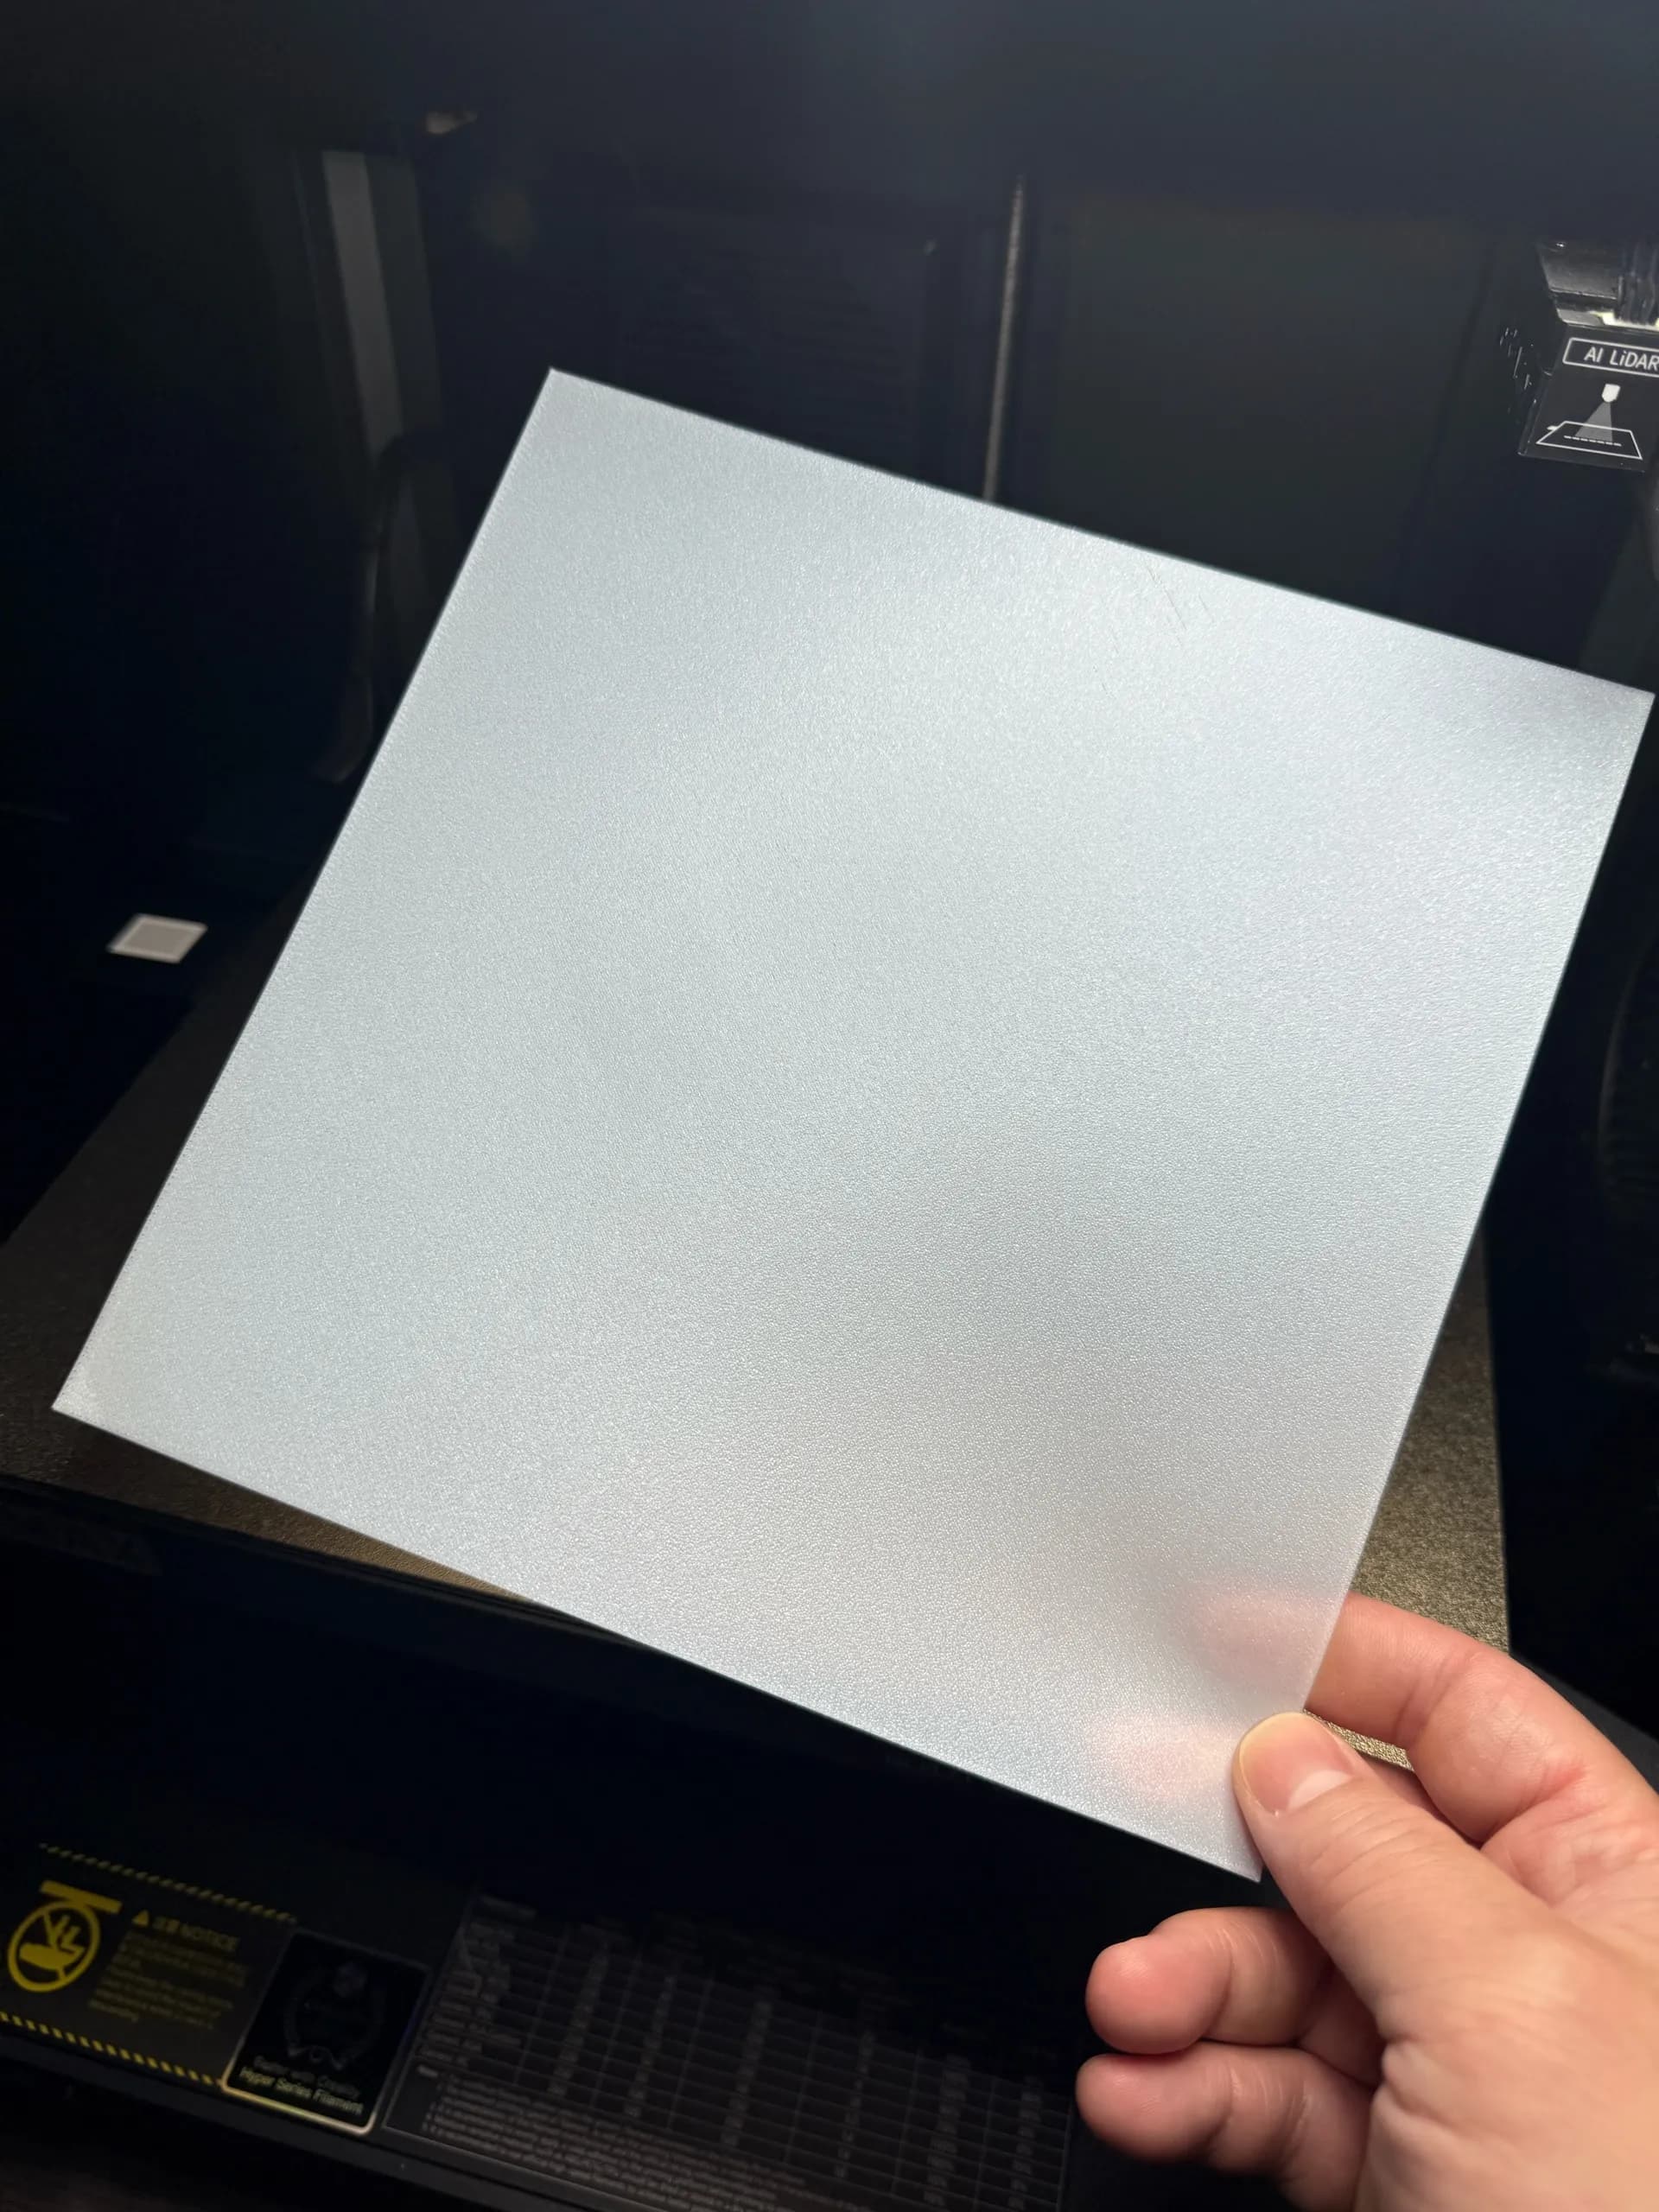
Here’s what and ideal clean first layer should look like:
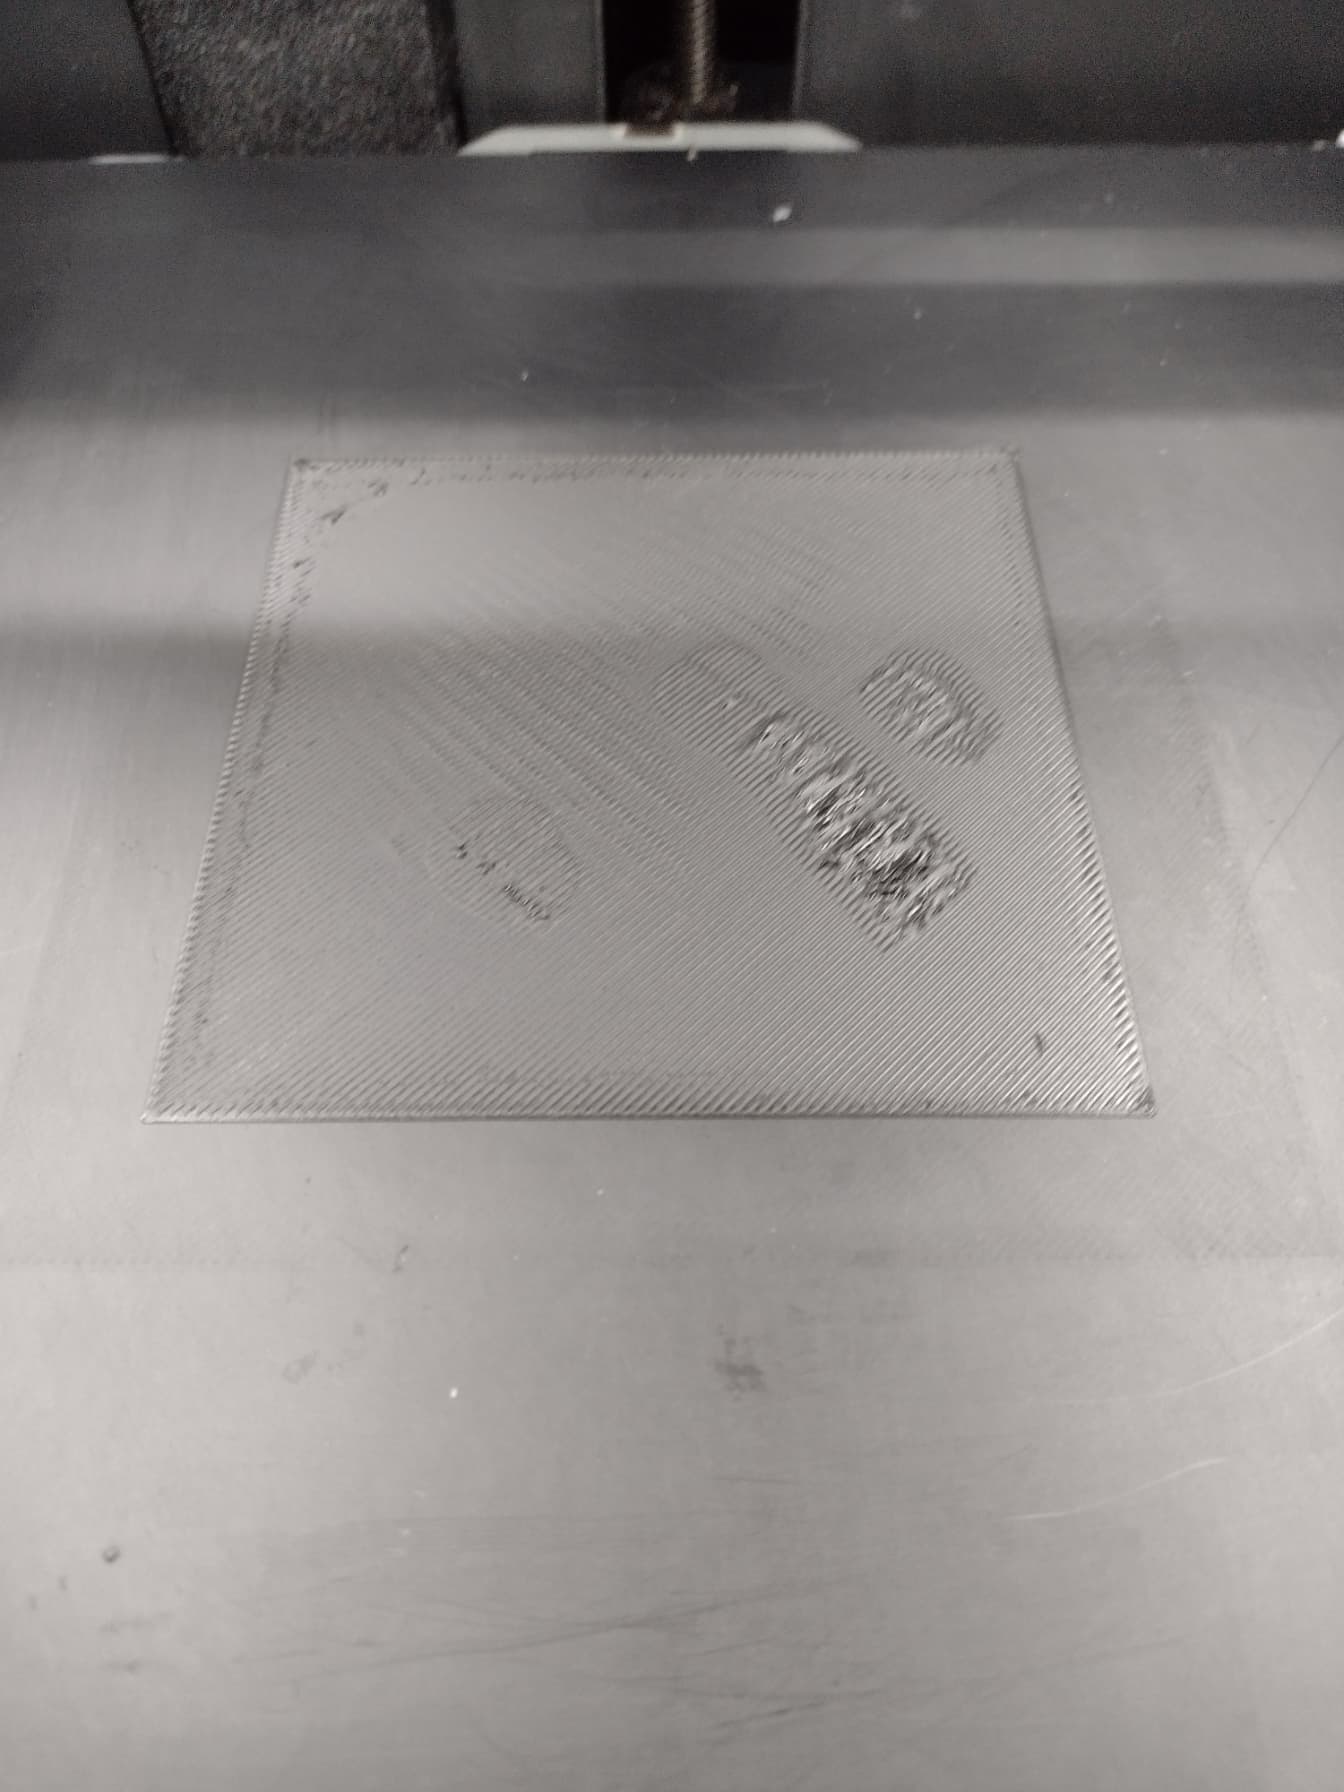
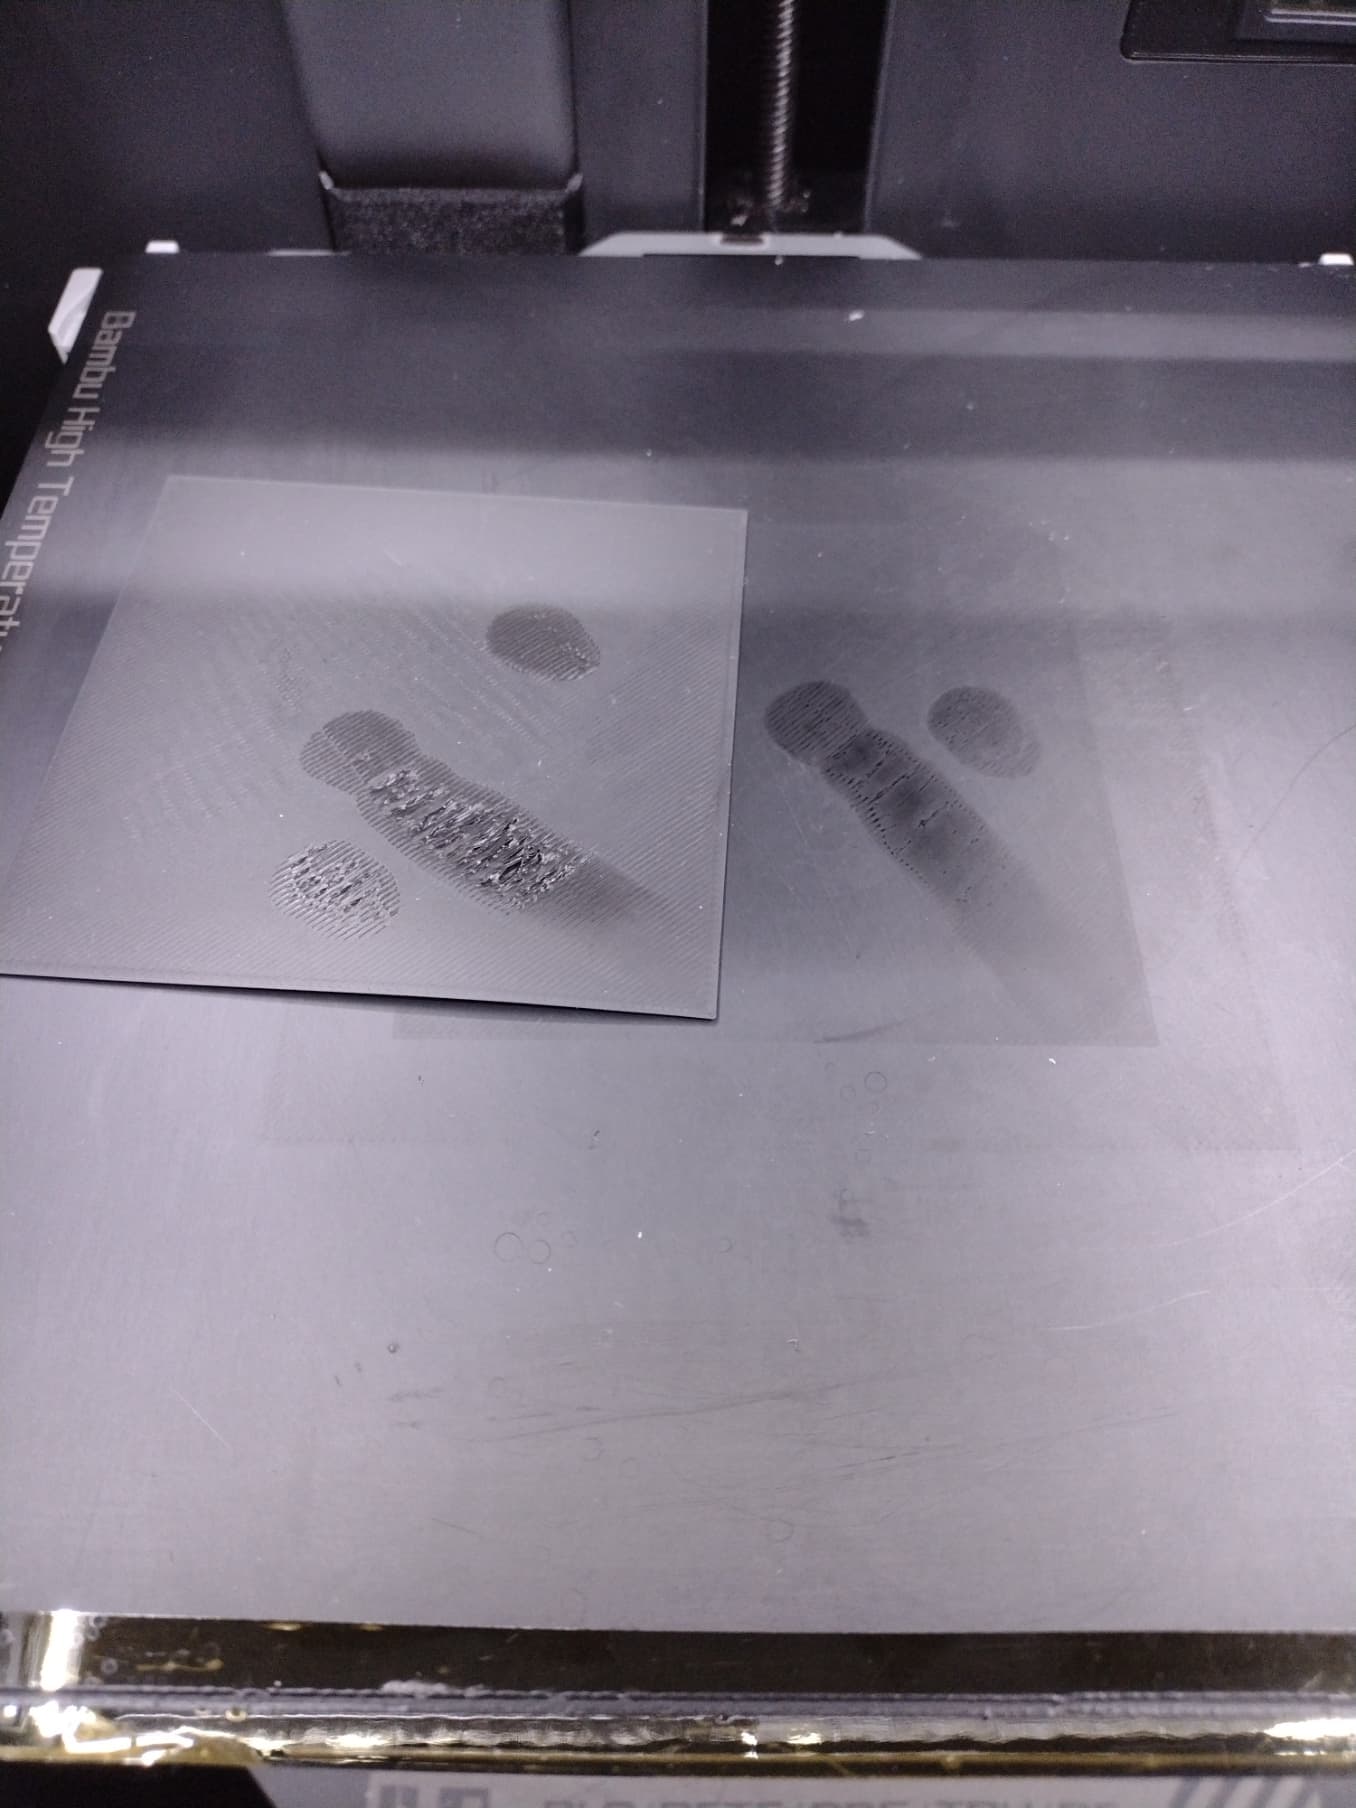
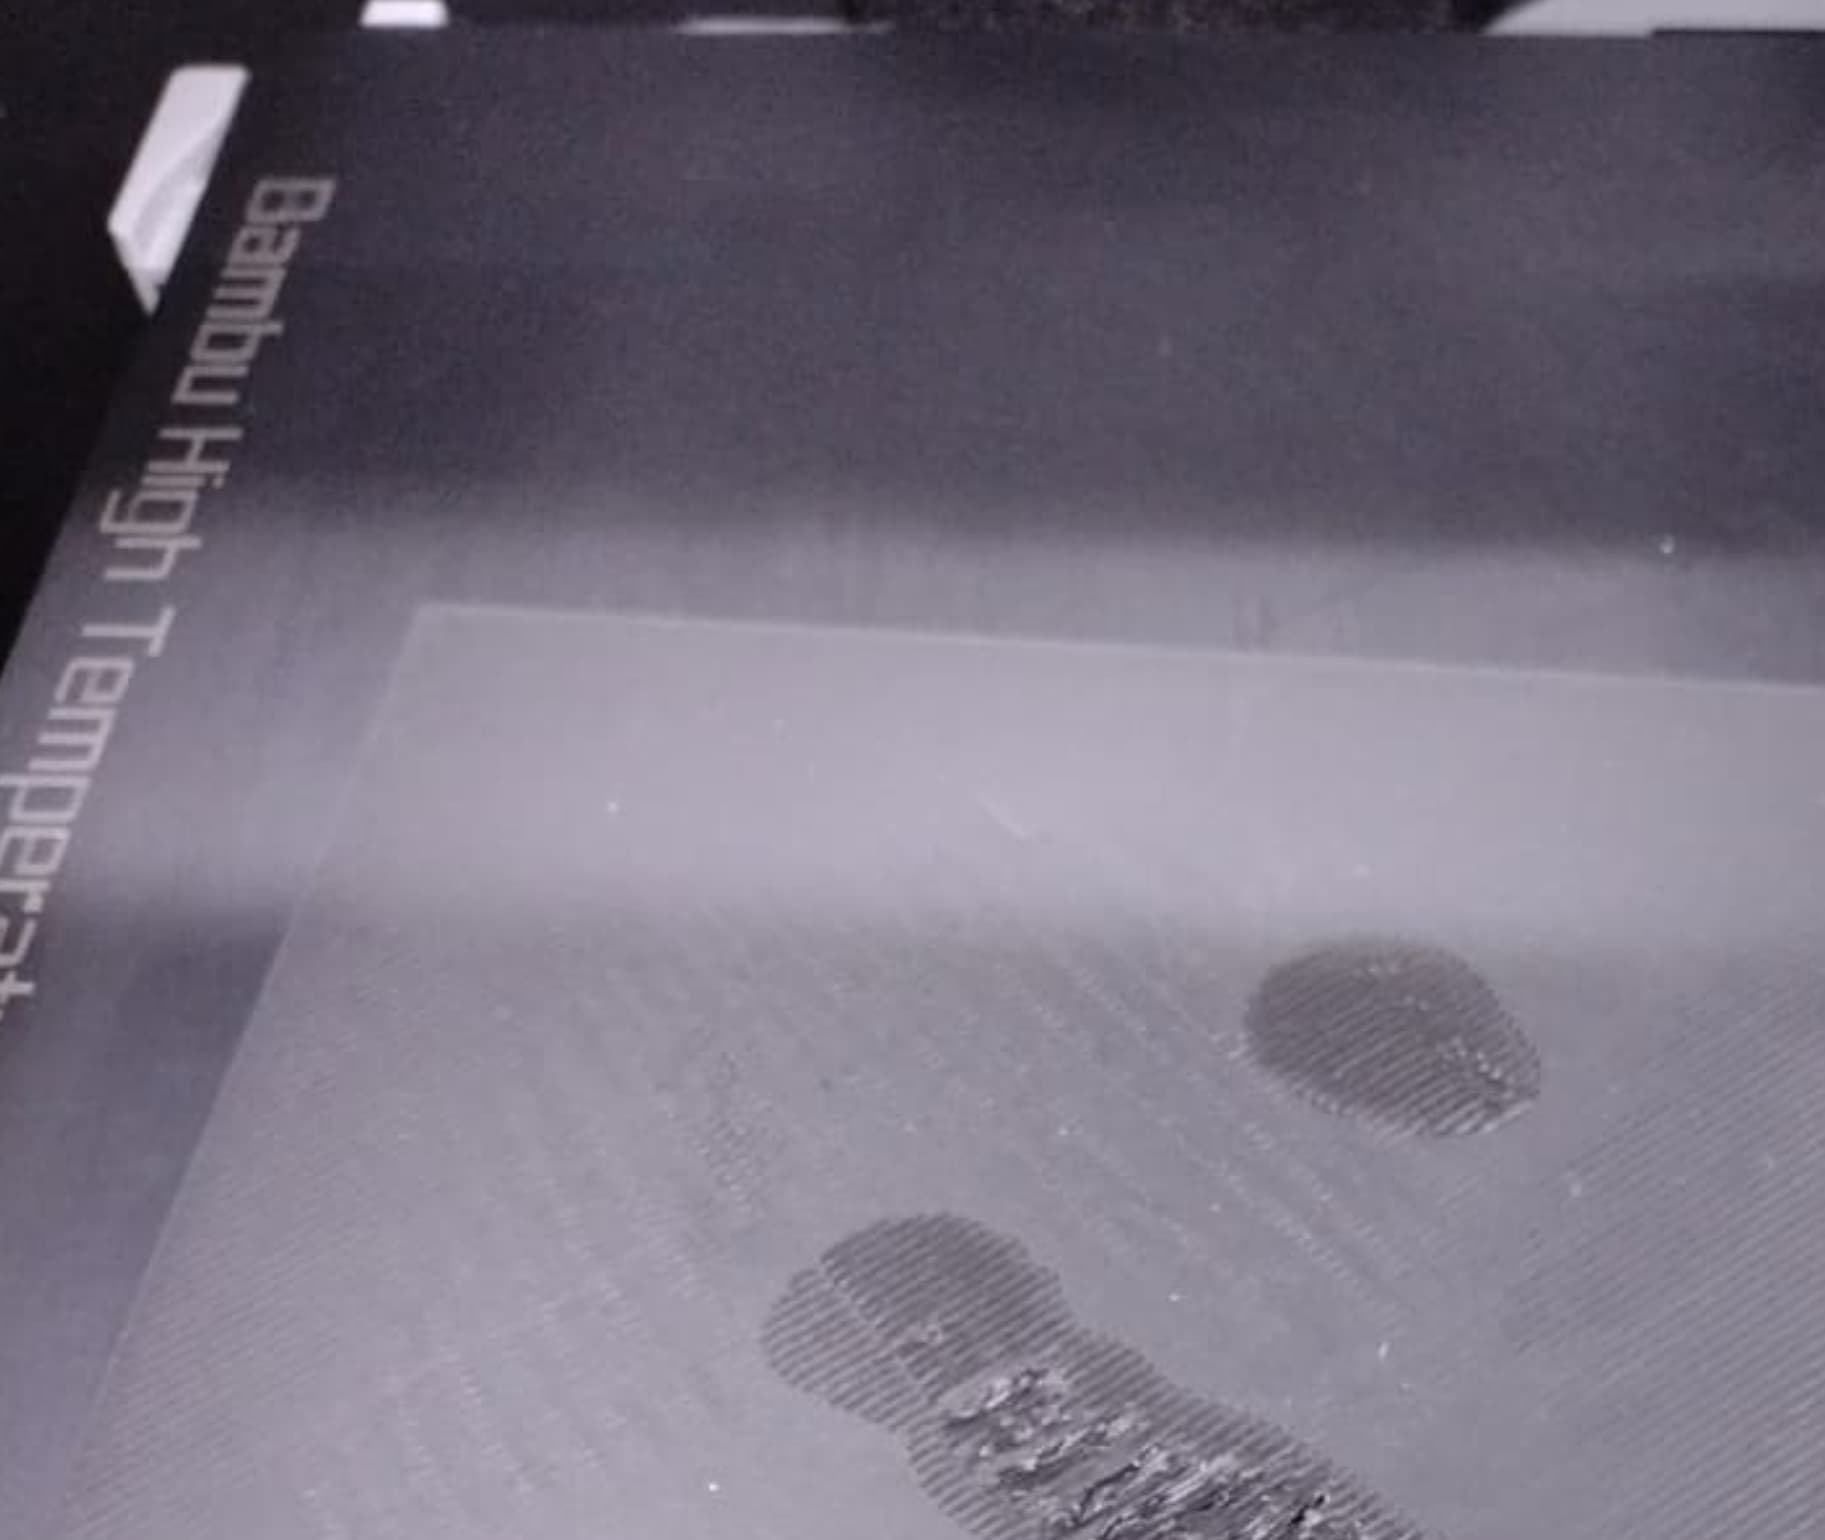
And here is one I deliberately smudged the plate with my fingerprints to illustrate what an unclean plate looks like. The first layer test is a great test because it is very unforgiving. It will reveal issues with build-plate hygiene, filament calibration and last but not least, bed leveling.
Thank you so much for posting this. I can not count how many prints I recked before I learned the importance of a clean build plate. It is not just finger oil ether. Lots of filaments have a lubricant coating that deposits on the build plate. Now I clean the build plate every time. Just a quick Iso-alch rub (if your build plate allows alcohol cleaning) before every print has noticeably increased reliability.
@JoeFriday That is an absolutely gorgeous first layer. What kind of build plate are you using? I don’t recognize it from the photo.