A couple of things come to mind, but before getting into those, can you post a screenshot of the sliced model as it is laid out on the build plate? That will allow further analysis of where the defect occurred relative to its position inside the chamber.
Second, can you post a photo of the underside of the model? That will help identify whether any first-layer adhesion issues are contributing to the problem.
That said, without those details, here are my recommendations in order:
-
Make sure the build plate is washed with very hot water and dishwashing soap. No need to scrub aggressively - a nylon sponge is sufficient. The goal is to remove grease and any invisible contaminants and eliminate build plate hygiene as a potential first-layer failure.
-
After cleaning the plate, perform a full bed leveling cycle to rule out incorrect bed leveling. Also check for debris under the plate. While this is unlikely based on your photos, it is still something you want to eliminate as a variable.
-
Diagnostic step: After bed leveling, run a first-layer test. This is typically a cube primitive scaled to nearly the full build surface and less than 0.5 mm in height. First-layer tests are very unforgiving - issues such as filament moisture, leveling errors, or plate contamination will show up immediately. If you are not familiar with this test, I posted a quick tutorial in this post to address a community member’s concerns regarding bed leveling:
- Chamber temperatures: While it is often recommended to lift the top cover when printing PLA, I have never needed to do this when the filament is properly dried. While there is no harm in trying it, for the K2 specifically, this advice is largely outdated due to its active cooling. In practice, chamber temperatures would need to exceed and sustain roughly 35 C before PLA behavior is meaningfully affected, and with your model’s simple geometry and quick print, chamber heat is very unlikely to be a contributing factor. More complex, tall, or delicate structures that take much more filament and time (for example, Eiffel Tower-style models or castle spires) are far more susceptible.
Final tip and recommendation regarding scrapers
I understand the urge to print accessories for our printers - we have all done it and the bed scraper is often the second most popular print after a Benchy after we unwrapped our printer. However, in my experience, printed bed scrapers, whether fully plastic or those that accept metal blades (including the Bambu version), do not compare well to purpose-built tools in either price or performance. But judge for yourself.
Three years ago I switched to plastic razor blade scrapers. There are hundreds of sellers, and the cost works out to roughly $0.05-$0.10 per blade. They only sell them in boxes of 20-100 so if you spend more than $10, you should be double checking your cart for a mistake. For cleaning build plates, they outperform every printed scraper I have tried, including designs that use metal blades. The blades are made from a slippery nylon-like material that holds an edge without scratching the build surface, and when they dull, you simply discard them.
Here’s an Amazon link, although they also sell in local big box stores, hardware store, auto supply and Ali Express. Buy on price, not brand name. The picture below shows three examples, but outside of color, these are all mechanically identical and likely made in the same factory in China.
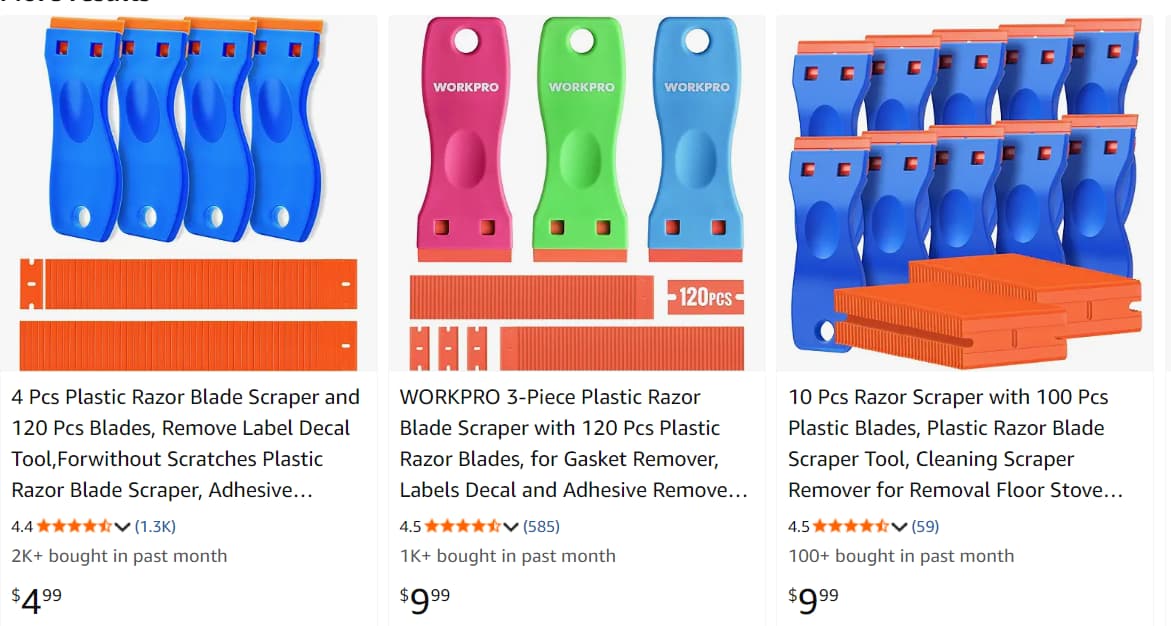
https://www.amazon.com/s?k=plastic+razor+scraper
BTW: You can download printable versions of double edge razor blades that fit these holders and print them in nylon. Although they are a little bit sharper and stronger, I can tell you they aren’t cheaper unless your paying less than $20/spool for PA6 Nylon. I printed them as an experiment just to see if I could.