I’m printing out an LED light bar and heading up to my train room to grab a spool of LEDs… 12vdc …either Cool or Warm White.

Is there a 12vdc output on the power supply?
I’m printing out an LED light bar and heading up to my train room to grab a spool of LEDs… 12vdc …either Cool or Warm White.
Is there a 12vdc output on the power supply?
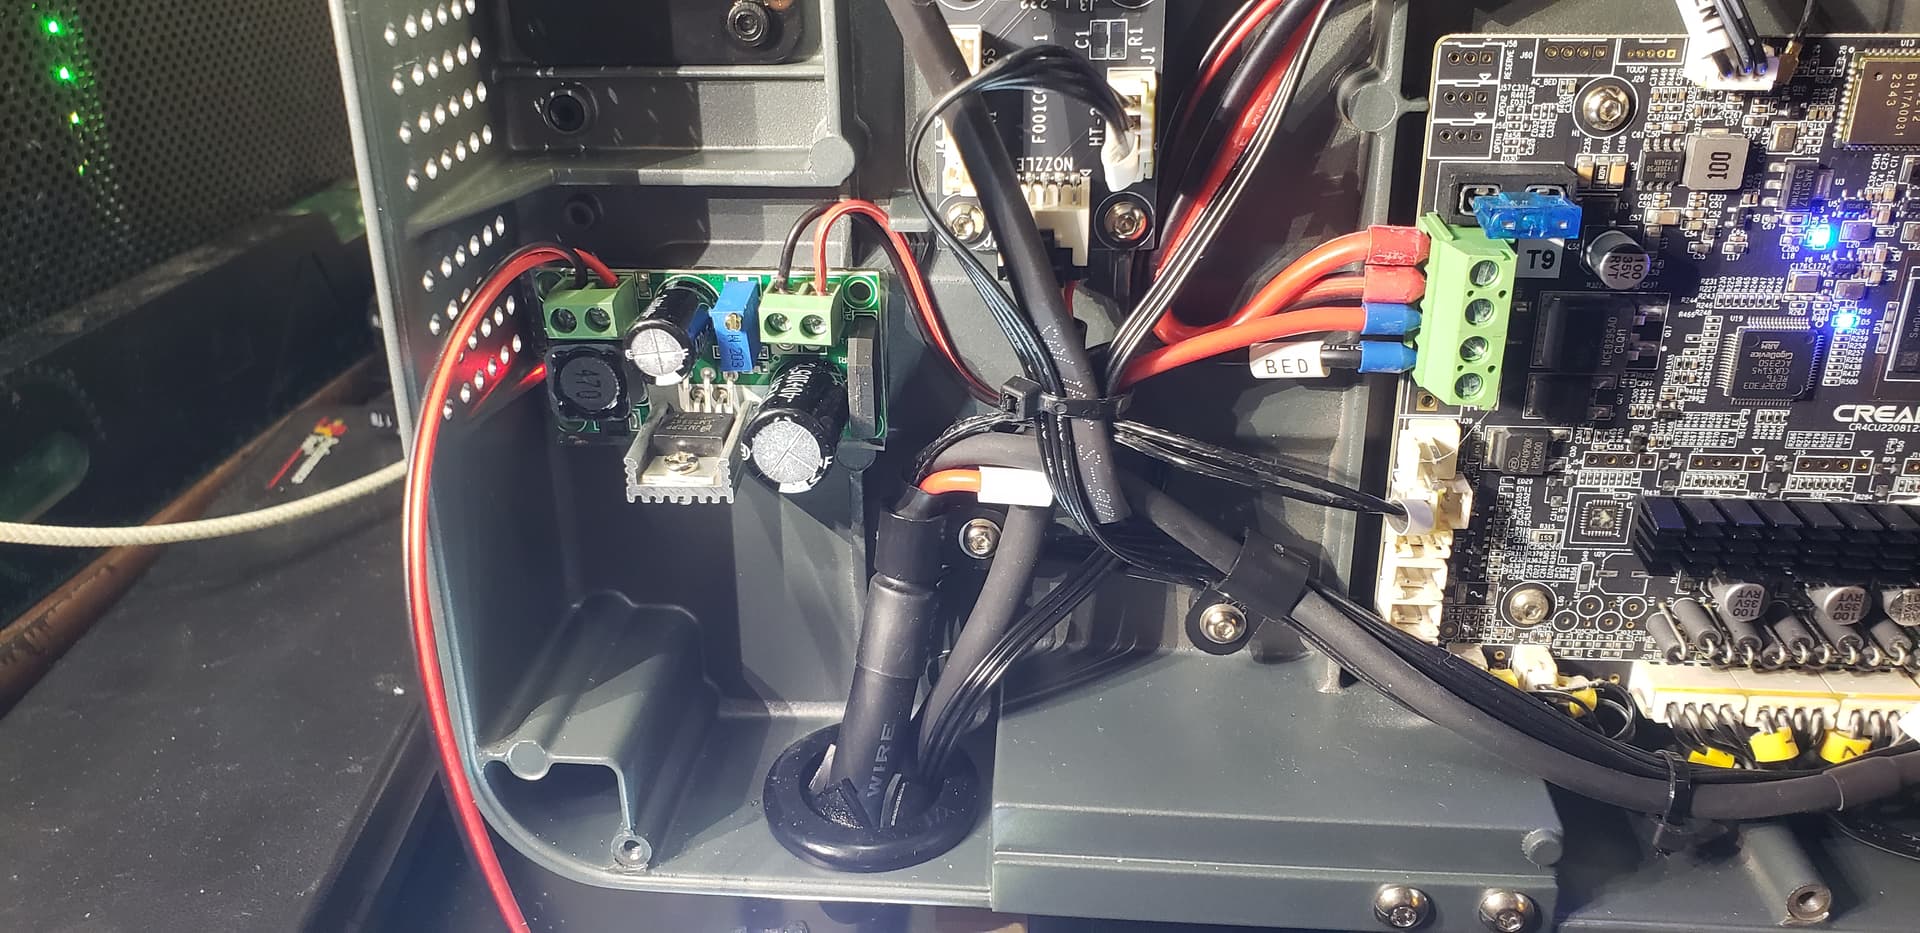
OK… There are no 12vdc outputs …so, I grabbed a DC Regulator from my train parts bin as there is ample room in the base of the Ender XZ for the regulator. The nice thing about using the regulator is that I will be able to adjust the intensity of the light to my liking. I’ll take a few photos as do the install and put them up here.
To the Left is the newly installed Voltage Regulator… very smooth, clean & protected power. It is held in place with a super sticky double sided tape that does not dry out. I’ve used this tape inside of Lionel Locomotives for 30 years… it HOLDS! And, it is easily removable.
As you can see, I still need to clean up the wiring a bit. This is a Cool White 3K lumens LED strip receiving 10.67vdc from the Regulator. The LED strip is connected with a JST 2-pin 2.54mm connector so one can select from a wide variety of LED strips and with varying voltages from 3vdc - 48vdc (yes, the Regulator can put out 48vdc). Select your Color and Lumens and you are good to go.
Total cost… about $5.00.
Regulator - $3.00
Wire & Connectors - $0.50
PETG - $0.50
LEDs - $0.50
Nice job…! Looks good.
So that’s what the insides looks like… ![]() I’m afraid to take mine apart… I might mess something up…
I’m afraid to take mine apart… I might mess something up…
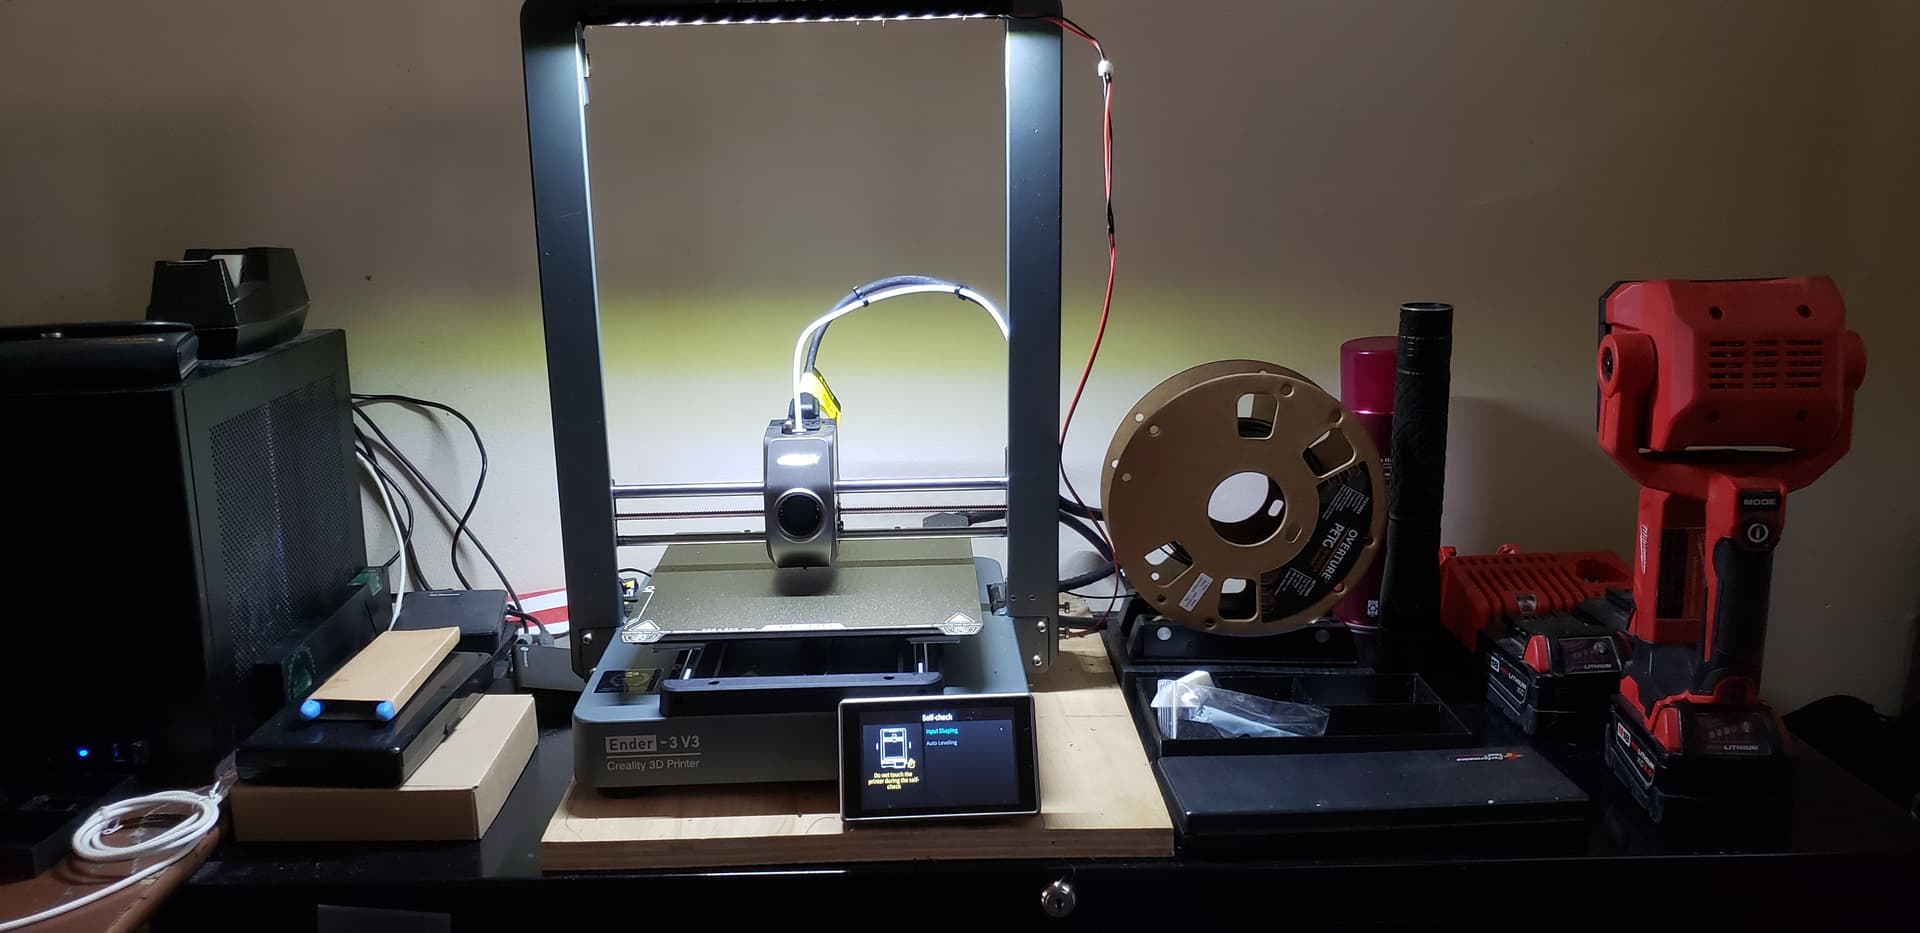
How do you like the Ender-3 V3 so far…?
Coming from the Ender-3 Pro… It’s pretty AWESOME!!! I only print with PETG & TPU. A 15 hour PETG print now takes 3 hours. Dialing it in has been a dream… I left all the speed & temp settings stock Creality PETG (I use Overture), Changed the Z from 0.1 to 0.13, Retraction from 0.5 to 2.0 and Cooling from 100% to 20% and BANG! Clean PETG Benchys & 48 outdoor fence Arrow Finials - 8.5" tall, 50% infill, set at .15 layer height… those were the 15 hour prints on the Old Ender.