About baud rate I usually compile 2 versions, one with 128000 and the other with 115200 for those using Octo4A.
About print quality the plugin+firmware has an identified issue creating zits or over extrusion specially on curves, normal squared geometry is not so visible. Work is in progress to minimize the issue. No real ETA yet(I hope 2 weeks).
About octolapse when I started to using it I needed to calibrate the retractions on the Octolapse configuration page to avoid branches to be created on my prints but that was a one time configuration and never touched again. So check that you configured properly the Octolapse retractions.
Regarding M73 you can disable the 09000 commands and let the other plugin to send the M73 information so no overlapping will occur.
And finally I don’t have an idea of why the plugin disappeared from the GUI never happened to me and no idea of what could be the issue. Maybe if you share the Octoprint log after a reboot we can see if something is broken with the python code or the Jinja template. And also would be great if you can check the Developer tools console from the browser to see if is something related to JavaScript or missing a library.
With the Octoprint plugin v.0.1.9 does it need the firmware file to work alongside ???
I got the Octo plugin done but not the firmware as of yet (do it later today) and now the display does not update the layer number, time remaining or percentage graph.
Yes, starting from this firmware version older plugins will be no longer compatible.
This is because the firmware had a major refactoring to improve the LCD write cycles to avoid impacting the print quality and a new custom GCode command 09001 was created to receive the updates. Thus, older versions of the plugin doesn’t have the new O9001 command.
New plugin installed, new firmware installed, changed over to 150000 baud rate, didnt change any settings in print job details but the display is partly going, the layer count worked up till 2 layers but the time remaining did not change until about 5 layers, the percentage bar went to 2%.
Then I went into tune menu to up the temperature a couple of degrees and the screen reset back to 0 for layers, 0 for % and the time remaining went right back to same as total print time.
Refer to this Issue comment to understand deep reasons of why now it works in a phased/staggered way. Recommend to read all the issue too.
Basically we sacrifice the so called realtime updates to have a good quality print when printing from Octoprint. And if you think about it, you don’t look at the LCD all the time so IMHO it’s not critical to have some delay.
About returning from tune or pause or stop menus that definitely is a bug because I forgot to replace the global variables tomorrow I will push a fix for that.
@Iroh3d Thank you for the explanation, indeed i see the variables are updating at different stages. I agree a better quality print is better than the screen updating live. Now I read the thread I comprehend. I thought I had done something wrong.
Thank you very much for the hard work you fellas put into this. This is a significant and huge improvement from the stock firmware from Creality and it just keeps getting better.
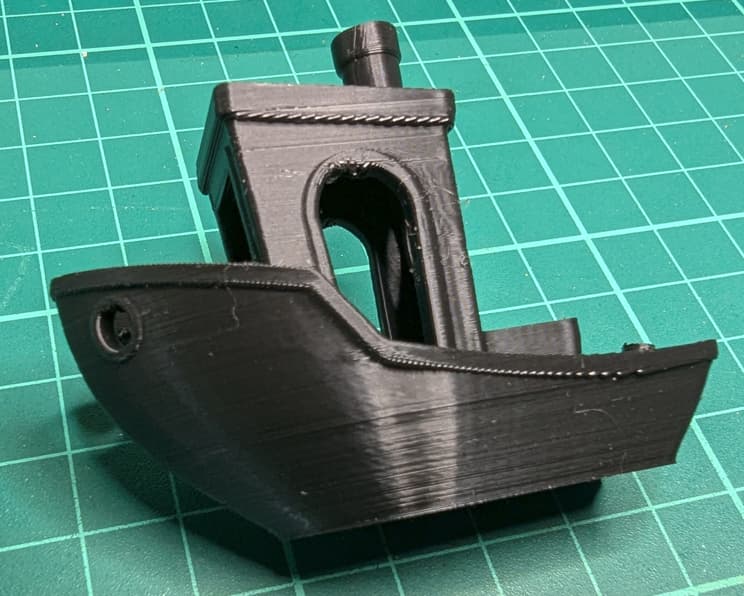
@Iroh3d Thank You! The changes you have made on the latest version have removed all issues for me. My Benchy is better quality than it has been in months!
I would really love to have the 7x7 levelling grid though, somehow feel more comfortable when the system has as much bed information as possible
New firmware installed. Bug fix confirmed and thank you for putting the 7 x 7 grid back in. It doesnt take much longer to probe the bed and by near on doubling the probe points must surely introduce an improvement in accuracy of the bed levelling.
Done a test print and woah its pretty much perfect.
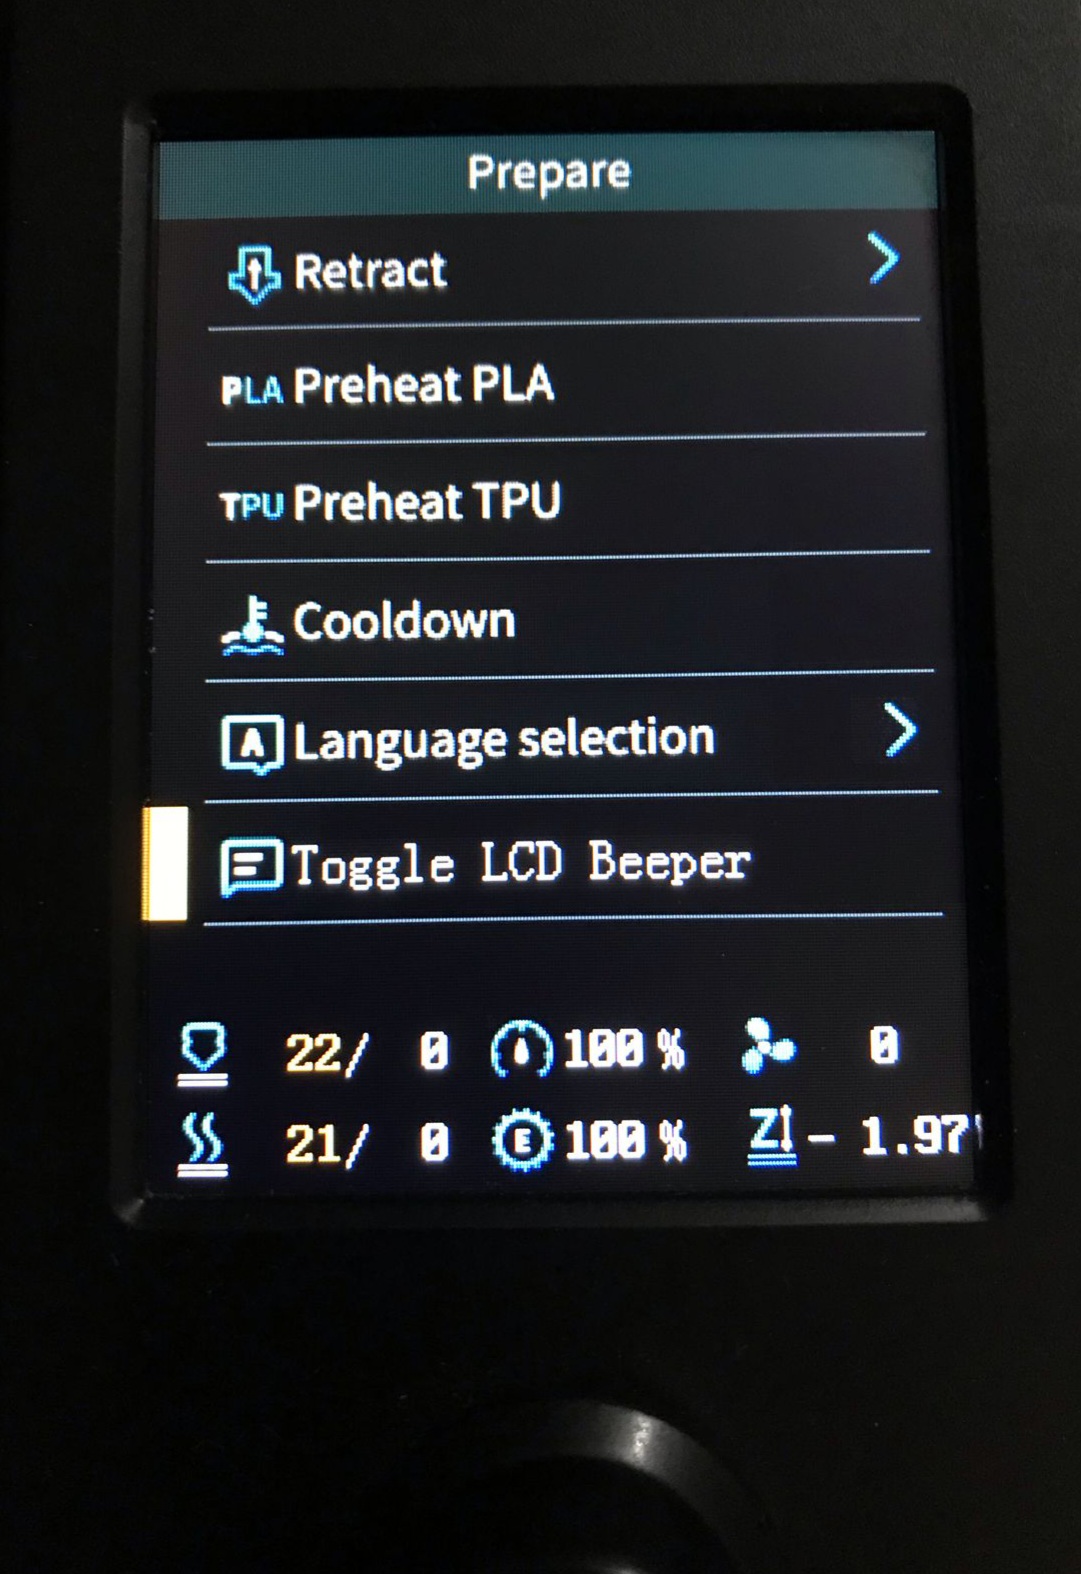
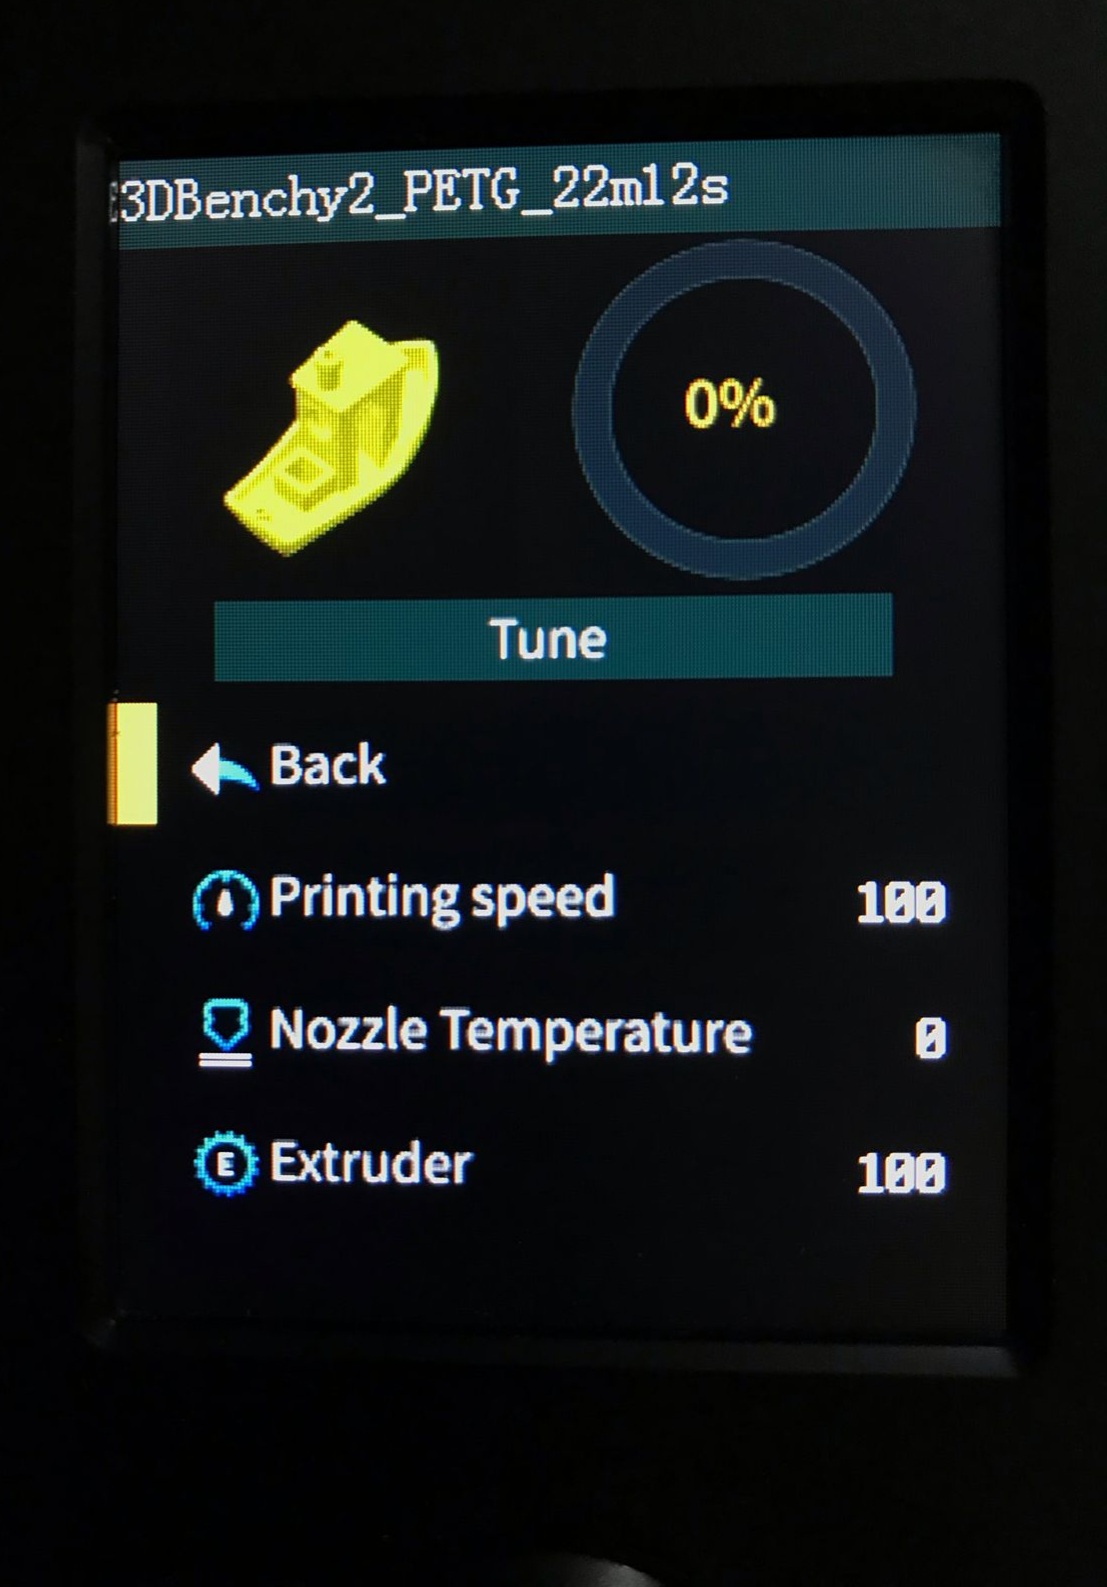
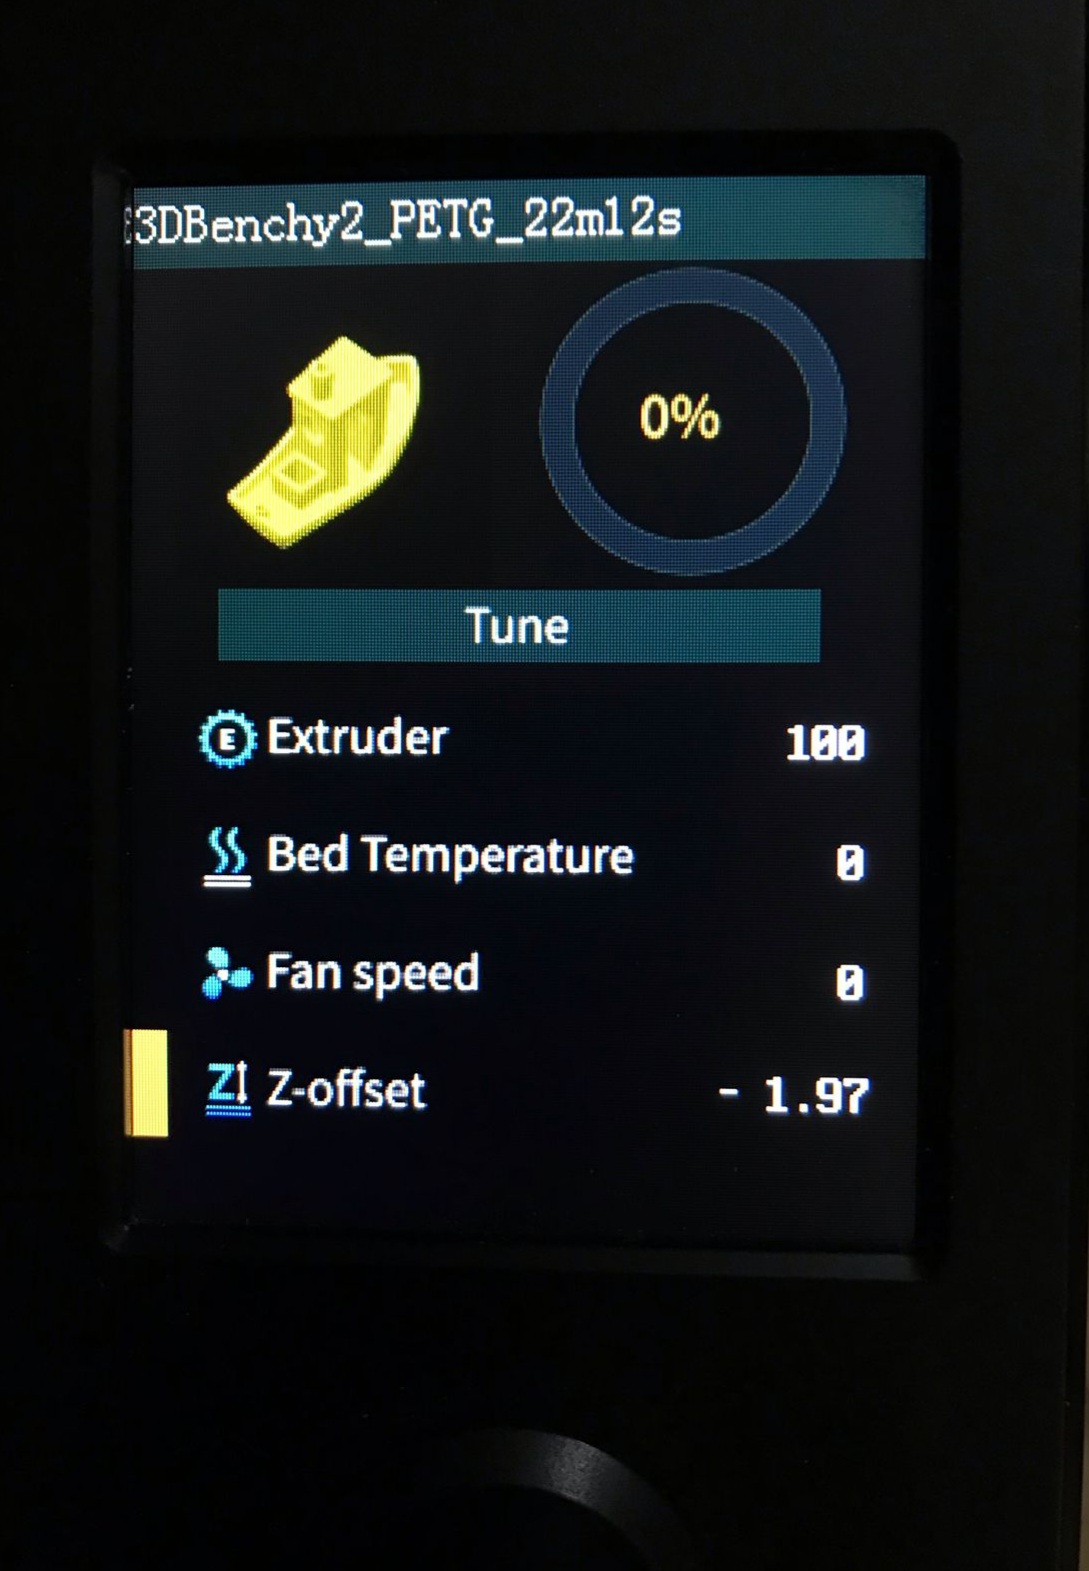
With the screen not updating live is not an issue, the part that I like the best is the ability to adjust z offset, printer temps, flow rate and speed via the display. Having that on their is a quick way to make minor tweaks if and when needed.
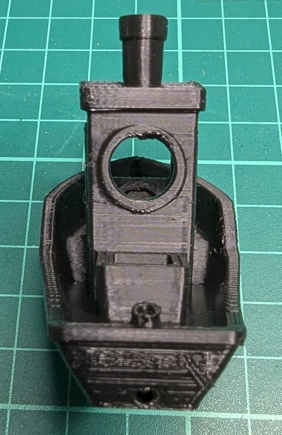
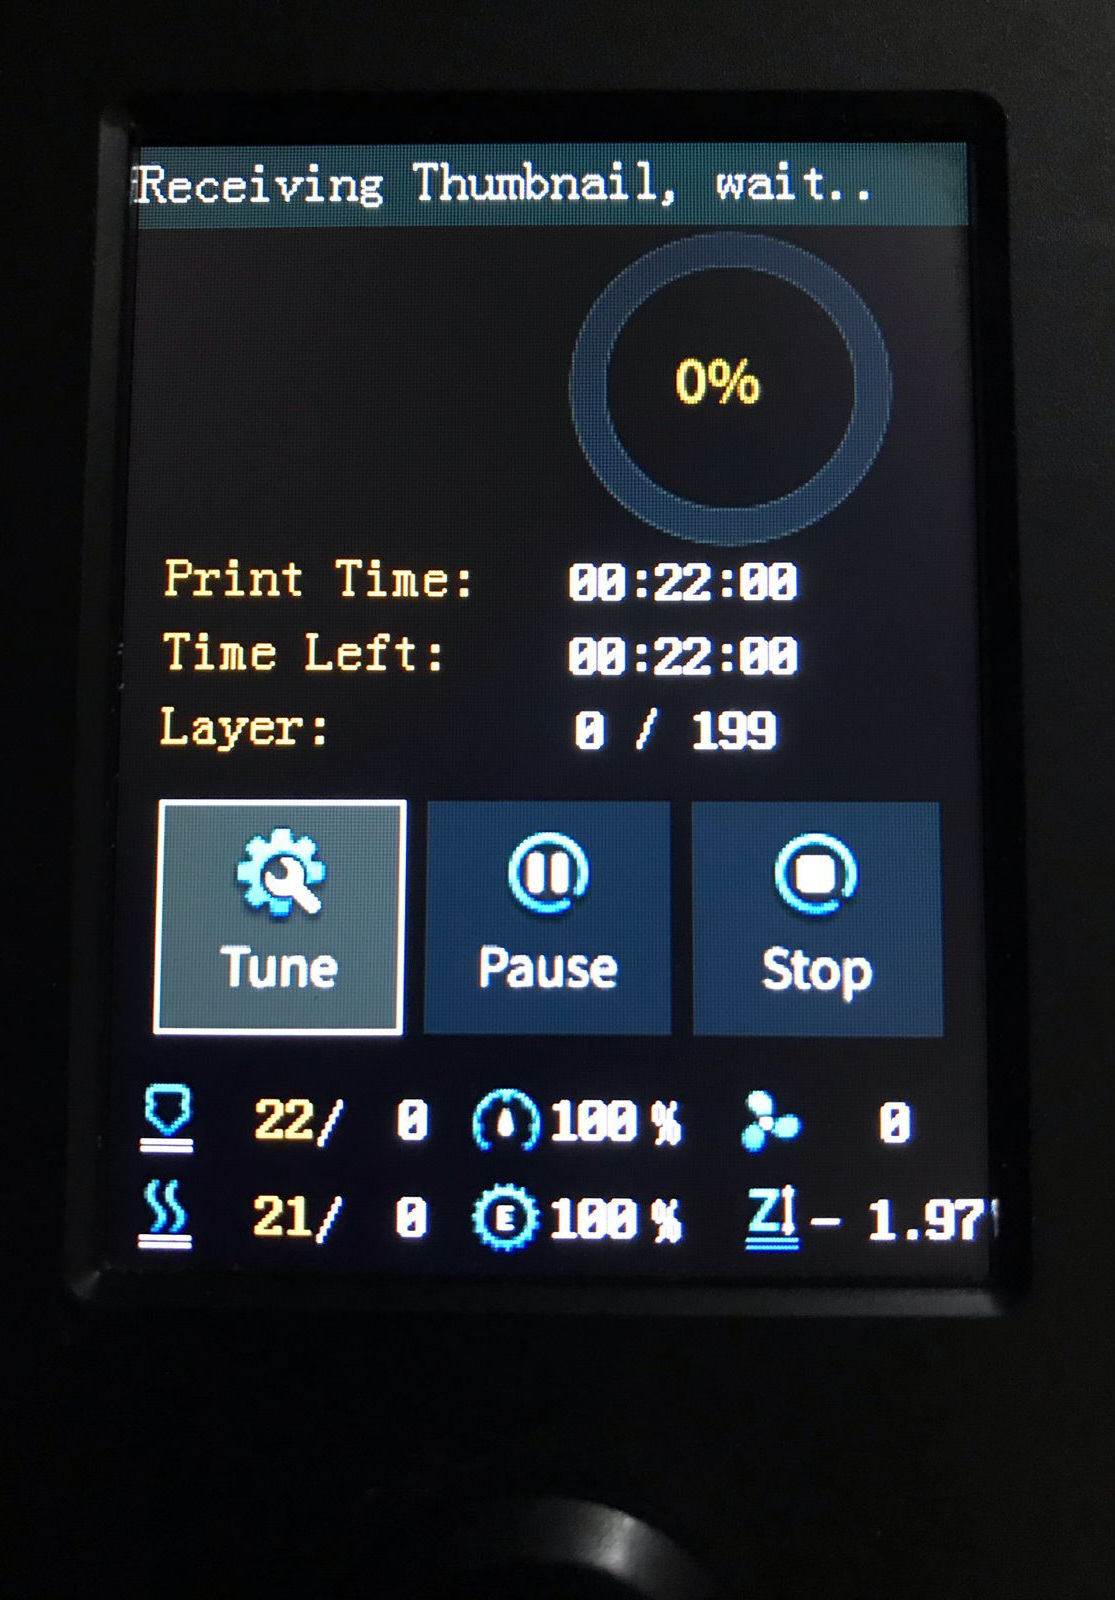
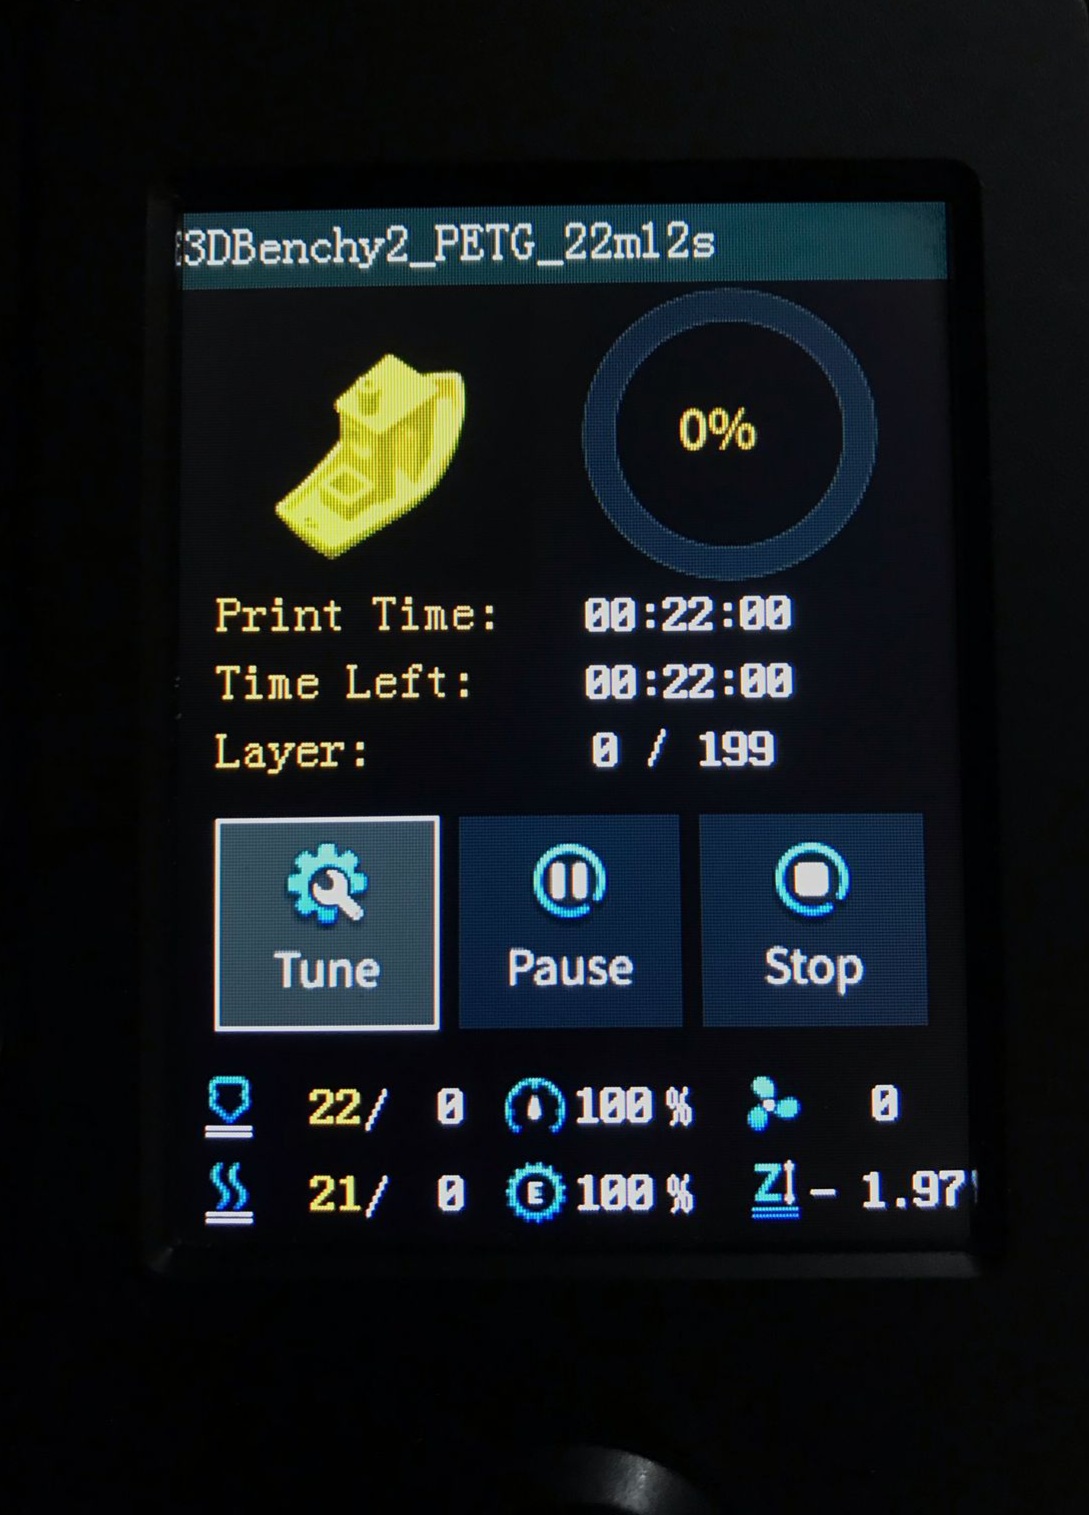
The thumbnail of the GCODE. Since no documentation found I’m trying to brute force the access to the memory of LCD so for now we just see the Standard Creality superMan
The update is not as good as I expected. Since I still havent found the working SRAM address to upload the PNG, I was trying to make a workaround by drawing the image pixel by pixel, but overall is not effcient and doesn’t worth sacrifying a lot of RAM from the system:
To Upload 96x96 image array from Octoprint to Marlin tooks 2:20 to 2:30mins.
The usage of RAM to store the 96x96 array push it to 78.1% leaving less space for new or other features.
To Render the image in the LCD takes between 1 till 1:40 mins.
Can’t be reused, since you need to iterate again on the array to render it everytime you want to use it. That of course will impact the print job.
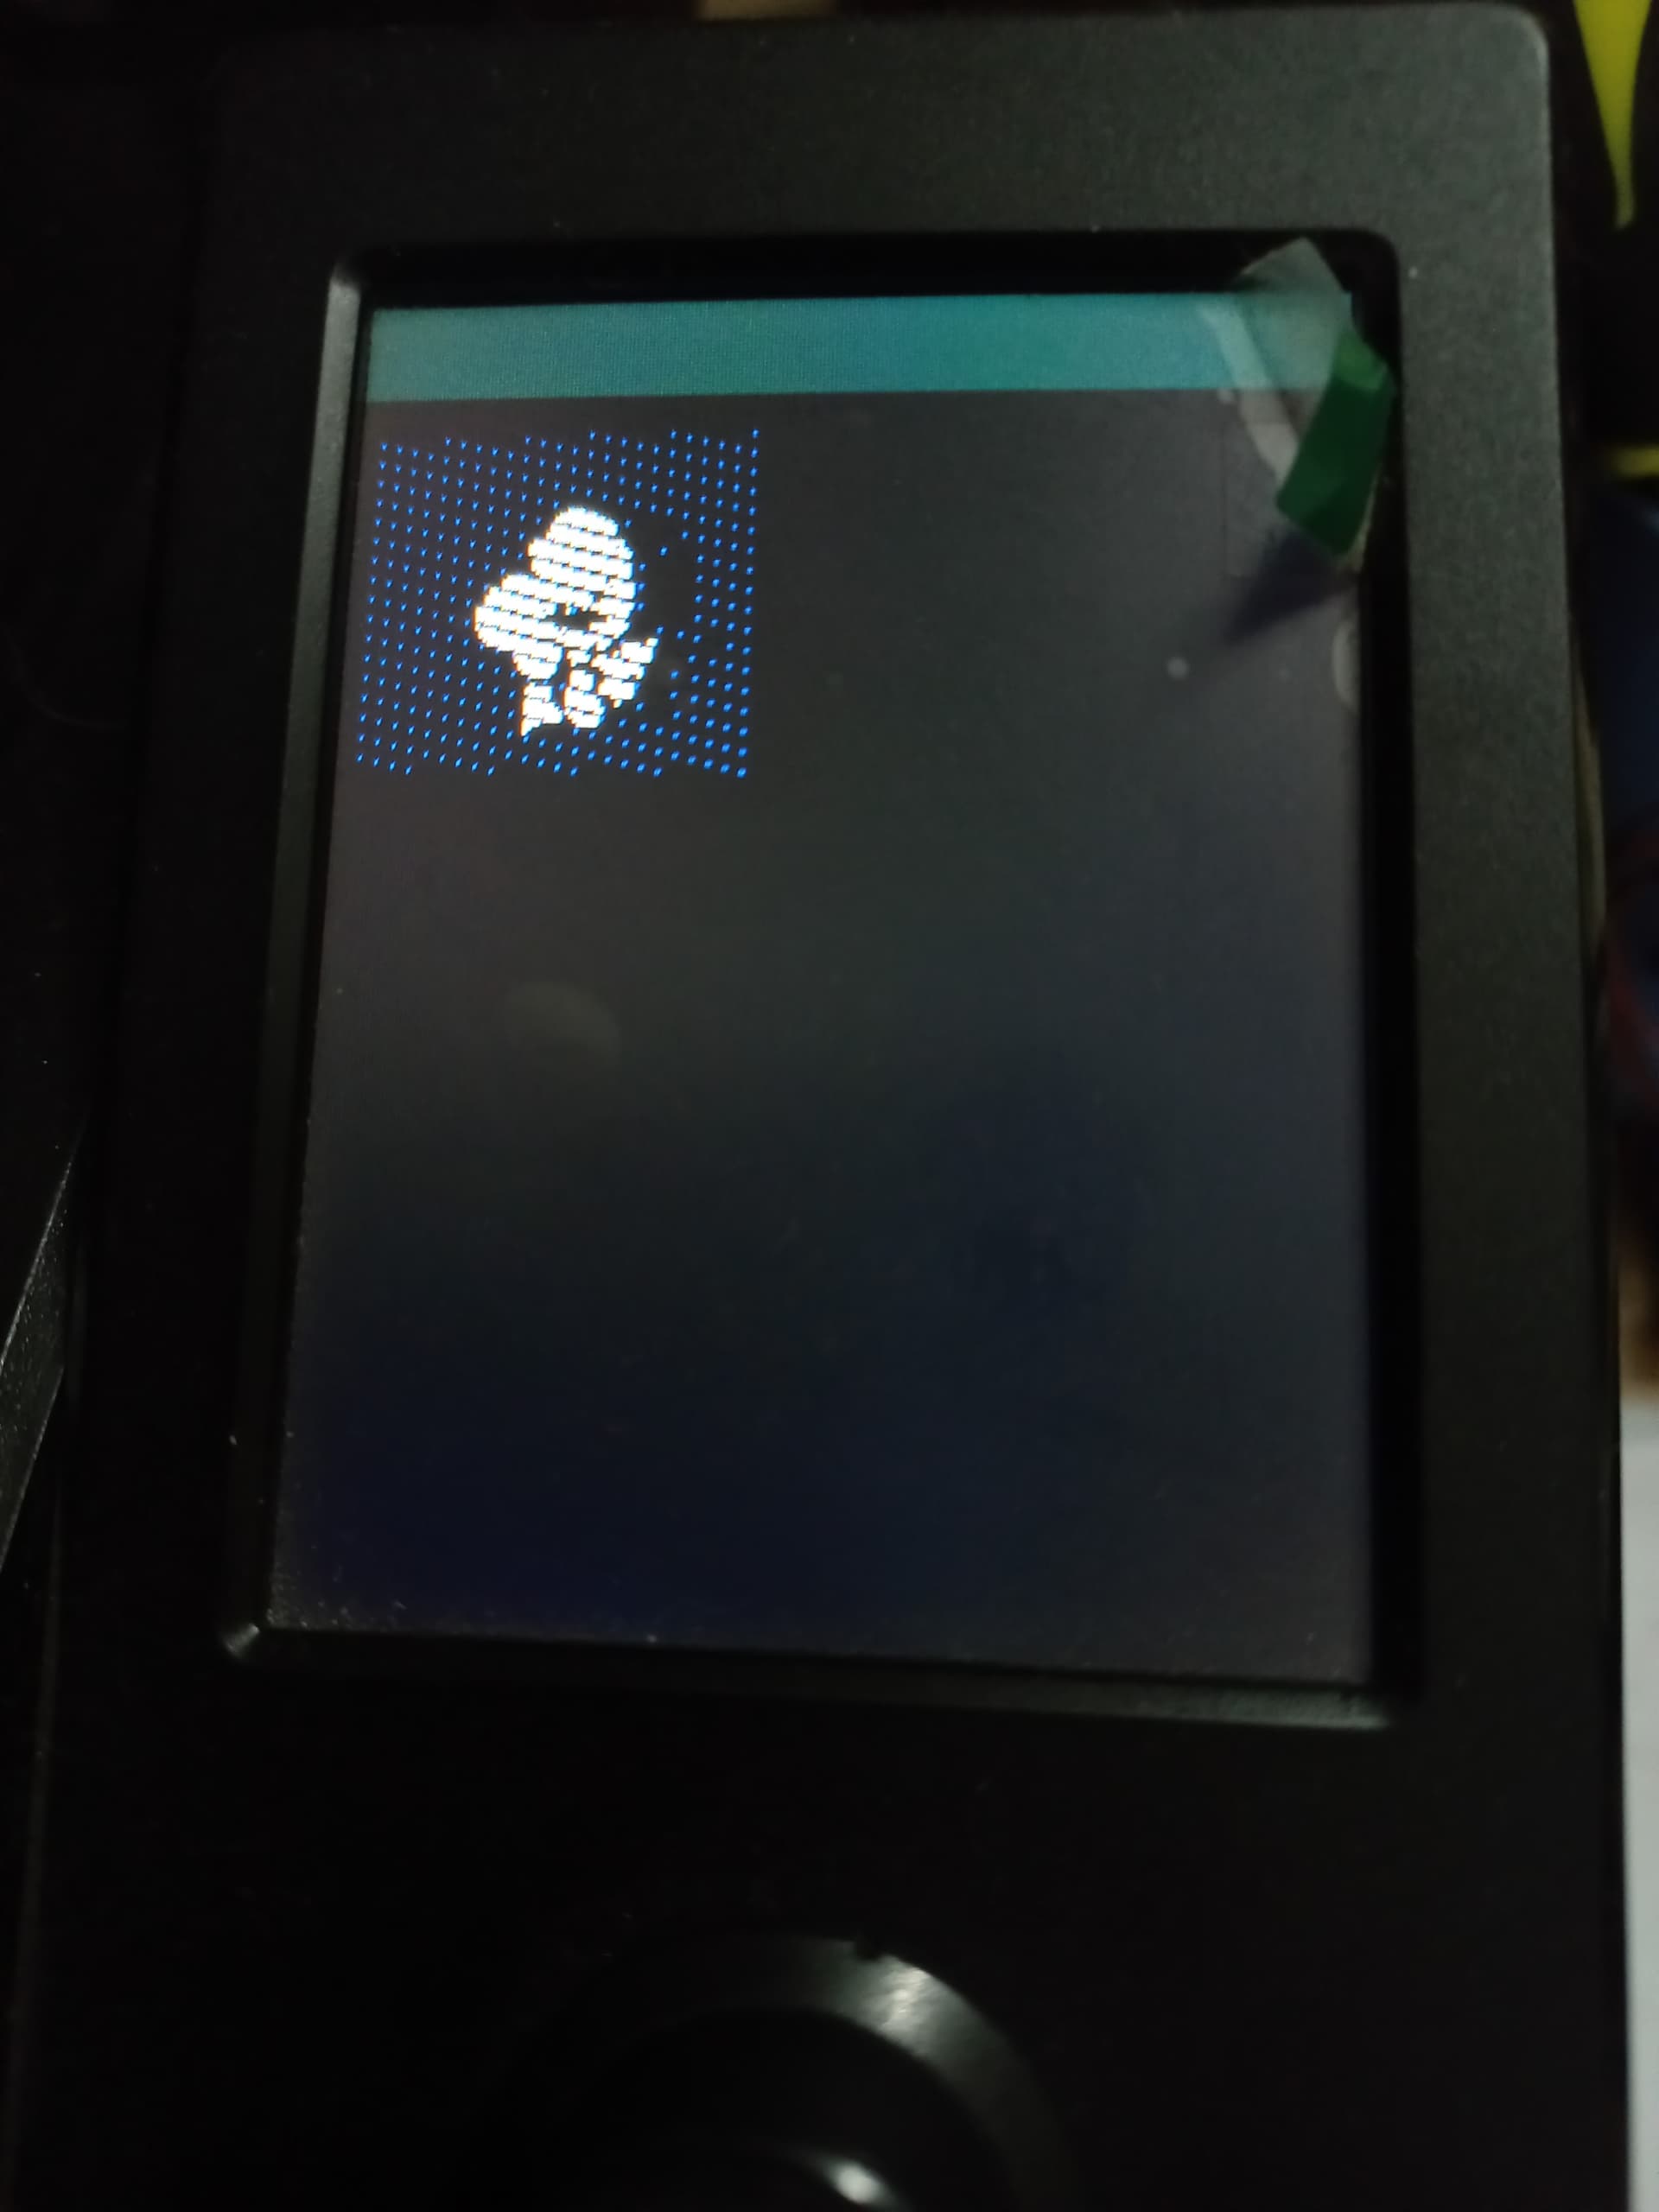
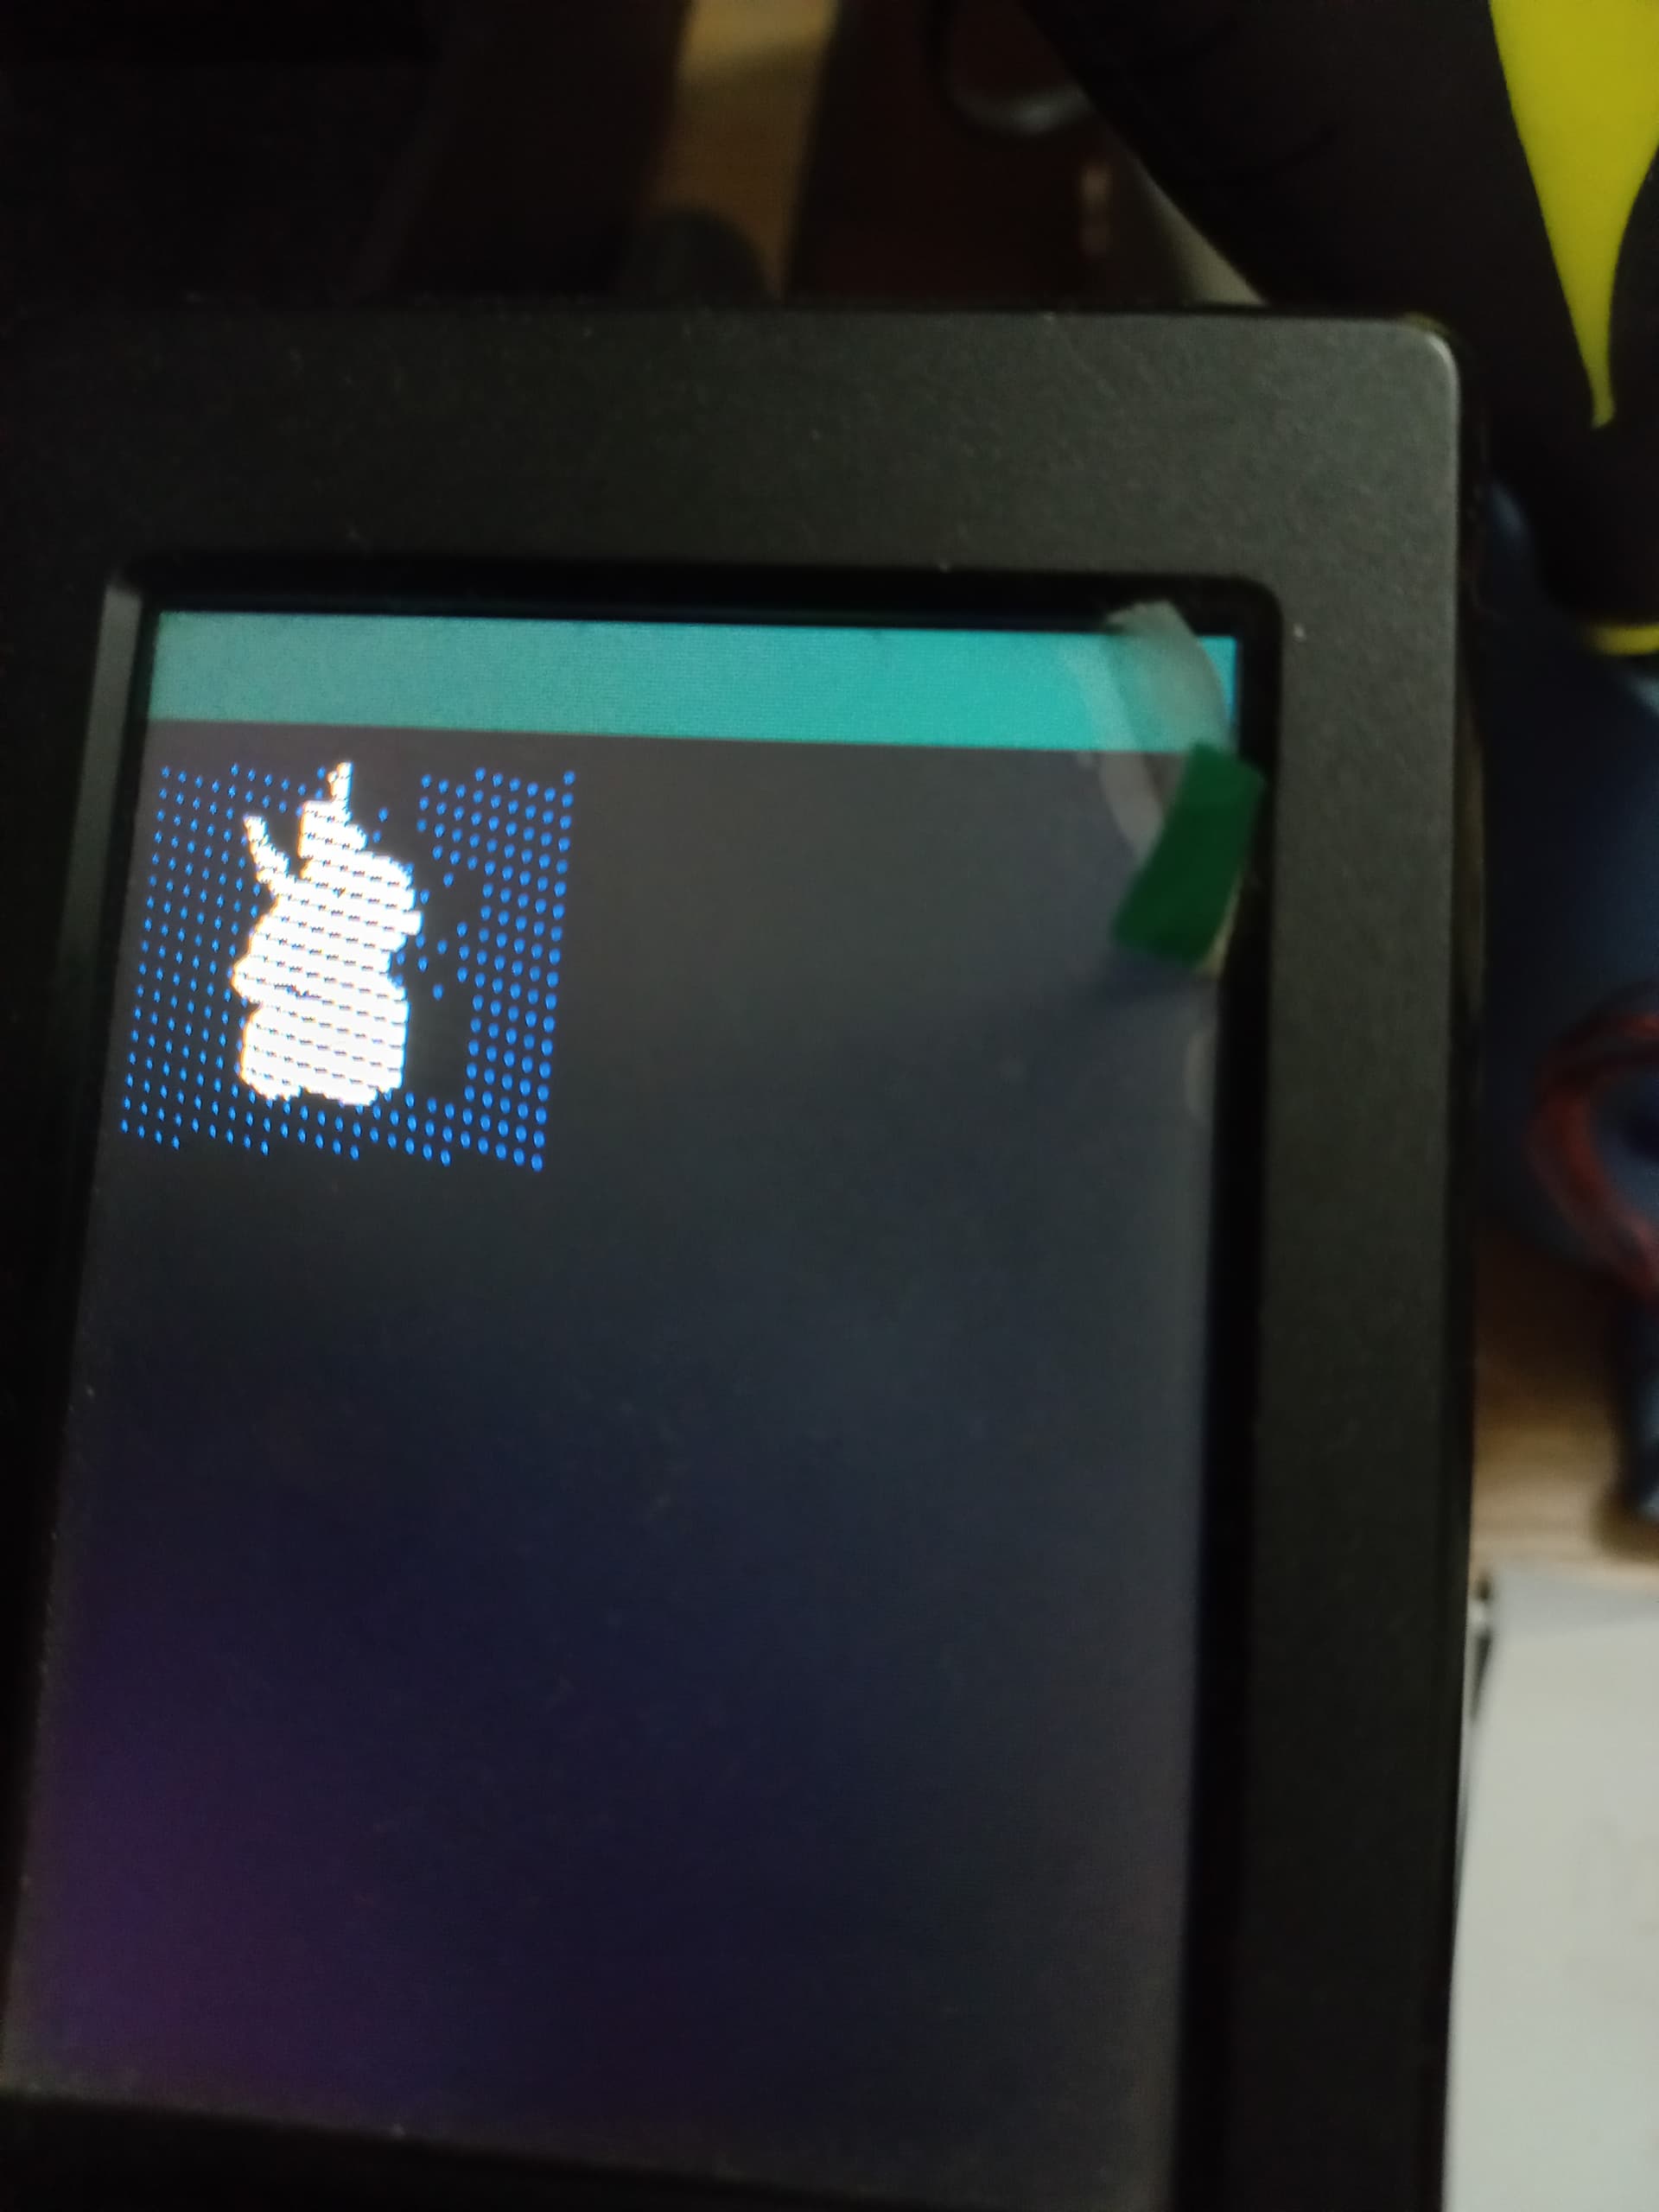
The image, depending on the object geometry could look as awful as a white spot on the LCD
Hello everyone. I’m still fairly new to 3D printing. I’ve had an Ender 3v3SE for about 4 weeks now. Everything’s working fine so far. I used Octoprint on a Raspberry Pi, which keeps telling me that the host action commands aren’t activated. I’d like to activate this so that Octoprint can also register my Creality filament sensor. I’ve just come across this topic here and I’m not quite sure how to install the firmware from this topic. Do I just need the .bin or do I need a different firmware for the display? Maybe someone could link or describe a step-by-step guide. Thank you very much for your efforts and have a nice weekend.
Sorry for my bad English, the translator will sort it out.
First you need to flash creality firmware version 1.0.6. and the TFT files fro the display.
If your printer is already in that version you can do it directly.
Thank you very much for your quick reply. Everything worked as described. Maybe the post should be highlighted somehow, as I think a lot of newbies are in the same situation as me.
If you are brave enough and you have patiance to see how the Gcode Preview renders in about 2 minutes You can Flash the Release v1.9.0.7_9PIC to see in the LCD your object.
Be patiance, takes up to 2 mins to transmit the Data and Rendering.
Supported Only 96x96 thumbnails. For Orca use 96x96/JPG
You could see the print pausing while heating or making the extrusion line in the bed to finish the transmission. So is advised to preheat the filament. Or better Load the File and then Print.
Test with small prints so you dont waste precious material.
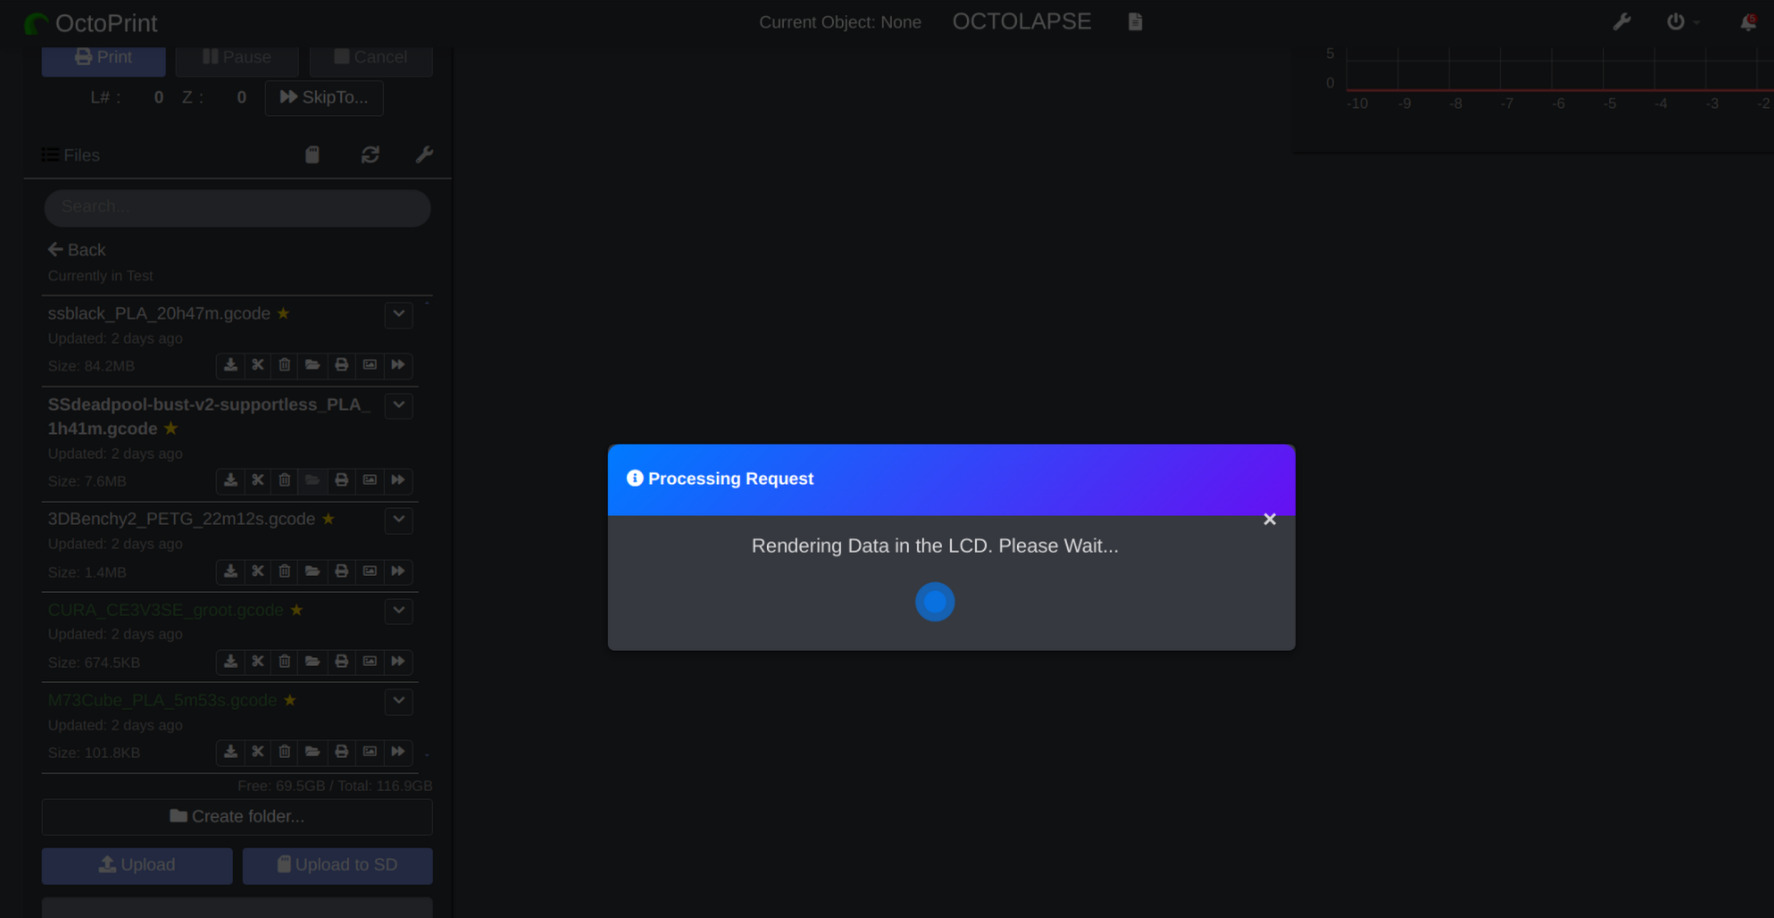
While transmitting Data Octoprint GUI will show a modal.
The LCD Layout during print job has been a little bit modified.
Gcode Preview is not available from SD print.
I think the readme now is clear on what to do in both cases.