I’m looking for some help/tips on adjusting the laser head’s tilt.
I’ve had the Falcon 2 22W laser for almost 2 months and have done quite a bit of engraving and cutting with it. However, because my laser head is tilted, setting the correct focus is suspect and dependent on where/how the focusing block is placed under the laser.
I’ve had several emails back and forth with Creality support with no help so far.
They keep sending me emails about adjusting the focus by watching the unboxing and assembly video.
The latest email from support contains links to two other support videos:
I have neither of these problems. My laser head is solid as is my X-axis assembly.
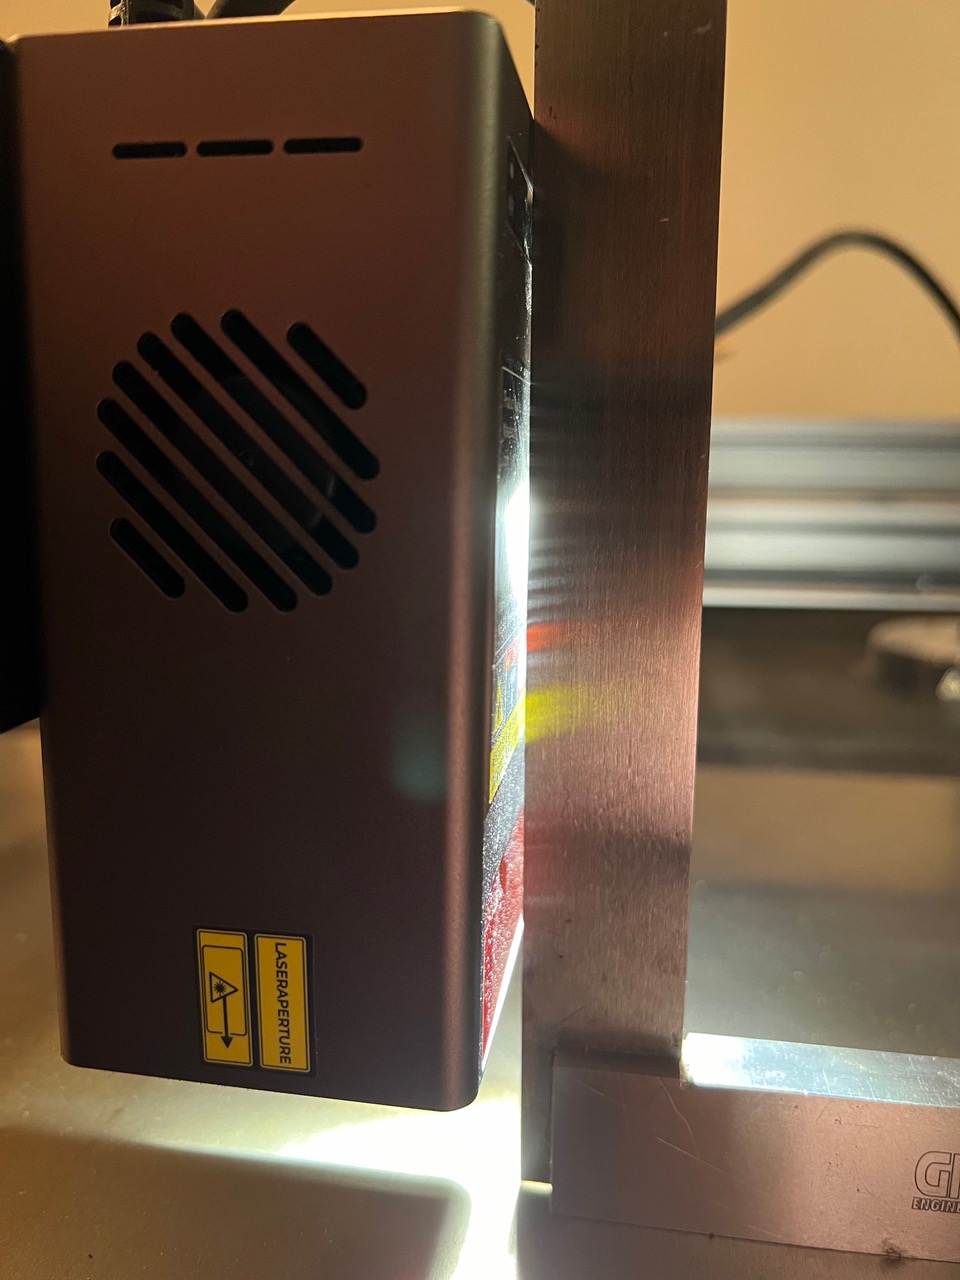
As can be seen in the attached photo, my laser head is significantly tilted forward. I can’t find any adjustment screws available for correcting this.
I’m not sure if this tilt is “by design” and all are like this, or if there is something wrong with just my laser unit. If this tilt is not normal, I’d like to know how to fix it.
I checked my Falcon 2 22w and it’s straight - no tilt on the head.
I really don’t understand why that is hapening on your Falcon…
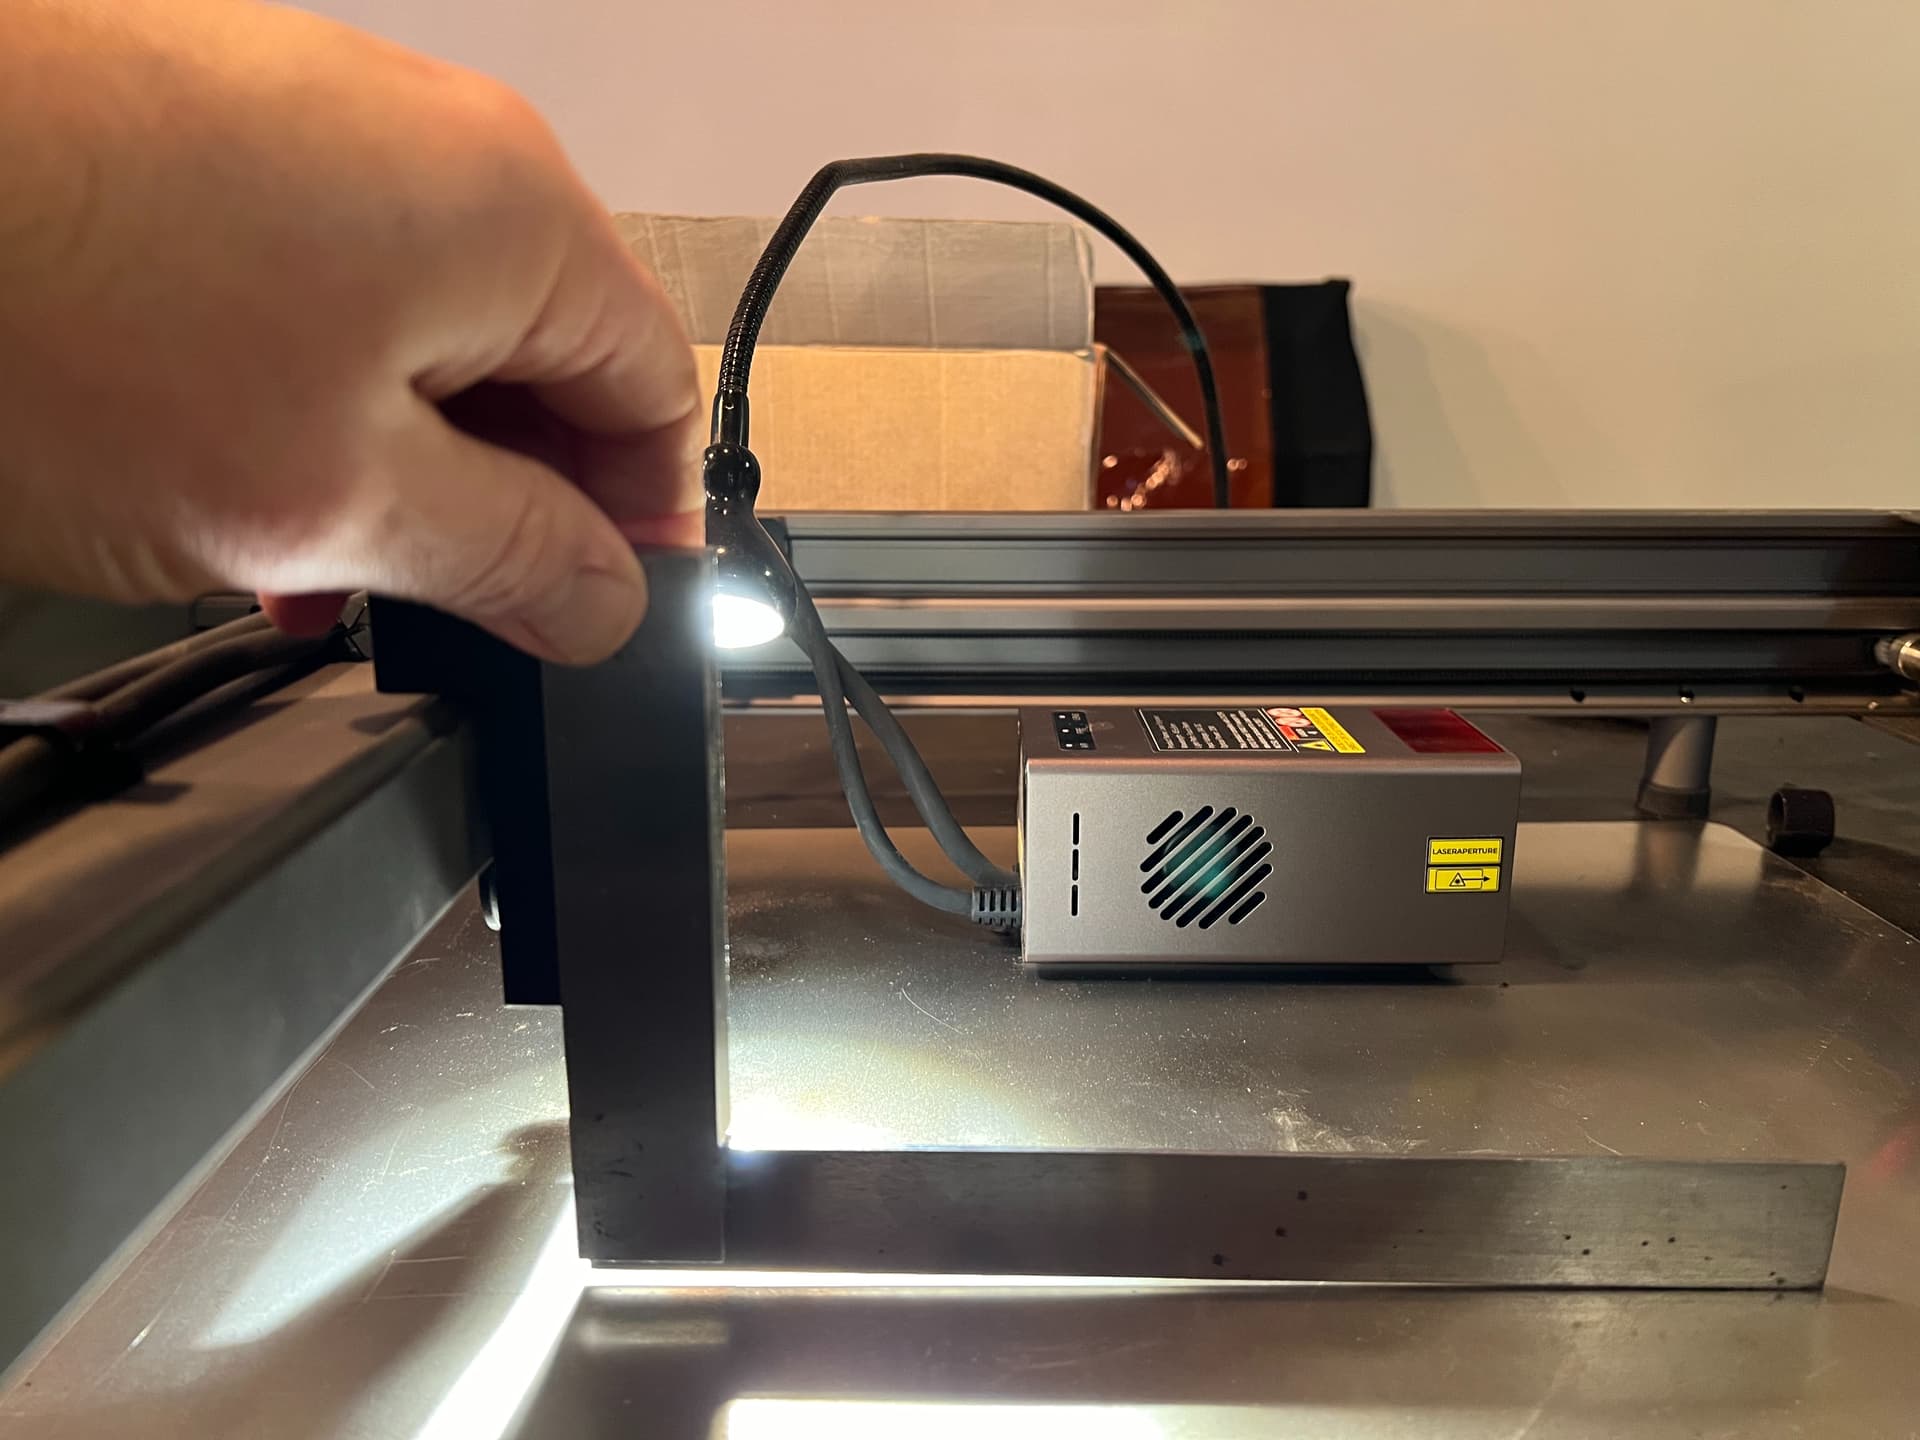
Is there a lot of difference between the gab (laser vs table) when you compare the laser being on the front and on the back of the unit?
Would it be possible to just slightly raise the front of the unit to ensure it’s leveled with the work surface?
I know it’s not ideal, but the goal is to have an even space when your laser travels - this might be the easiest solution while you try to get a decent answer back from Creality. Also, when/if you set this up, it might be easier to explain them what you have to do to get it straight…
I’ve measured the z-axis height (laser vs table height) in all four corners of the x-y and it is relatively consistent - within a few thousandths difference.
If I raise the front of the laser to make the laser head perpendicular to the table, I need to raise the front of the laser 7/32" (5.6mm). In doing this, the z-axis height is skewed by a proportional amount between the front and back of the y-axis. Raising the front of the laser is not the solution here, even temporarily.
It was a great idea though and made me remember that I hadn’t confirmed a consistent laser head z-axis height in all four corners of the x-y plane, which I should have. Thanks for the nudge here!
Still waiting for another reply from customer support.
You say that if you lift the front of the laser, the z-axis height is skewed.
Appologies if I misunderstand your statement, but what I meant is to lift the frame to make the laser perpendicular to the table surface, not the laser head.
Let me know if that makes sense, or if I misunderstood.
When I said I lifted the laser, I meant the laser frame. I placed blocks under the front two feet of the laser frame to lift it and make the laser head perpendicular to the table “fixing” its tilt. This has the effect of tilting the entire x-y plane meaning that setting the laser head to a 1" rise off the table at the back means that the laser head is ~1 5/16" rise off the table at the front. Definitely not what we want.
With just the default two small risers with rubber feet on the laser frame, the frame itself is parallel to the table.
OK. So basically, the y axis (going from front to back) isn’t parallel to the frame if I get things clear. How about from left to right? Is that at least parallel? (both in front and in the back)
Couldn’t you loosen the screws at the back and try to wiggle the y axis a bit to move? Maybe do the same in the front?
Not even sure if it’s feasible - just suggesting.
…and I do think this isn’t normal…so Creality should definitely do something about it…
The y-axis movement of the laser module is parallel to the frame and table.
The x-axis movement of the laser module is parallel to the frame and table.
The x-axis assembly is solid; there is no wiggle or play in it that could be corrected by following https://youtu.be/YfeSswaGTHs as suggested by customer support.
The laser module is solid in its attachment to the x-axis assembly; there is no wiggle or play in it that could be corrected by following https://youtu.be/ZuwIxI3129Q as suggested by customer support.
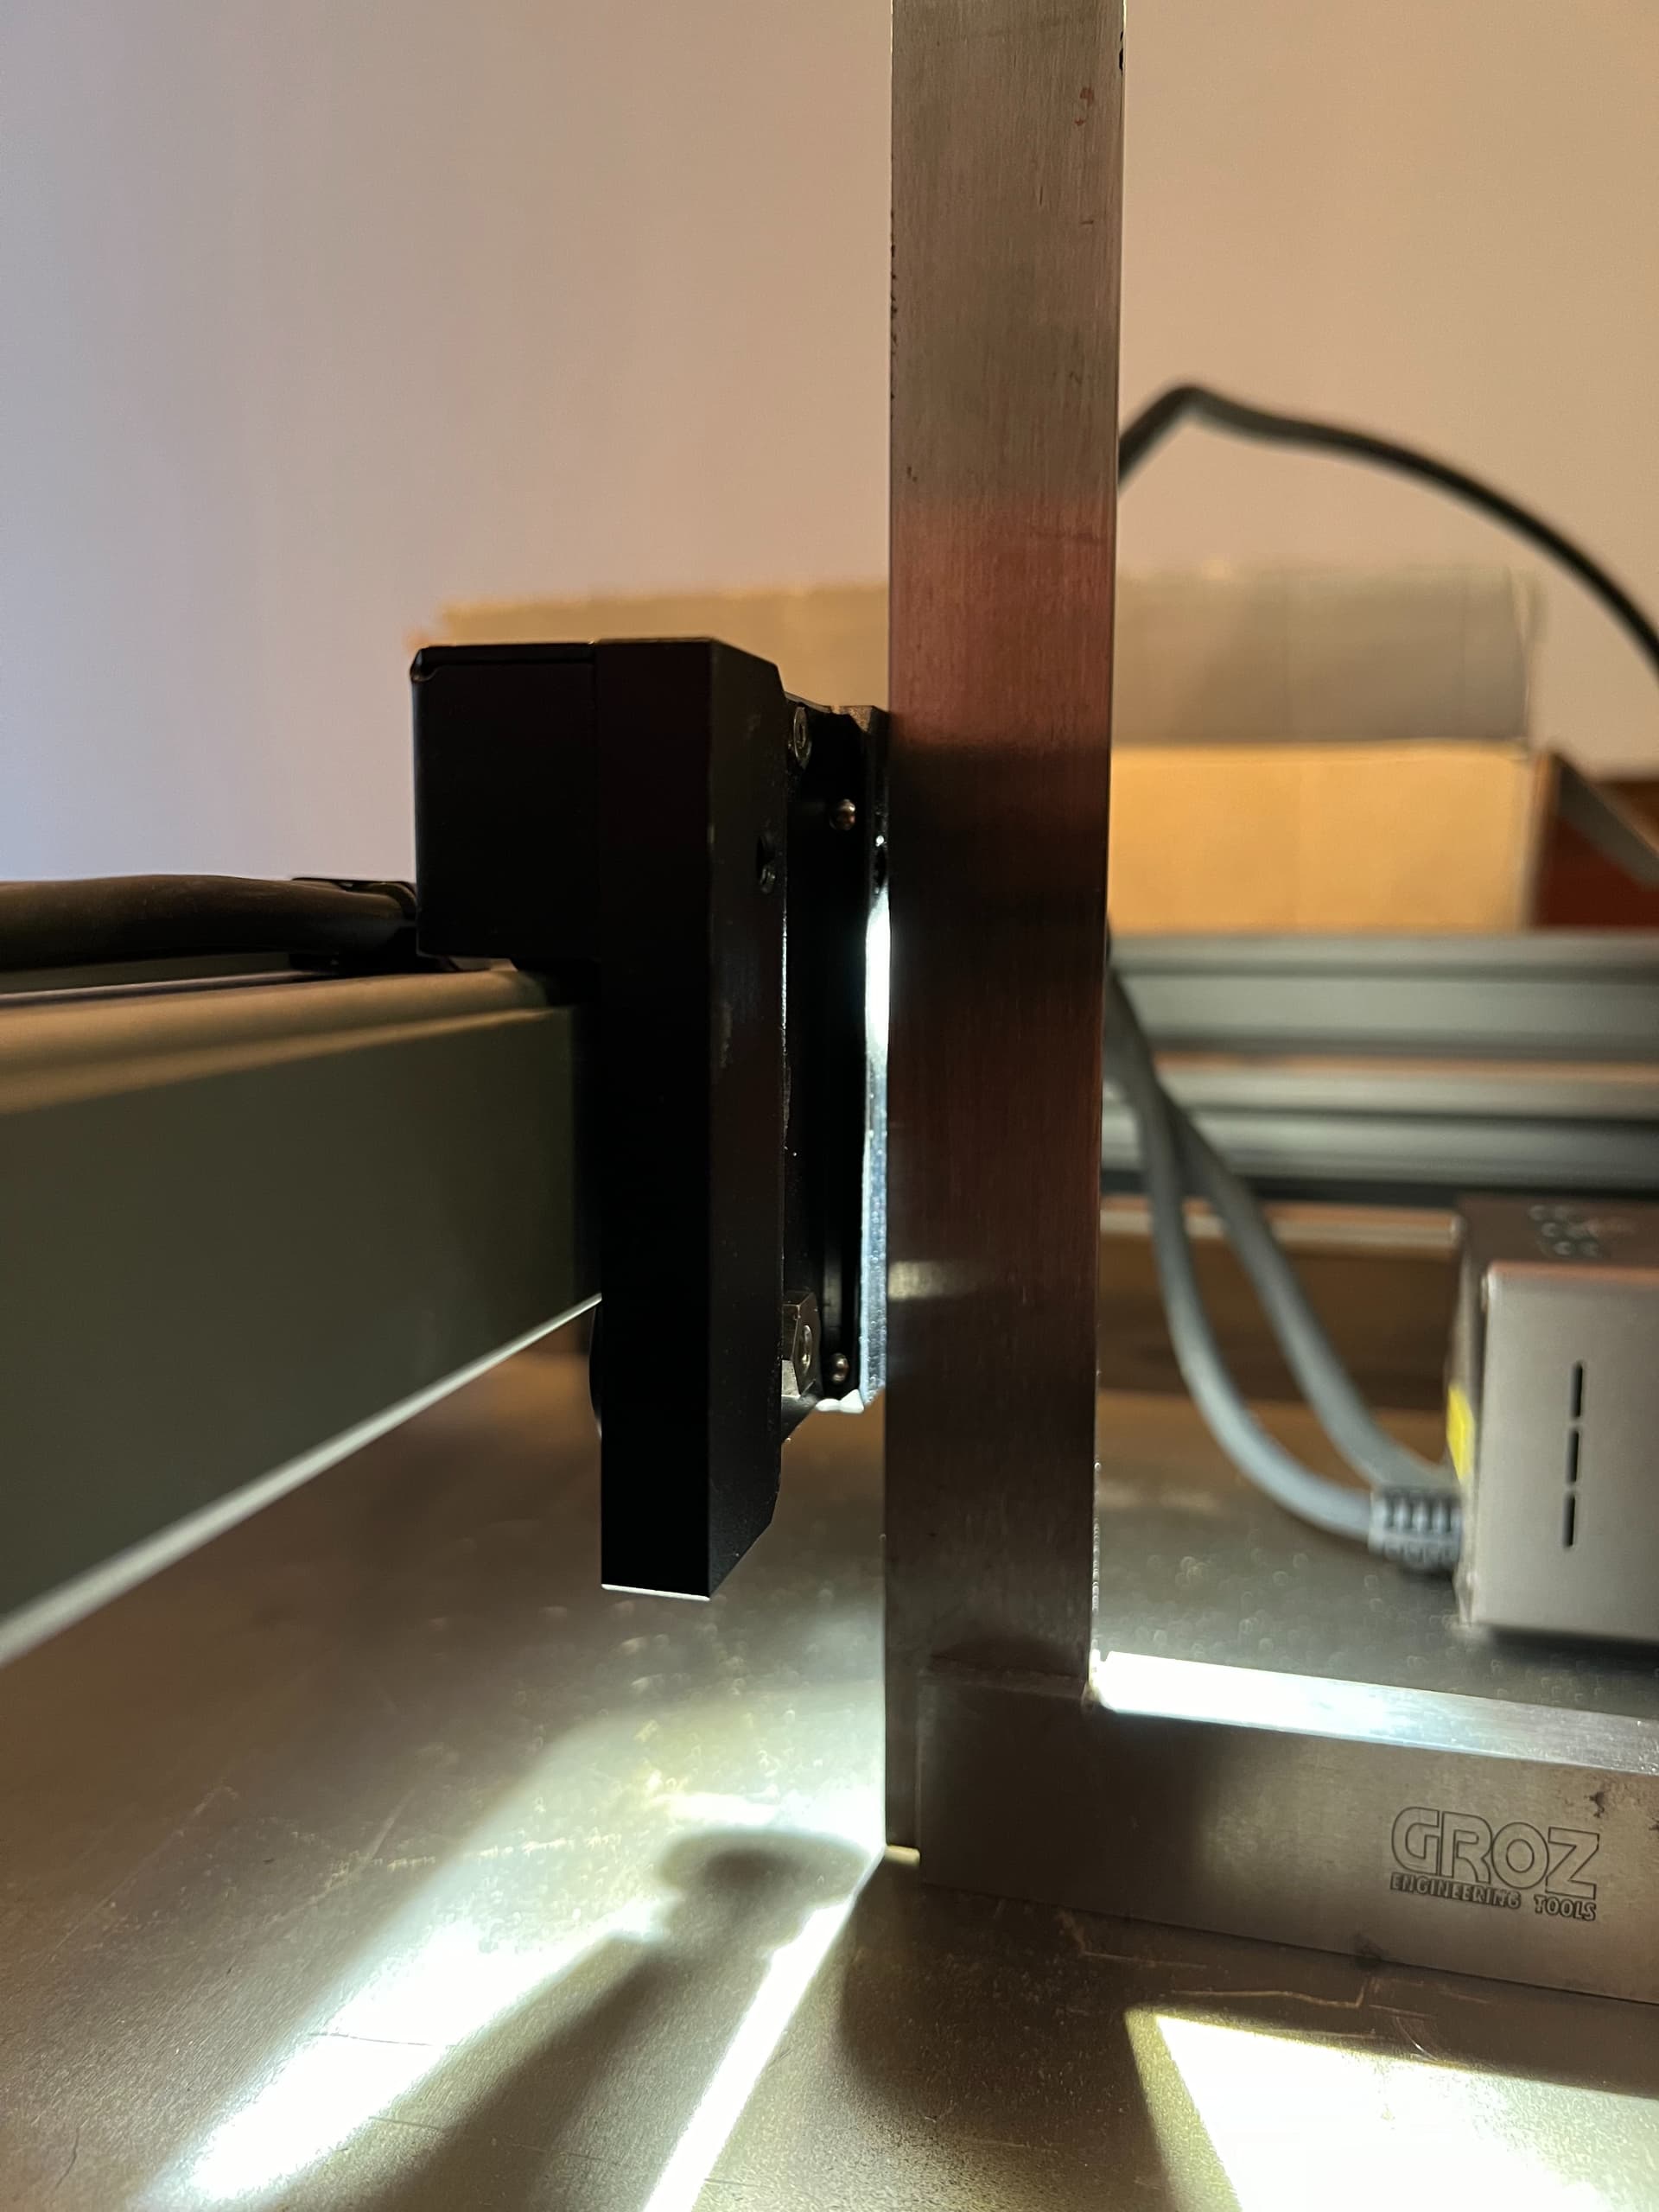
The laser module is not perpendicular to the table on the y-axis (front to back).
There do not appear to be any adjustments that can be made to the x-axis assembly or the laser module mount that would allow for the forward tilt of the laser module to be corrected.
I’m also not sure if this forward tilt of the laser module has any negative effects other than making it difficult to determine the correct focus setting using the focus block provided.
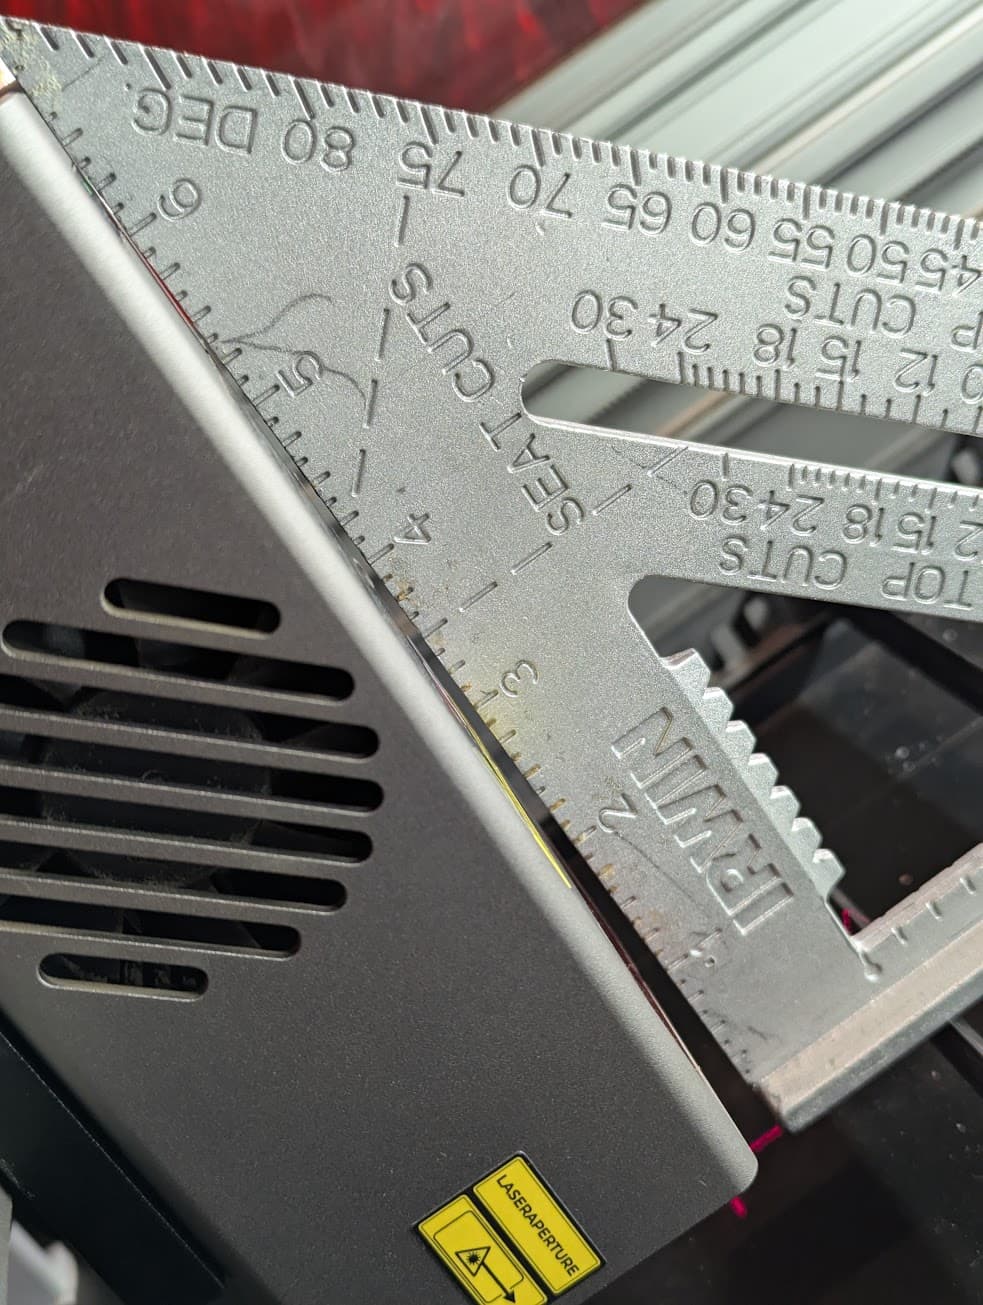
The issue that I’m having with the laser module forward tilt appears to be caused by the laser head mount on the x-axis assembly. I’m using an 8" engineer’s square in these pictures.
Putting the square against the x-axis assembly, it appears to be square to the table although the reference face is much shorter so .
Oh! Now I get it.
I’ve went to my device (in the garage) and removed the the laser from the carriage and I have the same. A carpenter square (only know the French word : équère) flat on the surface of the desk touches the top of the carriage, but not the bottom. However it seems I have a smaller gap than you do.
So, if I am right, the space between the laser and the material you want to cut/engrave will always be the same, no matter where you are on the surface.
I suggest you identify on the right side the place the laser is at (I’ve put a triangle of masking tape with the tip down showing where it is) on the side of the laser and I always use that point to set the height. Maybe that’s why I don’t have focus issues - but I never really thought about it!
My laser head wasn’t wobbling at all like what is seen in the support video, but I loosened the eccentric nut on the front of the laser head mount to the point that the mount started wobbling a bit. Using the supplied hex key, I then rotated the bolt at the back of the mount in a clockwise direction (I think). I started with a 45° turn and then tightened up the nut on the front of the mount until the wobble was gone and the forward tilt was reduced a bit. I repeated this a couple of times and after turning the bolt at the back about 110° in total, I now have a mount and laser head that are perpendicular to the table like they should be.
Not sure if I’ve introduced a new problem or if this is actually how this adjustment should be made. Creality Support has not been helpful so far in resolving this. I reached out to support on Dec 31st and it is now Jan 12th. I realize there was a holiday in there but still, not impressed.
Great solution!
I’ll have to do the same!
I doubt you introduced anything else as you were already parallel to the surface in all direction.
Thanks for sharing!
I’m in the same boat, only mine is tilted (or bent) in the other direction, if yours is tilted towards the negative mine is tilted towards the positive. I’ve tried explaining this to them over the phone but no help. im following your post in hopes someone has an answer, it may be as simple as installing shims under the lasers mount location.
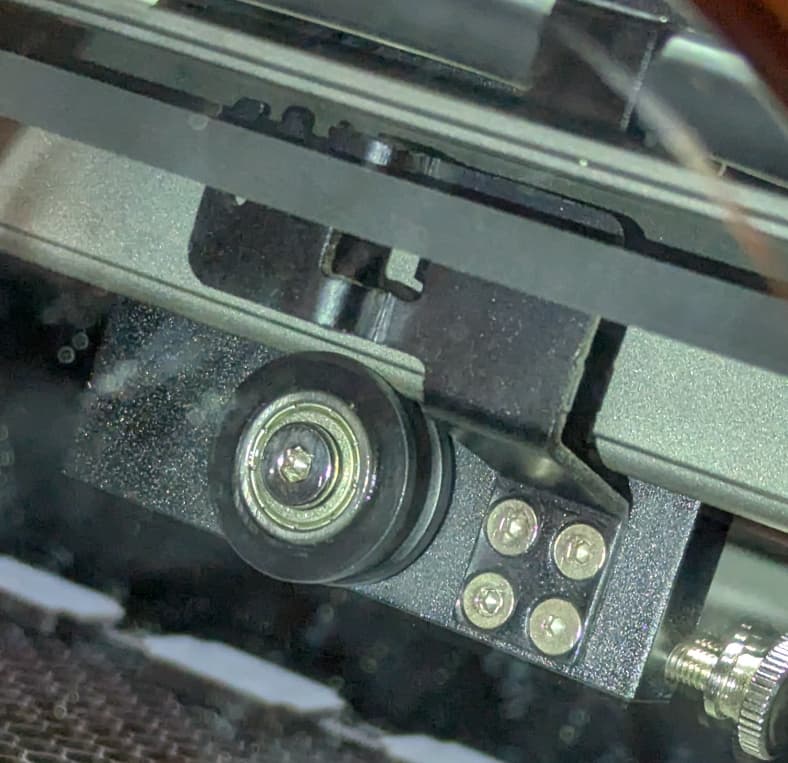
I apologize as I know I’m super late to the party, but I had this issue when I first unpacked my falcon so it’s definitely not due to age. I can’t find any of my documentation from when I addressed this but if I’m not mistaken this nut here can be turned to move it in and out and adjust the cant of the laser module.
I don’t see how this can work as the screw in the back only secures into the concentric nut. There’s no ramping or the like to move the bottom pulley on the rail forward or back. The only solution is to put a shim between the bearing and the x axis carriage to shift the bottom forward. I’m having the same issue with my laser pointing backwards a few degrees. I ordered a set of .1mm shims from Aliexpress.
I recognized I had an issue when I was looking down a 5mm x 5mm hole I cut through a 1/2" piece of pine and one side looked ramped… sure enough, hold up a 90 to it and stare down the edge of the metal into a ramped surface. Then I held a square to my laser to see this angle. .1mm shims should be granular enough to fix this.
Yes. The eccentric nut only moves the bottom pulley up and down to dial that tension in on the rail.
This is just a conceptual drawing - not to the exact build look but helps tell the story.
I will put up a youtube video once I get my shims and square this up but the red washer needs additional help to bring the laser square. This bolt is where I will add 0.1mm washer/shims on top of that washer to push the bottom out and bring the head perpendicular to the cutting surface. The washers I did have on hand(0.8mm+) were all too thick and pushed the bottom out too far beyond perpendicuar.
I plan to cut wood to do inset wood pieces for projects and if the edges are not square due to this tilt, it won’t work as well as it can.
Okay, unless they changed the design of this recently, the eccentric nut definitely adjusts the angle on mine and others here. That is the whole purpose of an “eccentric nut”. My angle was more pronounced than yours and was fixed as described above with no shims needed at all.
As described my solution post above, it isn’t the nut, but the bolt behind that needs to be adjusted using a hex key. That adjusts the angle.
The sole purpose of the eccentric nut is to adjust the height of the bottom pulley on that rail based on it’s position when you tighten the pulley bolt.