First off wanna say I have been having alot of fun with the K2.. bunch of multiday prints and with the exception of a couple things that were likely my fault it has been really good. But what feels like ‘all of a sudden’ my textured pei plate has started doing this to my first layers..
I am far from an expert but I went through the usual ‘oh must need to wash the build plate’ so I scrubbed that thing with repeatedly with dish soap as I have my other printer and that didn’t work. Thought well it couldn’t be the Z-offset since this thing levels itself every time so maybe its temperature, how hot the bed is etc. needless to say none of that seems to have fixed it.
And to add to my confusion I thought just on a whim to test out the smooth PEI plate they sent with it which while I did have a model edge that did curl ( I didn’t even think that was a thing with PLA ) the rest of the items I was printing for a friend came out really good.
I have no idea if it helps but here is a picture of my bed mesh as well.. didn’t even know where to find it until learning it on this forum haha.
Is it just as simple as the z-offset not being quite right? if not is there anyone that may know what it is? and if it is the z-offset what would the best way to correct it be? ( asking as someone that came from a printer that just had a basic option to bring it up or down a mm at a time ).
I saw some people talking about calibrating the bed mesh etc. but I am unsure if that has anything at all to do with this so anyone that can help me get this sorted out would be amazing.
Ok, your bed mesh is OK, a difference of 0.5 is manageable and mine has a similar difference.
I will provide further experience with some examples of yesterday’s prints.
I needed to print some ‘everyday tools’ for my SLA printer and were searching for simple filament for it. I found a view rolls of 10 YEAR OLD PETG with strange colors! I calibrated a print profile for it according to my standard procedure described here in the forum and started a print.
Then I had to print a large part for my friend’s shop and I wanted to use a nice, brand new spool of extrudr XPETG Matte filament for it which I also had to calibrate.
After the calibration I started the print and realized after 20% of the first layer (he stared at lower right corner) that I had some issued with the filament. By the way, it prints on 80° for bed and 2350° for nozzle on my Qidi which I used here as well but the part was too big for the Qidi and that’s why I tried it on K2.
There were two problems: I forgot to clean the plate and the z-offset not good for this PETG (which I had for other ETG already as well).
I changed Z-offset vie fluidd within the print by setting it to 0.015 mm which then worked for the rest of the 1st layer and then the print.
As you see, the rest of the print worked well and just need some cleaning (I like this matte finish PETG which looks like it would be iron, I have also a silver version of it which looks like Aluminum…).
I usually add the different Z-Offset to the filament profile but I found a bug in CP6 (this works in Orca slicer but not in CP6):
I usually put in 'Filament Start G-Code the Z-Offset like SET_GCODE_OFFSET Z=+0.015 MOVE=1 and in Filament End G-Code the SET_GCODE_OFFSET Z=0 MOVE=1 and then the filament will work next time.
But CP6 does not output the Start code, only the end code is in the file!
You still can set it in printer profile but you have switch if on/off depending of your filament or create special profile for this filament!
Anyhow, tried to post it on CP6-Forum as a bug…
Wow sorry for not getting back to this sooner! I had basically given up on someone responding so I hadn’t checked in a couple days haha.
Honestly thank you for all the great advice ( love that you even have pictures ). And I think you are right the z-offset seems to be what is stumping me. I have tried both lowering z value ranging from +0.025 to 0.050 and raising by the same amount ( -0.025 to 0.050 ). And it feels like a crap shoot right now… if I get a good first layer rest of the print has in almost all cases come out really nice but I am having to really watch that first layer and sometimes start it multiple times which is frustrating.
I have been doing filament calibrations based on that post ( such a helpful post ) for a while now and anything I print in the center of the bed is fine its whenever I print something bigger that spans more of the bed I seem to have there problems.
And this is despite me using the same brand of filament for a ton of prints/tests what I end up more often than I like though is one of two things… either it seems to be too far off the bed and it basically seems to just roll the extruding filament around making a ‘ball’ of sorts with almost no bed adhesion and if it is too close I end up with something similar to the bottom right hand of your plate picture and/or the nozzle gets caught running across a ‘not smooth’ edge and has in many cases ripped the first layer off the plate taking it with it ( similar to that picture I listed in the first post ). Heck I have even ended up with a bit of curling on an edge or two of pla prints… I didn’t even know that was possible with PLA haha.
For what it is worth right now I am trying to use…
-
The frosted PEI plate that they sent with the pre-order ( I am still listing it as a textured plate in creality print as I don’t think it qualifies as a smooth but someone let me know if I am wrong )
-
And the filament I am trying to make use of is some 10+ year old Makerbot PLA… its not brittle and its ideal melting temp seems to be between 210-215 and I put the print bed to 60 to try and help with adhesion… but maybe that is too high?
I may try the original plate again… when you mentioned 0.015mm did you actually raise or lower it? … I would assume you lowered it based on the picture and the fact you put no minus in front but figured it is worth asking.
If you have any other suggestions or anyone else out there has any tips I am all ears… I want to get this printer back to the point that I feel I could hit print and walk away as I feel it was that way at the start… granted a bunch of stuff has changed and each filament needs certain settings but I feel like I am just missing something obvious. XD
In the case of the PETG I mentioned above I have to raise (one PETG by 0.015 and the other by 0.025), all other PETG and ASA/ABS I used so far had no difference.
I have two plates, the ‘Frosty’ which came with printer and the only other which is a bit less rough textured and called ‘Epoxy Resin’ but has two same sides.
I print both with same Textured PEI settings.
Most important:
- The Frosty sticks a bit better but the result on the Epoxy looks better!
- Both print beds should be cleaned with IPA or glass cleaner at least EVERY DAY (if you print every day). If you touch the plates with the hand it gets areas where filament won’t stick.
- If you remove the plate to get parts off or change plates you should run (bed level only) calibration on the next print
- In case of new filament or of very large prints make a test before with a small part (I use CP6’s testing primitive disk which I enlarge) and watch first layer to see if it’s loose or pushed too much into the bed. This is what I print usually with full calibration (also PA and flow rate) to define/refine the filament settings. On the PETG where I need to raise the Z-offset by 0.025 the printer pushed too much into the prime line which resulted that I still have 3cm of prime line filling the bed structure on the bed which I could not remove so far!
Following these rules I never had to use glue or spray so far!
p.s.: I printed a lot of 10 year old filaments, The blue one on the picture above is PETG for example, but I have also ASA and PLA from this time which all printed well. I did not need to increase plate temperature to 60 on PLA unless it is a special ‘sort of’ PLA (like the extrudr Greentec Pro which requires drying and higher temperatures, it’s the most special PLA I have and the parts can resist 80+°C temperatures - and has a very nice finish but cost 2wice as much as normal PLA!). All my ABS is 5+ years old because since then I bought only ASA.
Figured since you provided some helpful pictures thought I should as well to show what my experience is right now.
So for this example..
- The PEI plate was just washed with glass cleaner
- z-0ffset was set back to 0,00 no adjustments
- PA and flow rate done for a same brand PLA ( just a different color ) so I used that
- Temperature set to 215 and 50 for the bed
And this is what I end up with..
So Then I decided to put in a 0.015 z-offset and I even ditched my calibration incase I did something poorly and I end up with this..
Like honestly.. I will say it again I am not an expert.. but how can this device ( and by extension me ) be failing so hard just asking it to put through some generic PLA not even more difficult materials like others are listing on the forum right now. XD
I am hoping these pictures might give you some insight as to what I or the printer might be doing wrong.. and I genuinely appreciate your time I can see your quite popular on this forum.
Unluckily this forum has a bug and I cannot (with any of 3 different browsers tested) look at the pictures enlarged.
Did you watch when he printed first layer?
Did you manually (in fluidd interface) adjust Z-offset when it was printing first layer?
You can generate a test box in CP6 which has 200x200x0.2 mm and print it as test (with bed mesh before) because it has a lot of long parallel lines diagonally on the bed.
You can see if the level is right if there is a nice pattern generated and if possible not many ‘waves’. If the lines are more separated or they are not sticking to be the Z-Offset is to high!
If the Z-Offset is too low the lines are too broad and filament is pushed aside and it looks too thin.
Anyhow, which first layer line speed do you use? 60/105 is used in the CP6 profiles but I had also Filament which required much less like 30-40/70-90!!
If you the filament prints nicely (looking good) but does just not stick you may try the glue stick which came with the printer. I did not have any need to use it so far.
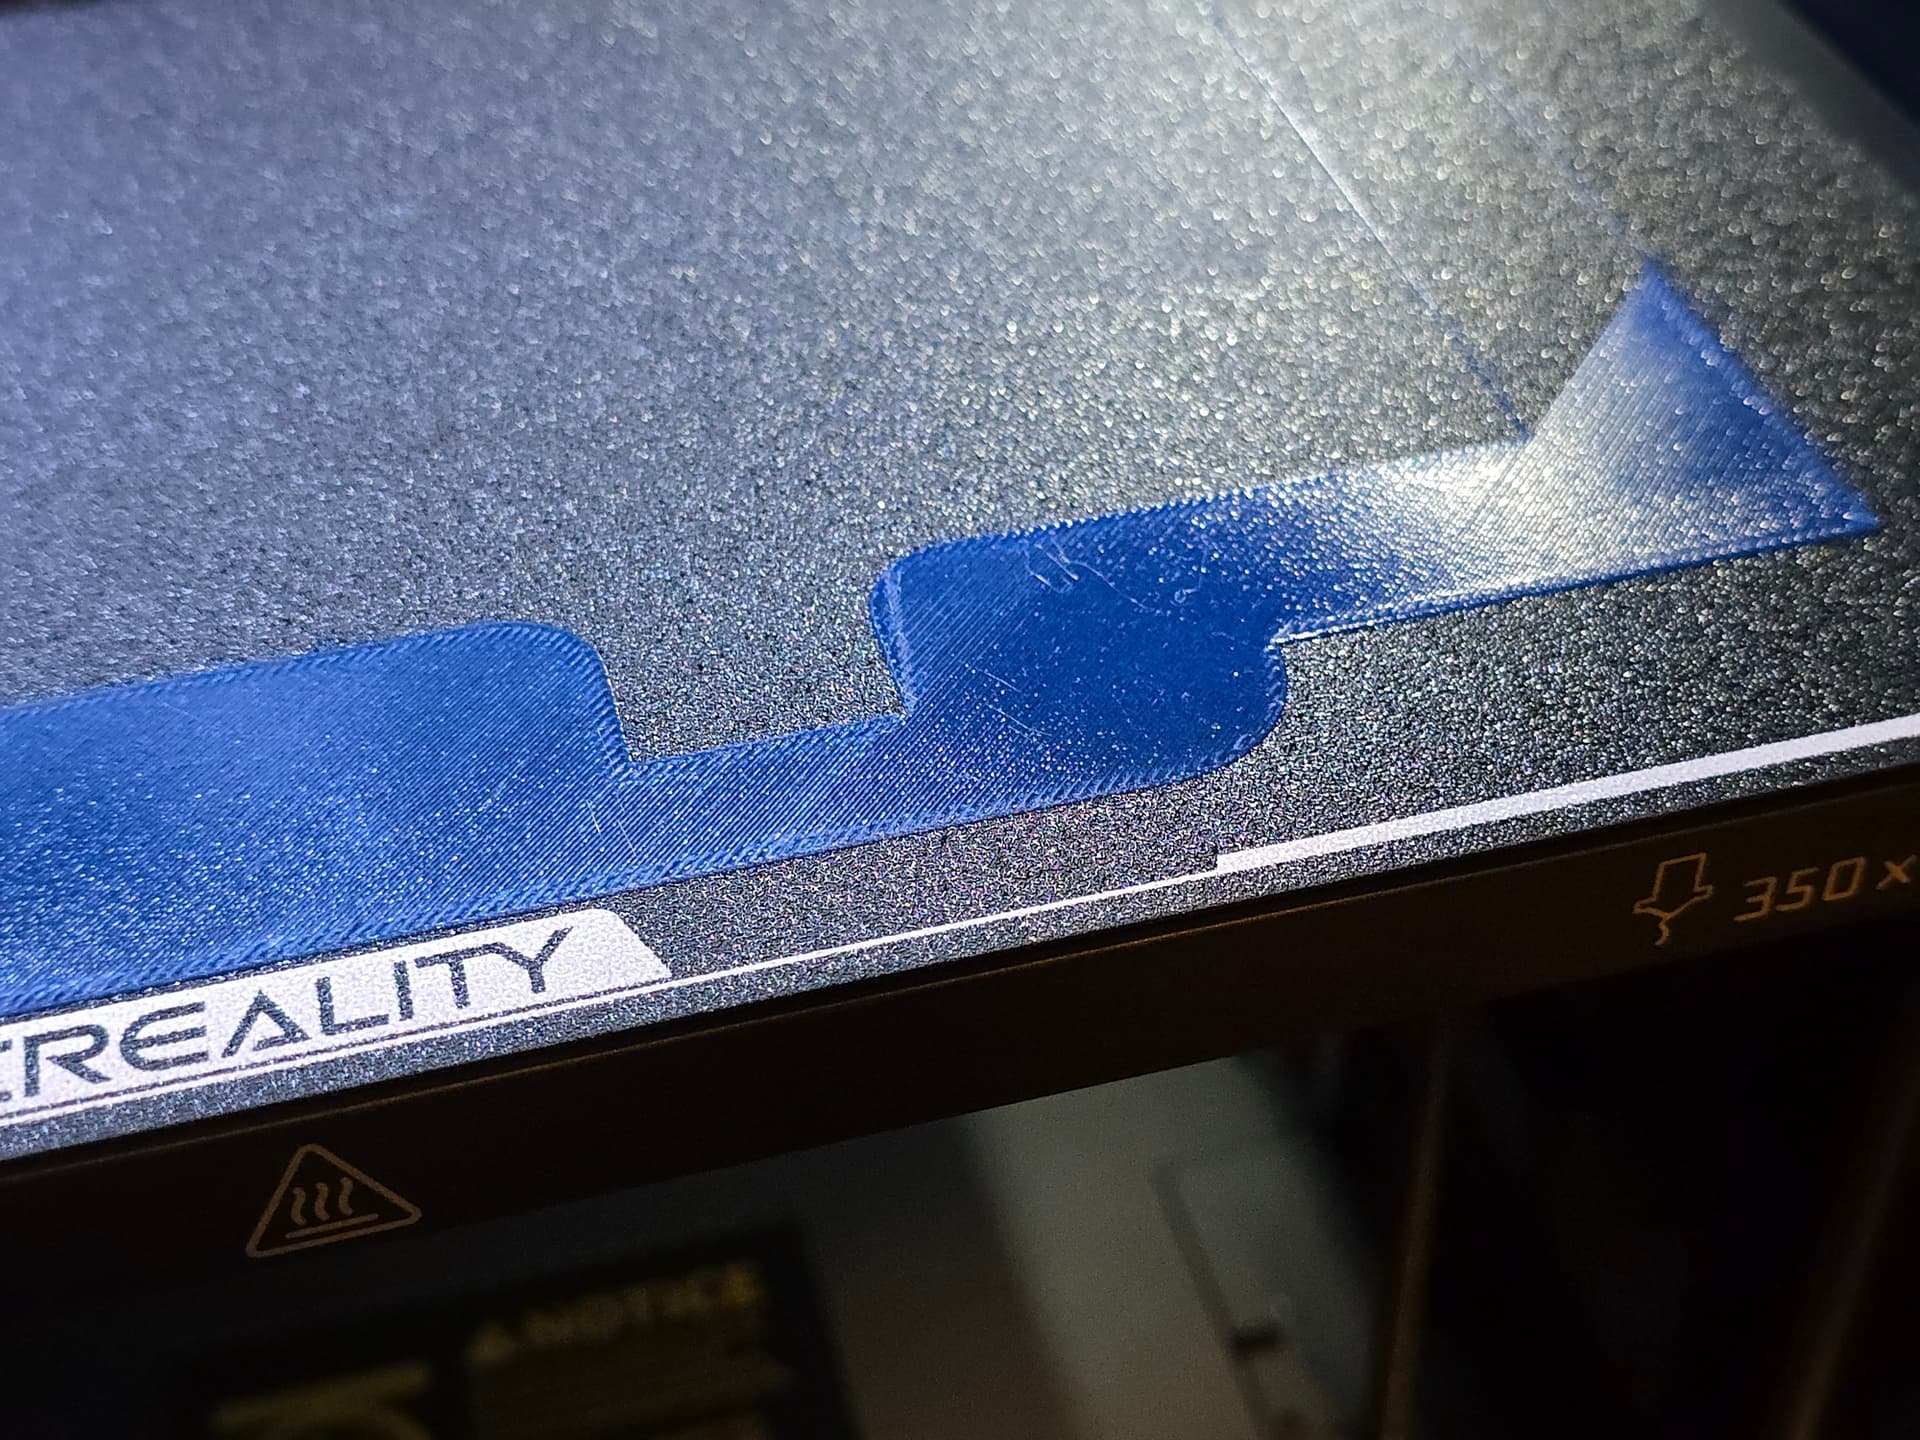
I just wanted to share a picture:
I forgot to clean the bed after I printed a view PETG and PLA models.
Now I just started a print with ~10 year old PETG again and @ bed
temp of 75° the bed is drying out and you can see the spots left by my fingers when I removed parts from last print (lower right side of the part)!
This spot would generate a problem on some of my matte PETG or even Silk and matte PLA!
By the way, here is the finished print result from this print:
No problem even with old filament. The layer heigth was 0.24 and the maximum mm³/s 12, it printed for 4h but I had no banding or stringing. The part is ~20cm long which was the max print height and I did not use any Brim as you see on the picture before.
I did NOT dry it before but all my PETG and other non PLA-filaments are sealed in vacuum bags with some silica when stored.
Okay so an update.. first nice print.. second I am pretty sure its the filament.
The reason I say that is because in-between my testing my friend asked me to print a couple small parts for his quad out of black petg. So we got a new roll of elegoo rapid petg because I didn’t have any and I ended up doing a print that while not very high covered almost all of the bed. Other than doing the flow rate calibration I didn’t change the layer height or anything and they came out really good.
So lets maybe change the question from where I started.. what settings would you use for these..
Yep thats right so old it still comes on the older skinny rolls.. think I might even have your old stuff beat haha. As mentioned though its not brittle and at 210-215 it flows just fine however its bed adhesion seems to be absolute trash most of the time.. when it sticks the print comes out just fine but its so darn hard to get it down consistently.
If I have to resort to the glue stick I will but would love to have a setting that works so any/all suggestions are welcome.
As I found 5 other rolls of old PETG (bought 2017) in a cupboard in the cellar I wanted to use it for some of my ‘tools’ prints.
I started to use the printer to dry filament or silica gel overnight on print bed (I will post soon the macros and tools I use for it) and wanted to print a big cover filling up 99% of print bed (348x348mm).
Before that print I searched for the datasheets of the the old PETG (Was from Nunus, a German company producing filaments since 10+ years) and according to the datasheet I changed some setting from the one I was using on Qidi printer before.
I set temperature 5° higher to 255° and run a maximum flow rate test. The outcome was that I could increase flow rate to 18 mm³/s from the 12mm³/s I used on Qidi.
I started the print and made again a big mistake I did not clean print bed before the print!
I stopped print when I saw that on the area where I touch often the print bed when removing the purge line the filament was not sticking to bed!
After cleaning the bed and running a re-starting the print with 0.01 mm Z-offset for PETG I saw after a while (middle of the 1st layer ) that I gad some ripples in the center, I decreased the bed temperature by 5° to 70° and increased z-offset to 0.015 mm for the rest of the print which worked out well.
Just wanted to show again how important it is to:
- Have the right filament setting
- An print bed which is leveled and meshed
- AND to clean the bed very carefully, especially on big prints!
1 Like