I’ve tried everything to tightening/loosening everything I can to shimming and nothing leads to success. I mean, come on Creality how do you expect (me) to print any reasonable first layers ESPECIALLY when the “Auto Calibrate” doesn’t even come close to compensating?
I guess I’m gong to have to live with it for now. I’m not interested in modding the heck out of it. I just want it to work.
Ok, buddy, you’re in the wrong subforum, this is only for the Ender 3 V3 Core XZ. That’s why I asked you earlier.
With your printer, I can’t help you since I don’t have that model.
But if there’s something in common between the two printers from what I’ve seen, the first layer problem. It seems that the inability to manually level the bed and the limited mesh correction applied by the printer is the source of the issue.
I guess they’ll need to fix the software to make the mesh correction more accurate.
Hello-
Well I have a 1-week old Ender 3 V3 Plus (core xz) and if I understand your issue correctly, I am having the same issue. Support has been helpful and provided a link to the “Creality Aftercare Service” videos on YouTube….(if you haven’t seen them, they demonstrate how to perform maintenance on a variety of models) and I’ve (mostly) solved my 1st layer over- extrusion issue by adjusting my Z-offset up by only .05…with no obvious way to save it for the next print.
I’ve just sent a follow-up message about this to support and hope they provide an answer. I don’t mind adjusting it….but this seems kind of ridiculous. I have no idea what the Z-offset IS…I just know I need to adjust it up by .05. I use Orca Slicer and can enter it in my profile if I find out what it is…
Is this similar to the issue you are having?
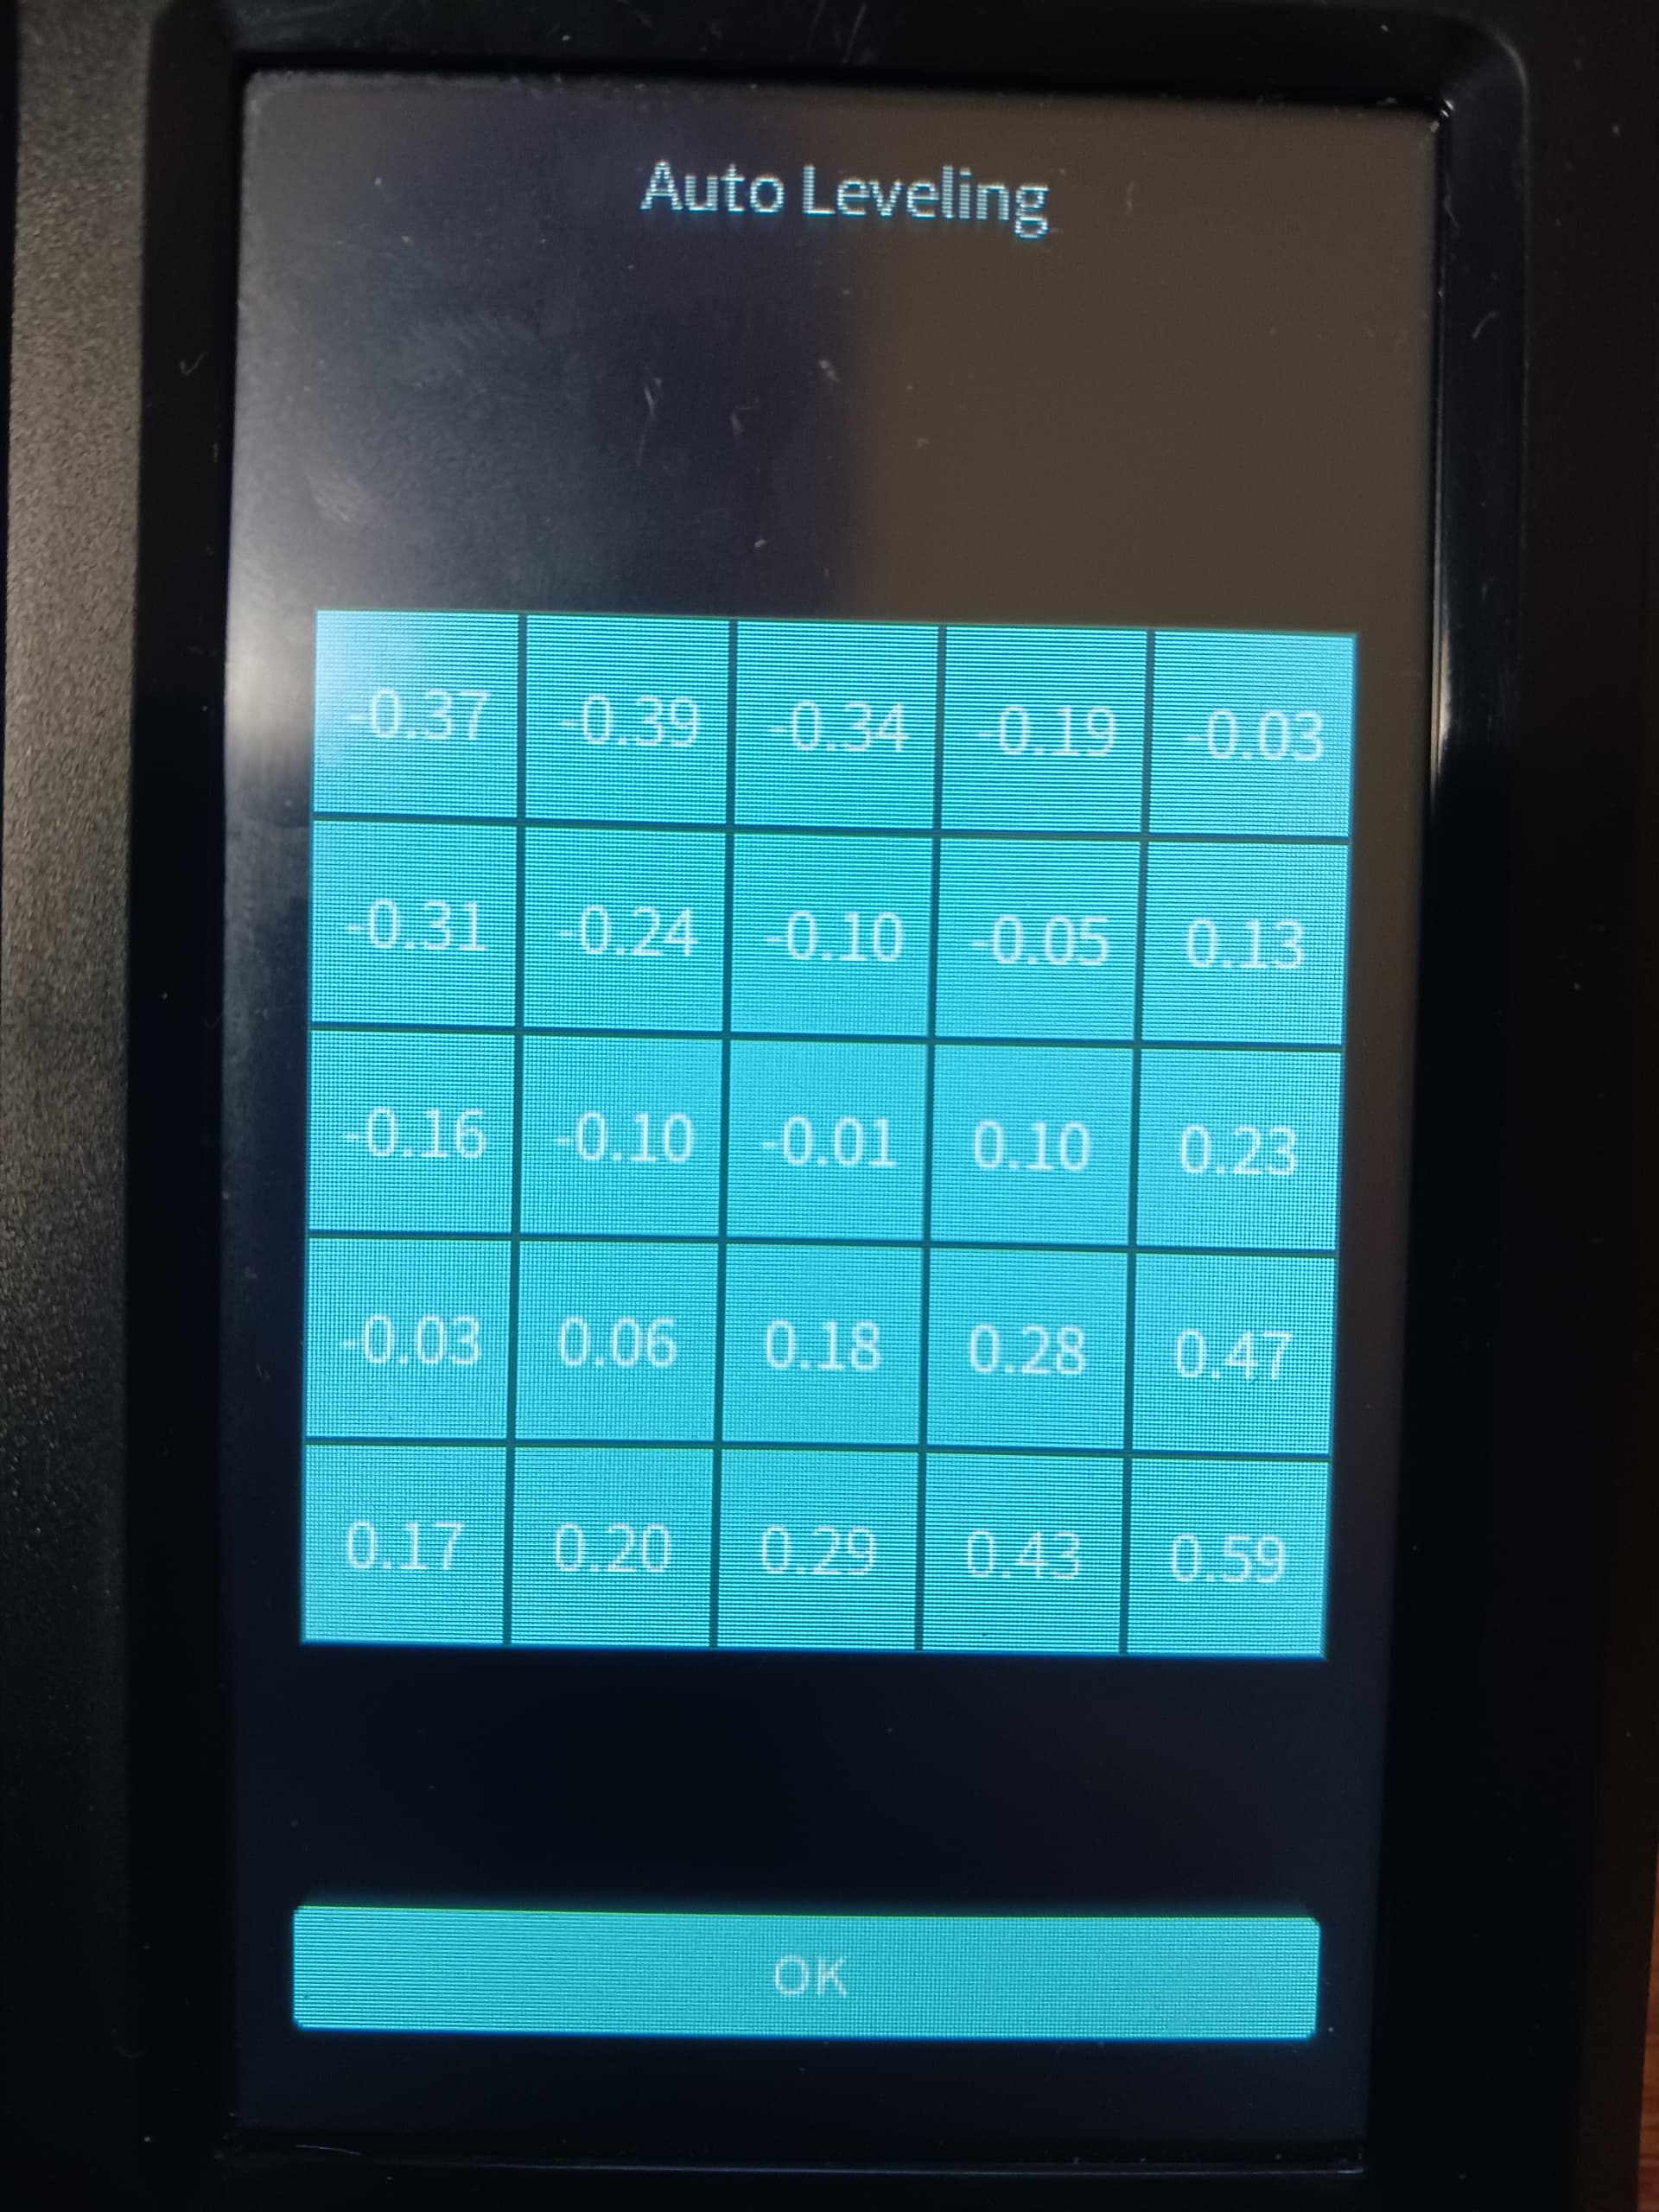
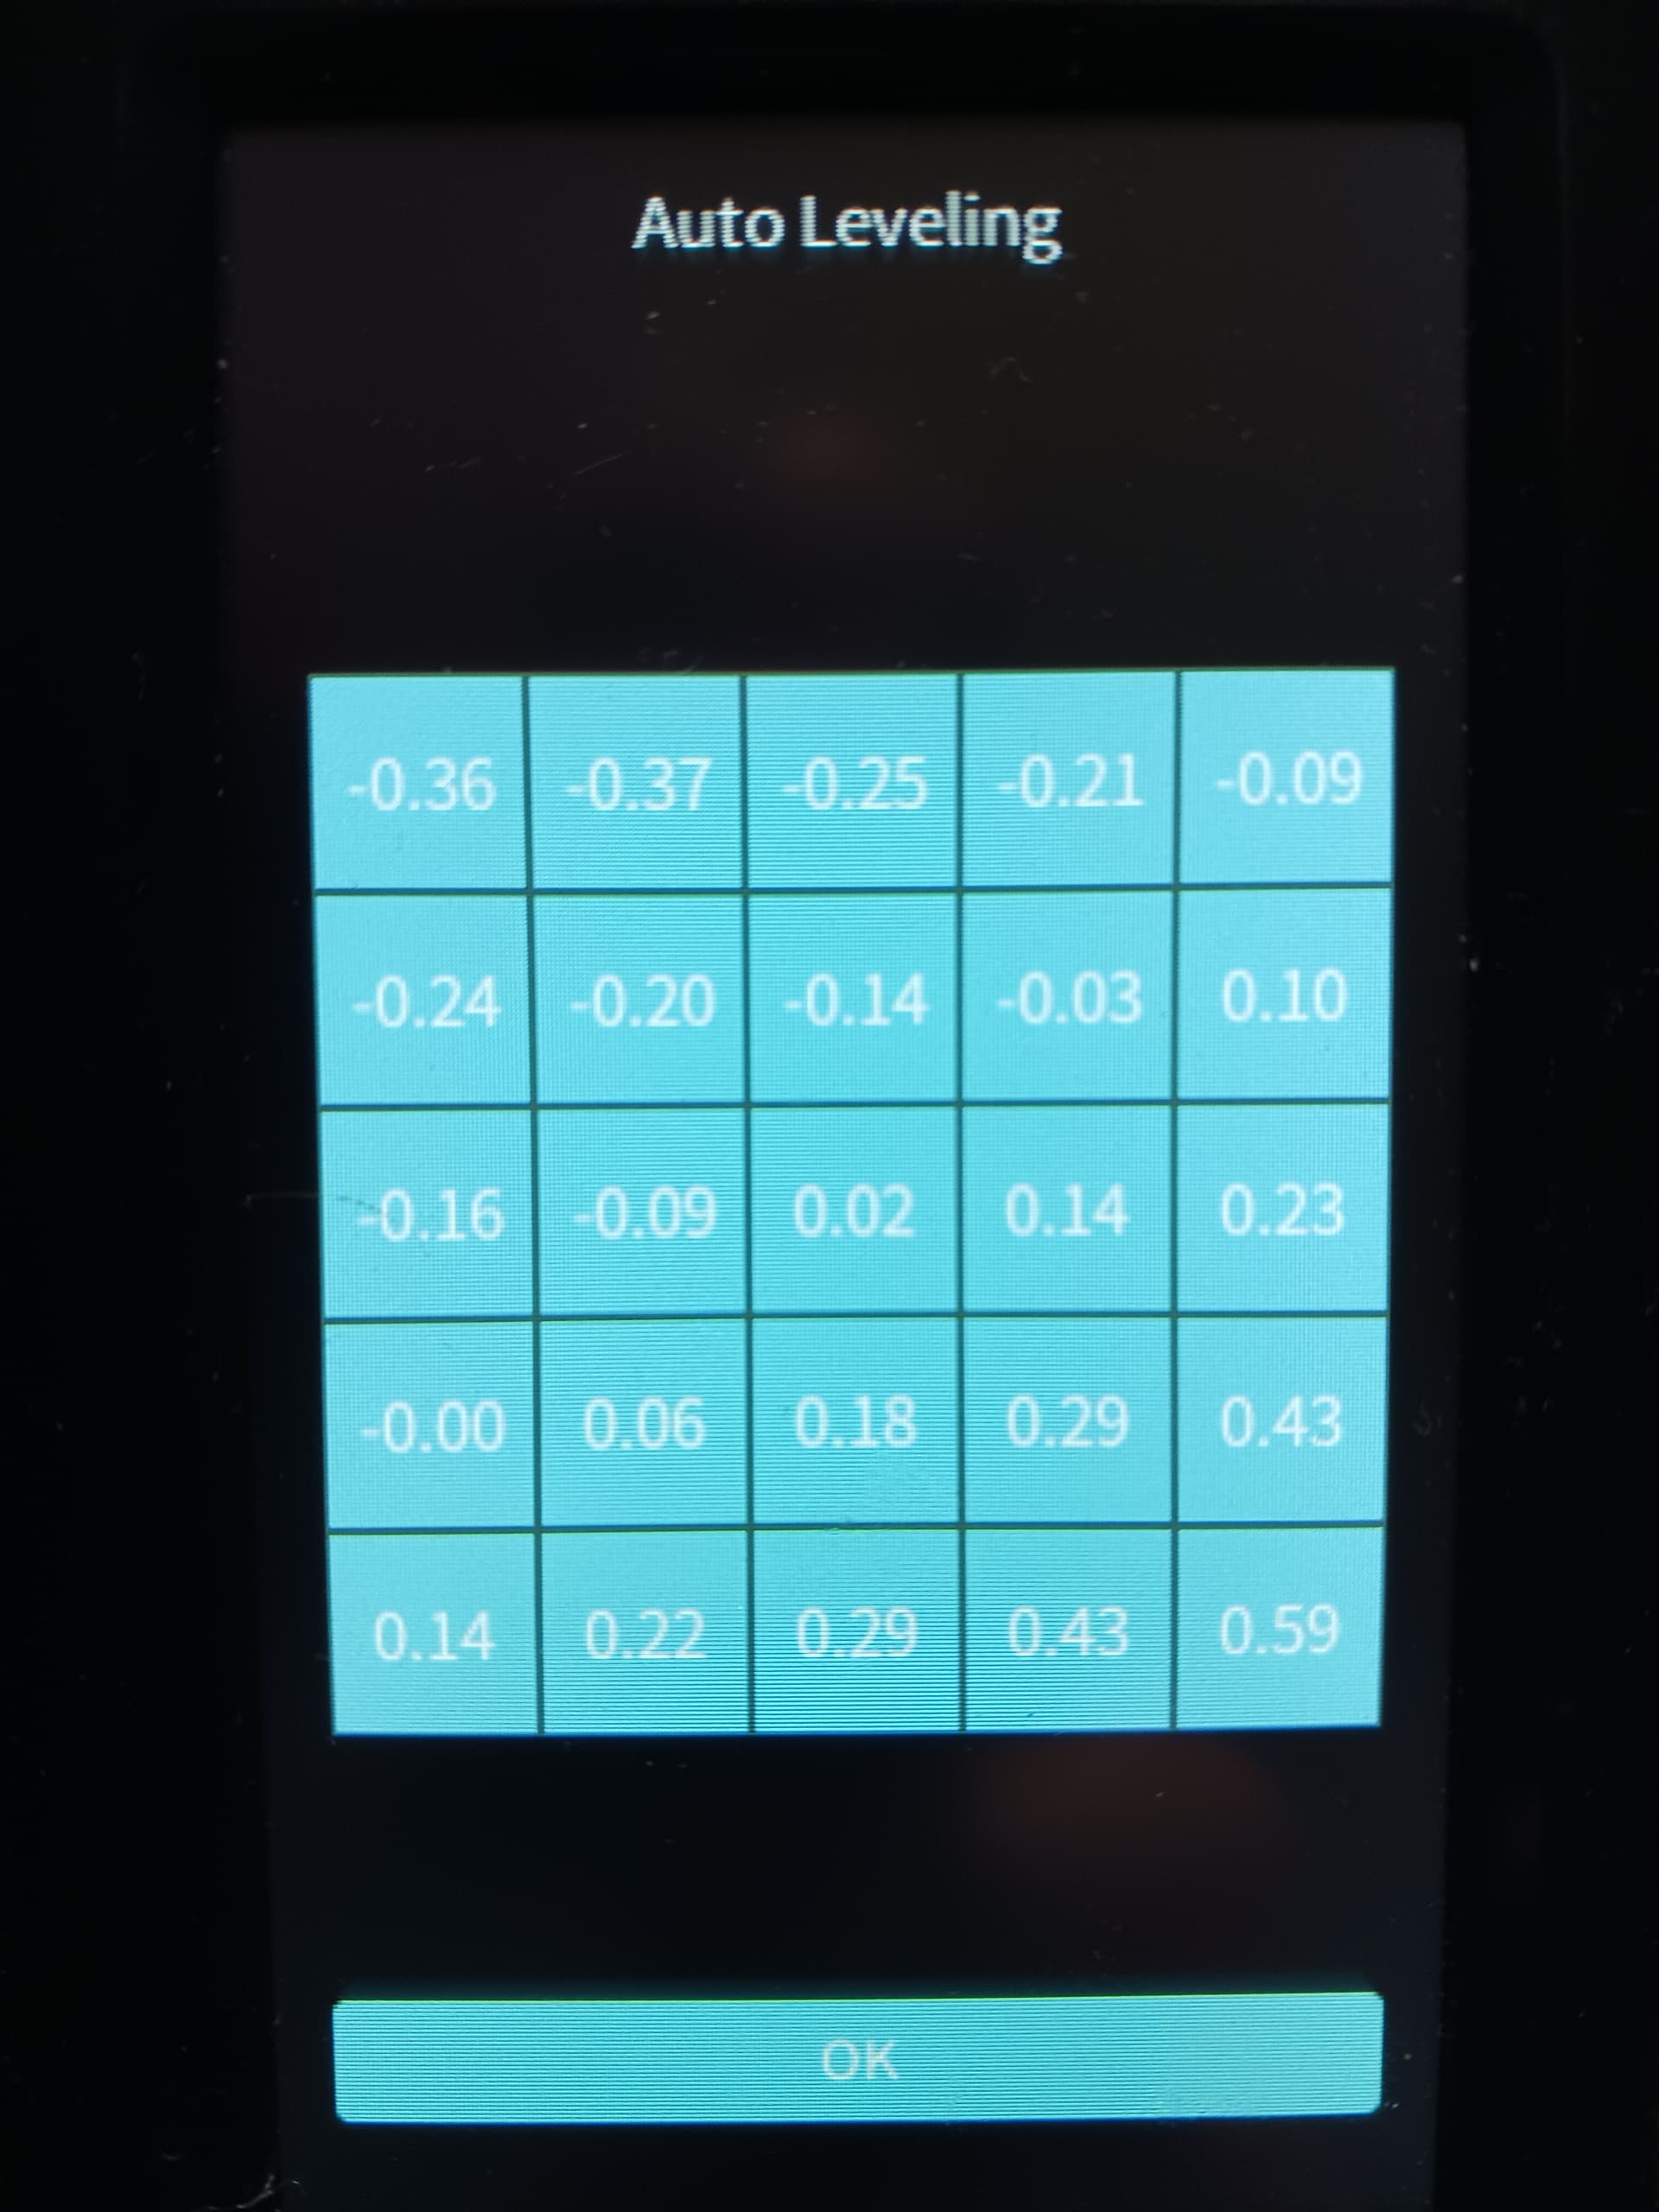
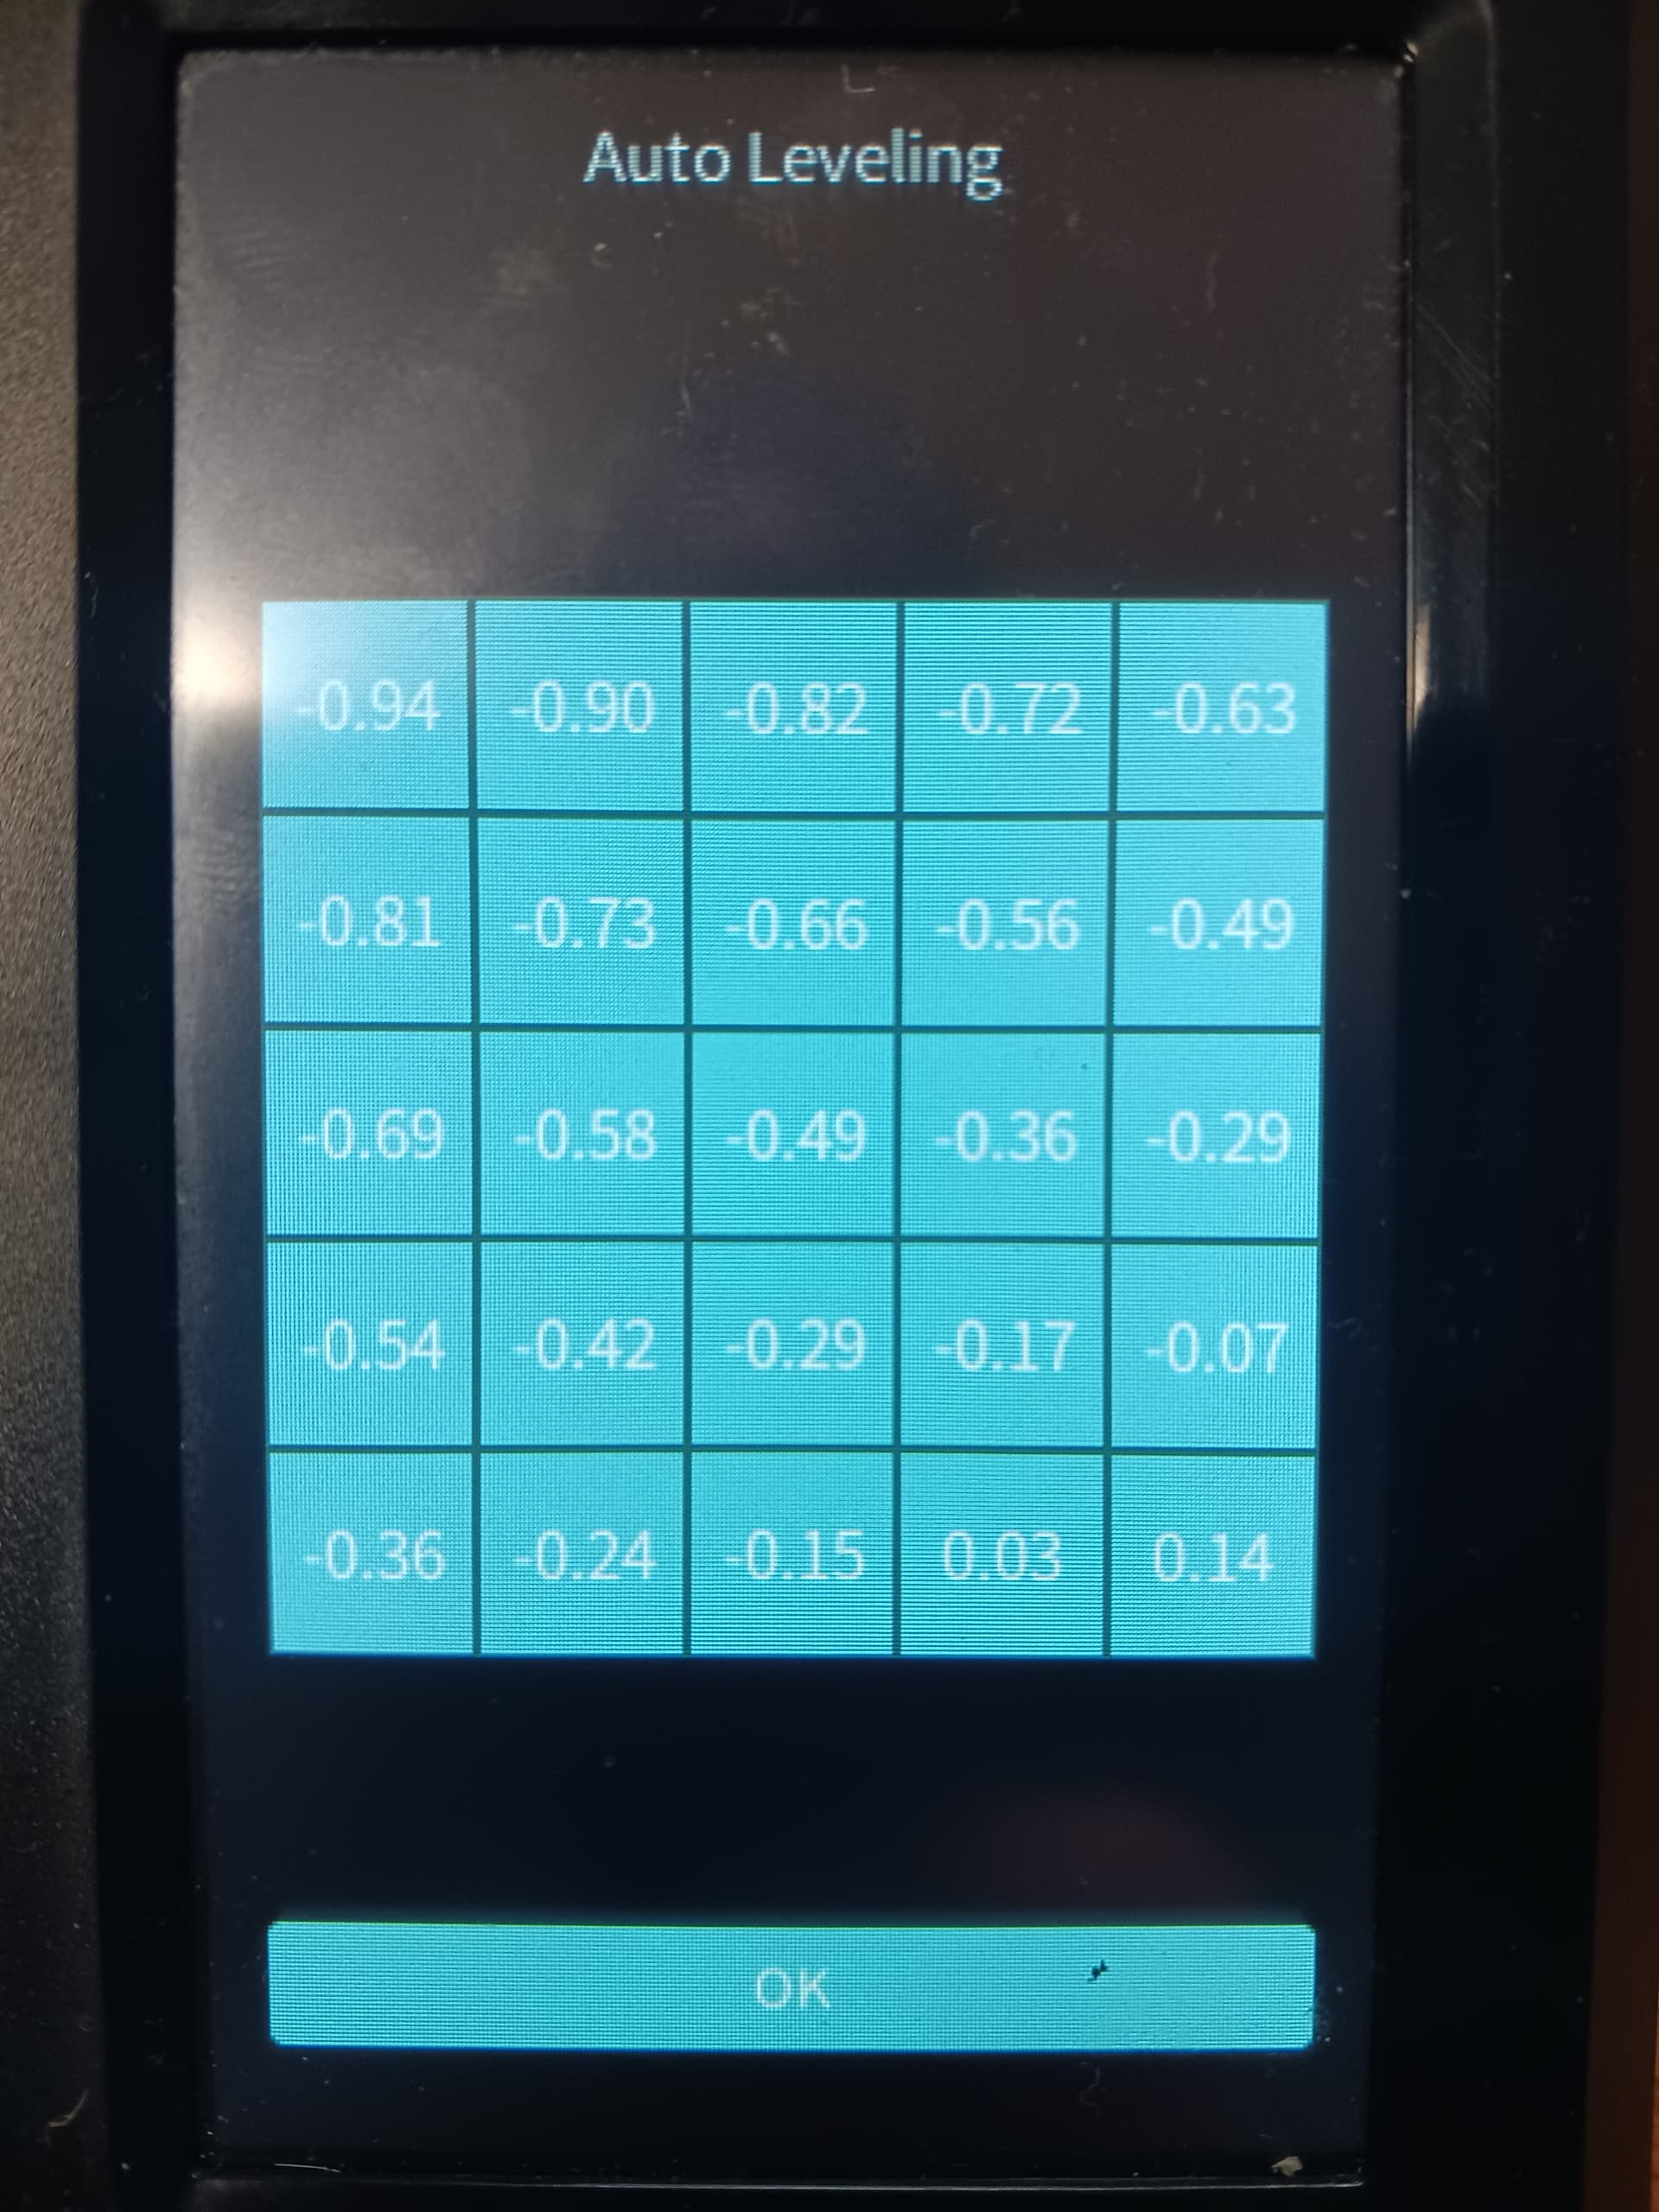
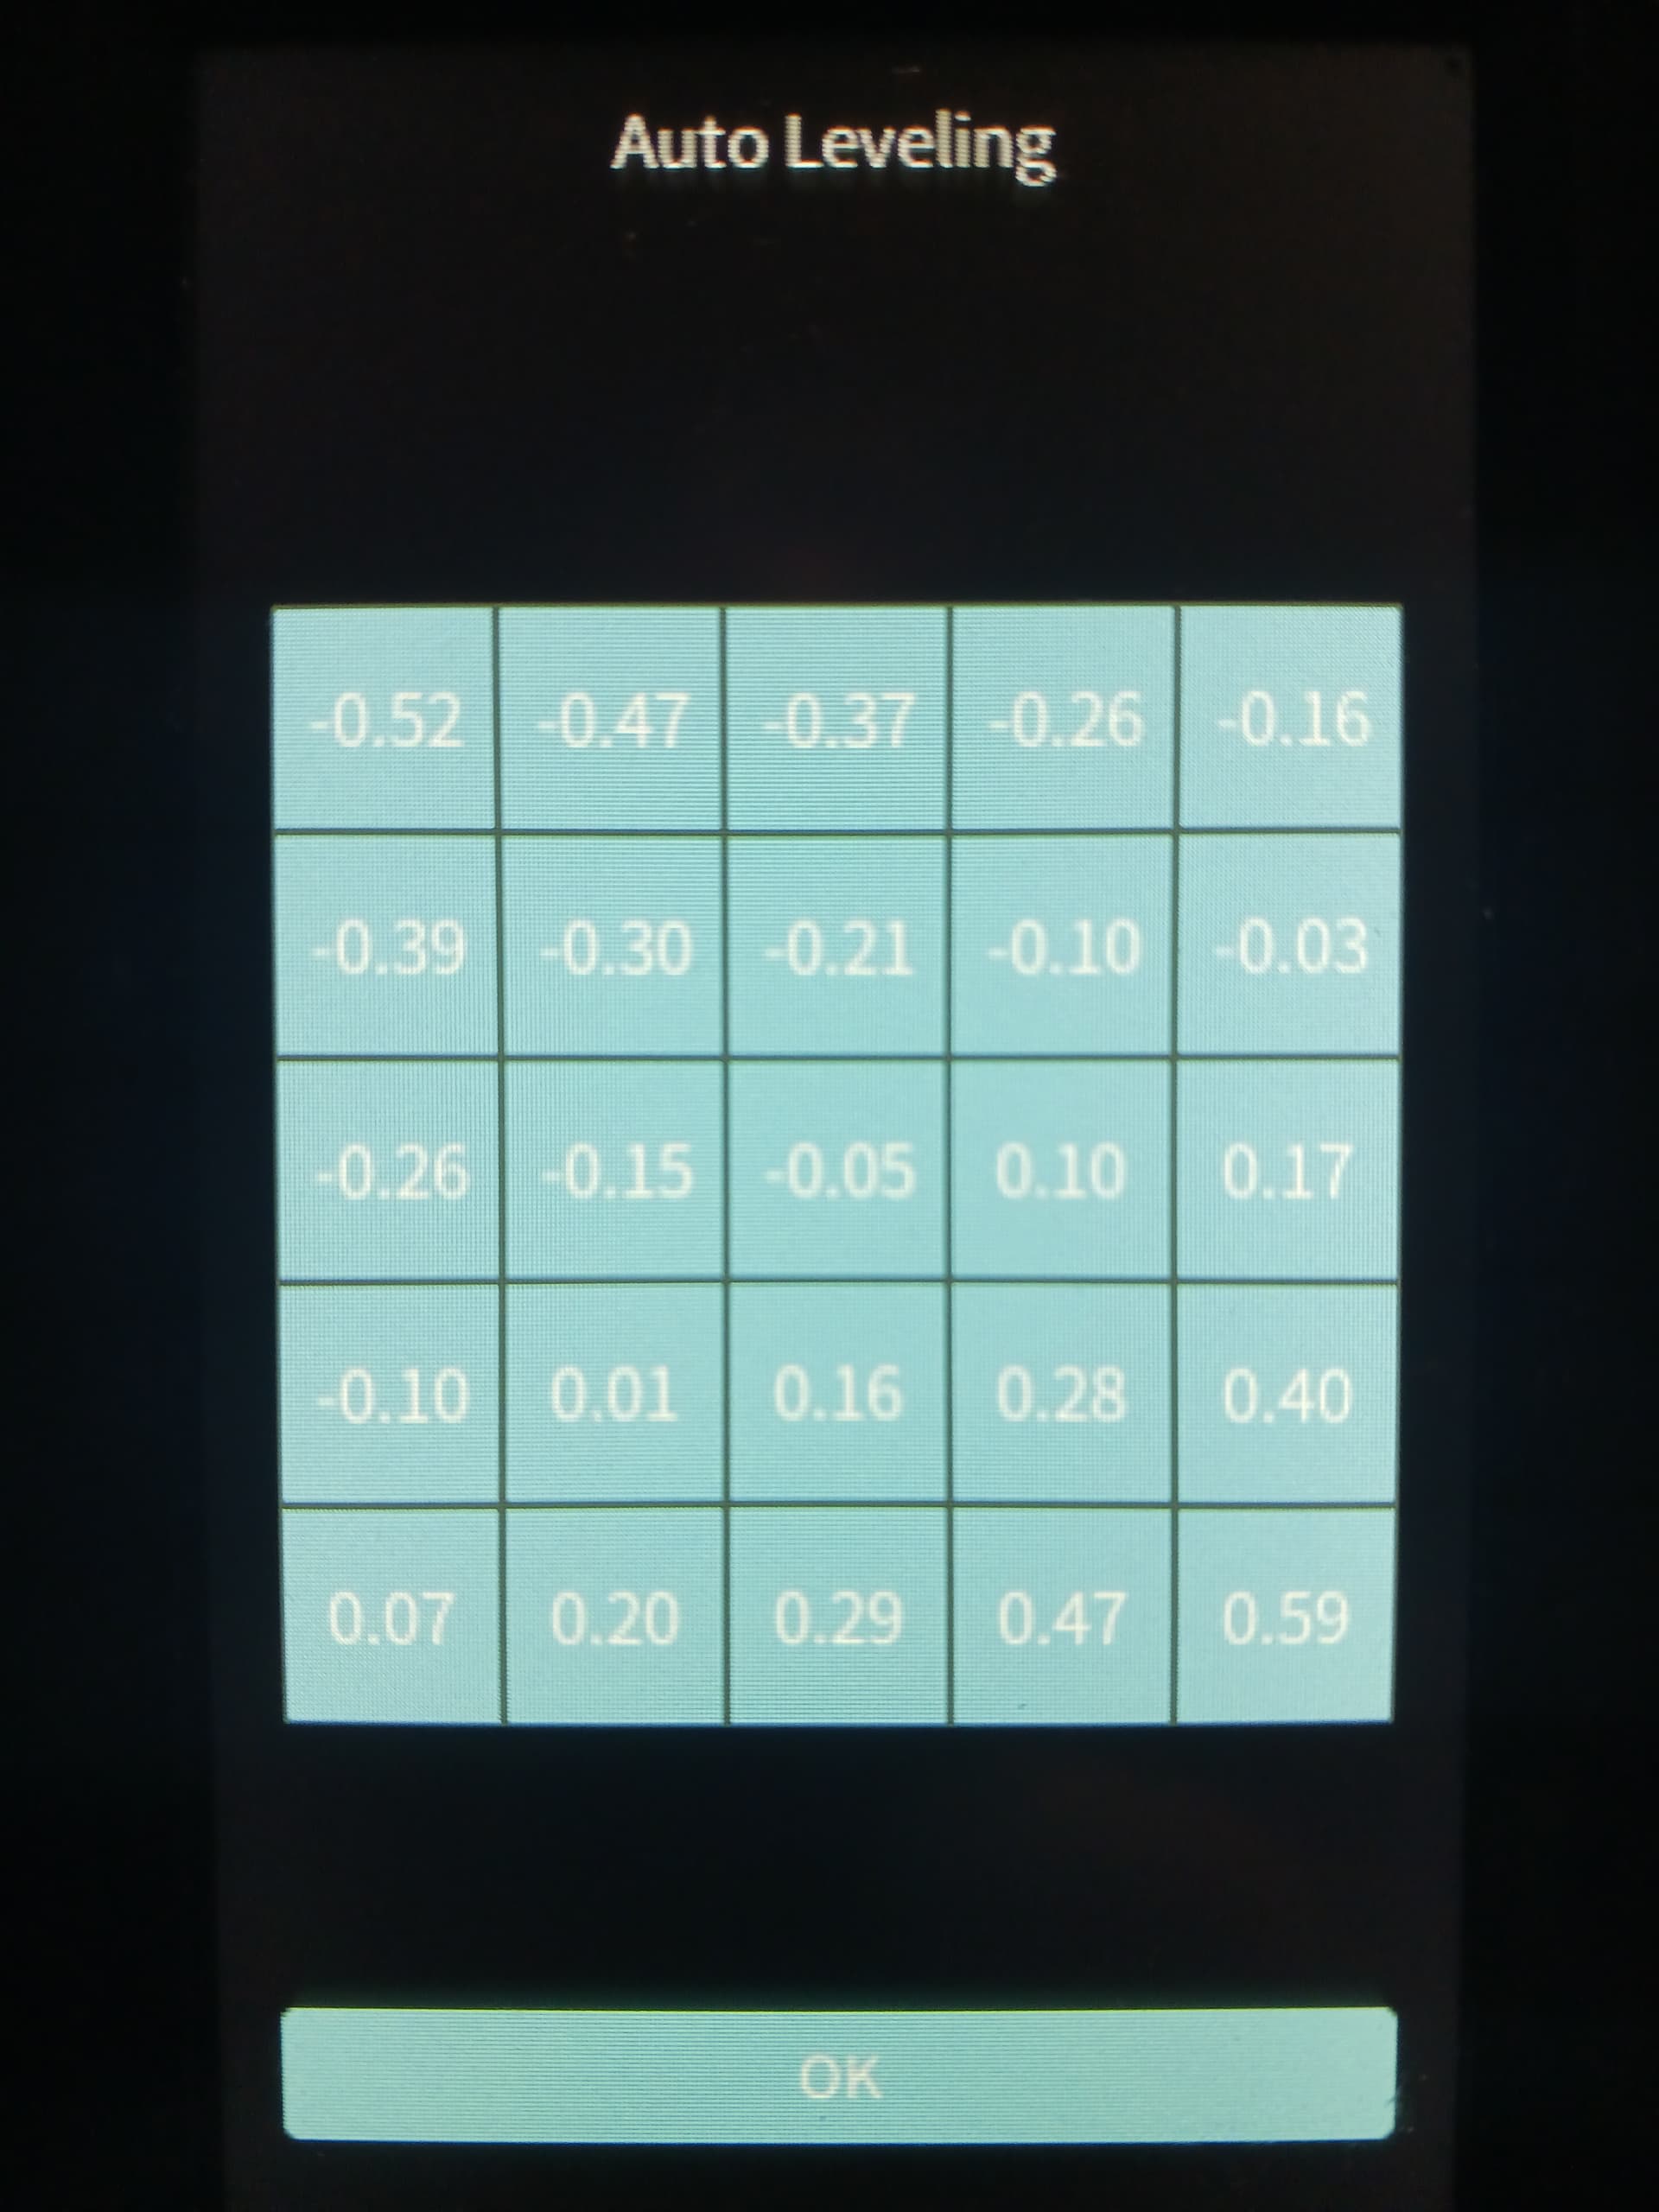
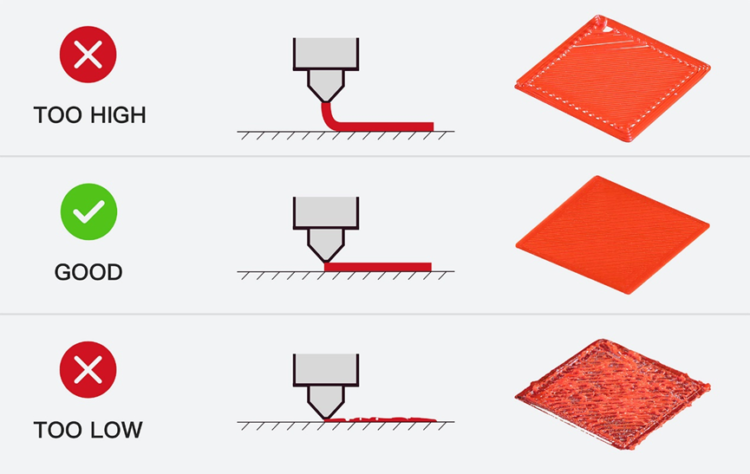
I can’t help with your Orca slicer Z offset settings but this pic might help you understand what you are dealing with…
As your nozzle seems to be too close you set the Z offset at .05 which moves the nozzle away. Setting it with -.05 would move it closer…
As you print the first layer you get to know how it should look too close or too far.
I’m sure someone here familiar with Orca can help you with those settings so you won’t have to keep changing them..
Depending on how uneven the build plate is the machine should be able to compensate by moving the nozzle after it’s calibrated which is the self leveling. The build plate itself doesn’t move on the z axis but I would check under the plate to make sure nothing is sticking to it like a loose piece of plastic causing it to be uneven. Put the build plate on a smooth surface and make sure it’s not bent.
I’ve never had to do this but some users have luck using shims or pieces of tape if the bed is really bad.
After autobed-leveling I find that the nozzle is not at the correct distance from the bed (i.e.: if I set the nozzle to 0.2 mm, it really is at 0.1 mm) and the first layer is totally squished.
I am an experienced Marlin user, and it is my first Klipper printer.
But I thought, correct the z-offset and save it in the printer’s firmware.
Well, for some reason, even if I put the correct z-offset during a print (using the screen or Fluidd) and the print comes out right, when I turn the printer off and then on, that z-offset is completely lost, and the next print will have the same old terrible first layer.
I did check the printer.cfg file through Fluidd and the correct z-offset was set there, but the printer just ignores it.
I read in this thread that you have to set the z-offset every time you print (or maybe turn this printer on), is that correct?
I’ve had the Ender-3 V3 Plus for over a year now and never had any issues with first layers. I’ve only run the calibration after a new firmware updates. Stock firmware. Not rooted.
Hello @jimandyen, thanks for the response. I guess you are one of the lucky ones. Or I’m one of the unlucky ones.
I also have stock firmware.
But the question remains, is there a simple way to fix the z-offset if the auto calibration does a bad job? (other than putting the z-offset in the slicer)
You didn’t mention what slicer you are using. If Creality Print you might play around with the Z settings in it to see if that helps otherwise…
It sounds like there is some file or configuration that is over riding your settings. That’s the first thing I would look for. Since my printer is stock and I don’t really have a clue how the marlin and Klipper systems interact with the printer settings so I haven’t changed anything.
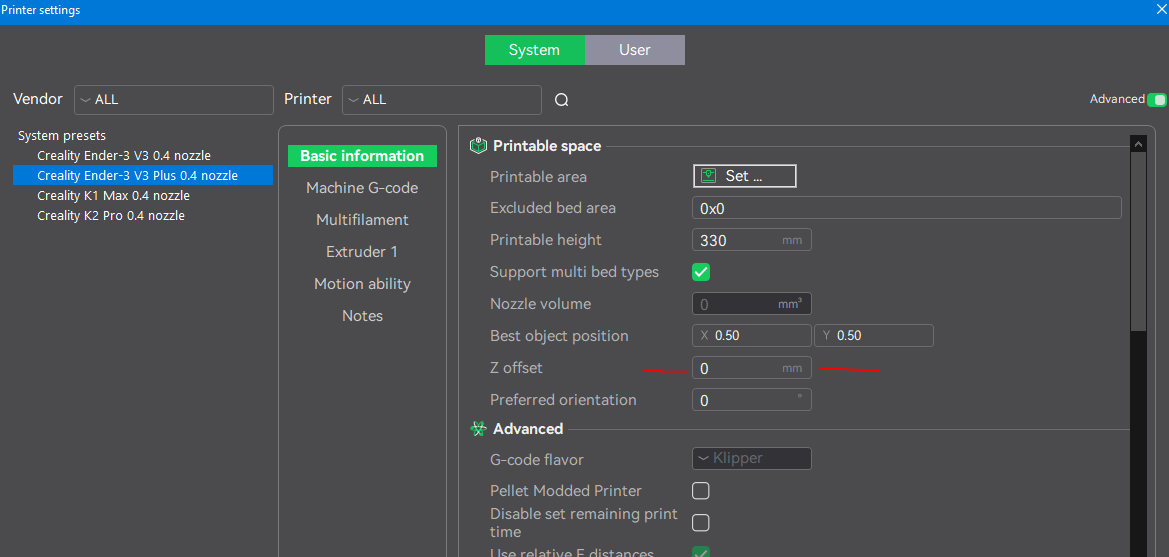
I’m using Orca slicer (with the presets from Creality, and it has the same Z offset option, which I have at 0). I just checked the g-code and I don’t find it overriding the z-offset of the printer.
On Monday, I’ll try with Creality Print and see if it makes a difference.
So I was able to find a way to introduce a “persistent” z-offset for the Ender 3 V3 (plus or not plus).
First, the line:
z_offset: 0.100
in printer.cfg is completely ignored by the V3.
(some users found the same thing for the Hi printers: Z offset not saving - #16 by IgorA )
But the following line in [gcode_macro START_PRINT] in the file gcode_macro.cfg can do the trick:
SET_GCODE_OFFSET Z=0.100
This will shift the print head up by 0.1 mm for every print.
And this is almost slicer-independent.
One has to make sure that the slicer has the following line in the “Machine start G-code” section: START_PRINT
Actually Orca slicer comes with:
M140 S0
M104 S0
START_PRINT EXTRUDER_TEMP=[nozzle_temperature_initial_layer] BED_TEMP=[bed_temperature_initial_layer_single]