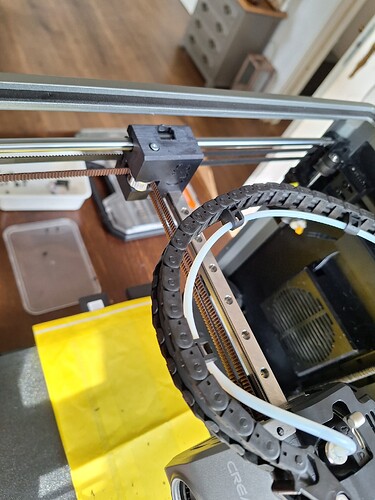
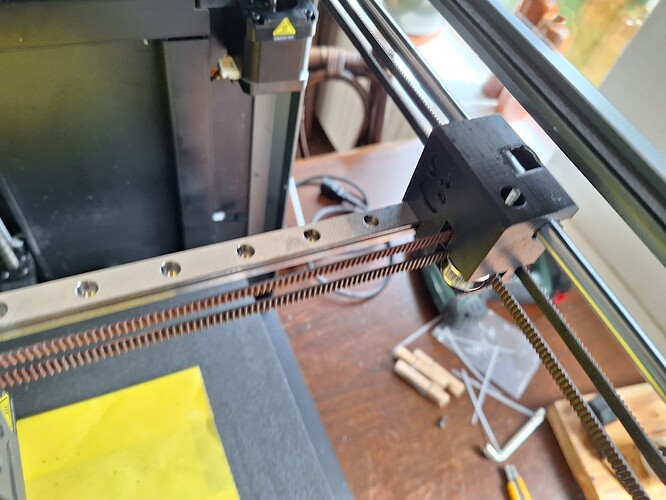
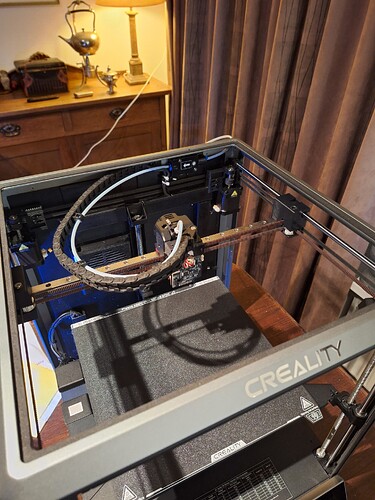
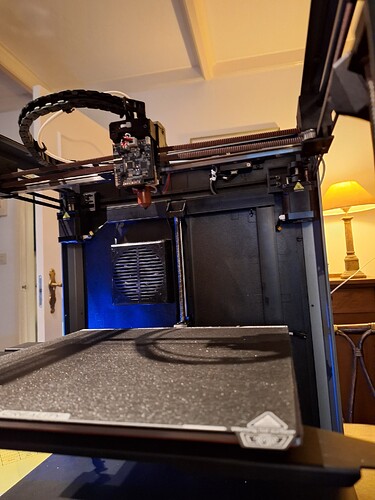
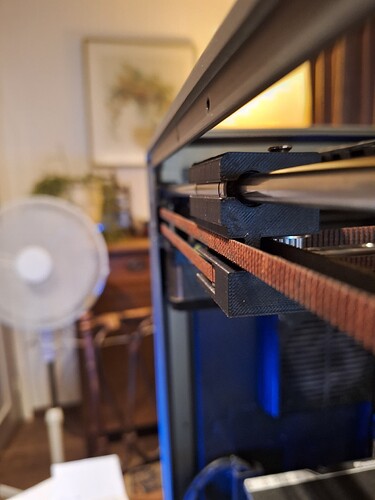
I made the X Axis modification/upgrade by installing a linear rail MGN12 on my K1 max.
The gliders I downloaded from cults3d, a design made by “lashigt”, and made some adjustments on them by making the holes for the teethed gears little bit larger to 4mm diameter so I could use m4 bolts for the Idler gear 20T 5mm.
The printing results are great (Less till no VFA anymore on your prints) and a big improvement of the K1 max without having to root the machine.
Key components to buy :
- 1pcs - Linear Rail (MGN12H L= 400mm) with Carriage (Precision/Fitting Class Z1),
- 2pcs - Idler Gear 20T 5mm,
- 4pcs - 3x10x4 Bearing (F623Z),
- M3x6 Heated Inserts - Voron type,
- M4x9 Heated Inserts - Voron type
- 2 pcs Bolts (M3 DIN 7991 and DIN 912, lenghts 30 mm),
- 2 pcs Bolts (M4 length 45mm)
- 1 pce Square nut (M4)
- 12pcs - M3x06mm Washers,
Self to print components
- 2 self printed ASA filament left and right side-gliders blocks (design Lashigt)
- 1 self printed ASA filament Extruder-hot-end carriage (design Lashight)
- 1 self printed ASA filament K1 max chainsupport
reuseable stock components
- bolts m3 length 4 mm
- Linear Bearing (LM8UU)
- Bolts DIN7991 M3x16-10,9
here some pictures of the proces :
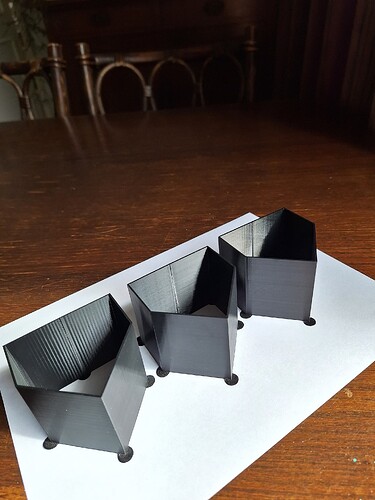
left old petg print(lot of vfa ) and middle and right new petg prints with linear rail less till no vfa.
there are videos you can google how to assemble it by yourself!
