I performed several calibrations on my ender 3 v3 if after several prints, because suddenly the first layer began to no longer adhere very well. every time this happens, I wash the plate with dishwasher degreaser, to make sure it’s clean. what leaves me perplexed is the fact that the values detected by the z offset probe are always very distant. once it gives me a value around -2.50 and the next time -1.60. I corrected the leveling of the plate with a sheet of paper manually in some points, and I would like to understand if it is possible to do the same with the z offset. when I set the print head to the home position and manually change the z offset value, it almost seems as if the z axis does not move, and I have the perception of not being able to do the same job with the sheet of paper under the nozzle. Do you have any tips for optimizing the z offset on this printer? A thousand thanks
You can adjust the Z offset manually in the menu Prepare of the display.
Usually after I level manually the bed I go and print a bed level STL(the one that are concentric squares) during the first to layers I adjust the Z offset to get the best result.
Also try to see if in your final Gcode yo have the bed mesh enable after the home option it is:M420 S1
So the printer can use the mesh of your bed and give a better result.
And finally you will get better adhesion if you buy a PEI sheet or a Glass bed try what fits better for you.
the video doesn’t answer my question. you can see the z offset changing manually but without a precise criterion. I can’t make endless test prints in the hope of finding the correct value…in ender 3, you can adjust the z offset with a sheet of paper. here it seems that the height of the extruder does not move…
I had the same problem. The z offset has no effect when the printer is idle. I had to print a bunch of single layer test prints to dial mine in. The auto level program set the z offset too low, and it gouged the bed!
Did you ever have any luck? I’m trying to troubleshoot issues with my prints that id attributed to the leveling but that I now think may be my z offset. I tinkered a bit last night but had to go on travel for a week so now I get to spend the next 7 days pondering.
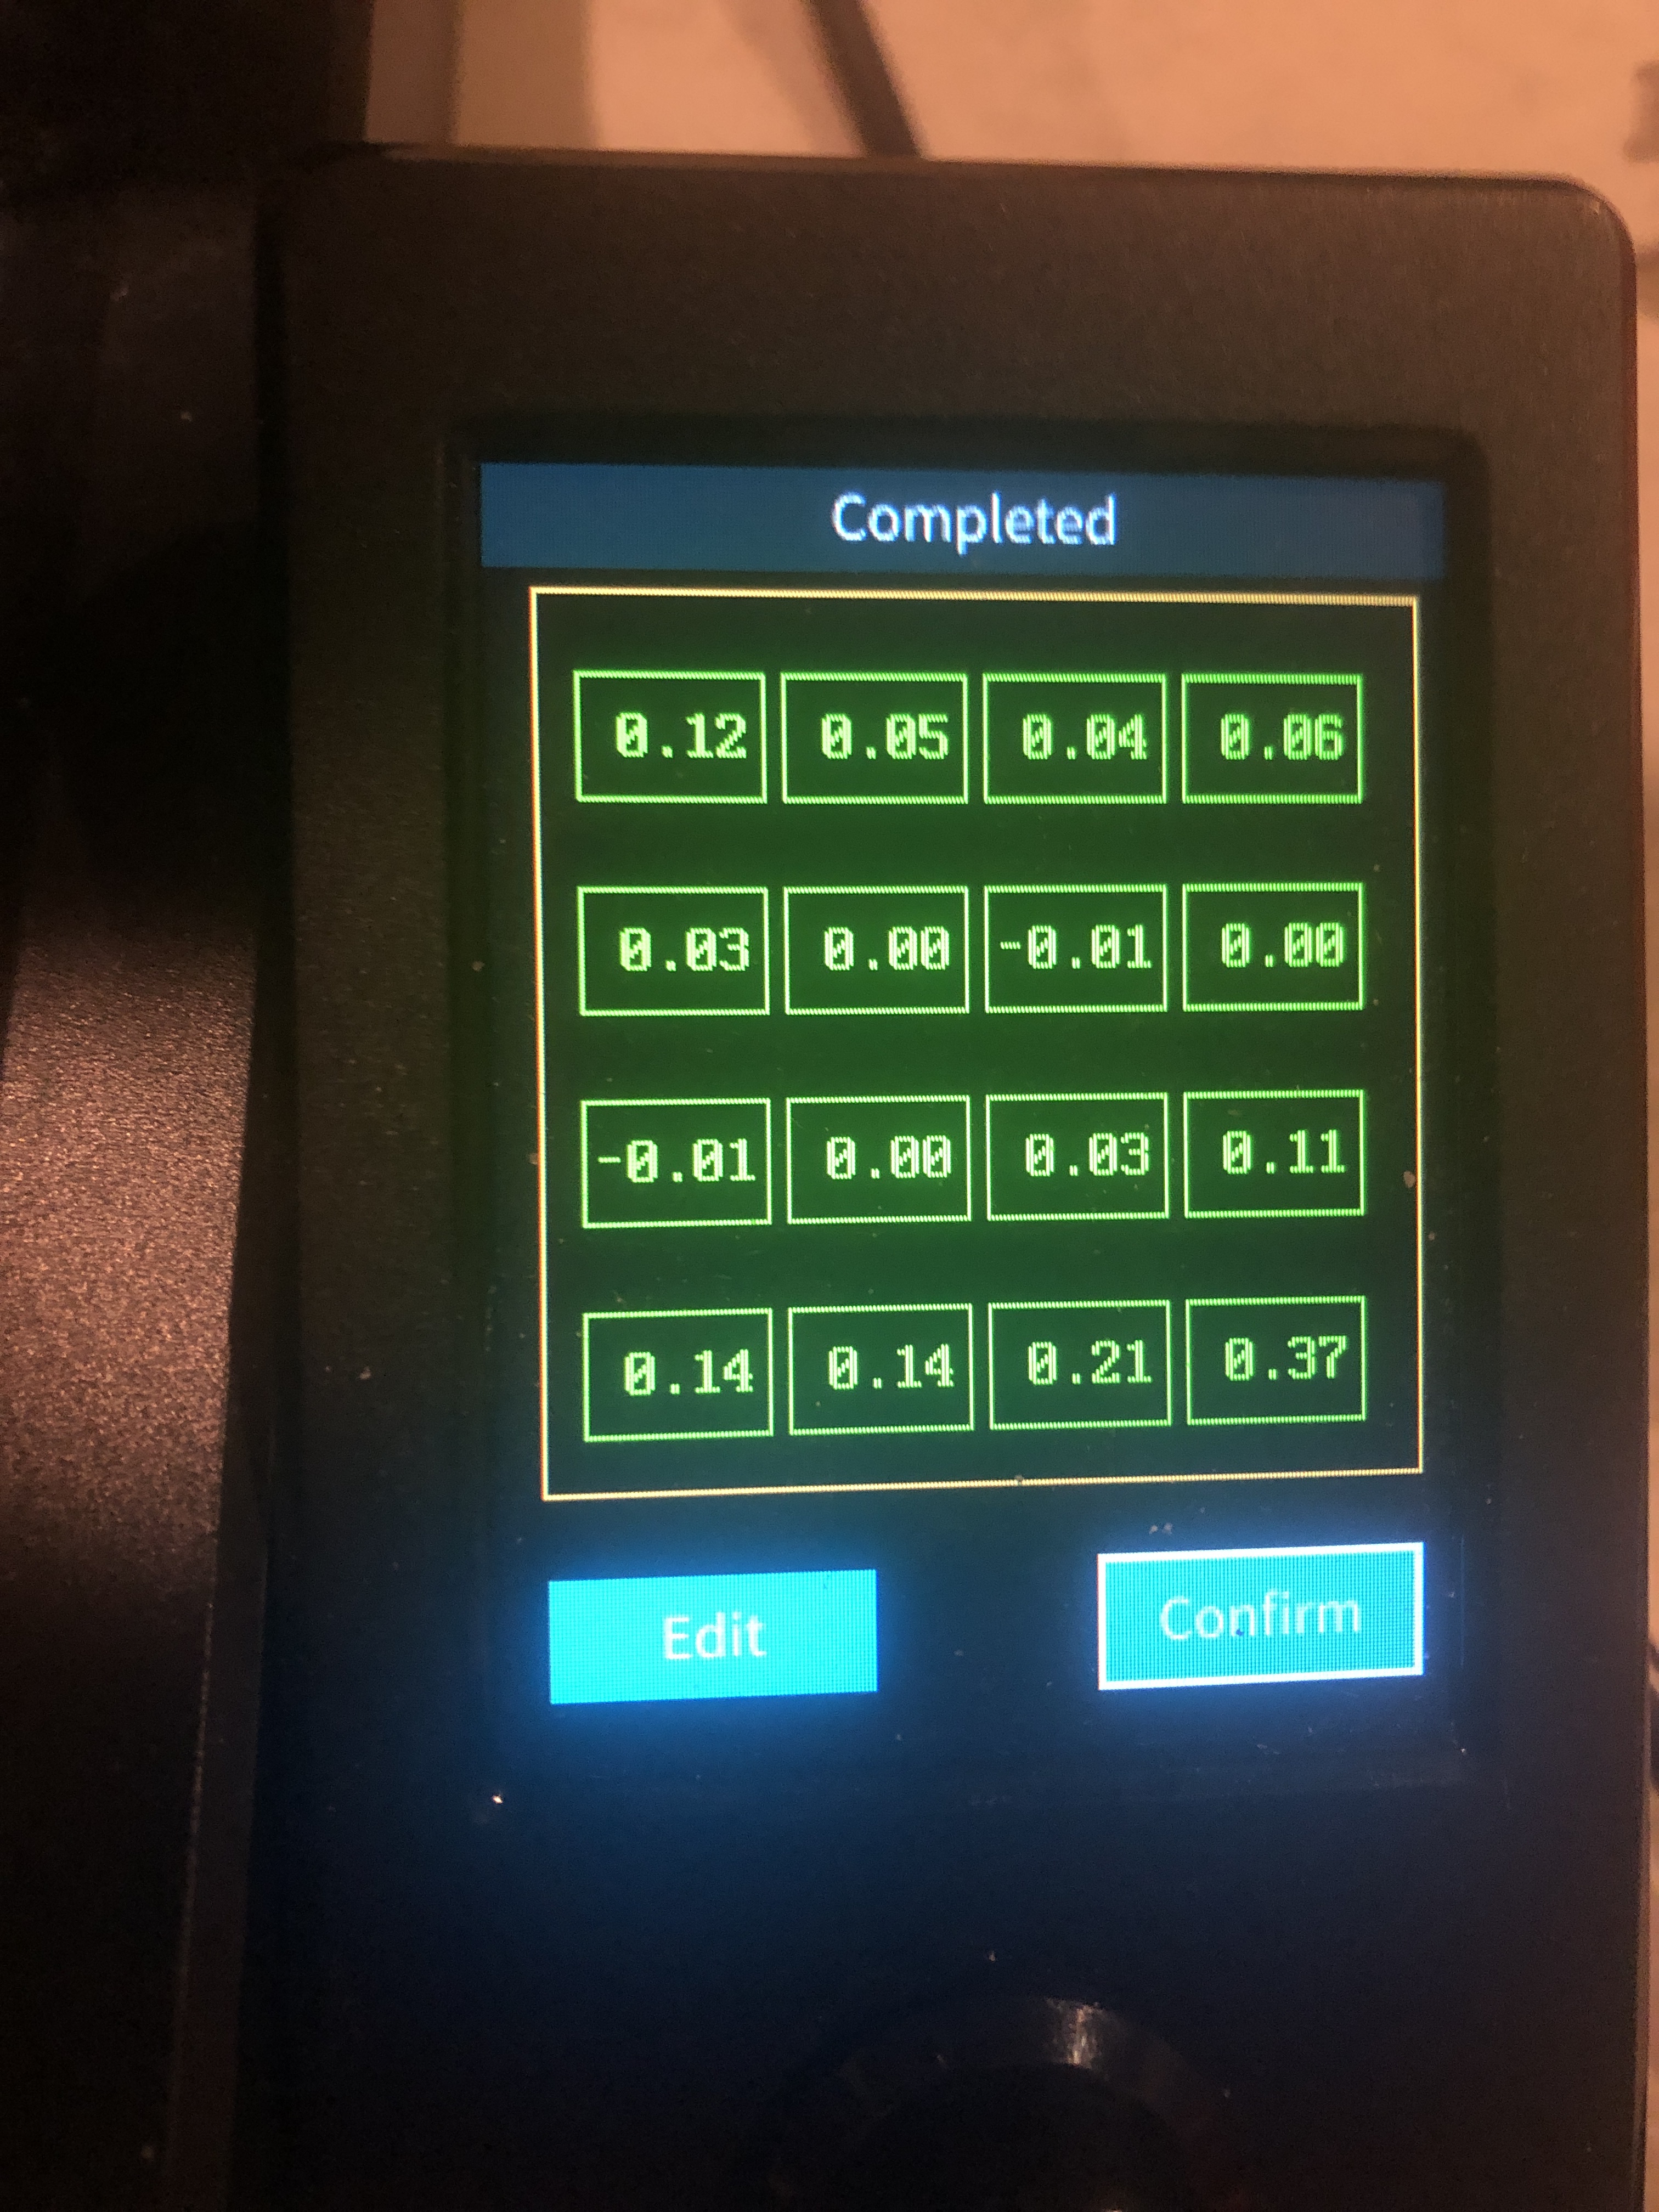
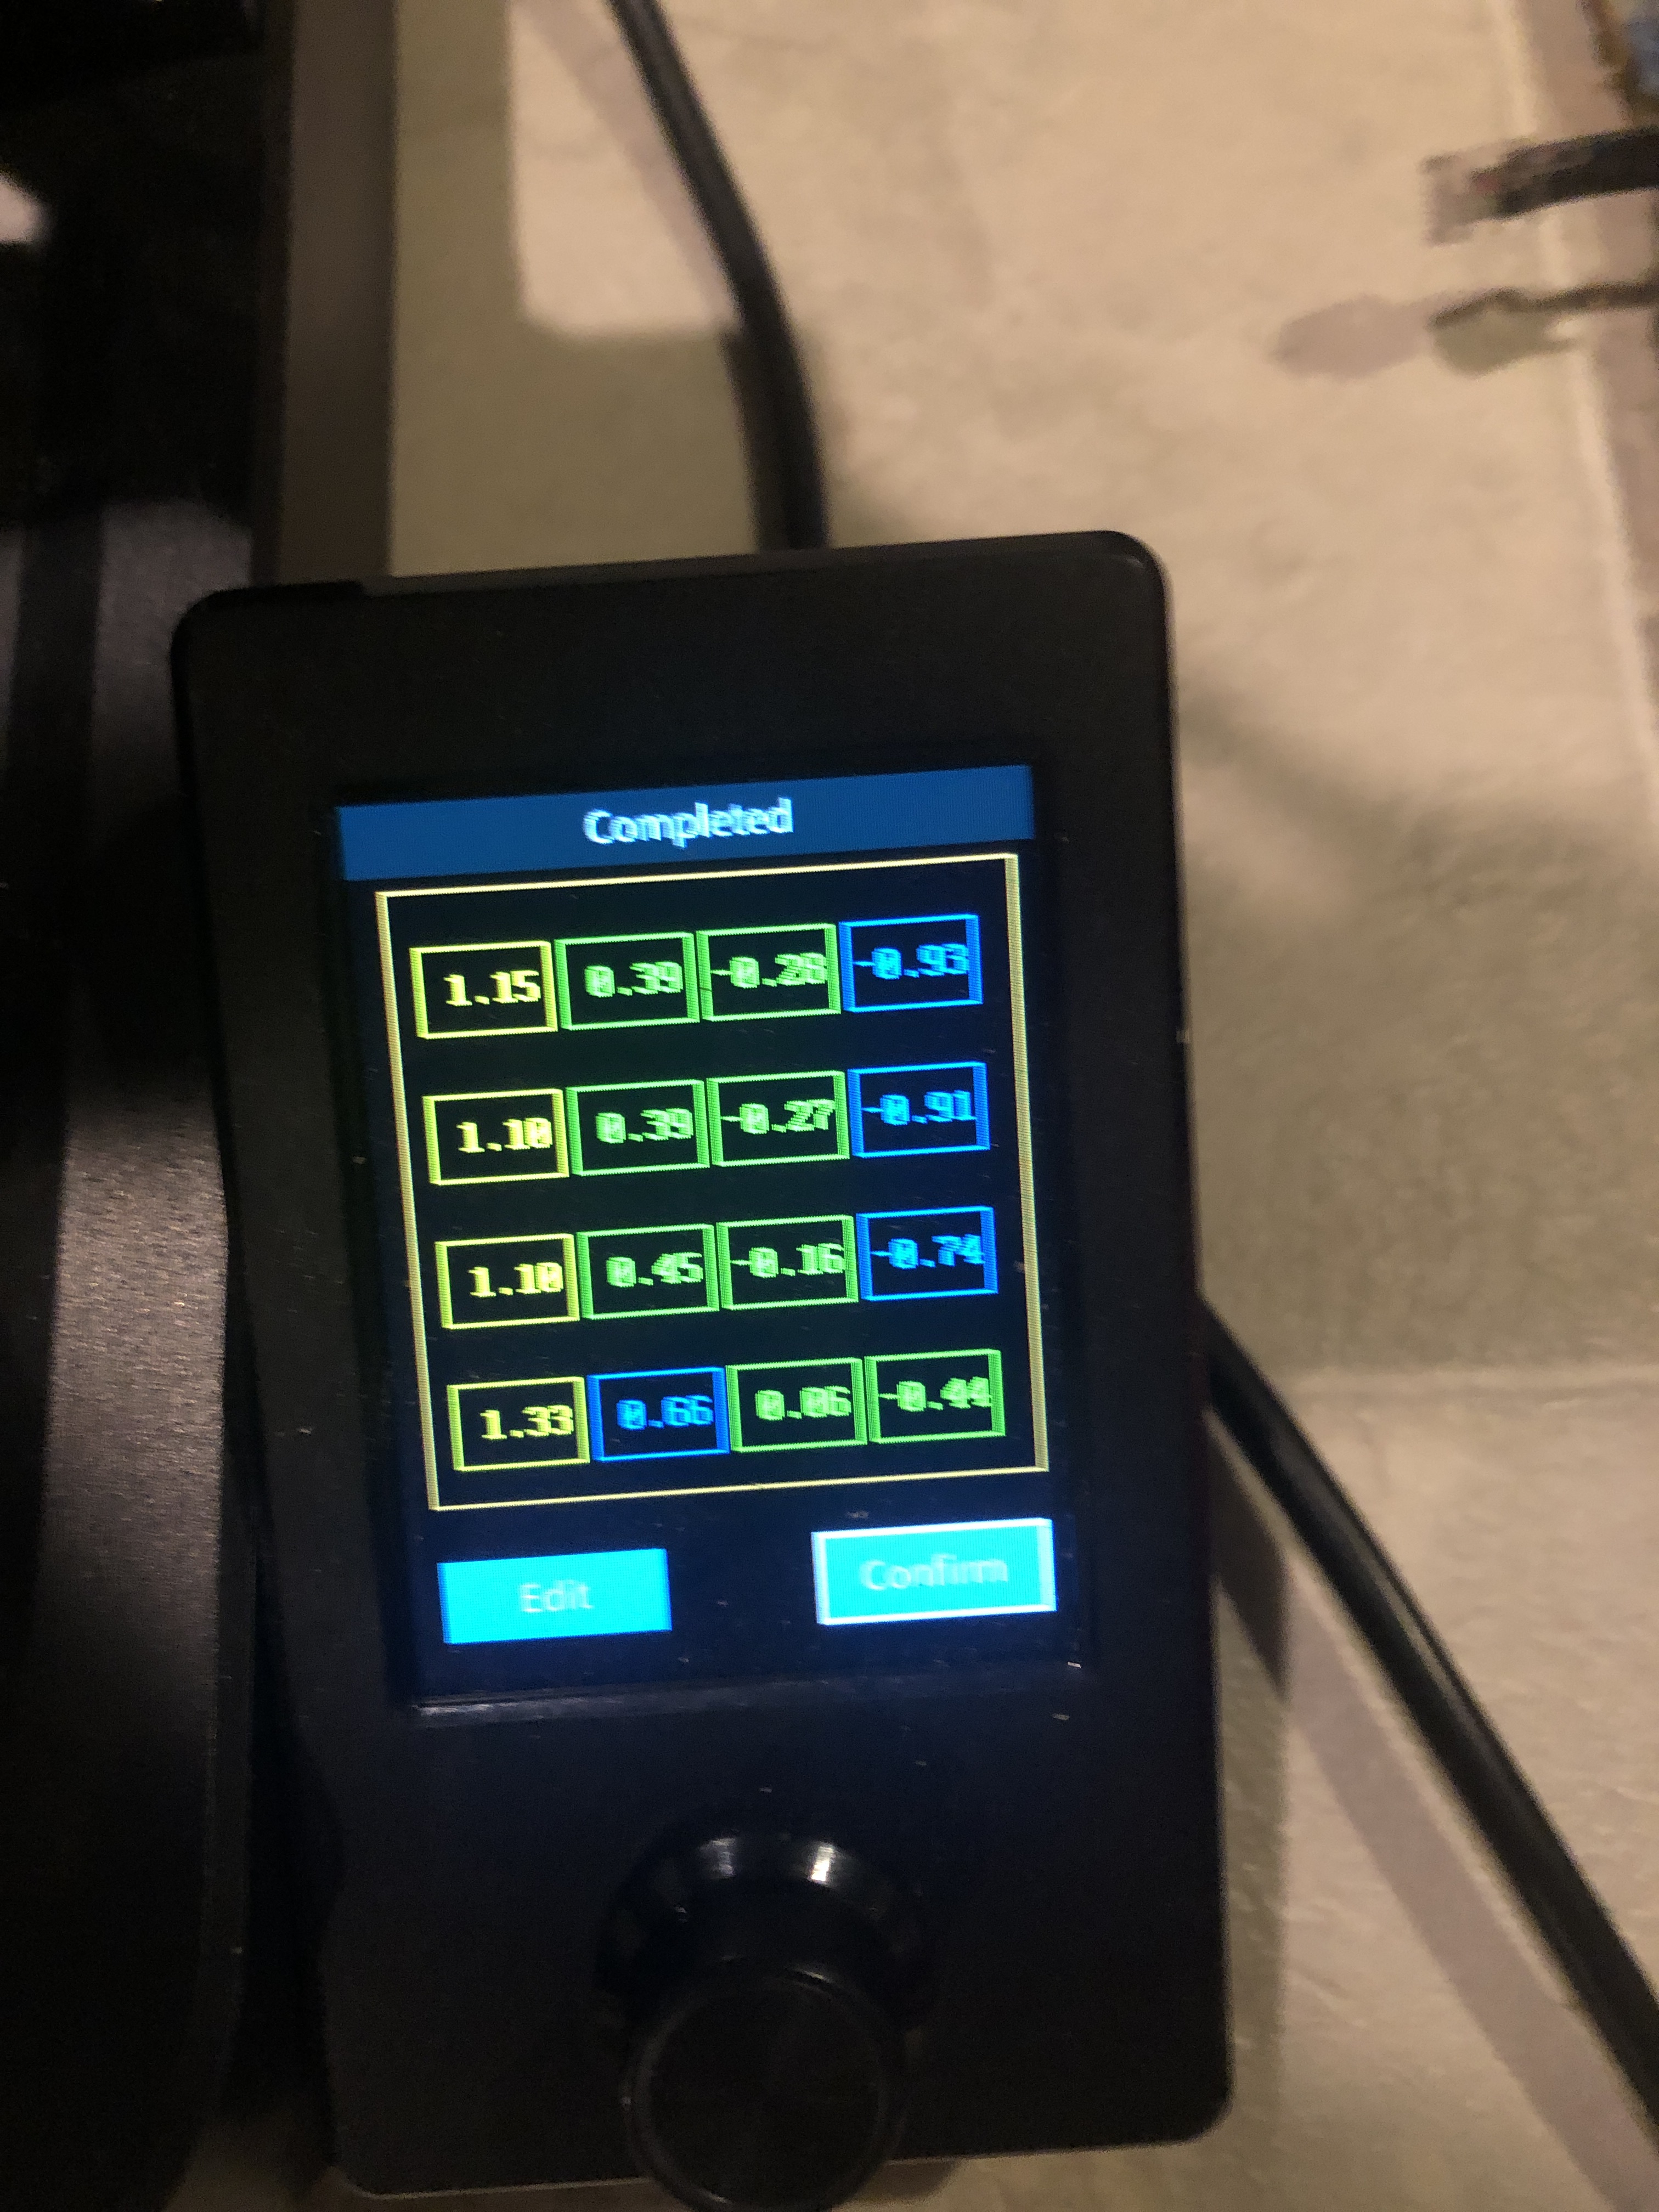
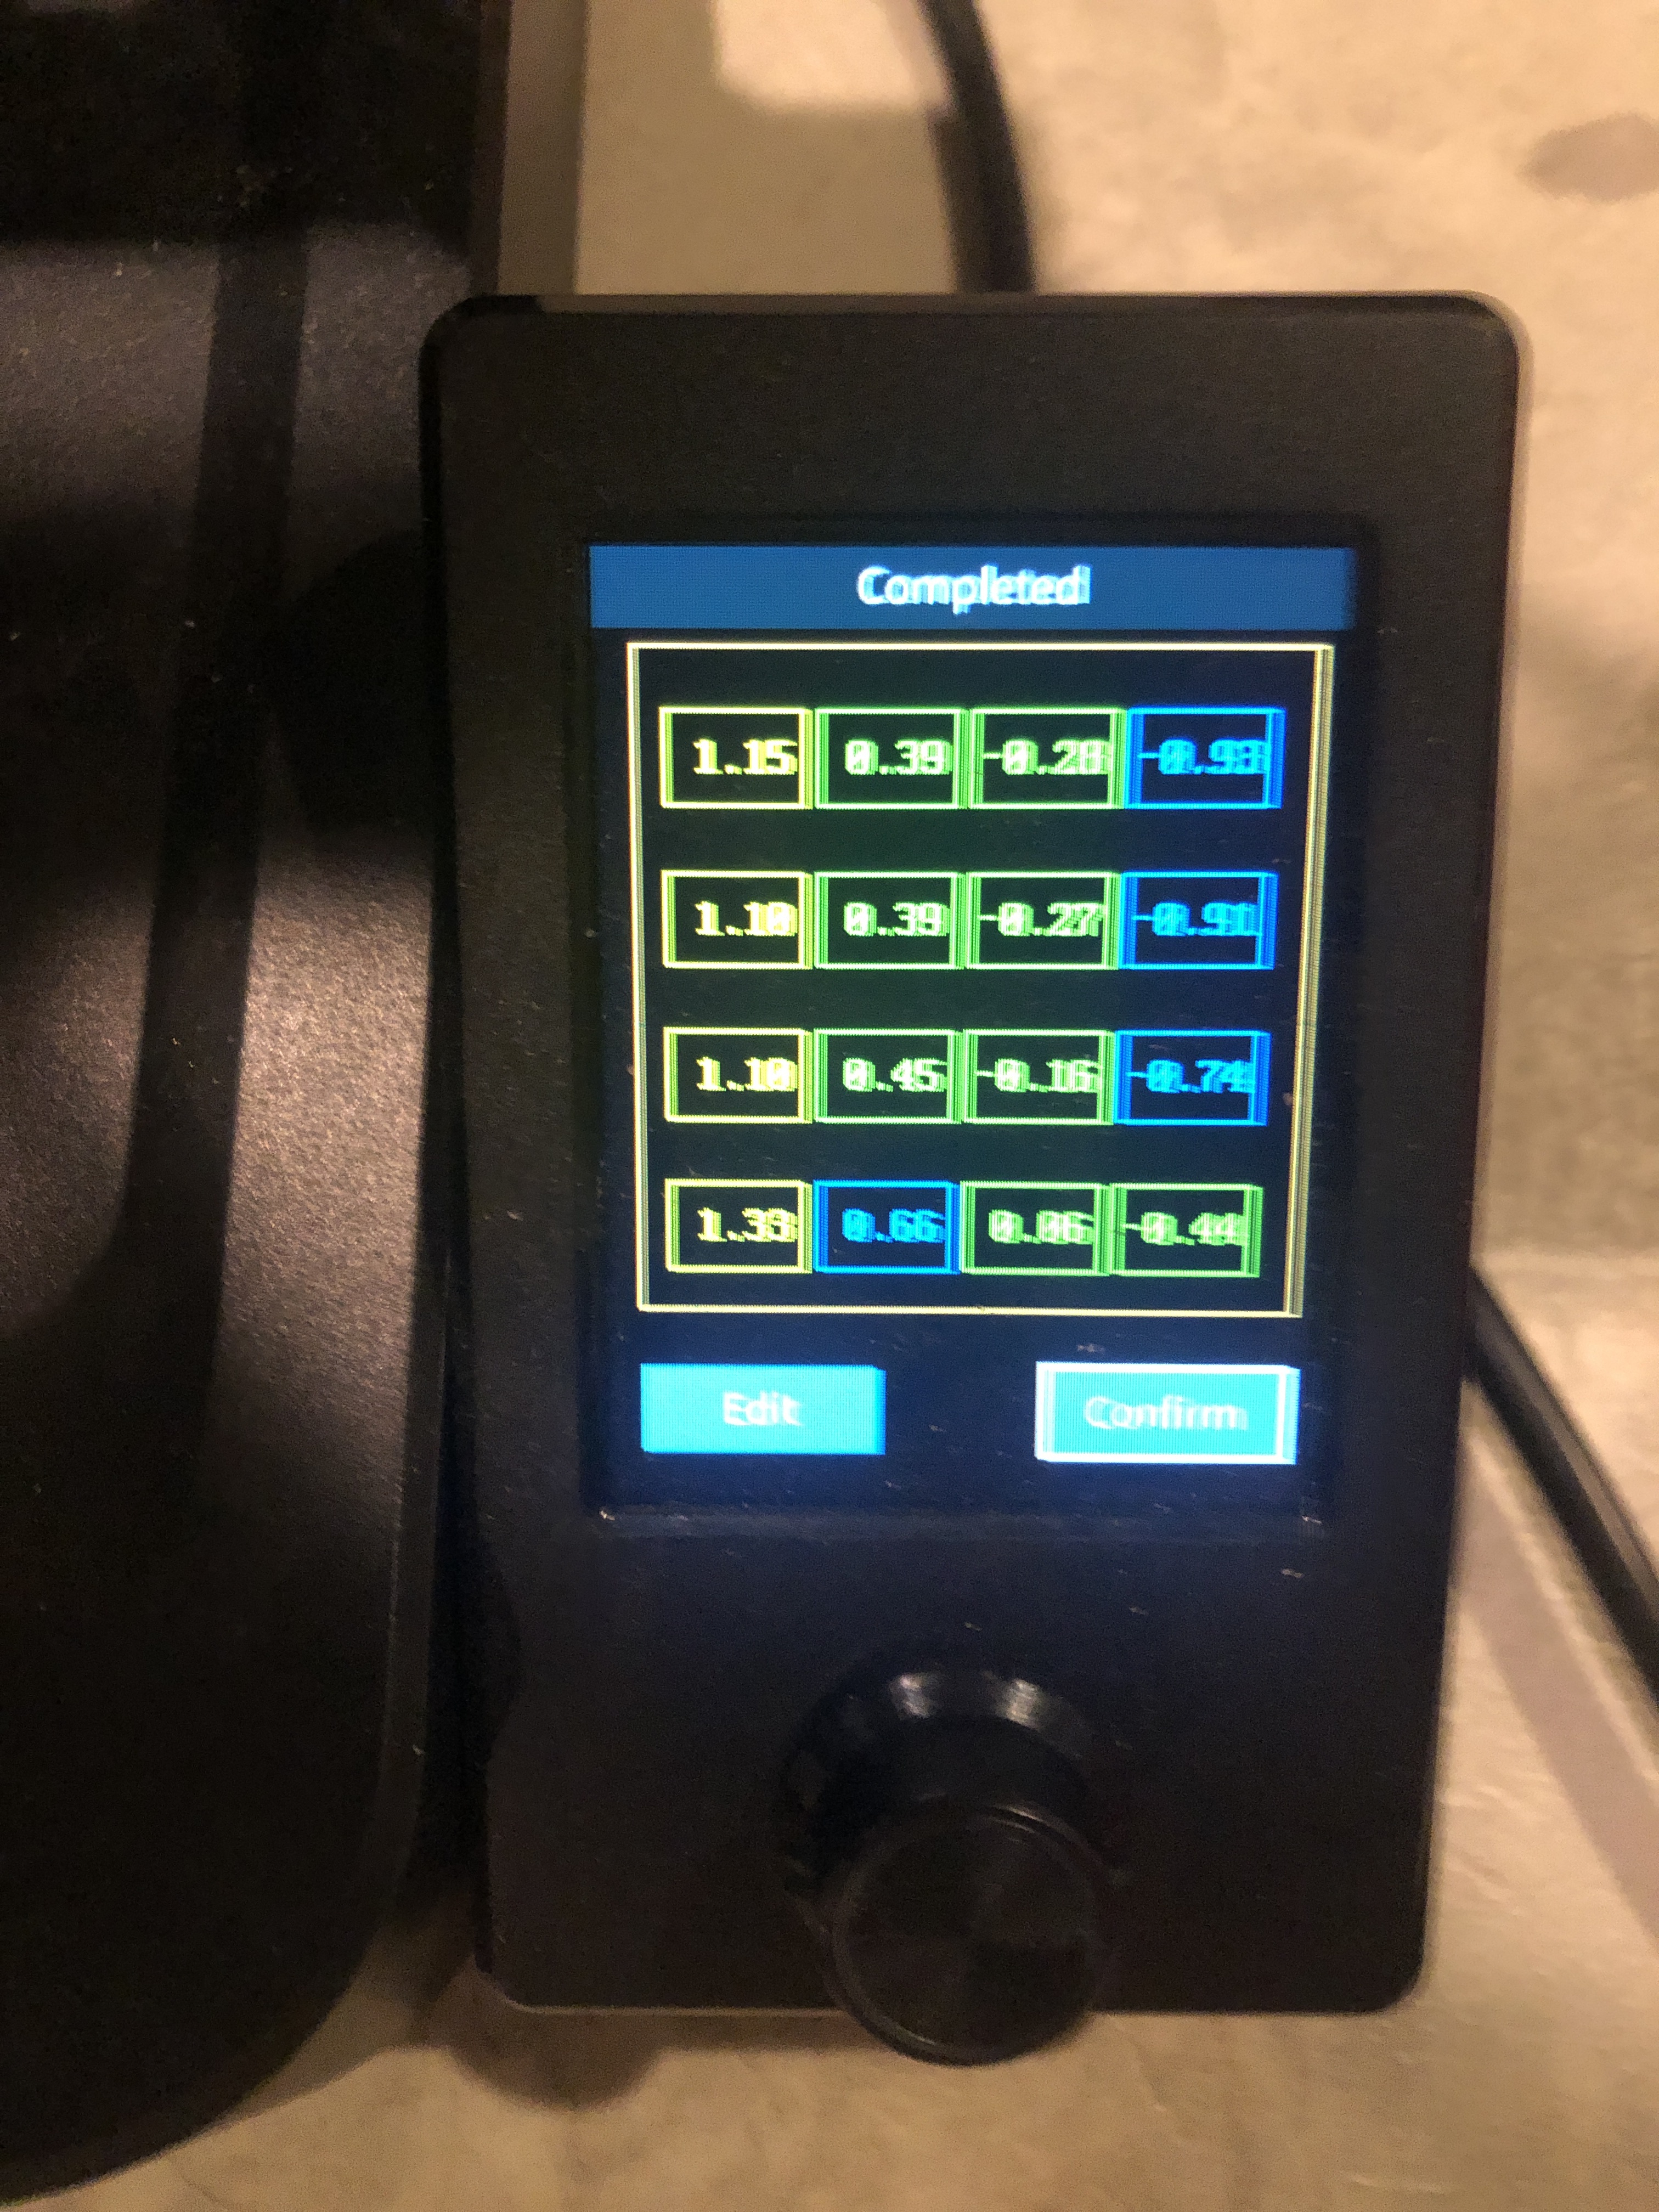
I tried to get it level by using springs meant for an Ender 3 and the auto leveling feature and it helped but I still can’t get all the corners below 0.25 mm. Here are some of the results.
You worry too much, as long as the runout is less than 2mm the autolevel will cope. My V3SE has about 1.3mm runout and prints just fine just got to get the z-offset tuned in. Here is a full bed of TPU covers with said runout.
I know this is a old post. I had the same issue. And I have no idea how the Z offset occurred. And the strangest thing was it happened on both printers the same day and time. And these are stand alone printers. Like it was haunted. How does 2 printers get this problem is bizarre. So to fix it. I removed the filament. And the loaded a large area profile. It heats the bed and nozzle like it is going to print. And you want that. As these expand as the get hotter. And the cold adjustment is not the same as a hot one. So while the profile is running. And the machine is printing with no filament. I have a sheet of paper under it with my hand checking the z offset. My other hand changing the offset to feel comfortable to work around the whole print bed table. Make a note of the mm I needed to achieve a good setting. And then install filament and start printing, and enter in that offset I recorded from earlier. Hope this helps you. Enjoy!