Before K2 I printed mainly with Qidi, Bamu and Elegoo printers and used lately Orca slicer.
On K2 I use now CPV6 which has nearly same functionality but supports also interface with CFS.
Anyhow, the standard print profiles are seldom used because I learned to dial in my own adaptations.
I therefore create first a own printer profile (for each different nozzle). My setup is now that I use the Qidi for 0.6mm nozzle and the K2 for the 0.4mm and therefore I currently need only one (personal) printer profile which has only two changes to the default one:
- In the Extruder settings I change
Z hop when retractingto 0 - In the Machine G-Code settings I add to
Machine start G-codeat end my skew factor measured according to Creality K2 Plus Adding Skew Correction For Better Prints which is for meSET_SKEW XY=141.2825,141.4375,99.8225. InMachine end G-codeI add the clear skew factor commandSET_SKEW CLEAR=1. I do not add the macros mentioned in the video becuase if you add it to the personal print profile as I do you don’t need the changes in fluidd. If I need to print (a test model) without the skew I just comment the line out for this print or use original print profile.
These are the only changes to my user preset printer config Creality K2 Plus 0.4 NZH which I use since then.
I also build up some personal process settings, actually a normal (fast) for 0.2 and 0.24 mm layer height and a higher quality one for 0.16 and also 0.2 again. In the HQ ones the speed is reduced to 150mm/s outer and 200mm/s inner walls. Also jerk is reduced to 7. I also have some special settings for Hueforge and Litiphane prints, mainly printing with first layer 0.16 and thereafter with 0.08 mm.
Some of the changes I tested before on each printer to adjust for the different nozzle, extruder and speed capabilities.
An example i a test the Seam gap size. Here I created 6 discs with 2% - 12% seam gap and print it (in this case it’s with my white eSun PLA+HS which I use nearly for all Lithophane and hueforge prints. The top layer in my print settings is always ‘Concentric’ and therefore you will see the seem after a short print on the discs.
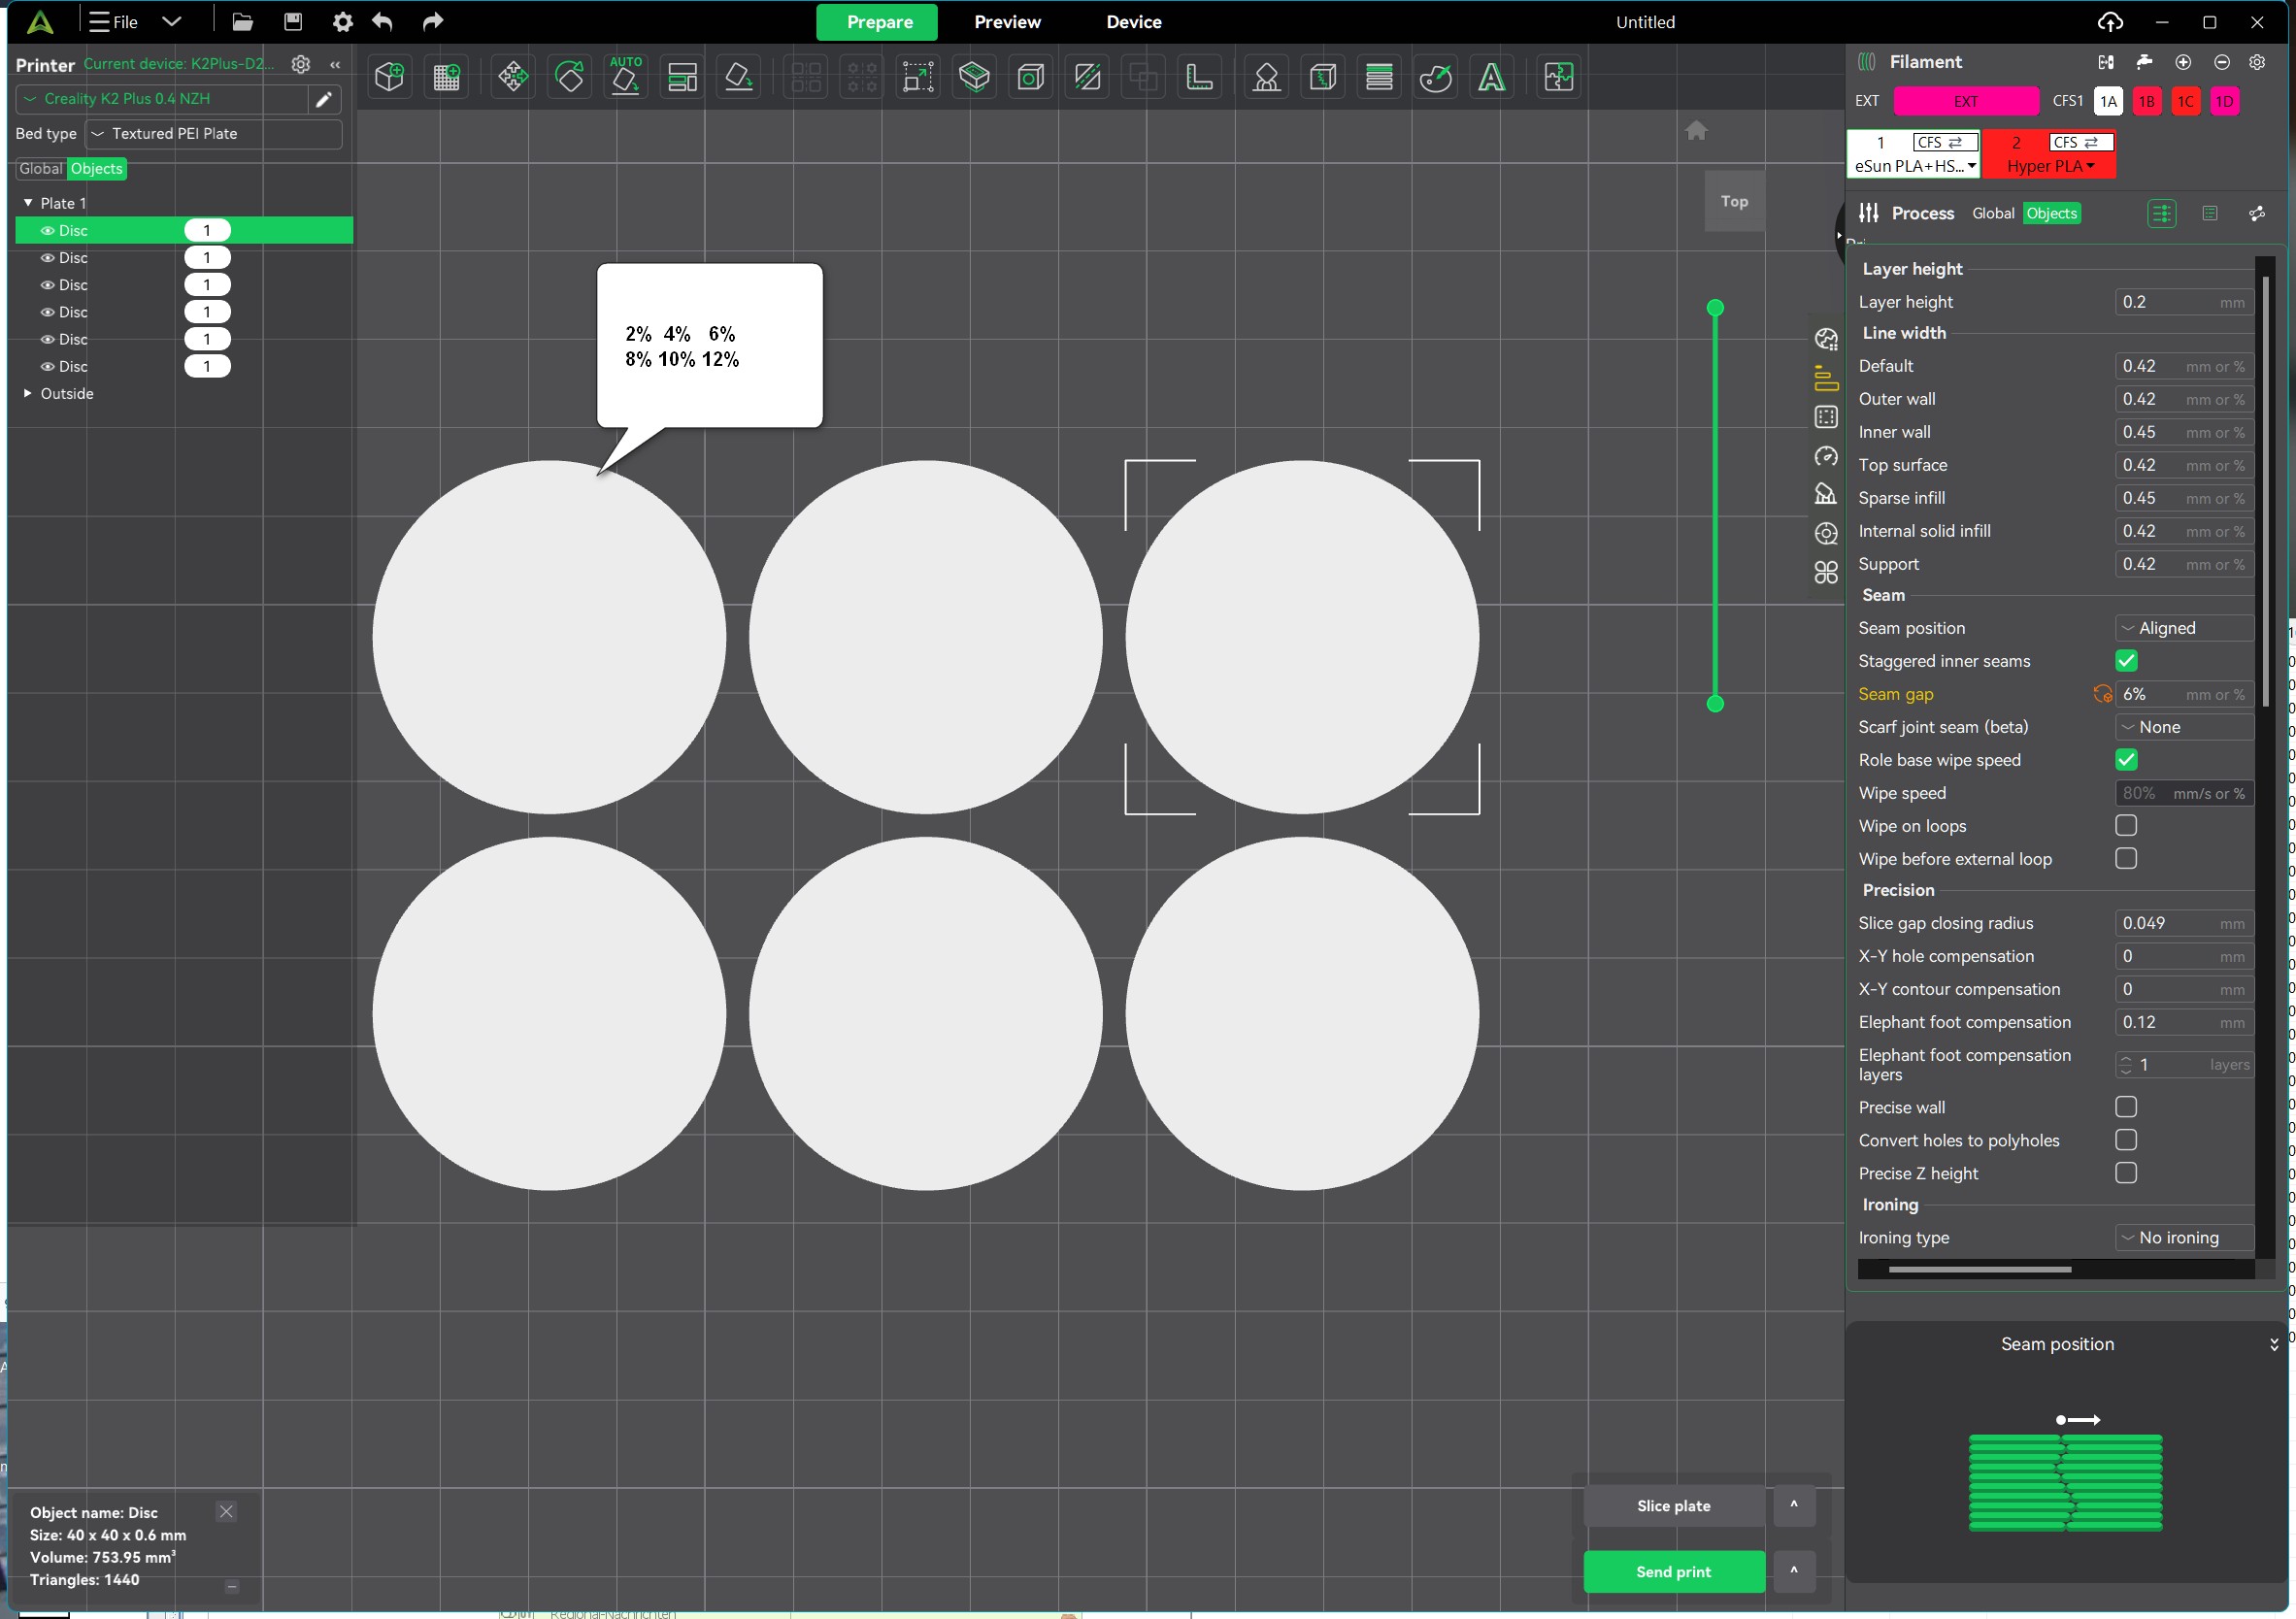
The finished print (it has only 3 layers) was sliced with a prediction of 7 minutes and 4 seconds on the slicer (my profile without Z-hop). With the original profile it slices with a 7:14 predisction, 10 seconds more (the printer measure at the end of the print with taking and returning filament from/to CFS 8 minutes for my and 9 minutes for the original profile).
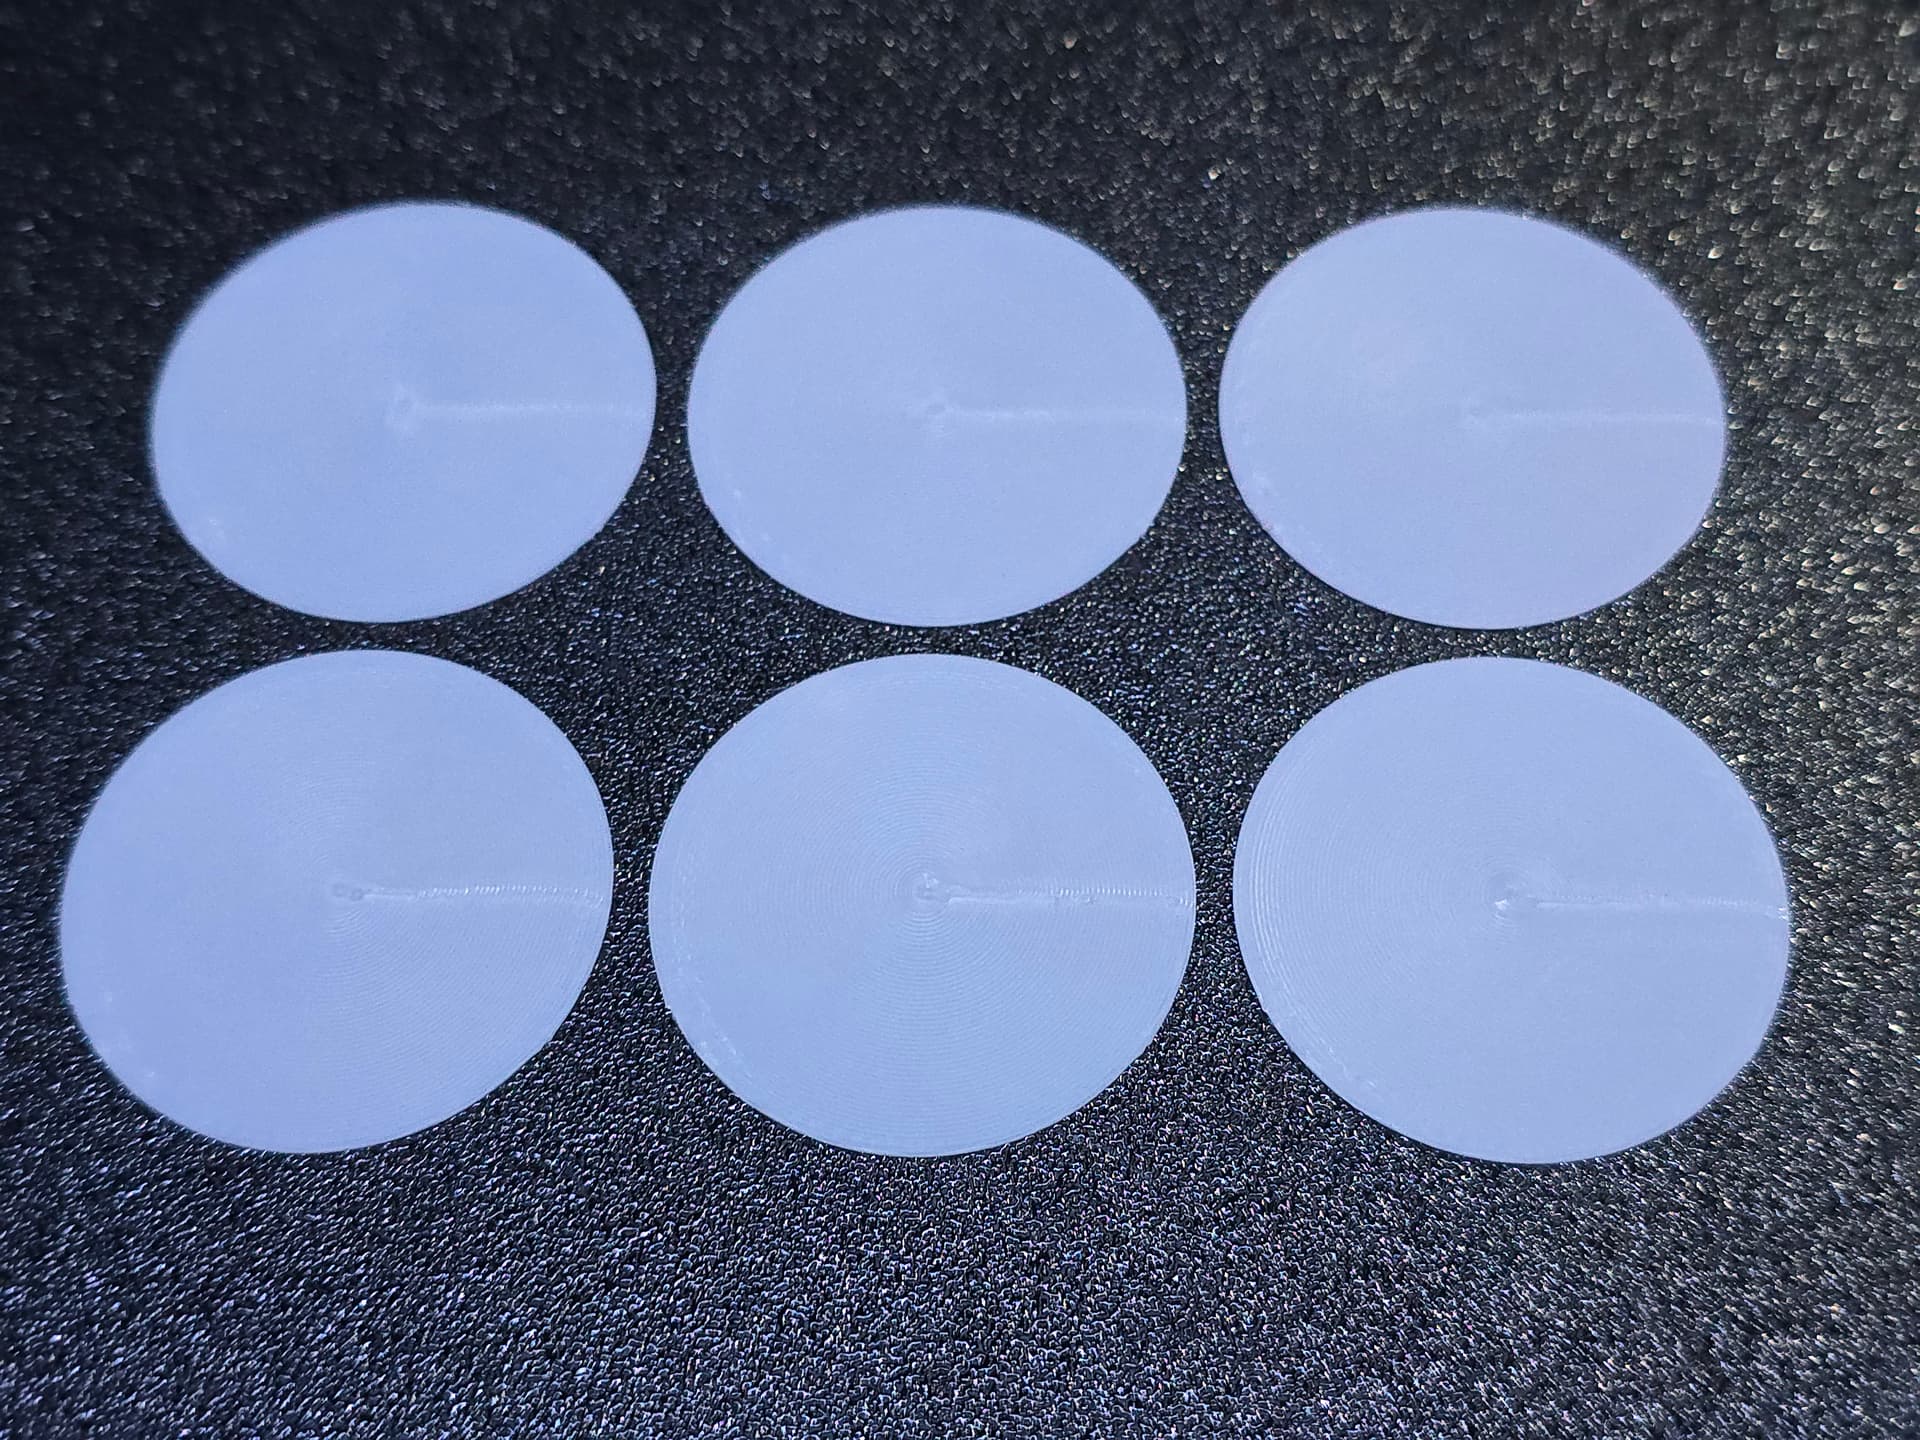
Now I used the finger to check the seam line and the 4% was the nicest, visually and with finger, therefore it’s in my profile as well.
Some other things I change in the profiles are:
- Only one wall on first layer and on top surface
- Extra perimeter on overhangs
- Bottom flow ratio = 1.02
- Elephant foot compensation = 0.12
- Seam position: Aligned
- Staggered inner seams: On
- Sparse infill density 15
- Sparse infill pattern: Adaptive Cubic
- Avoid crossing walls: ON
- Avoid corossing walls - Max detour: 50
- Brimtype: No-brim
- Support: normally off, if On mainly On build plate only!
These settings I use for 99% of the prints, with all PLA, PETG and ASA. Most are the same as I print also on the Qidi & Bambu printer.
Only if I need stronger prints (more than 2 walls) or stronger infill or brim and support I need to change something. If I do not need strong rings I use Lightning infill for example to reduce material and print time.
I will make another post describing the filament profiles a create for all filaments I use on the printer.