I’ve been unable to get any decent prints lately with my printer. It went really well for about the first week. Upgraded to the Nebula Pad and Camera kit and was having a blast until the other day. all of a sudden blobs started showing up in the first layer, and it causes the nozzle to drag on the print and ruin it nine times out of ten. When I do manage to get a print done it looks jagged on the top layers.
Here’s a list of what I’ve tried with no changes:
Attempted cleaning the nozzle using the supplied needle, assuming there was a clog - no effect.
Replaced the nozzle with a new .4 nozzle provided in my original purchase - no effect
slightly tightened the extruder tension screw thinking it was under-extruding at times - no effect
Auto-leveled the bed many times, auto Z axis leveling, manual adjustment of Z axis up and down - no real effect
Replaced TFE tube with a Capricorn tube from Creality thinking it maybe had a jam or some plastic built up between the nozzle and the tube. Tube looked good but replaced it anyway since it should be able to handle more heat down the road anyway. - No effect
Tried slowing speeds, tried increasing speeds - no real effect.
Adjusted retraction quite a bit. - no real effect.
Tried calibrating flow today, seemed like it was over extruding in the attached pic.
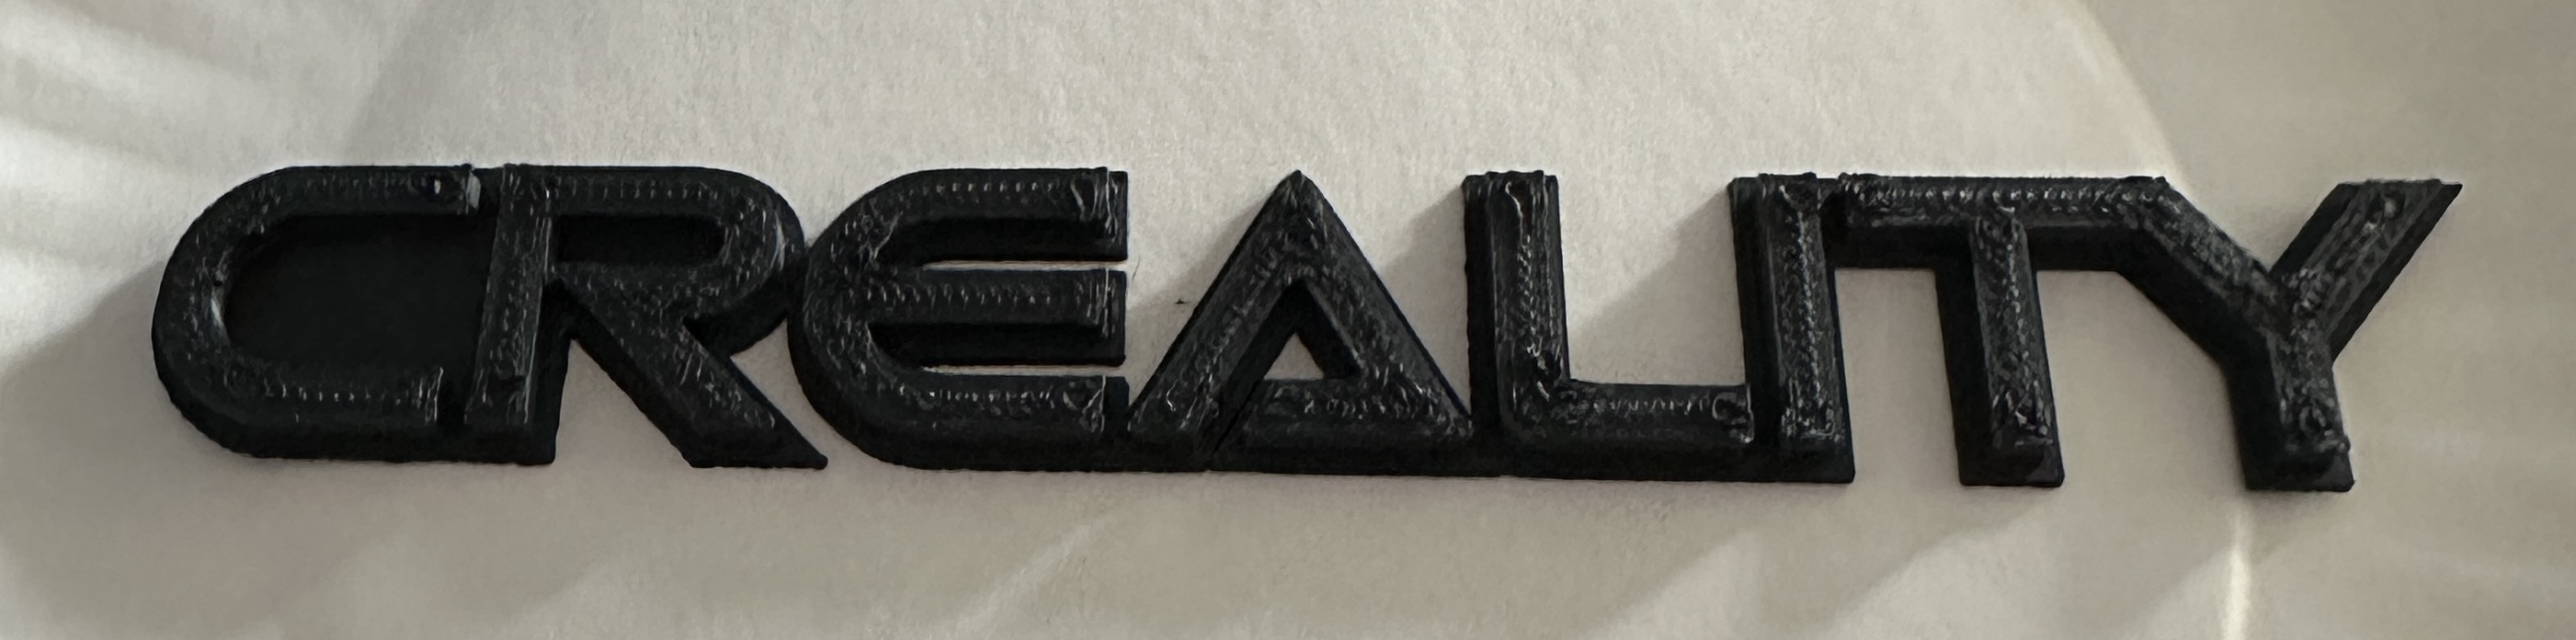
It’s a PEI bed. I’ve been using glue stick on it for adhesion because when its clean nothing sticks to it. The first layer sticks well until it makes a blob then the nozzle drags over it. You can see the blobby top of the print above. That’s more or less what they first layer looks like if it manages to adhere well enough to keep printing. I’ll give ironing a try if I can get a full print.
I’m starting to wonder if I managed to mess up settings somewhere in Creality Print, but I’m also not having good luck with other slicers.
I have noticed that after replacing the hotend with the new one the z offset is much higher, last time I did auto-Z it came out at -1.17, and it used to be in the -1.8 or -1.7 range.
Have you tried manually adjusting the offset as it is running? I have to adjust mine by 0.05-0.1mm every time as do many others on here. i use a 3 wide skirt to dial in the z-offset. Works for me on 4 different printers. Creality Print is perfectly good as a slicer.
Thanks, I will give that a try. Ironing did help a bit as suggested by @Bonfireman. I’m still seeing blobs and extrusion issues. Generally, it’s at the start (a skirt does seem to help also suggested by @Bonfireman).
I can see as the nozzle is heading up, it tends to leak out a few mm of filament which hangs from the nozzle and ends up on the first layer. The skirt has kept it off the print the last couple of times. If there’s a setting to help this, I’m not finding it. I did read that moisture can increase the pressure in the nozzle causing it to bleed or leak which might be what’s happening.
Out of the box none of this happened, prints were shockingly perfect. I’m out of ideas with one exception. These issues started a few days ago, and heavy rain in our area started as well upping the humidity. My guess is my filament is absorbing humidity and I likely need to invest in a dry box for my filament. The weather here has been in flux so it’s either been cold, cold and wet, or warm and wet. Since it’s been cool my wife has been opening up the house and letting the breeze in… along with… humidity.
When I originally unboxed the printer and began to use it, humidity in my house was in the mid to high 30’s. Once the rain started and my wife opened up the house it went up into the 60’s. I try to keep my house between 40-60% humidity for my guitar but filament might like it much more dry.
I still think I’m having extrusion problems, but it could still be moisture related. I’ll do another flow calibration tomorrow to see if I’m under extruding or over extruding.
Right now, the biggest issues are:
-leaking filament when the nozzle heats and sometimes it strings or blobs when switching layers or going from one area of the build plate to another.
-rough prints with blobs/chunks likely due to lack of retraction/leaking/bleeding.
One good thing about all of this experimentation is that I now have a Bi-Metal heatbreak by Polisi3D and capricorn tubing in the hotend so I shouldn’t have trouble going up to 300c.
I live in an area of over 60% humidity, I bought a drying unit. Had to modify it to feed vertically but a Fixdry NT2 is pretty good, it has a hygrometer built in and will go high enough temp for PETG. 35 quid in English money or roughly the same in Dollars. Worth it I can show the mods to make it perfect.
Still tuning, and need to calibrate E-Steps yet, but fixing my Z-offset seems to have made a HUGE difference. I was using the auto-Z offset feature of the nebula pad then adjusting up or down a little bit during the print. Things just got worse and worse. So, after finding a great video on YouTube finally on how to adjust it correctly I found it was off more than I thought after auto tuning.
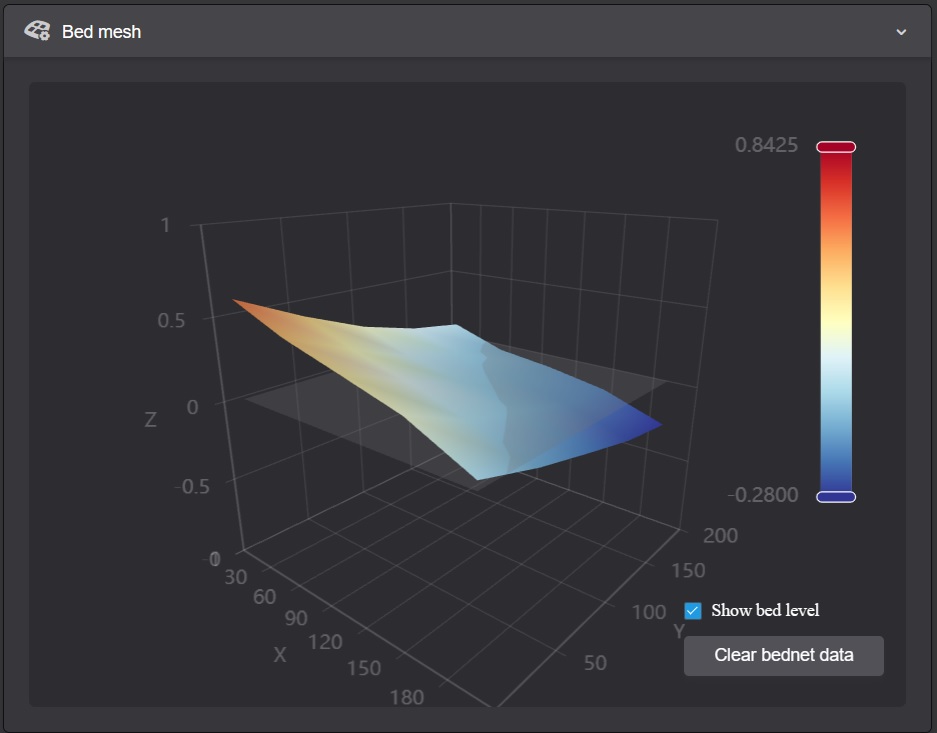
I still have some very minor issues. First, my bed is very unlevel. The machine is as level as I can make it but if you look at my bed profile you see the following:
I realize that auto-bed leveling compensates for that but if it’s as accurate as the Z-Offset then it’s still a problem. I may need to shim the front or do something with the back left which looks horribly off level.
I also intend to do another E-Step calibration and have found some good tutorials for that I believe here:
Once I get all that done I’ll report back, right now I’m doing a long 12 hour print so will have to wait. It’s looking good so far though, but I do see the nozzle digging in more on the left hand side of the bed than the right. So that tells me that even though I’m calibrating before the print, it’s not all that accurate.
I know I’m asking for perfection out of a sub-$200 printer but even where I have it adjusted now it’s doing pretty good. With a little more patience and a little modification I think I’ll have the issues whipped.
That’s the game plan anyway.
So far the biggest difference was taking the time to follow that first video tutorial for Z-Offset. I can’t recommend it enough.
If it is level within 2mm the bed mesh will compensate. You look to be just over a millimetre out, wouldn’t worry about it. My SE is about that far out and prints absolutely fine once you tune the Z-offset.
I’m actually having a tough time fine tuning the Z offset. I use the auto level to get the bed adjusted for starters, then using the offset the machine chooses I’ll print a 60x60mm square .2mm thick. I then adjust up or down the Z offset until it looks smooth (no gouges, and the lines actually fuse together like the video above suggests). Problem is that on the XY it’s never the same. I can get it smooth on one side, but the other side will be too far away (lines don’t bond). Or I can get the other side to bond but see gouges in the square on the other side indicating the Z offset is perfect on one side but too low on the other. That makes me think that the auto bed level is off just enough that it’s causing that problem. I can’t find a way to adjust the bed level points individually on the Nebula pad. So I adjust the Z offset until it’s a happy medium but from left to right (X to Y) it’s always off a bit. So the larger the print the more evident it is.
Unless the bed is out by over 2mm the bed mesh should compensate for out of level. I think my V3 SE is out of level by about 1.3mm and prints fine on all the build plate. Can screen shot your bed mesh?