Hello all!
I just recently started printing in PETG on my Ender 3 S1 PRO and absolutely love it! When it prints correctly of course, LOL!
My most recent print has some weird stringing issues. I kinda wish I remembered to take a picture of it when the parts were still sitting on the bed, but I have only have the results of one of the parts.
So I was printing cylindrical desiccant containers that were slightly different sizes. When I put them onto the bed in Cura, it automatically placed them kinda close together. I figured that was a good thing because the printer would have to travel less.
Ok, so it all went pretty much well, except for stringing. But the weird thing is, the stringing went across all three of the parts in a single line. So, through the parts and across the opening. Super strange.
These are my settings:
Layer height - .2mm
Infill - 15%
Temp - 270C
Bed Temp - 95C
Print Speed - 40mm/s
Retraction Distance - 1.0mm
Retraction Speed - 30mm/s
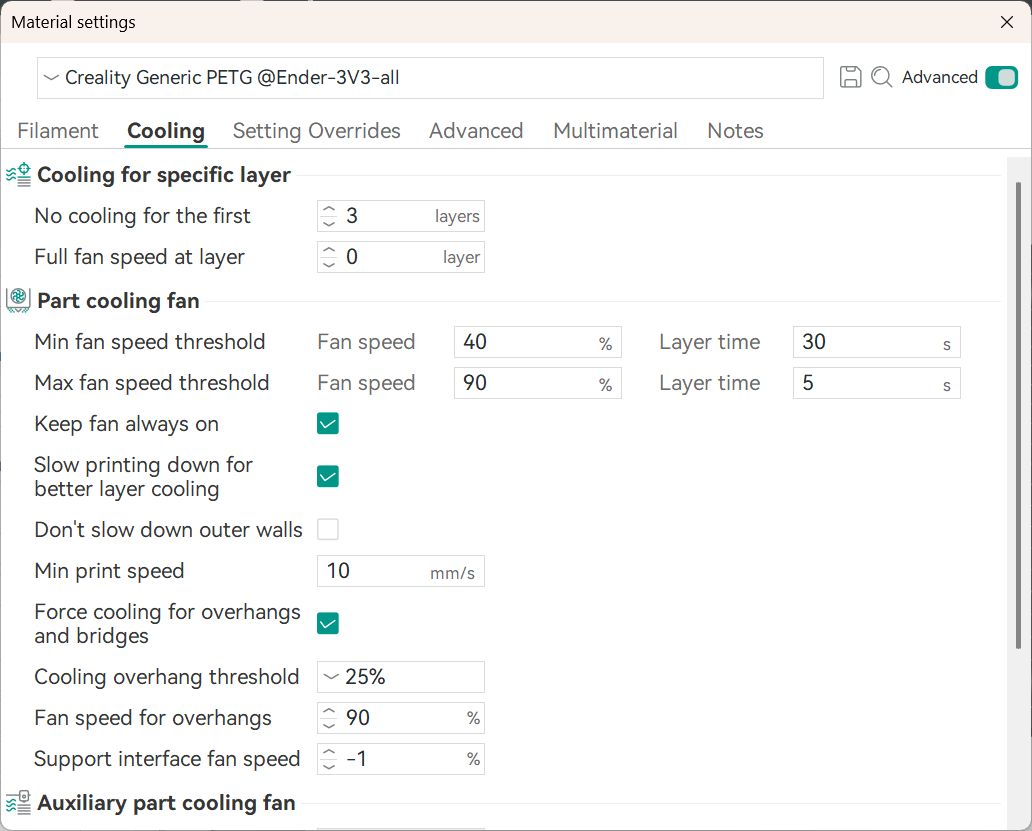
Cooling:
Fan Spd - 0% before layer 4, 25% after layer 4
I’m not sure what other settings are pertinent, but please ask away and I shall provide it! I tried printing the PETG initially at 240C (it was on the Creality box the filament came in), but after testing, anything under 270 causes the filament to skip in the extruder. I made sure the extruder, break, and nozzle are clean. The nozzle is new actually.
PETG is great, but I know it takes some tweaking to get it right so thank you so much for any advice!!
It has to dried properly and do a temperature calibration, I print PETG alot. I tend to use Sunlu filament and certainly not as hot as 270. I use the Orca settings of 250°C and 70°C bed. With cooling as per attached:-
2 Likes
Hello Asterios_Anagnostou,
I print both Overture and Creality PETG at a bed of 75 to 80 and nozzel of 230 without problems.
The main thing though is I make sure to put them in a drier before and after using them as they are prone to taking in moisture.
Don’t trust that straight from a box they will not need drying.
Cheers.
2 Likes
Thank you guys. Do you think what I’m seeing in the print has to do with high temp? Would we filament cause the extruder to skip?
It doesn’t seem to do it on everything, but this one was different in that it had all that spacing in it.
I do have a drier. I’ll try and run it in there for a few hours before the next print to see how it goes. I also keep desiccant in the enclosure and the drier for when it’s not on. I’m not sure how well that works though.
I do want to try my hand with Orca and wanted to run through the CAL procedures.
The material that I have seen have the biggest affect due to temperature is TPU. Running the calibration you can see ±5°C is enough to get stringing. Not quite so close with PETG but running the temperature calibration and flowrate will show you the sweet spot for your filament.
2 Likes
Copy ty. Which should I run first?
i don’t know that it matters which order they are done in, I probably start at the top of list and go down from there.
1 Like
i do that too, can’t do any harm having it in the drier. I have some giant sized ones in a 40 foot shipping container you’ll be surprised how much water they soak up.
1 Like
My Bob !!! how did you get 'er in doors to go along with that ! 
1 Like
I’m a pyrotechnician as well as a design engineer, got to keep those fireworks dry.
1 Like
When I get a new material that doesn’t have a solid profile, or I’ve done a recent mod that may impact performance, I start with a Temp tower, then e-steps (note - E-step is for the Enders, Rotational Drive** for newer units like the K2!), followed by flow rate. I have an SE, and it is super easy to calibrate e-steps. You can do it on the screen of the unit.
After that, you can really dial in flow rate and move to other calibration tests from there!
Mr. Bill from Pushing Plastic has some good vids, here is one with a V3. He’s also got one for temp and esteps on a V3.
1 Like
And there I was (and probably others), thinking that @Bonfireman came from being a descendant of Guy Fawkes … 
1 Like
Thanks again for all the tips guys. I’m running the temp cal as I type this. Does e-steps apply to the 3s1pro? What exactly is it?
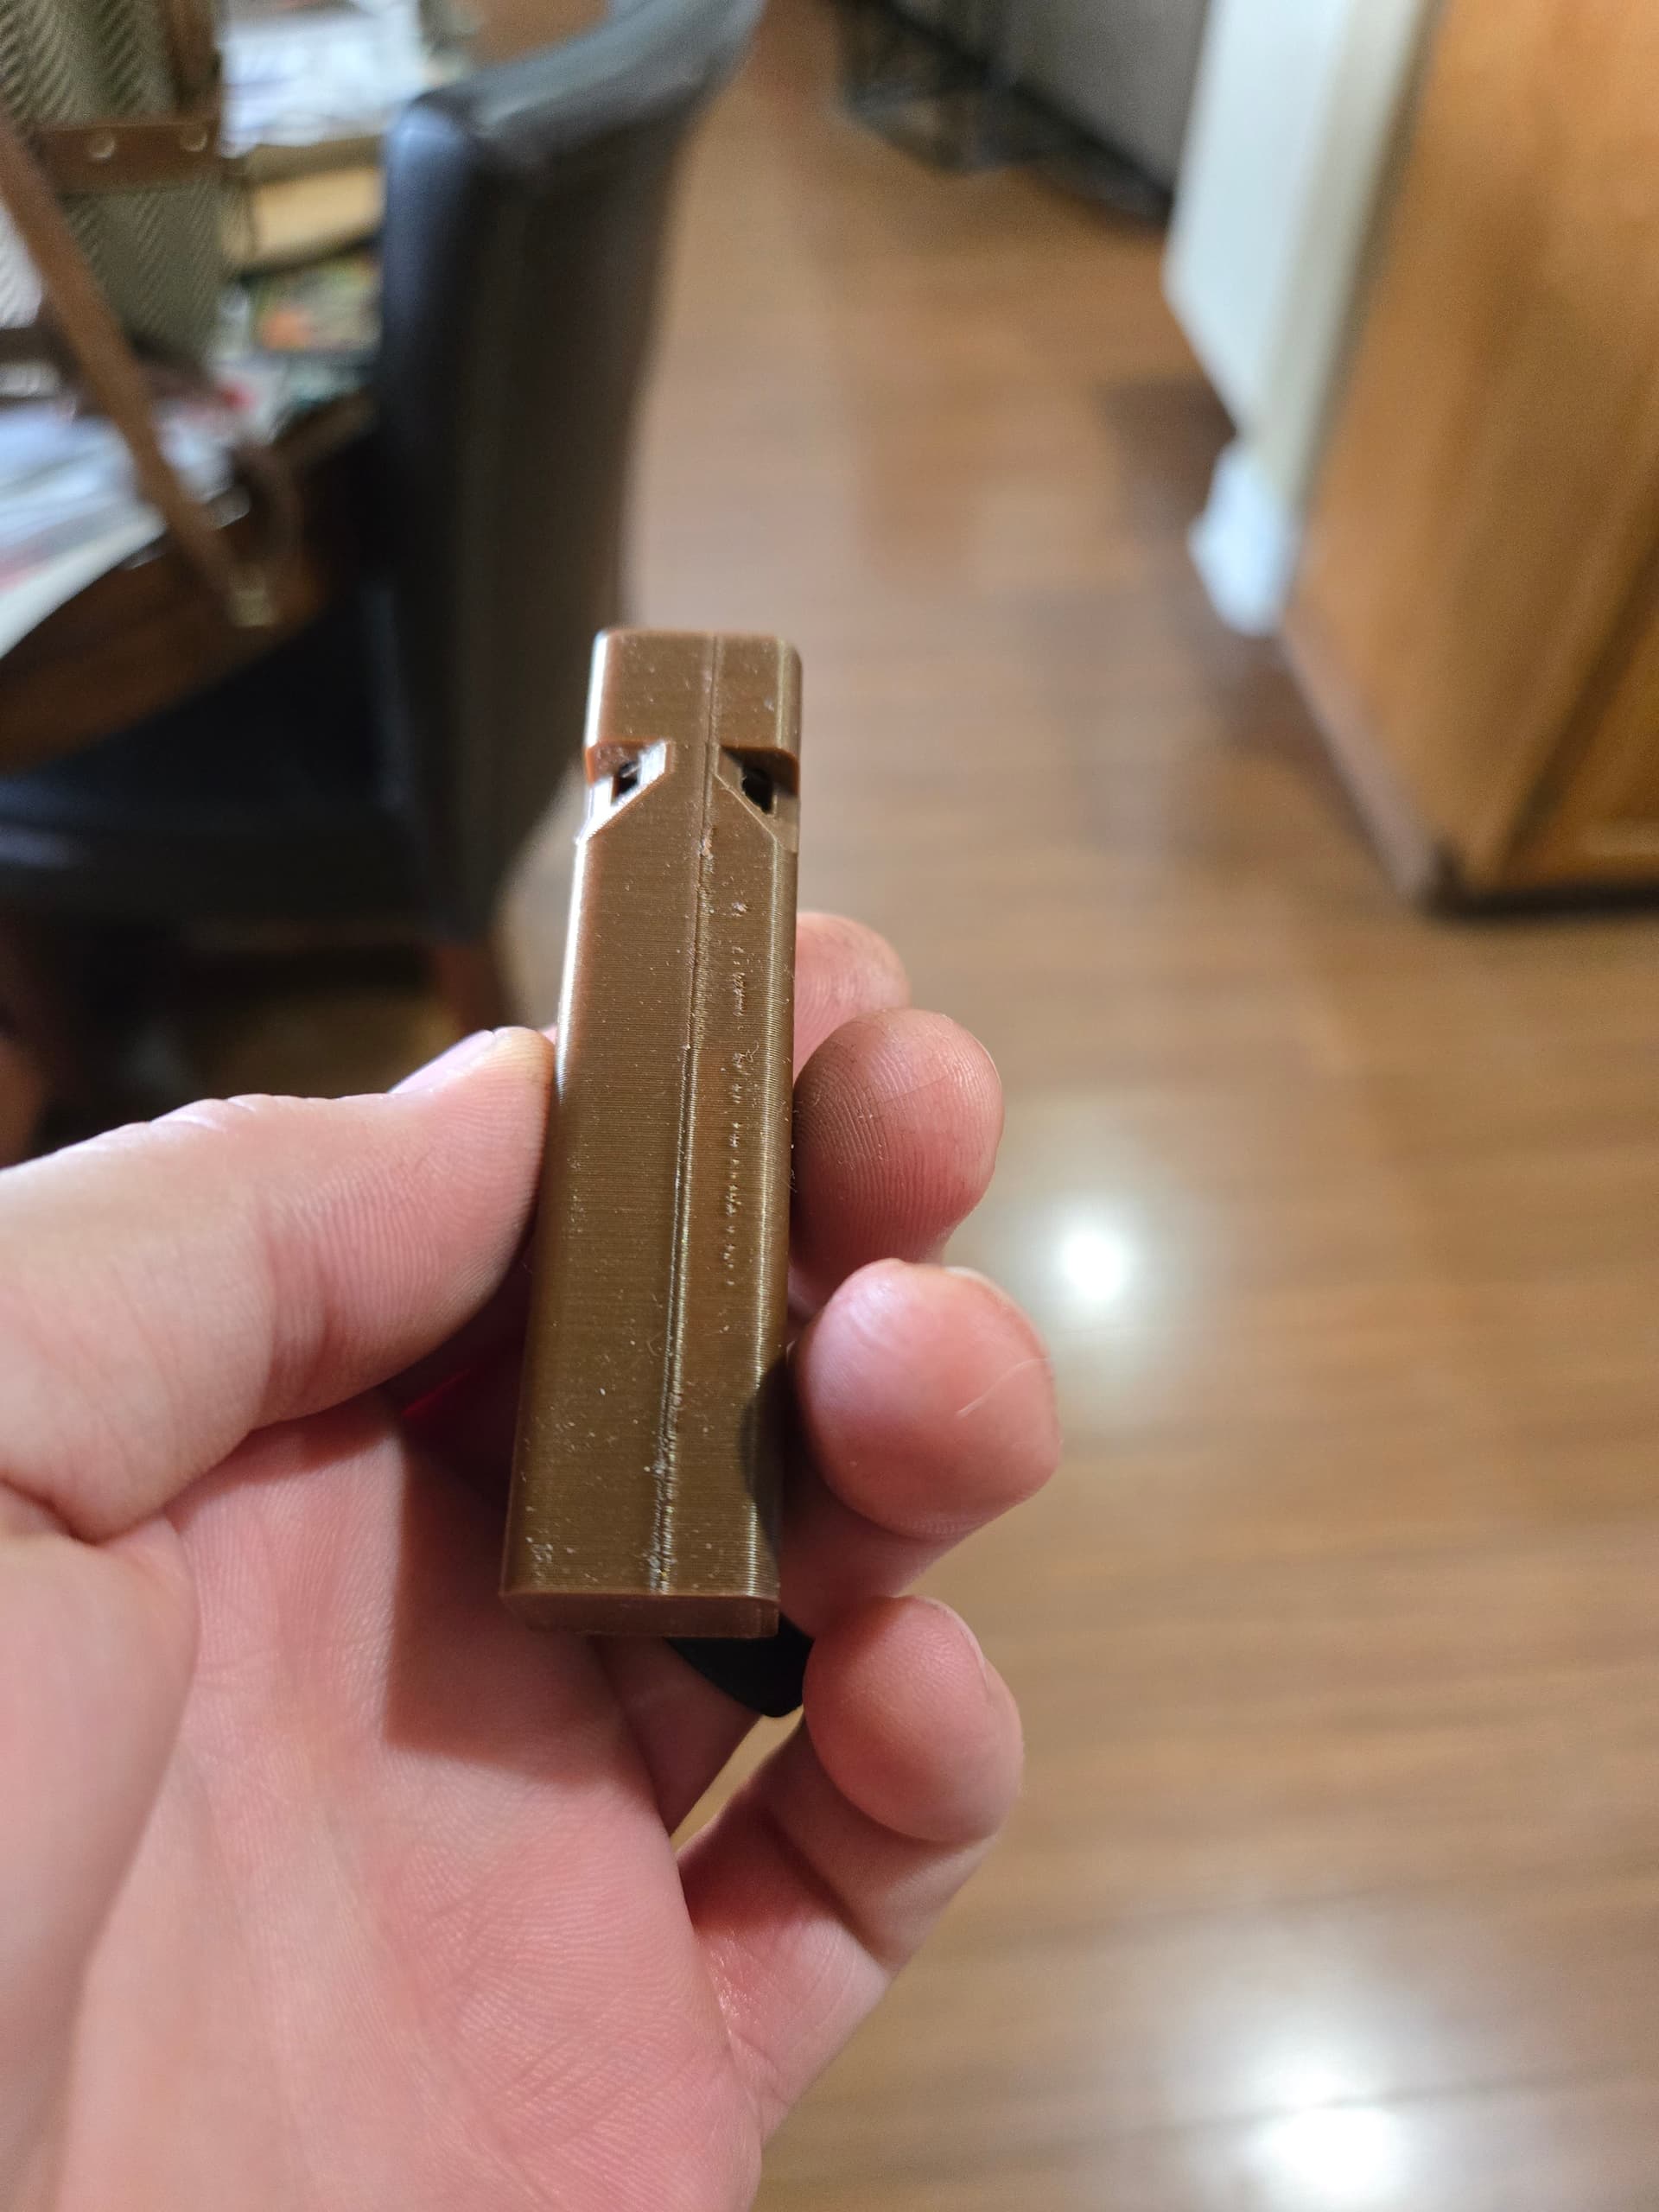
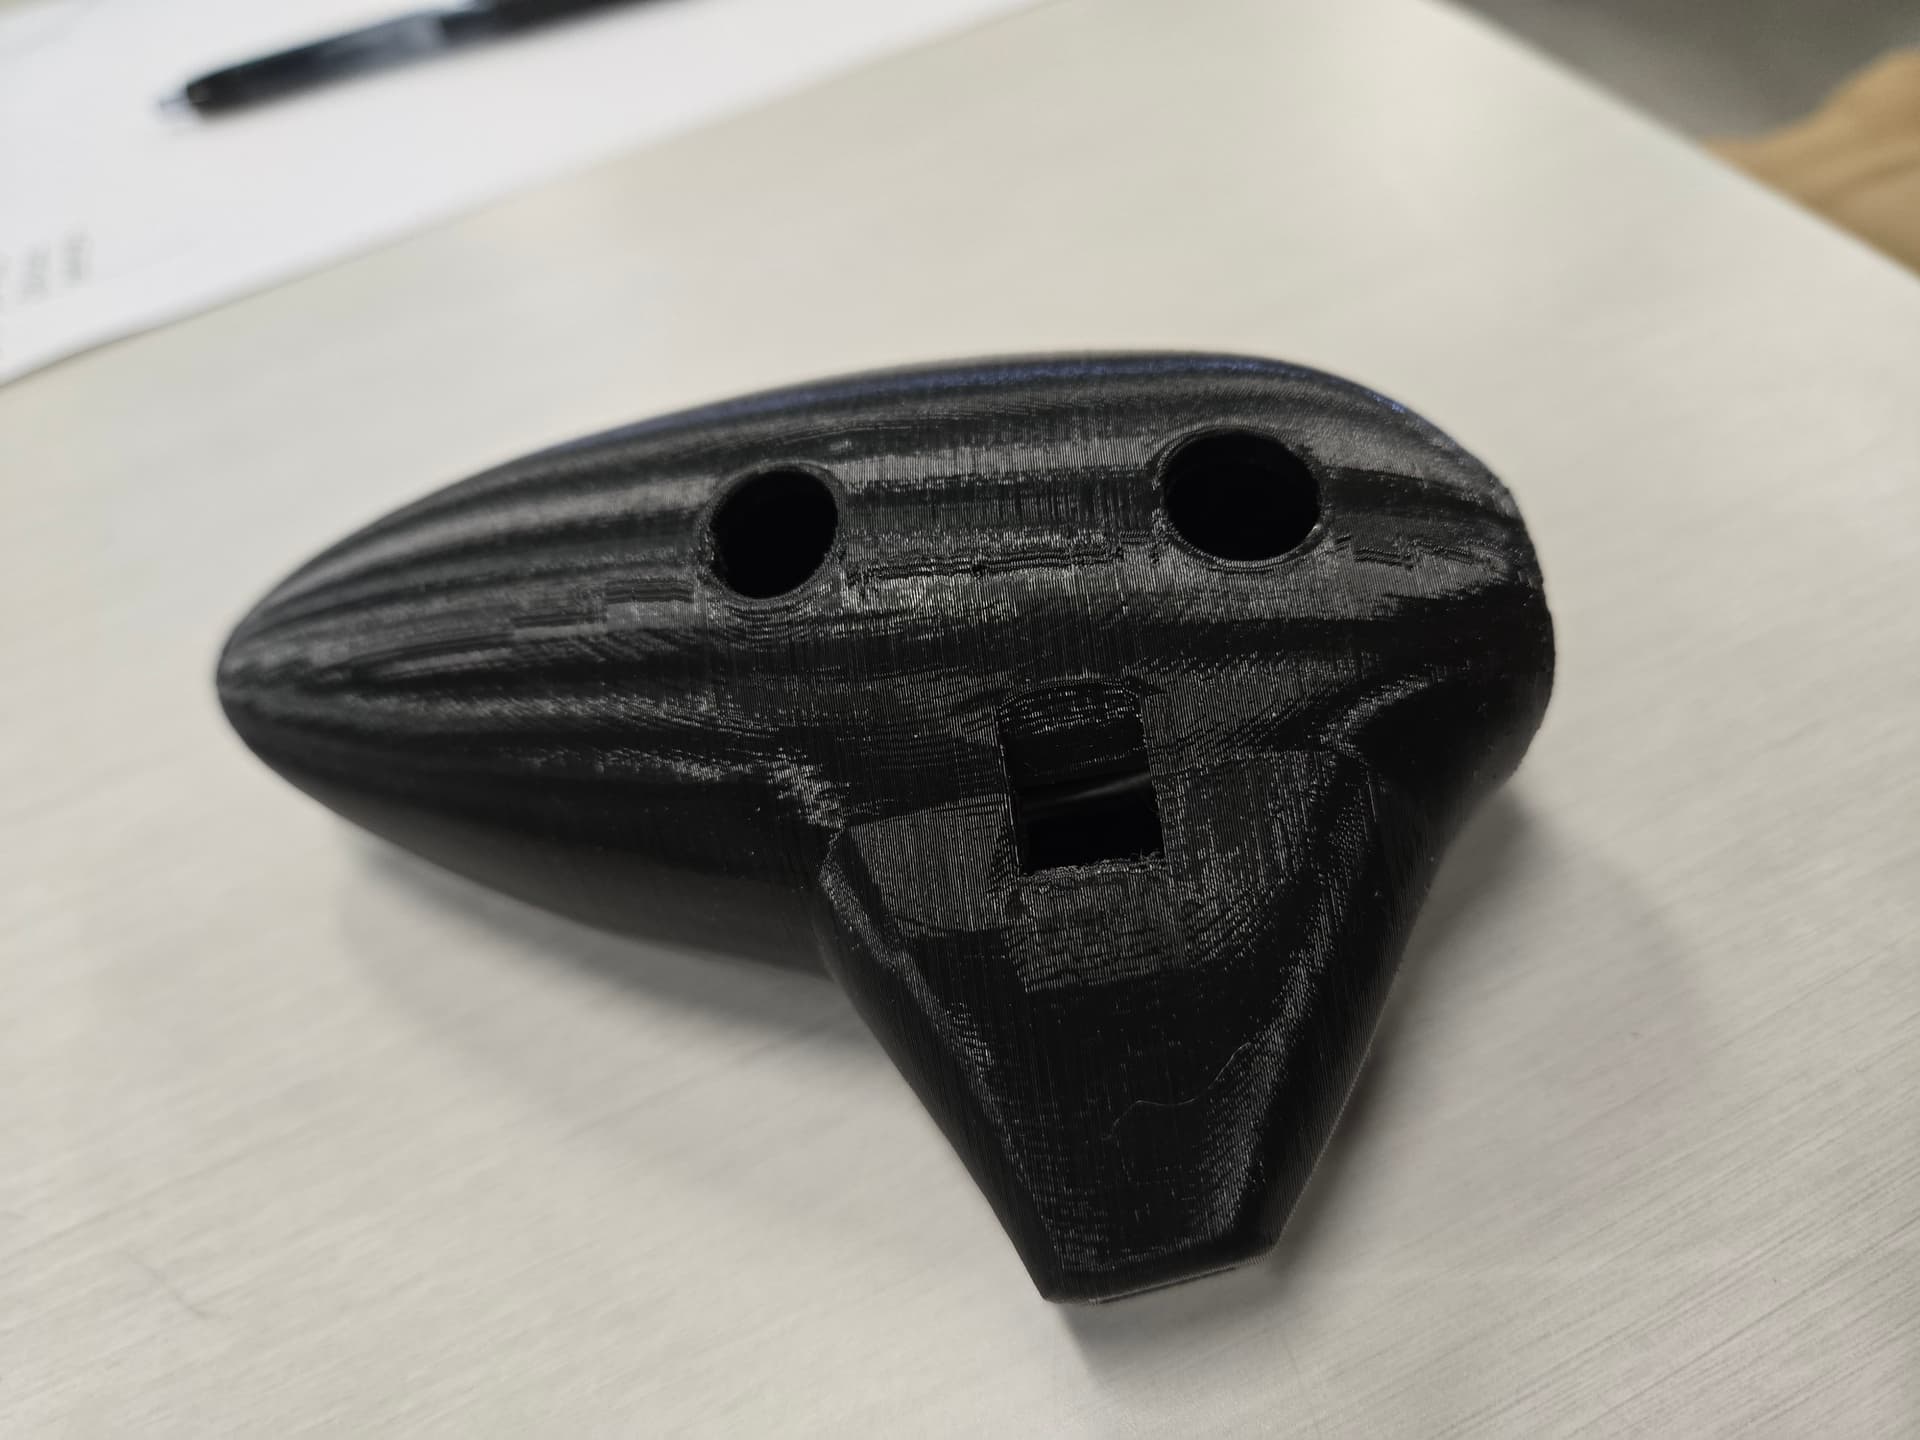
Made a print of an ocarina yesterday to try and learn how to play some Zelda music, lol. It had some issues, but not sure what to attribute them too. It seems when I print things that stand up kinda tall, there’s a weird line that gets produced on the side facing away from the part.
I printed some train whitles and it did the same thing on all of them.
That tall line you’re seeing is your Z-seam. You can adjust or hide it in your slicer settings, some slicers make this easier than others. I spotted it on your Ocarina too (awesome print, by the way!  ).
).
There are a few ways to minimize or control it: setting the seam to ‘scarf,’ ‘sharpest corner,’ ‘back,’ or manually adjusting its placement. In most slicers, you’ll see it as a white line or dot at each layer in preview mode.
As for E-steps, they determine how fast or slow the extruder gears pull filament into the hotend. If they’re off, even slightly, you’ll get over- or under-extrusion. I usually recalibrate the E-steps on my Enders every 50+ hours of printing… sometimes sooner if the print I’m doing needs some extra attention. It only takes about 5 minutes and makes a big difference.
Check out this video for calibrating E-steps on the S1 Pro, it should help!
1 Like
I am a huge visual learner (hence my use of vids)… If that is not your learning style, let me know and I’ll try to write it out a little better with some steps. Your prints look awesome as they are!
1 Like
Thanks so much for the vids, man. I am the same. Visual and actually doing it in tandem. I’ll get on watching those either tonight or tomorrow and get to tweaking the printer!
I did the Temp Cal. The range I chose was 240-270c. Interestingly enough, not much difference in each, but I AM a bit blind lol.
1 Like
Looking good so far! 
 When checking that temp tower, focus on layer adhesion, bridging, overhang quality, artifacts, and stringing. The goal is to find the temp with the fewest issues, each one can be fine-tuned with minor tweaks.
From what I’m seeing, 245-250C looks like a solid starting range. That video notes when dialing in e-steps, you’ll want to add 20C to that range so there’s little resistance at the nozzle.
I see some ghosting, but that’s one of those fixes down the line.
For now, focus on dialing in the temp, e-steps, and flow. you can fine-tune the rest later!
Hey Iron, thanks so much for all the tips man, they are really helping! I ran the e-steps and it was actually pretty dialed in. I ran the test a few times too.
I still have to do flow!
My wife really wanted a Dice Tower so I started printing that and got some issues with it. Apparently, people are successfully printing this without supports, but I’m getting this issue. Pretty sure it has nothing to do with supports, but dang it’s ugly and it’s on an overhang. Strangely, it starts out ok, but gets messy up as it goes up.
This is a picture of it from the bottom of the part.
1 Like
Mine does that if the flowrate is too high, you’ll probably hear it grinding the nozzle. If I spot it starting to do this I’ll drop 10% on the flowrate, within a couple of layers it has cured itself.
2 Likes
Oh no way, that’s interesting. Why does it start out ok though? That’s so strange.
Annoyingly I’m not sure I’d be able to see this in real time. The darned thing looks fine on the top!
It’s printing out the flow rate plates from ORCA as I type. I have to see if I can find a video that shows me what to look for.


")


