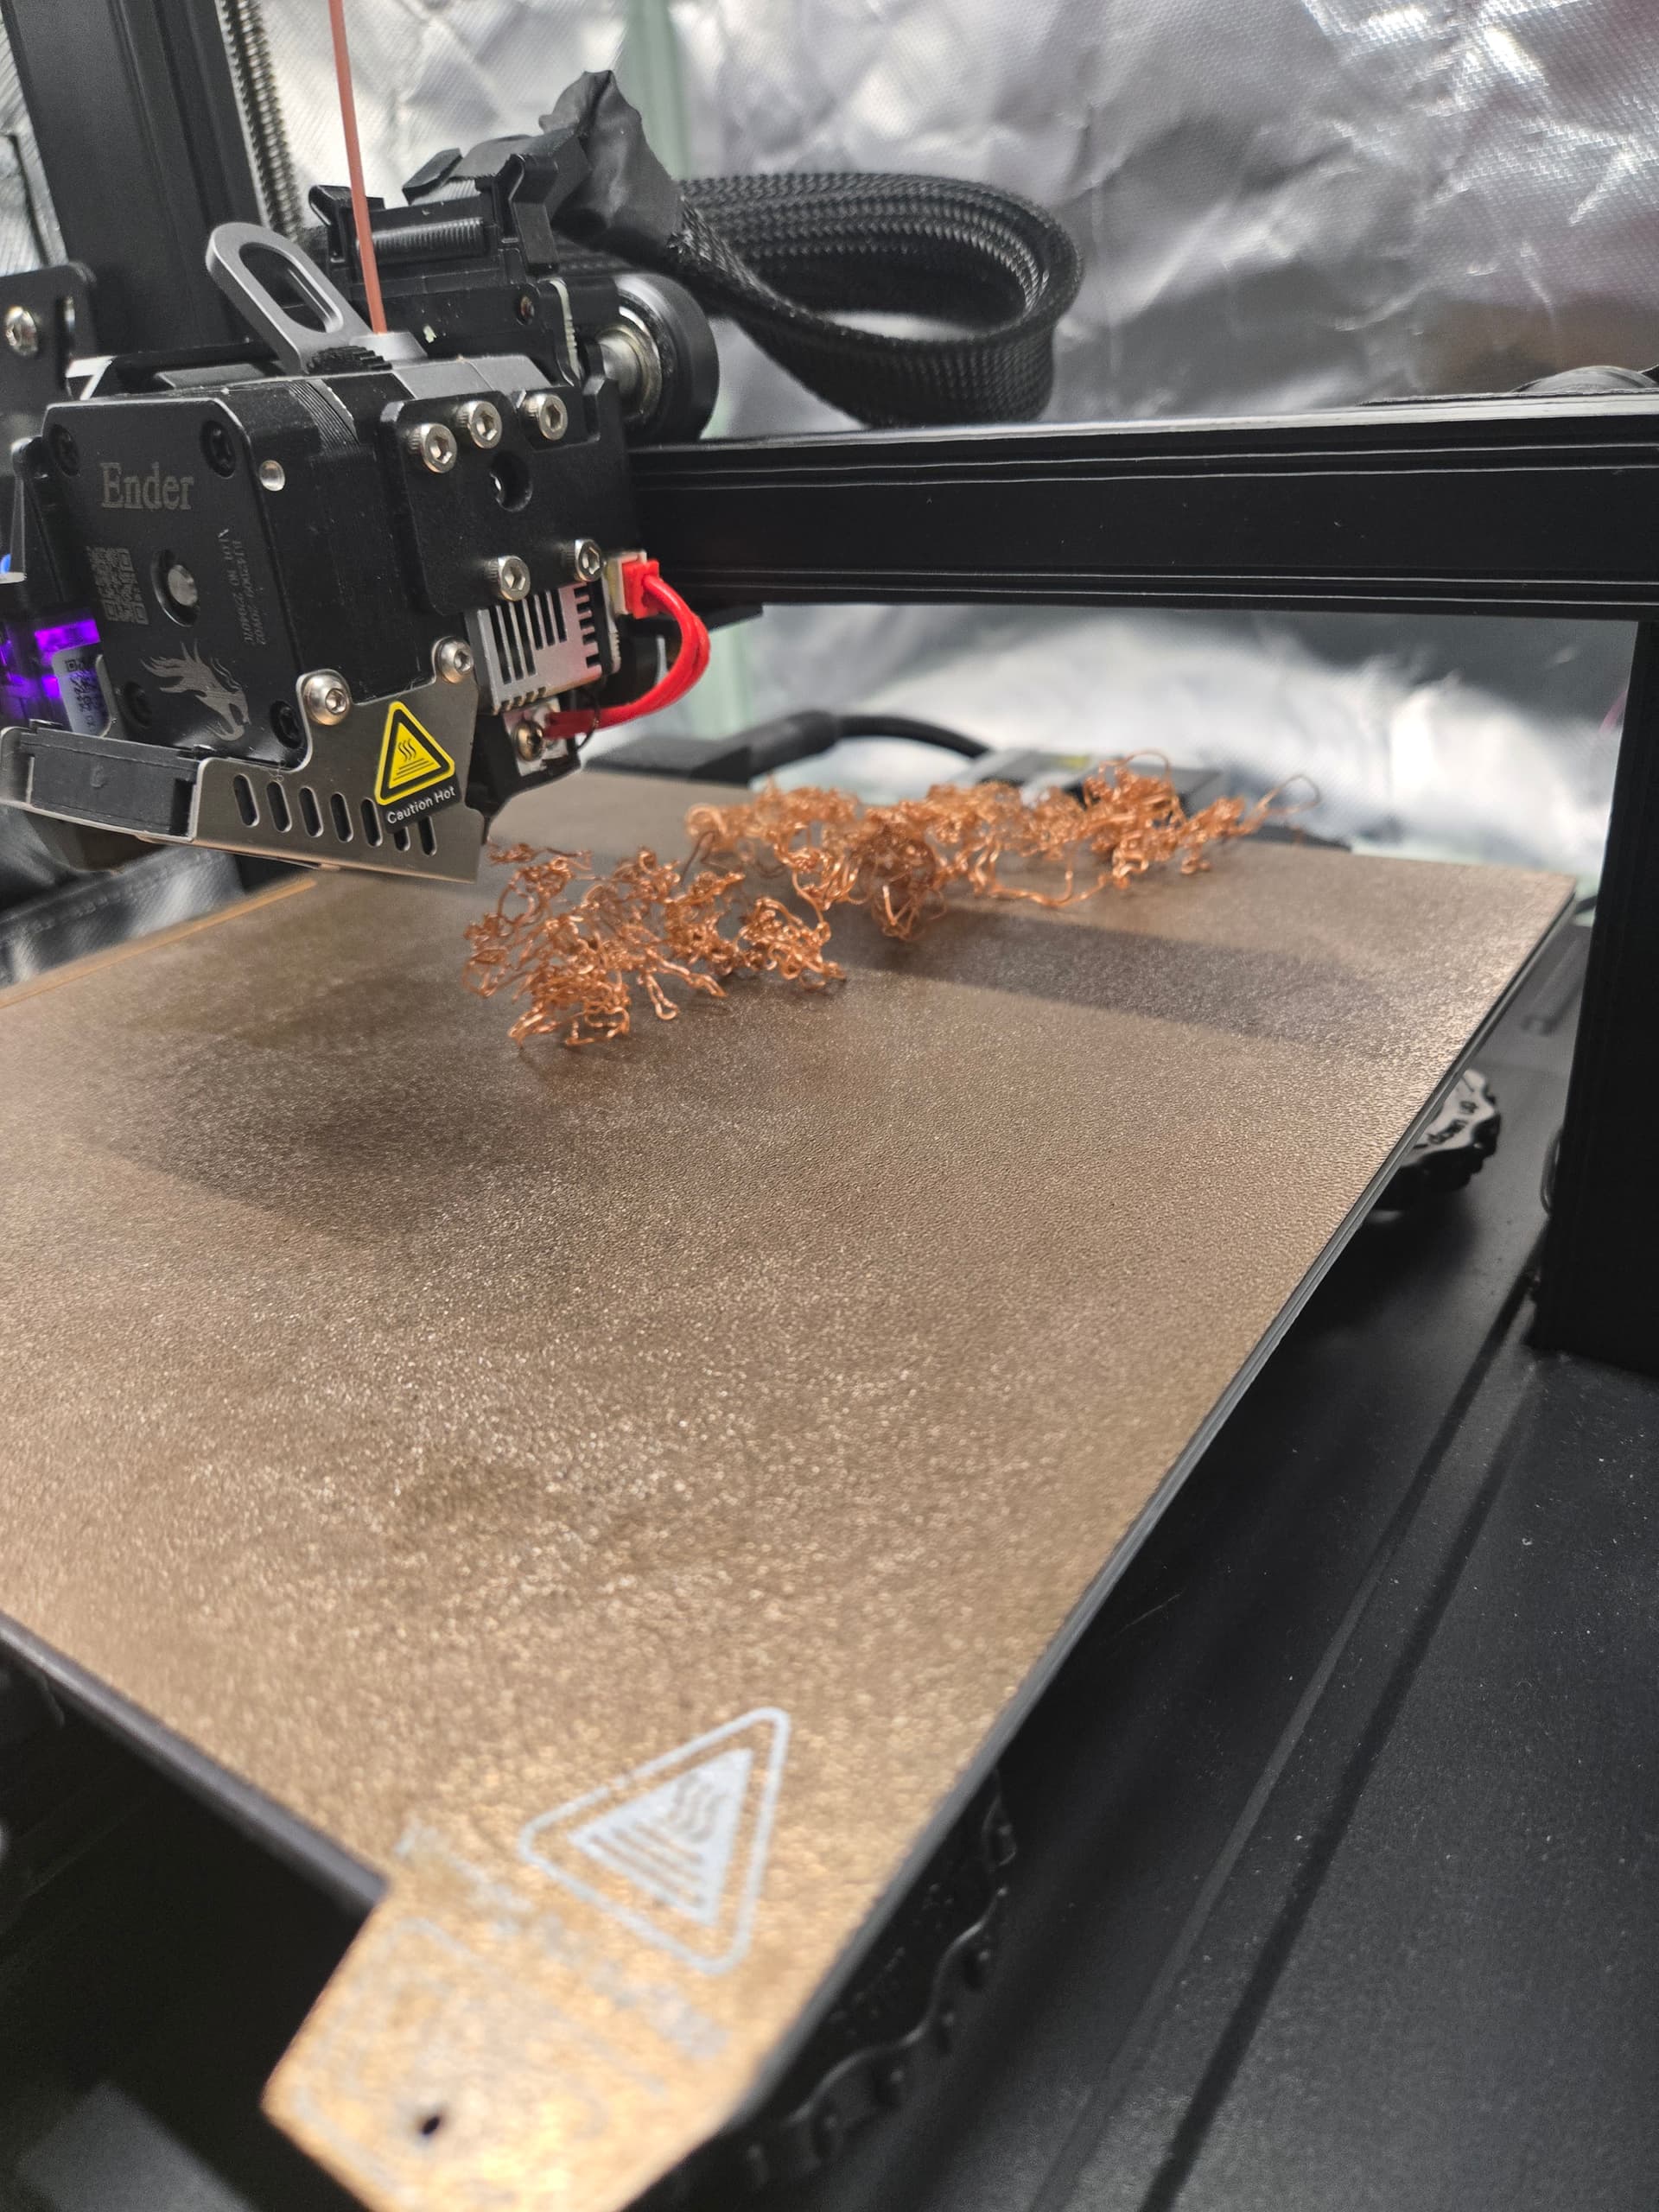
I think its only after a couple of layers that the extra material starts getting in the way. The first layer you might see a little blob at the walls when it does the zigzag fill, nice flat layer on the face of it. The second layer will start to wrinkle which makes the third layer wrinkle even worse, by the next layer the wrinkles are out of control and it starts to drag the nozzle and so on.
2 Likes
Hey Asterios_Anagnostou,
Is that Madera cake I see there that you have your prints on ? YUM!
Cheers.
1 Like
I see. Thanks for the info man. Well, I did the flow rate check. It doesn’t look like it’s too far off to be honest. I’ll have to look at it with my jewelers glasses to really see the layers up close because I am, admittedly, a bit blind lol. It’s definitely easy enough to feel that more flow is bad. The lower flow rates are a bit tougher to tell.
Haha! No sir! Just a funny looking cheap counter top!
1 Like
Hey man, that first layer is looking great! Nice work dialing that in!!! Dice tower for the wife eh? D&D?
My wife is a librarian, and I still owe her a “miniature bookshelf” for her elementary school library. We gotta keep our ladies happy (and supportive of our hobbies hahaha).
You’re still using Cura for this, right? And is this material PETG as well?
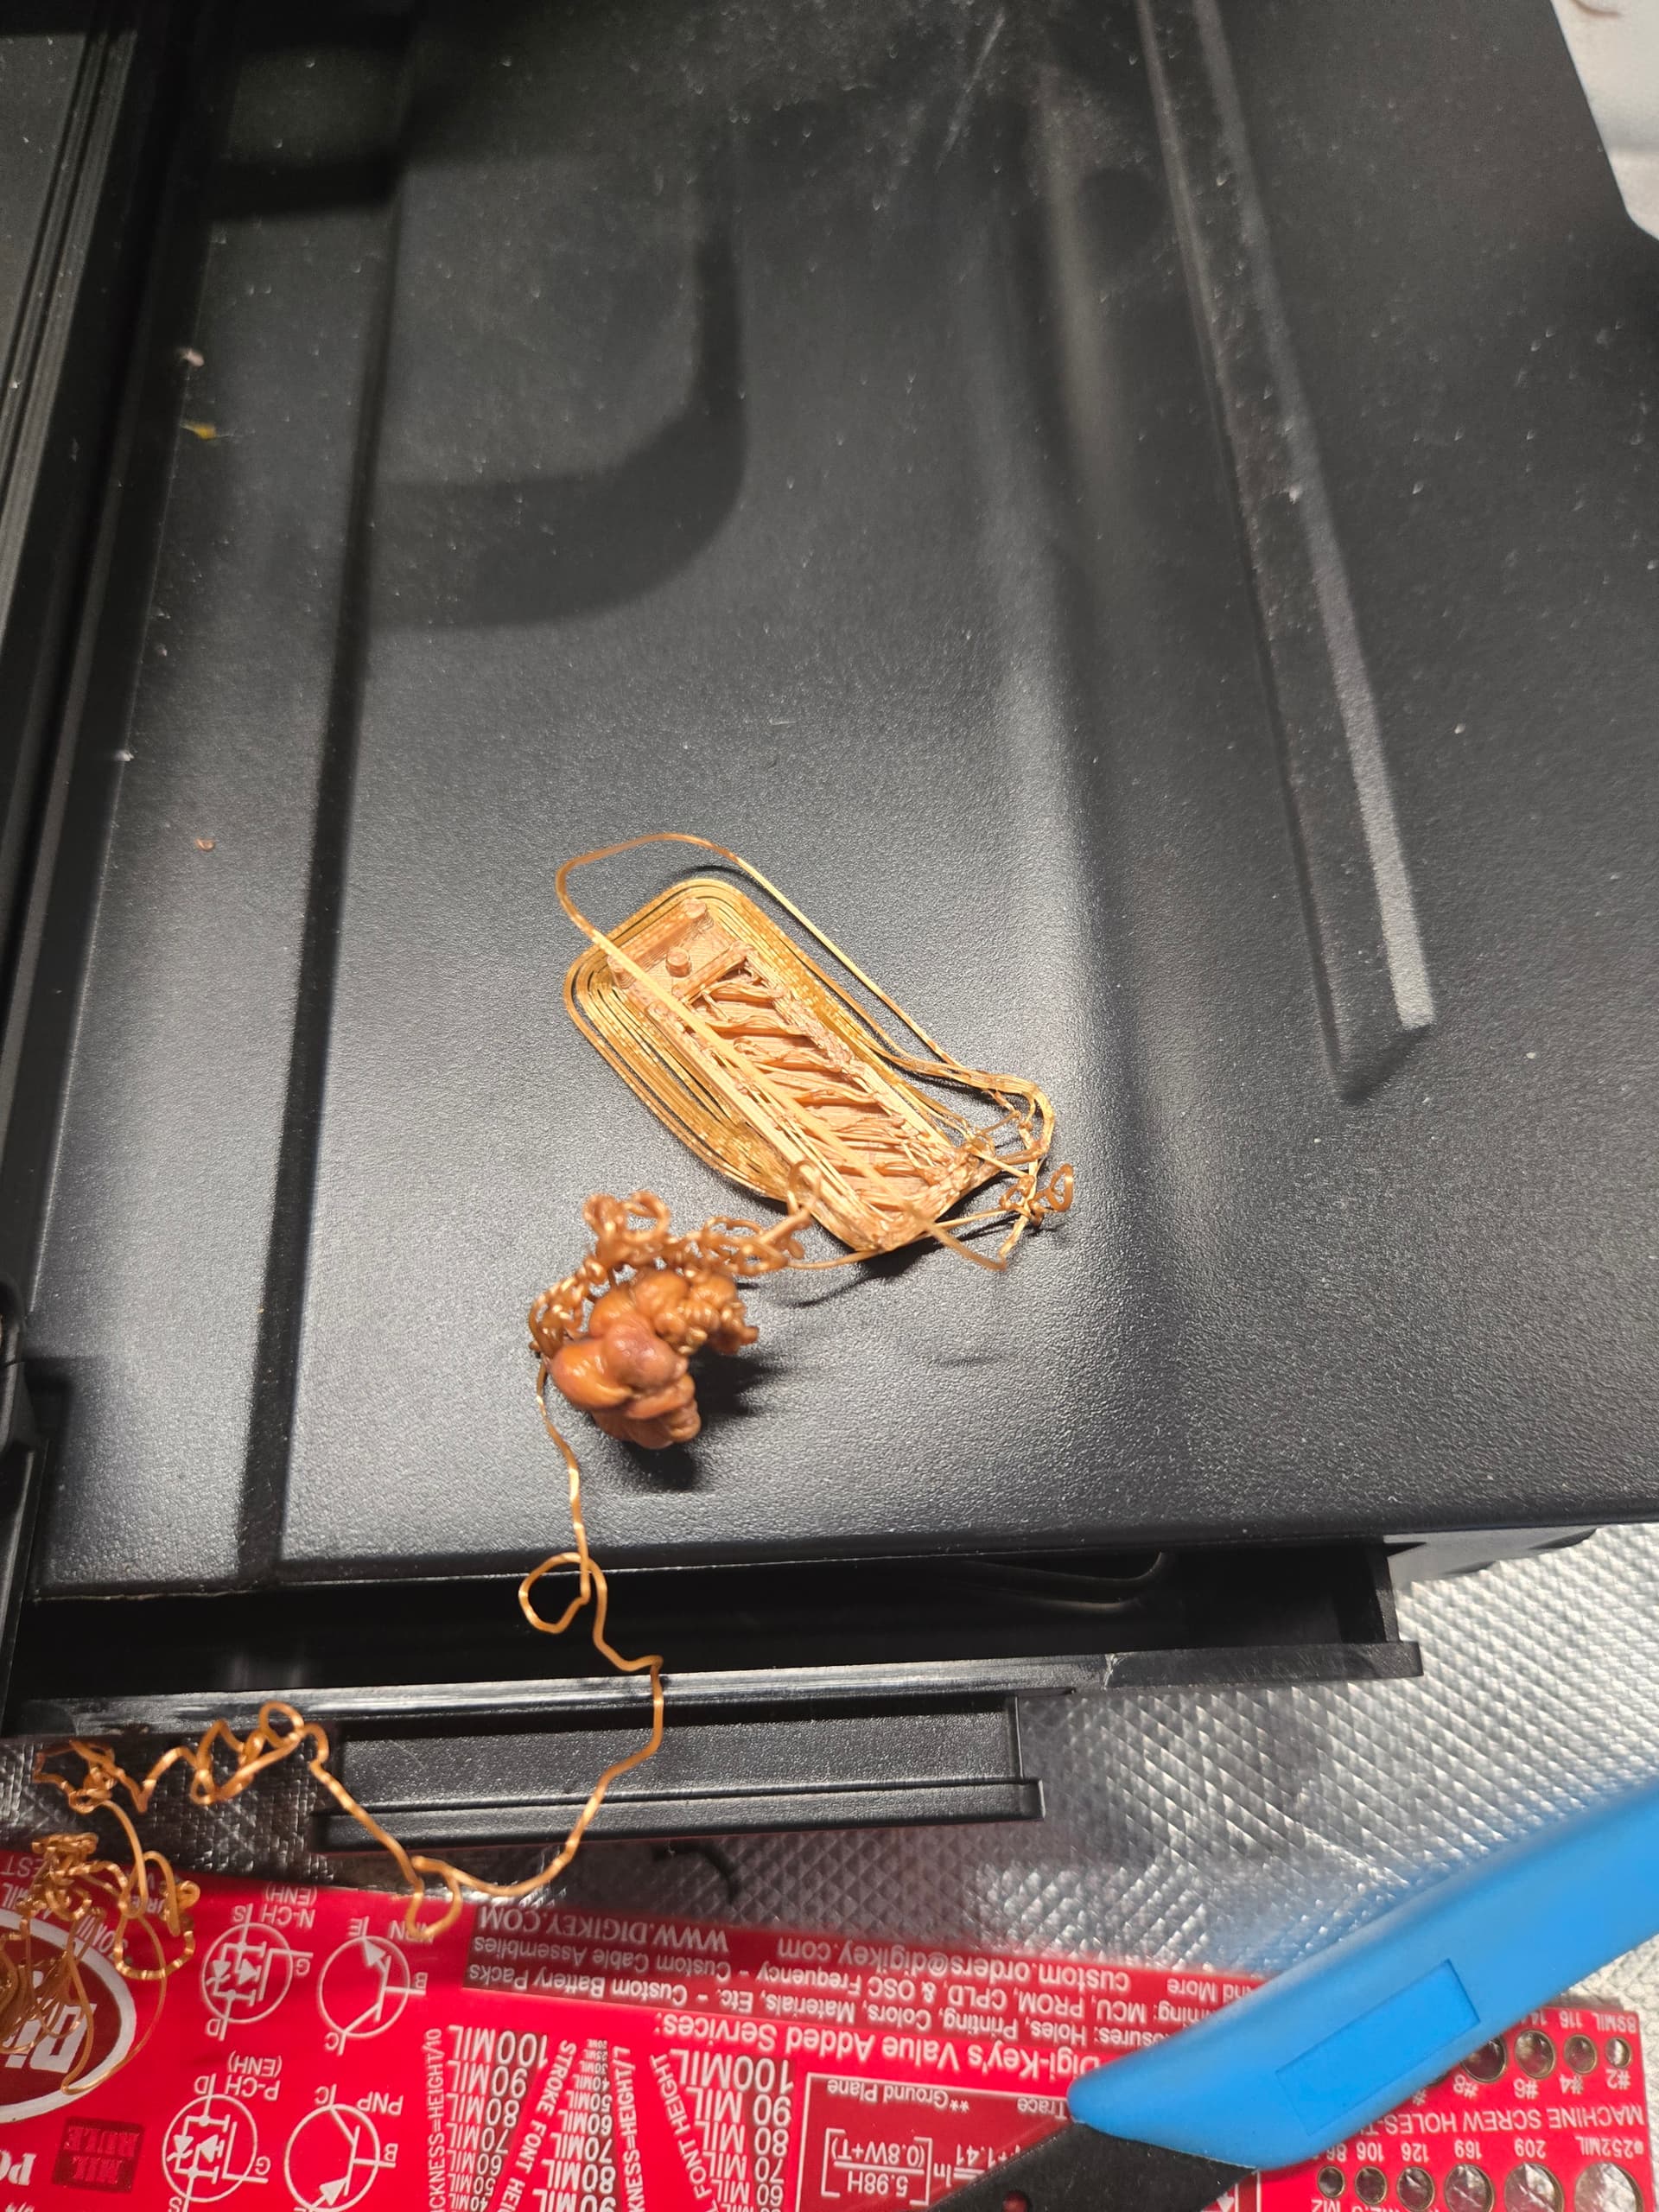
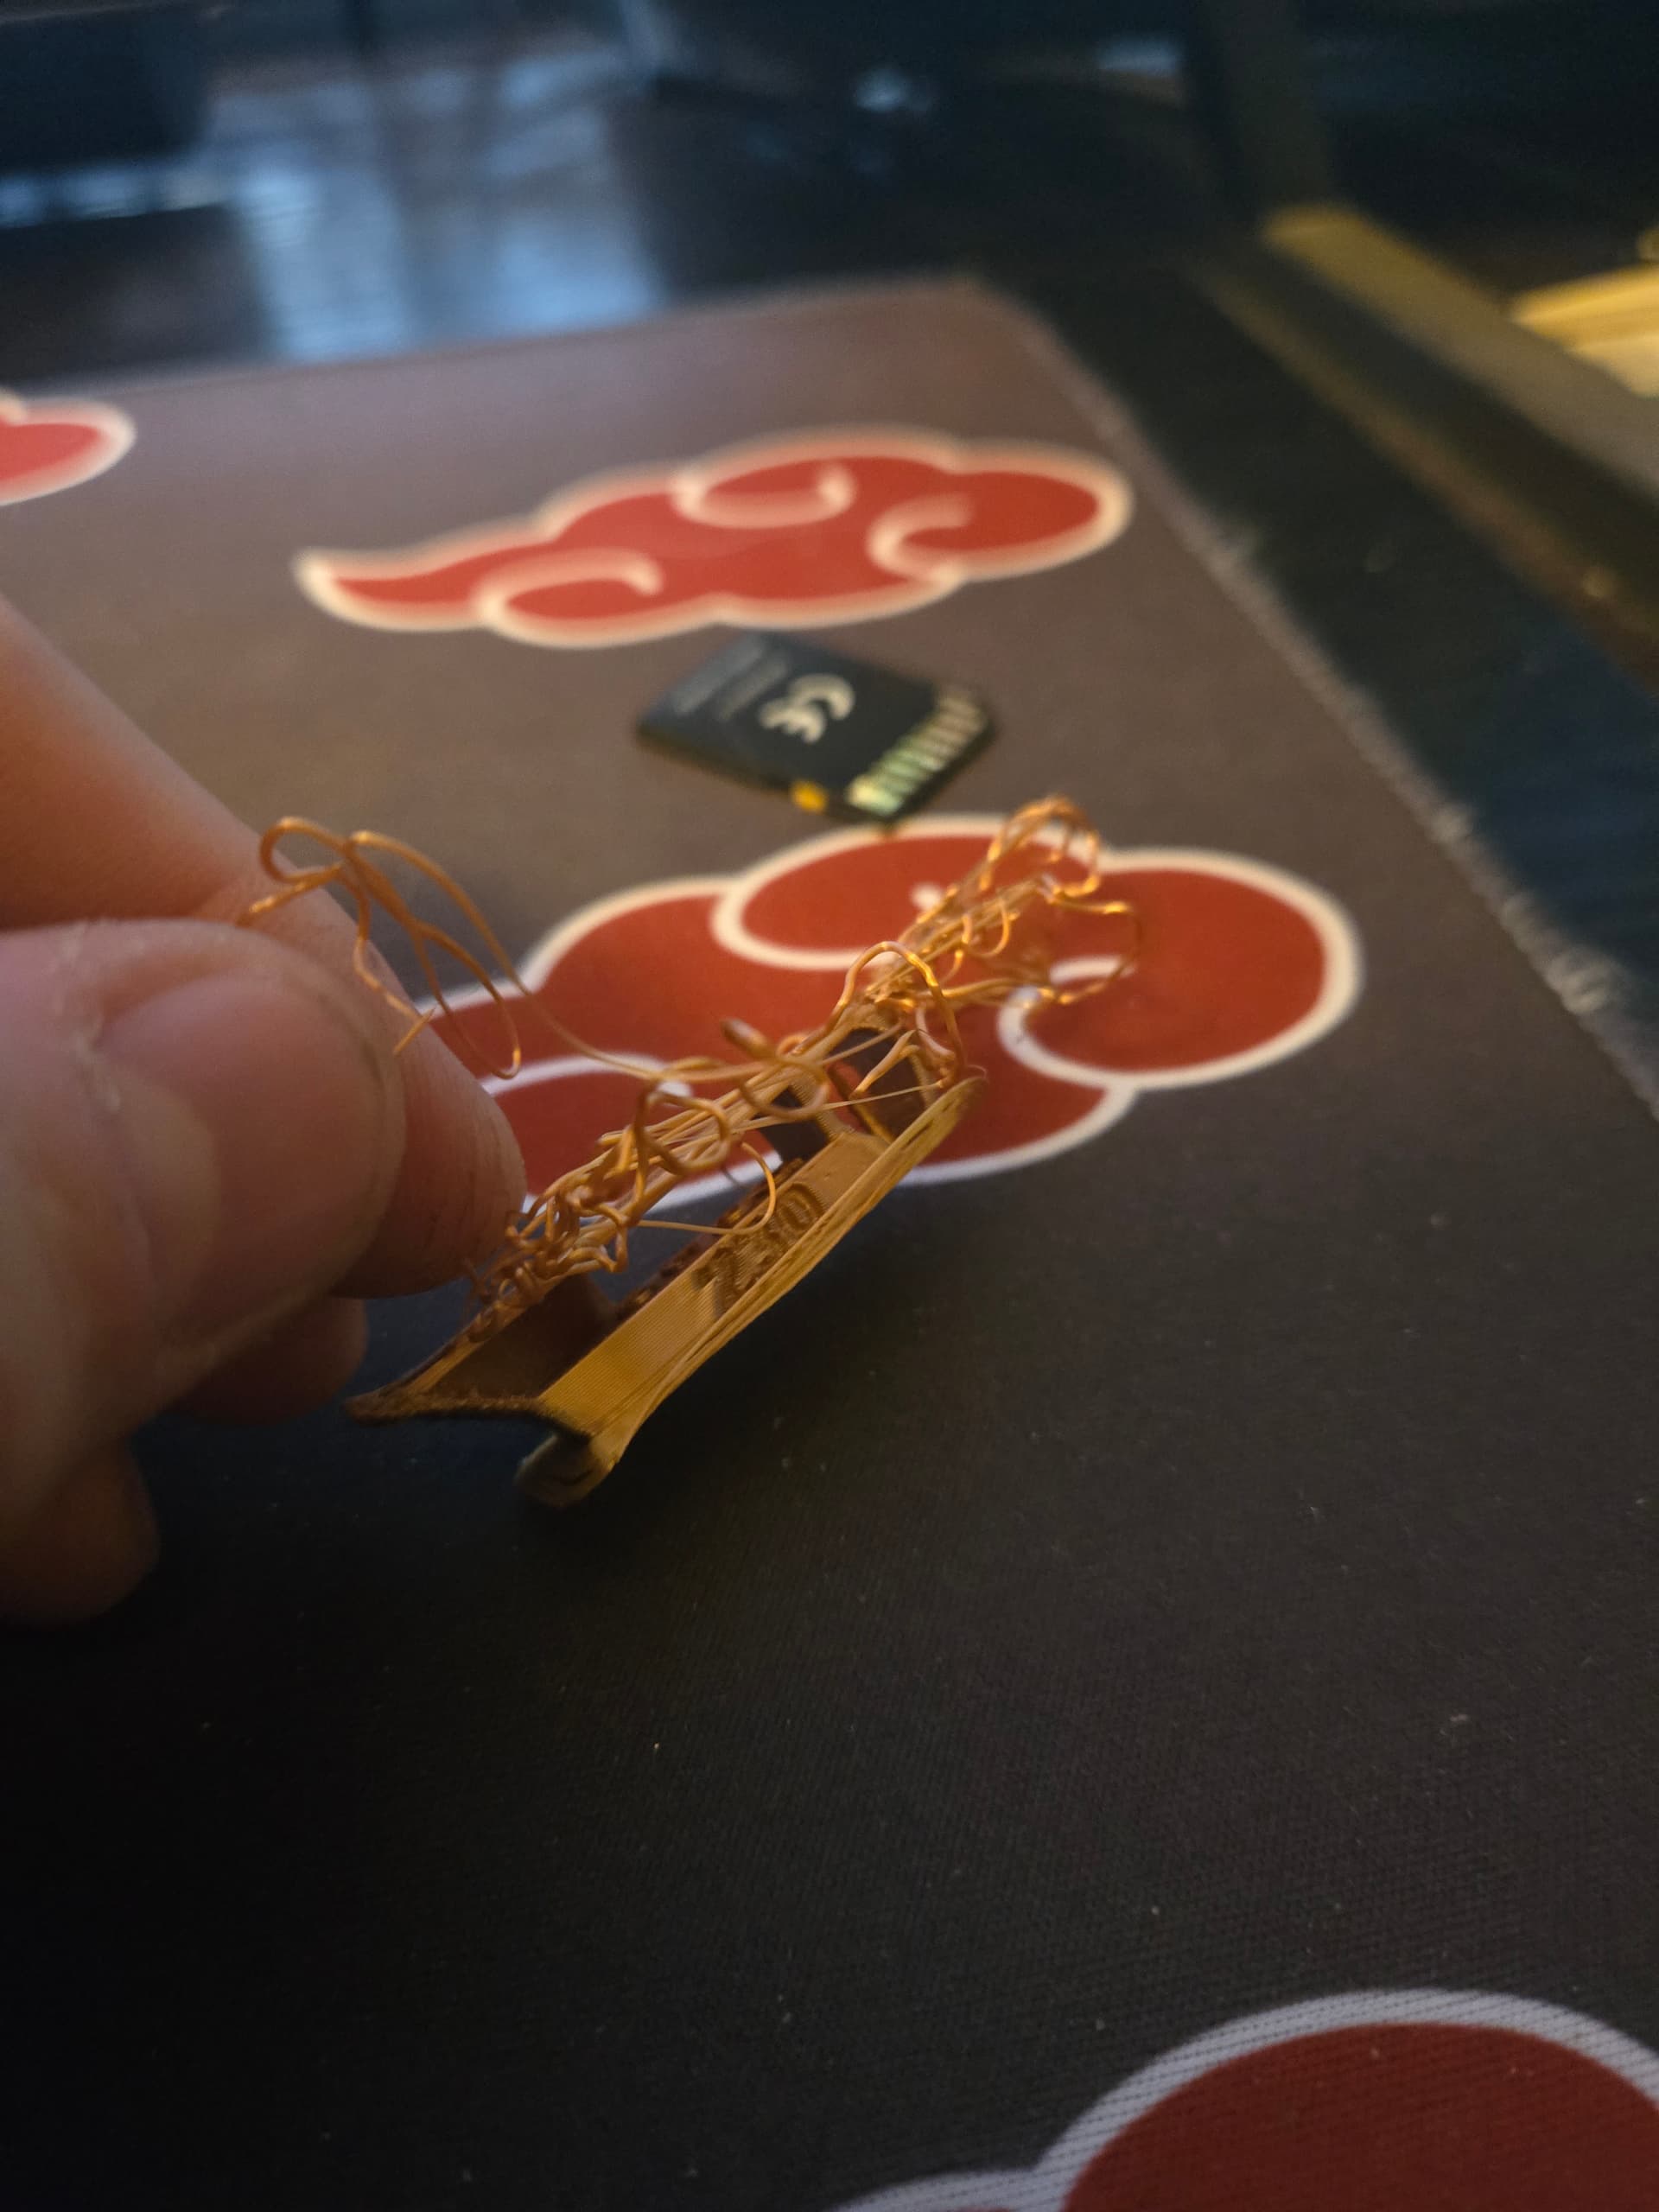
From what I’m seeing, the first signs of layer shifting start around layer 5 or 6, but things really get gnarly about halfway up. One corner is severely bunched up, while the other isn’t as bad but still has some inconsistencies.
This could be caused by a few things:
- Print Speed on Overhangs & Outer Walls – If the overhangs are printed too fast, the filament doesn’t have time to cool properly, which can lead to sagging. Slowing down outer walls and overhang speeds in Cura could help.
- Cooling – Overhangs need strong cooling to solidify quickly. If cooling is insufficient, layers remain soft and get progressively worse. PETG is tricky because it prefers moderate cooling… Too much airflow and adhesion suffers, too little and you get drooping.
- Flow Rate / Extrusion Multiplier – Overhangs are sensitive to over-extrusion. If too much filament is being laid down, it can accumulate, leading to uneven layering.
- Print Temperature – You calibrated the black PETG earlier, but different brands/colors can require adjustments. For example, I have one roll of PETG that prints well at 245°C and another in the same color that works better at 255°C. It’s worth fine-tuning.
Wildcard Theory: Print Bed Temperature
I actually learned this the hard way, after printing what felt like a gajillion Benchys! ![]() The bow of the boat always had this weird little notch about 2mm up, and then it would smooth out and look fine. It got so bad that I thought it was just part of the model! But one day, while casually scrolling through Reddit, I stumbled upon a post that explained the issue… it was my bed temperature all along!
The bow of the boat always had this weird little notch about 2mm up, and then it would smooth out and look fine. It got so bad that I thought it was just part of the model! But one day, while casually scrolling through Reddit, I stumbled upon a post that explained the issue… it was my bed temperature all along!
This might not be the main culprit here, but it could definitely be a factor. As the overhang extends outward, it spends more time over the heated bed rather than the main print body. The radiant heat from the bed can slow down cooling, keeping those layers softer for longer. If the next layer gets printed on top of a still-mushy one, it continues to deform, getting progressively worse.
If this is the issue, possible fixes include:
- Lowering the bed temperature slightly to reduce radiant heat exposure. You can do this after the first few layers, it’ll also help prevent elephants foot on longer prints.
- Using a skirt placed close to the print – A well-placed skirt can act as a heat break, reducing the impact of bed heat on the overhang.
- Adding a brim – This can provide additional stability and reduce warping.
Let me know if any of these ideas help!
2 Likes
2 Likes
Man that’s great info! I will try and implement this stuff tonight! Ran into a new problem last two times I tried to print.
The pla stops feeding and gets stuck at exactly the same part of the print, which is weird. And it was sliced two different times. Even after heating the extruder, I have a bear of a time removing it too. Not sure what that’s about.
I used orca for this because it recognizes .3mf, but I’m not used to that slicer. I think I may convert the file to STL through CAD and use Cura.
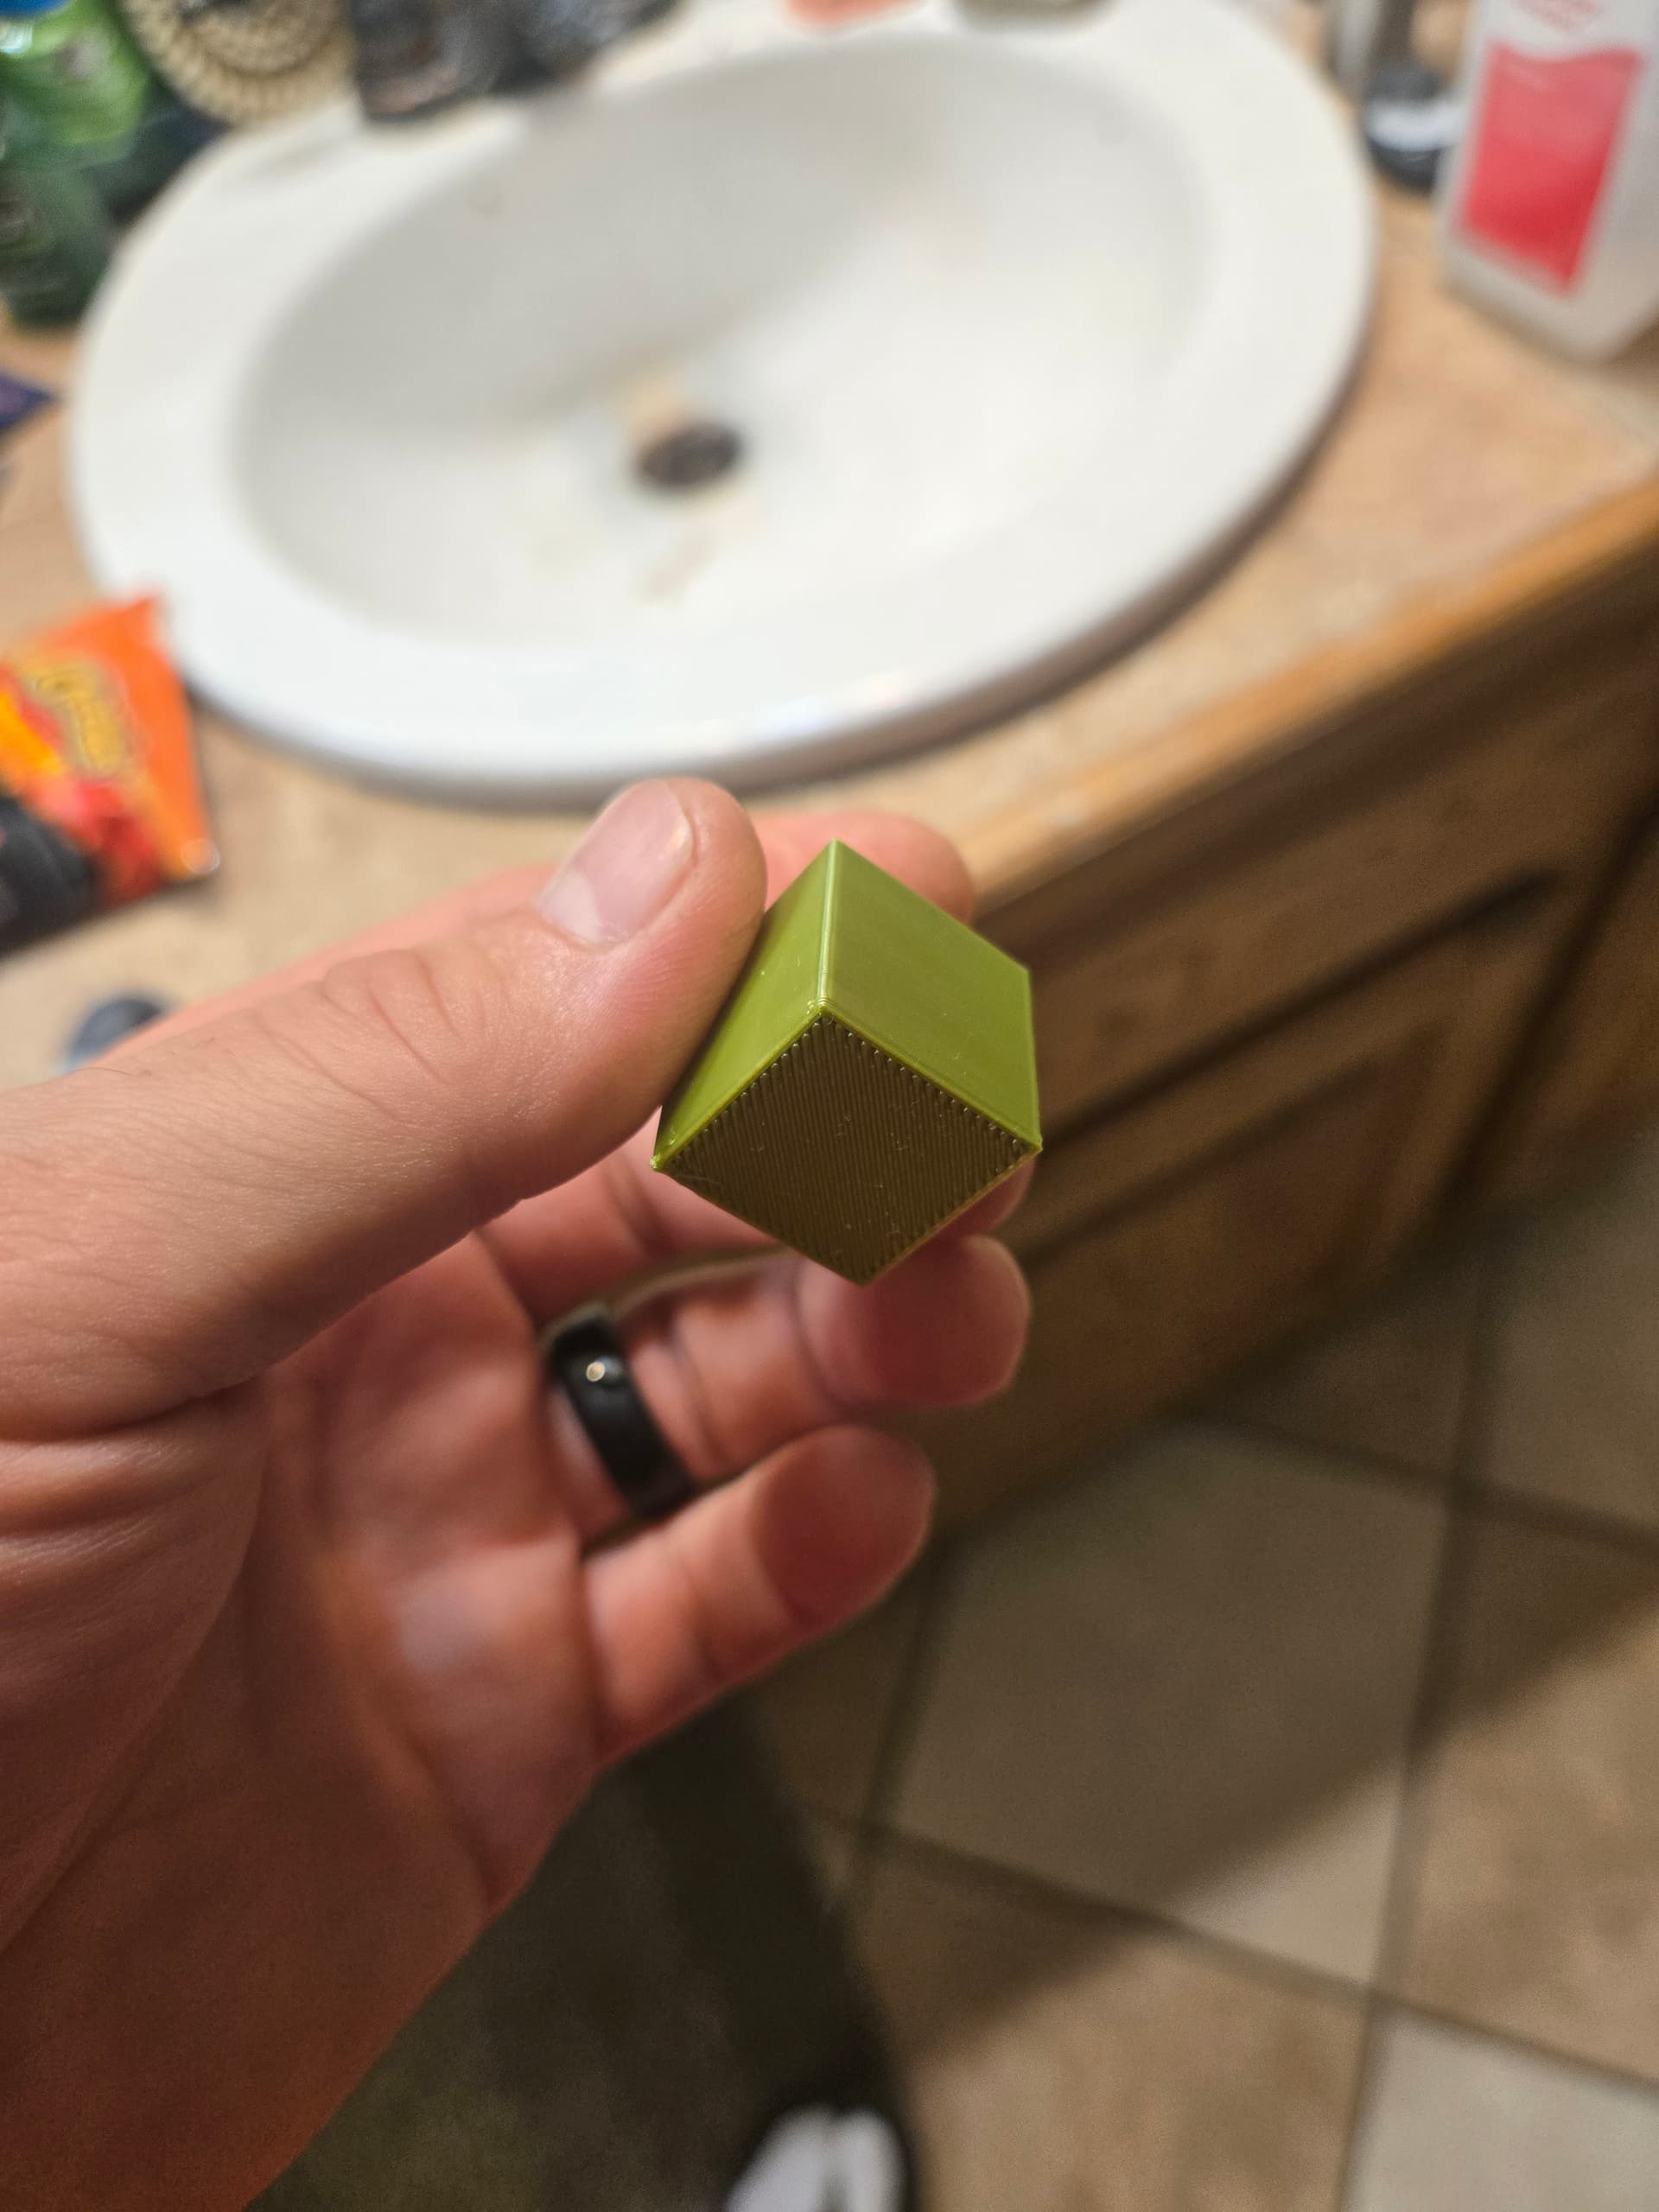
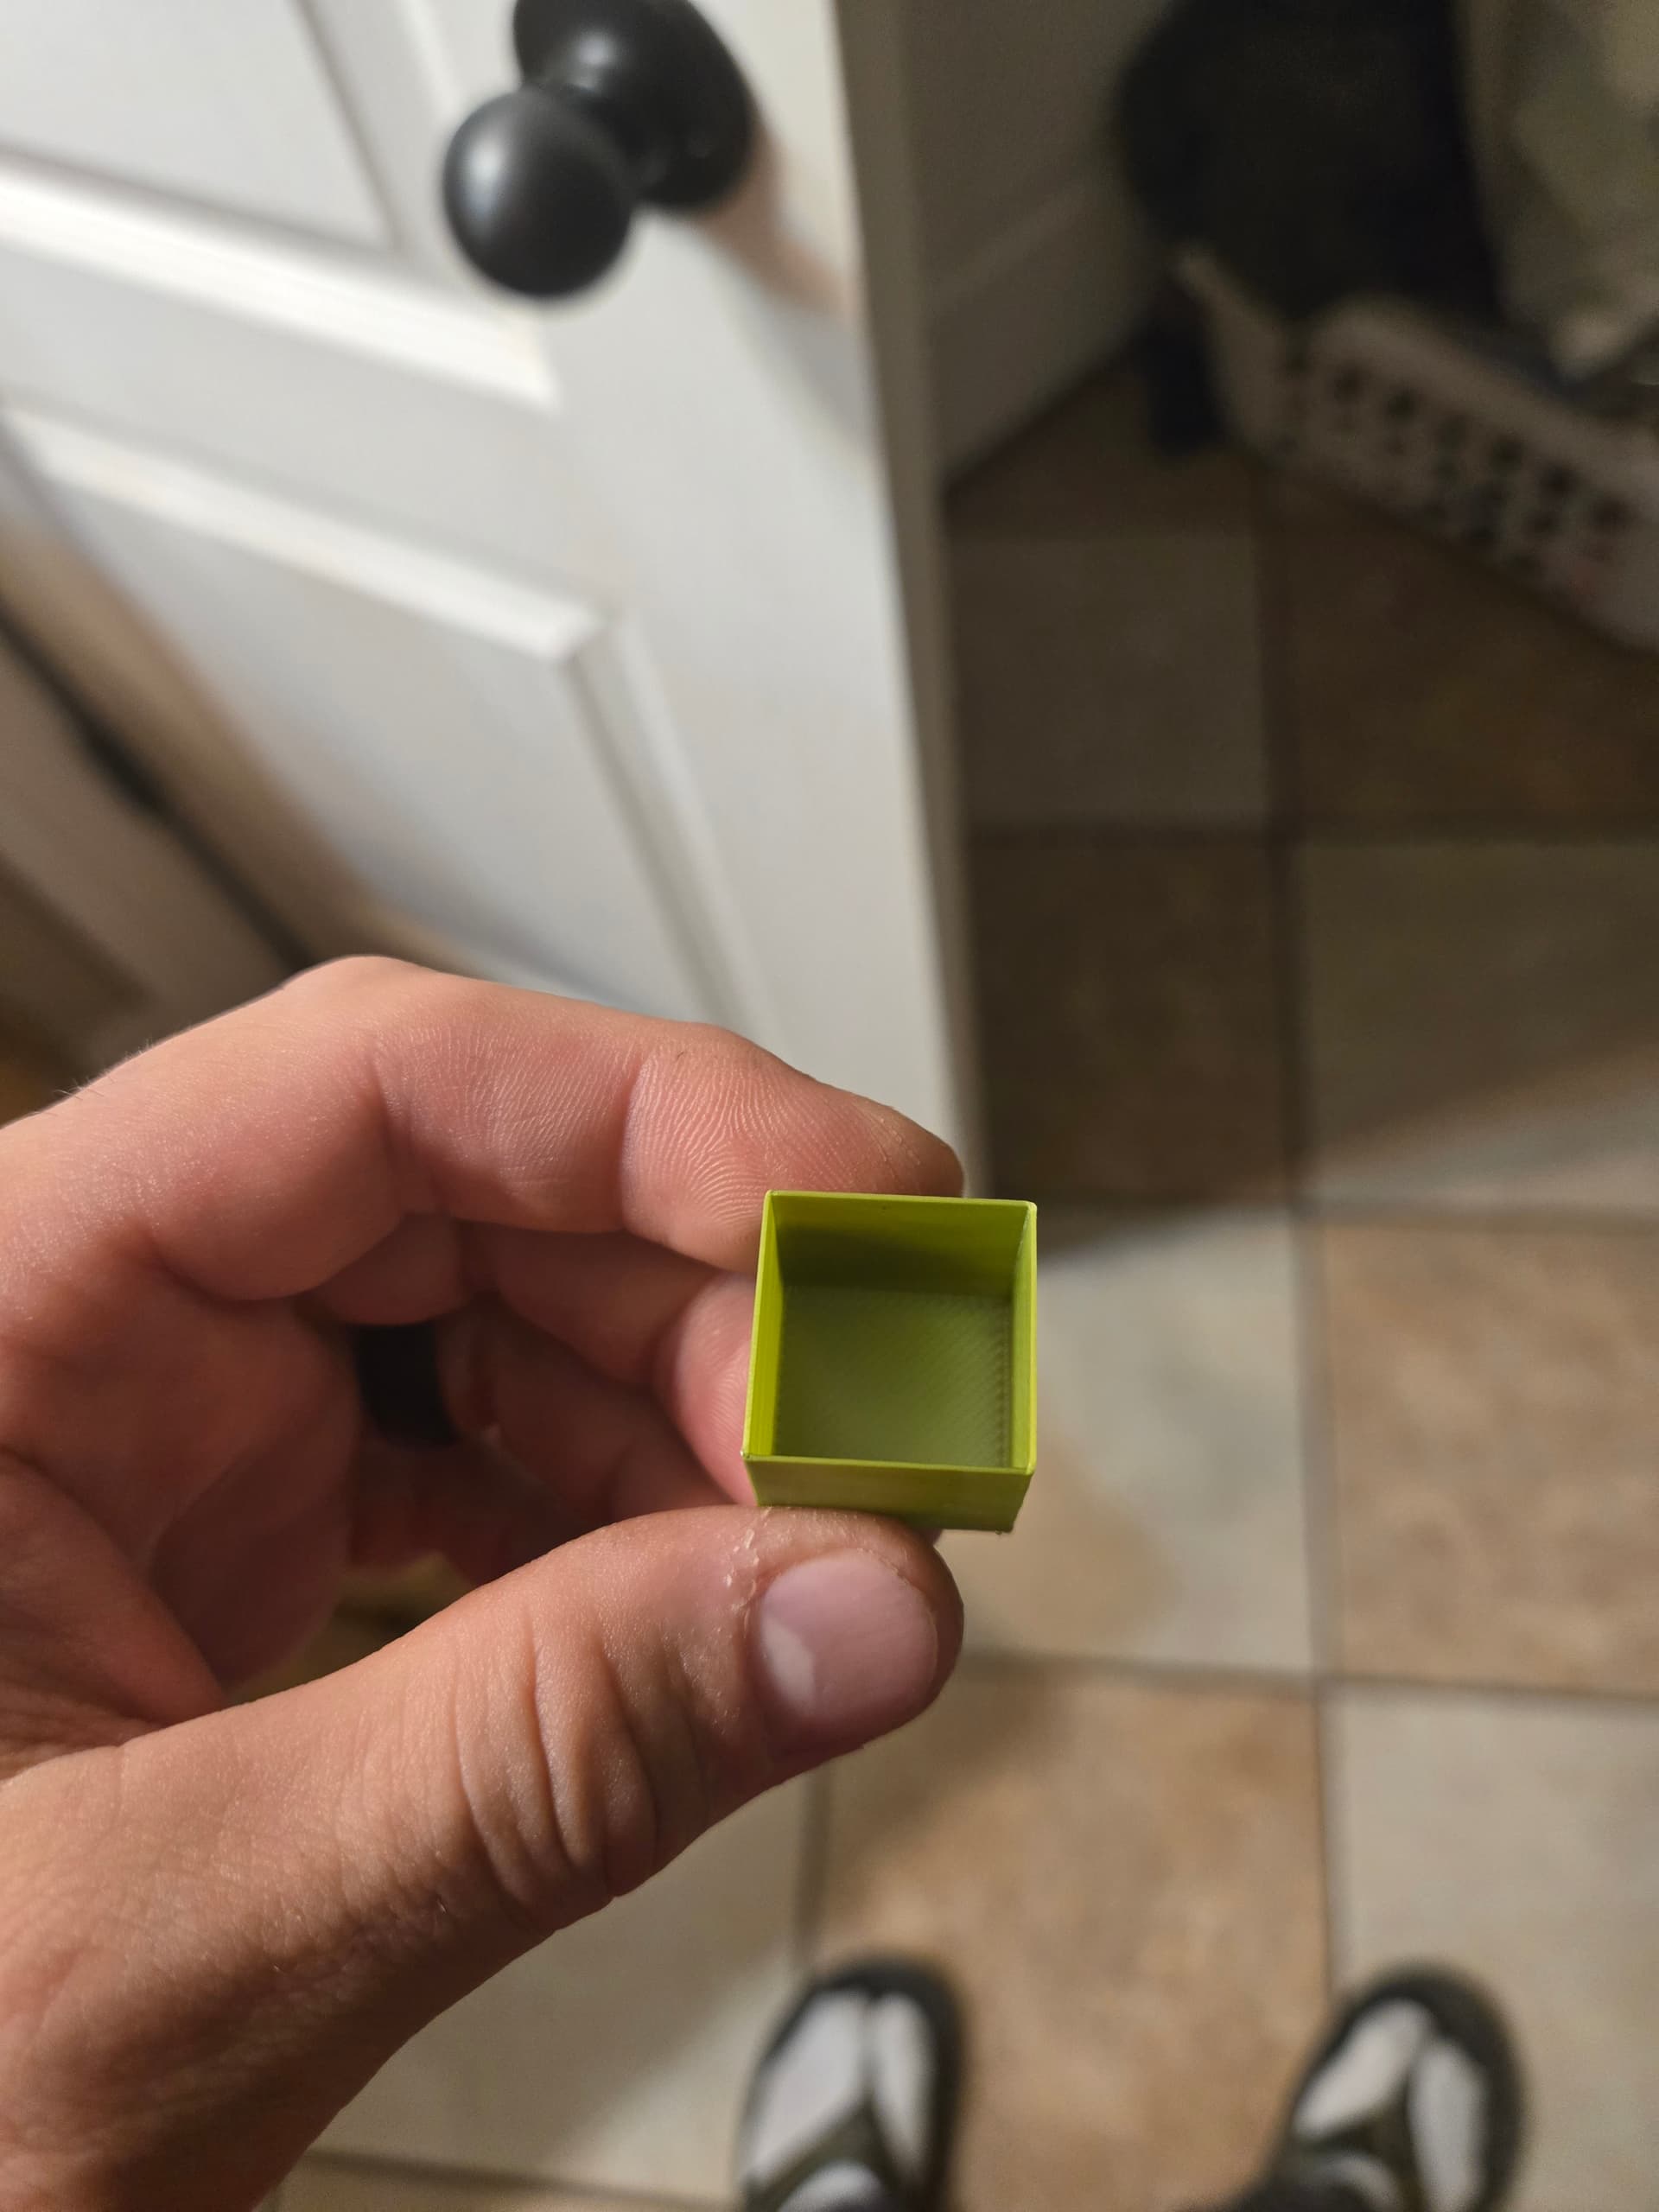
I did a simple flow rate test using a calibration box and discovered my rate should be at about 88% of normal, too.
A mini bookshelf! Haha that’s awesome man. Yeah, I’m glad my wife and kiddo took an interest in printing. Means I can invest more into too ![]() .
.
I temp calibrated this pla at about 245C. I can see what you mean about the radiation coming off the bed. Especially in that little spot, because the overhang is sort of like a pocket that can trap heat once it connects at the top. I’ve been running bed temp at 70. Should I try 60? Also, I didn’t know you could change bed temp mid print!
1 Like
Glass transition temperature of PLA is about 60 so at that temperature or above it will stay soft and increases likelihood of things like elephant foot. I run my bed between 50-55°C so that the PLA can cool/solidify.
2 Likes
@Bonfireman hit the nail on the head with glass transition and bed temp! If it’s colder in the house, I’ll bump up my initial layer temp but drop it back down after the first few layers. There’s a setting in Orca and CP6 called Elephant Foot Compensation, which I recently discovered—it’s super handy!
Our home has mostly tile, so it stays nice and cool during the summer, but that can mess with my bed adhesion on open printers, especially bed slingers. If I’m still struggling with adhesion, I’ll add a brim or go old-school with some Elmer’s glue! If I need extra tackiness, I use a micromister filled with 91% alcohol. Apply the glue stick, lightly mist it, and boom: instant PSA (pressure-sensitive adhesive)!
As for bed temp, like Bonfireman, 50-55°C is my usual max for PLA, maybe 60°C if it’s really cold and tolerances aren’t critical. 70-80°C is more in PETG territory.
If that’s PLA instead of PETG, 245°C is way too hot. Most PLA prints best around 195-210°C…maybe 220°C if I’m feeling adventurous with a speed print (where quality goes out the window ![]() ). The Ender 3s are especially unforgiving when it comes to heat creep.
). The Ender 3s are especially unforgiving when it comes to heat creep.
Quick Heat Creep Breakdown:
When the hotend and heat break get too hot, filament starts softening too high up—almost near the extruder gears. This leads to clogs, under-extrusion, and sometimes the notorious “melted ball of doom” inside the heat break.
Also, stick with Orca! I started on Cura too, but Orca has way more features while still keeping things intuitive. Cura is still an awesome slicer, but Orca has the edge in flexibility and fine-tuning.
Oh, and yes… we are huge bookworms over here. My wife’s been an elementary school librarian for three years, and before that, she spent a decade as an English teacher. Those mini-shelves definitely need mini-books, which means… MORE FILAMENT! ![]()
1 Like
That’s awesome bro! My wife and I as well! We have our own little library here at home. I’ve been trying to get my daughter interested in reading, but no dice so far D= The mini library is going to look badass!
So, I have a PEI textured metal plate, not a glass one. I’m not sure if that matters. I will try a lower temp anyway! I also have the printer in an enclosure, so it makes sense to think things are just getting way too hot.
The tower I ran and took pictures of up a few posts ago were at higher temps. I think the lowest was 245. I can clean the extruder and run another tower with a lower temp range to dial it in further.
PETG would not run any lower than 260 on this printer without skipping. IDK brother, but I gotta say, all this info is helping me get to the root of the problems I’ve been having, little by little.
I want to get used to ORCA, but dang it don’t like the way the menus are set up. I’ll dig into it a bit more and get back with you guys.
OH! One thing I have been having trouble finding in ORCA is Flow Rate. I found Flow Ratio, is that the same? Also, how to stop the filament oozing from the nozzle? That often causes some blobs at the beginning. Maybe a result of the temp being too high huh?
1 Like
1 Like
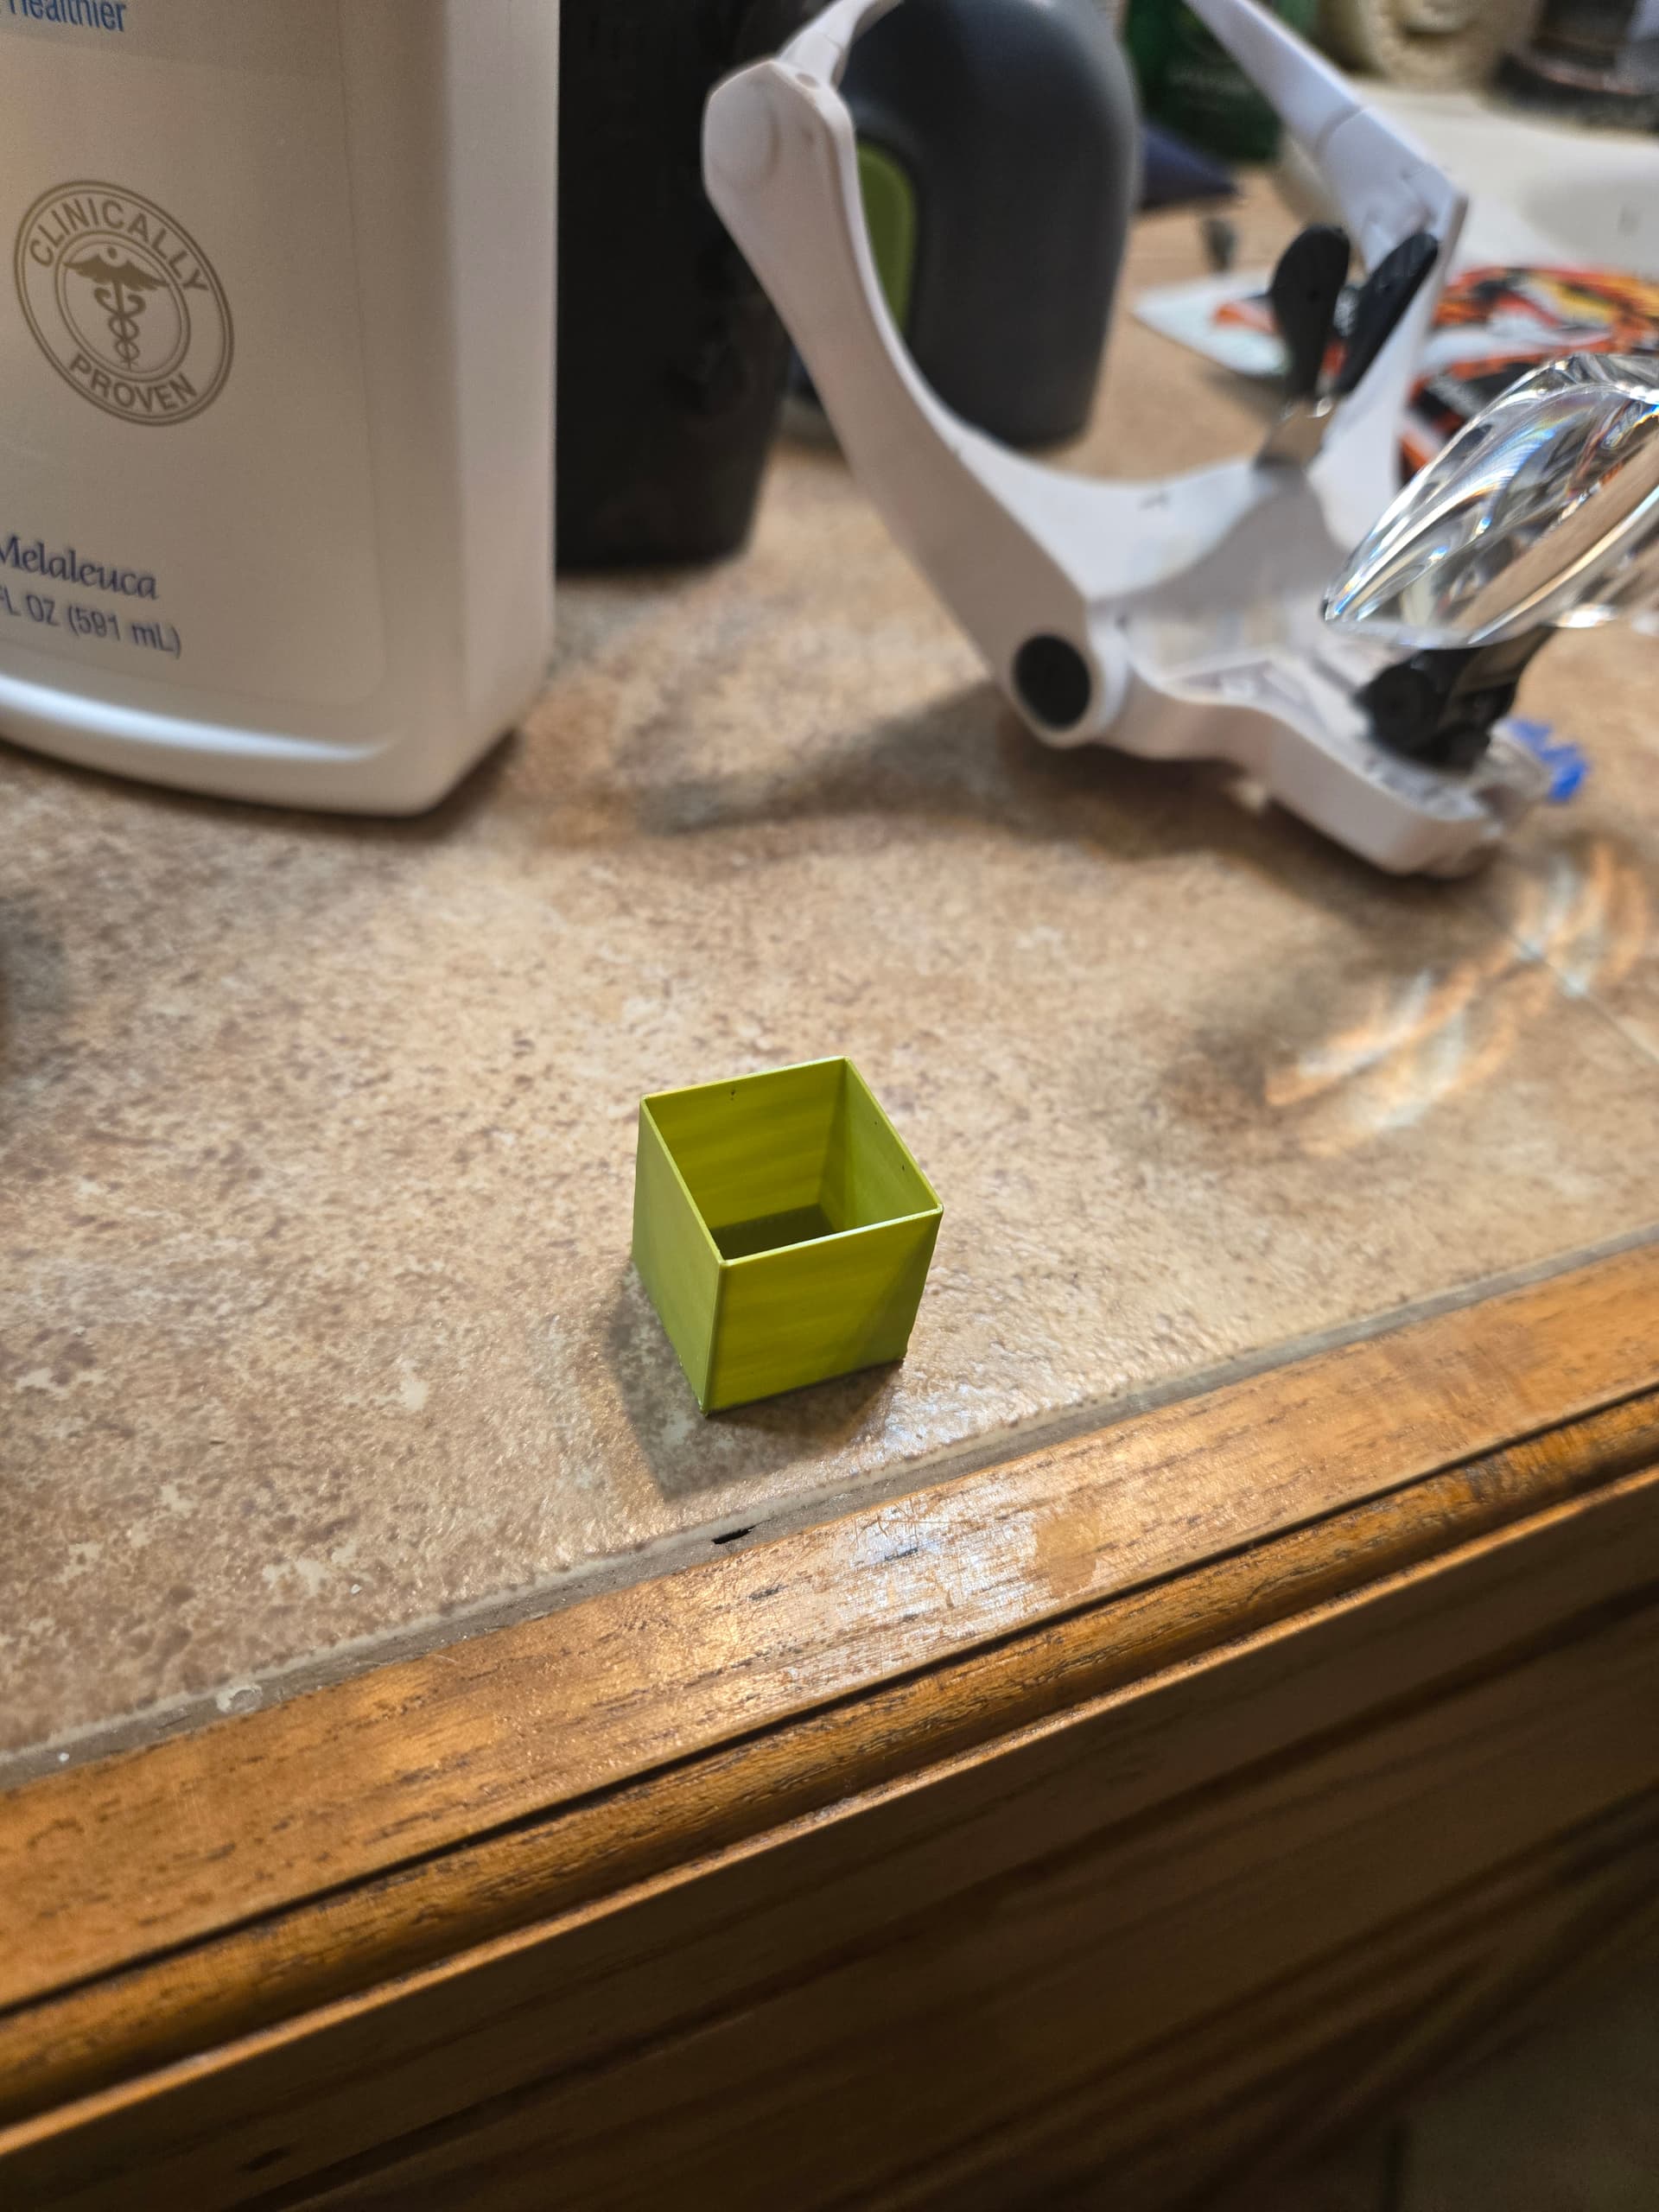
Still looking like your z-offset is too high and you aren’t getting the proper squish into the bed. Can you try the 100x100x0.2 square and show the result please?
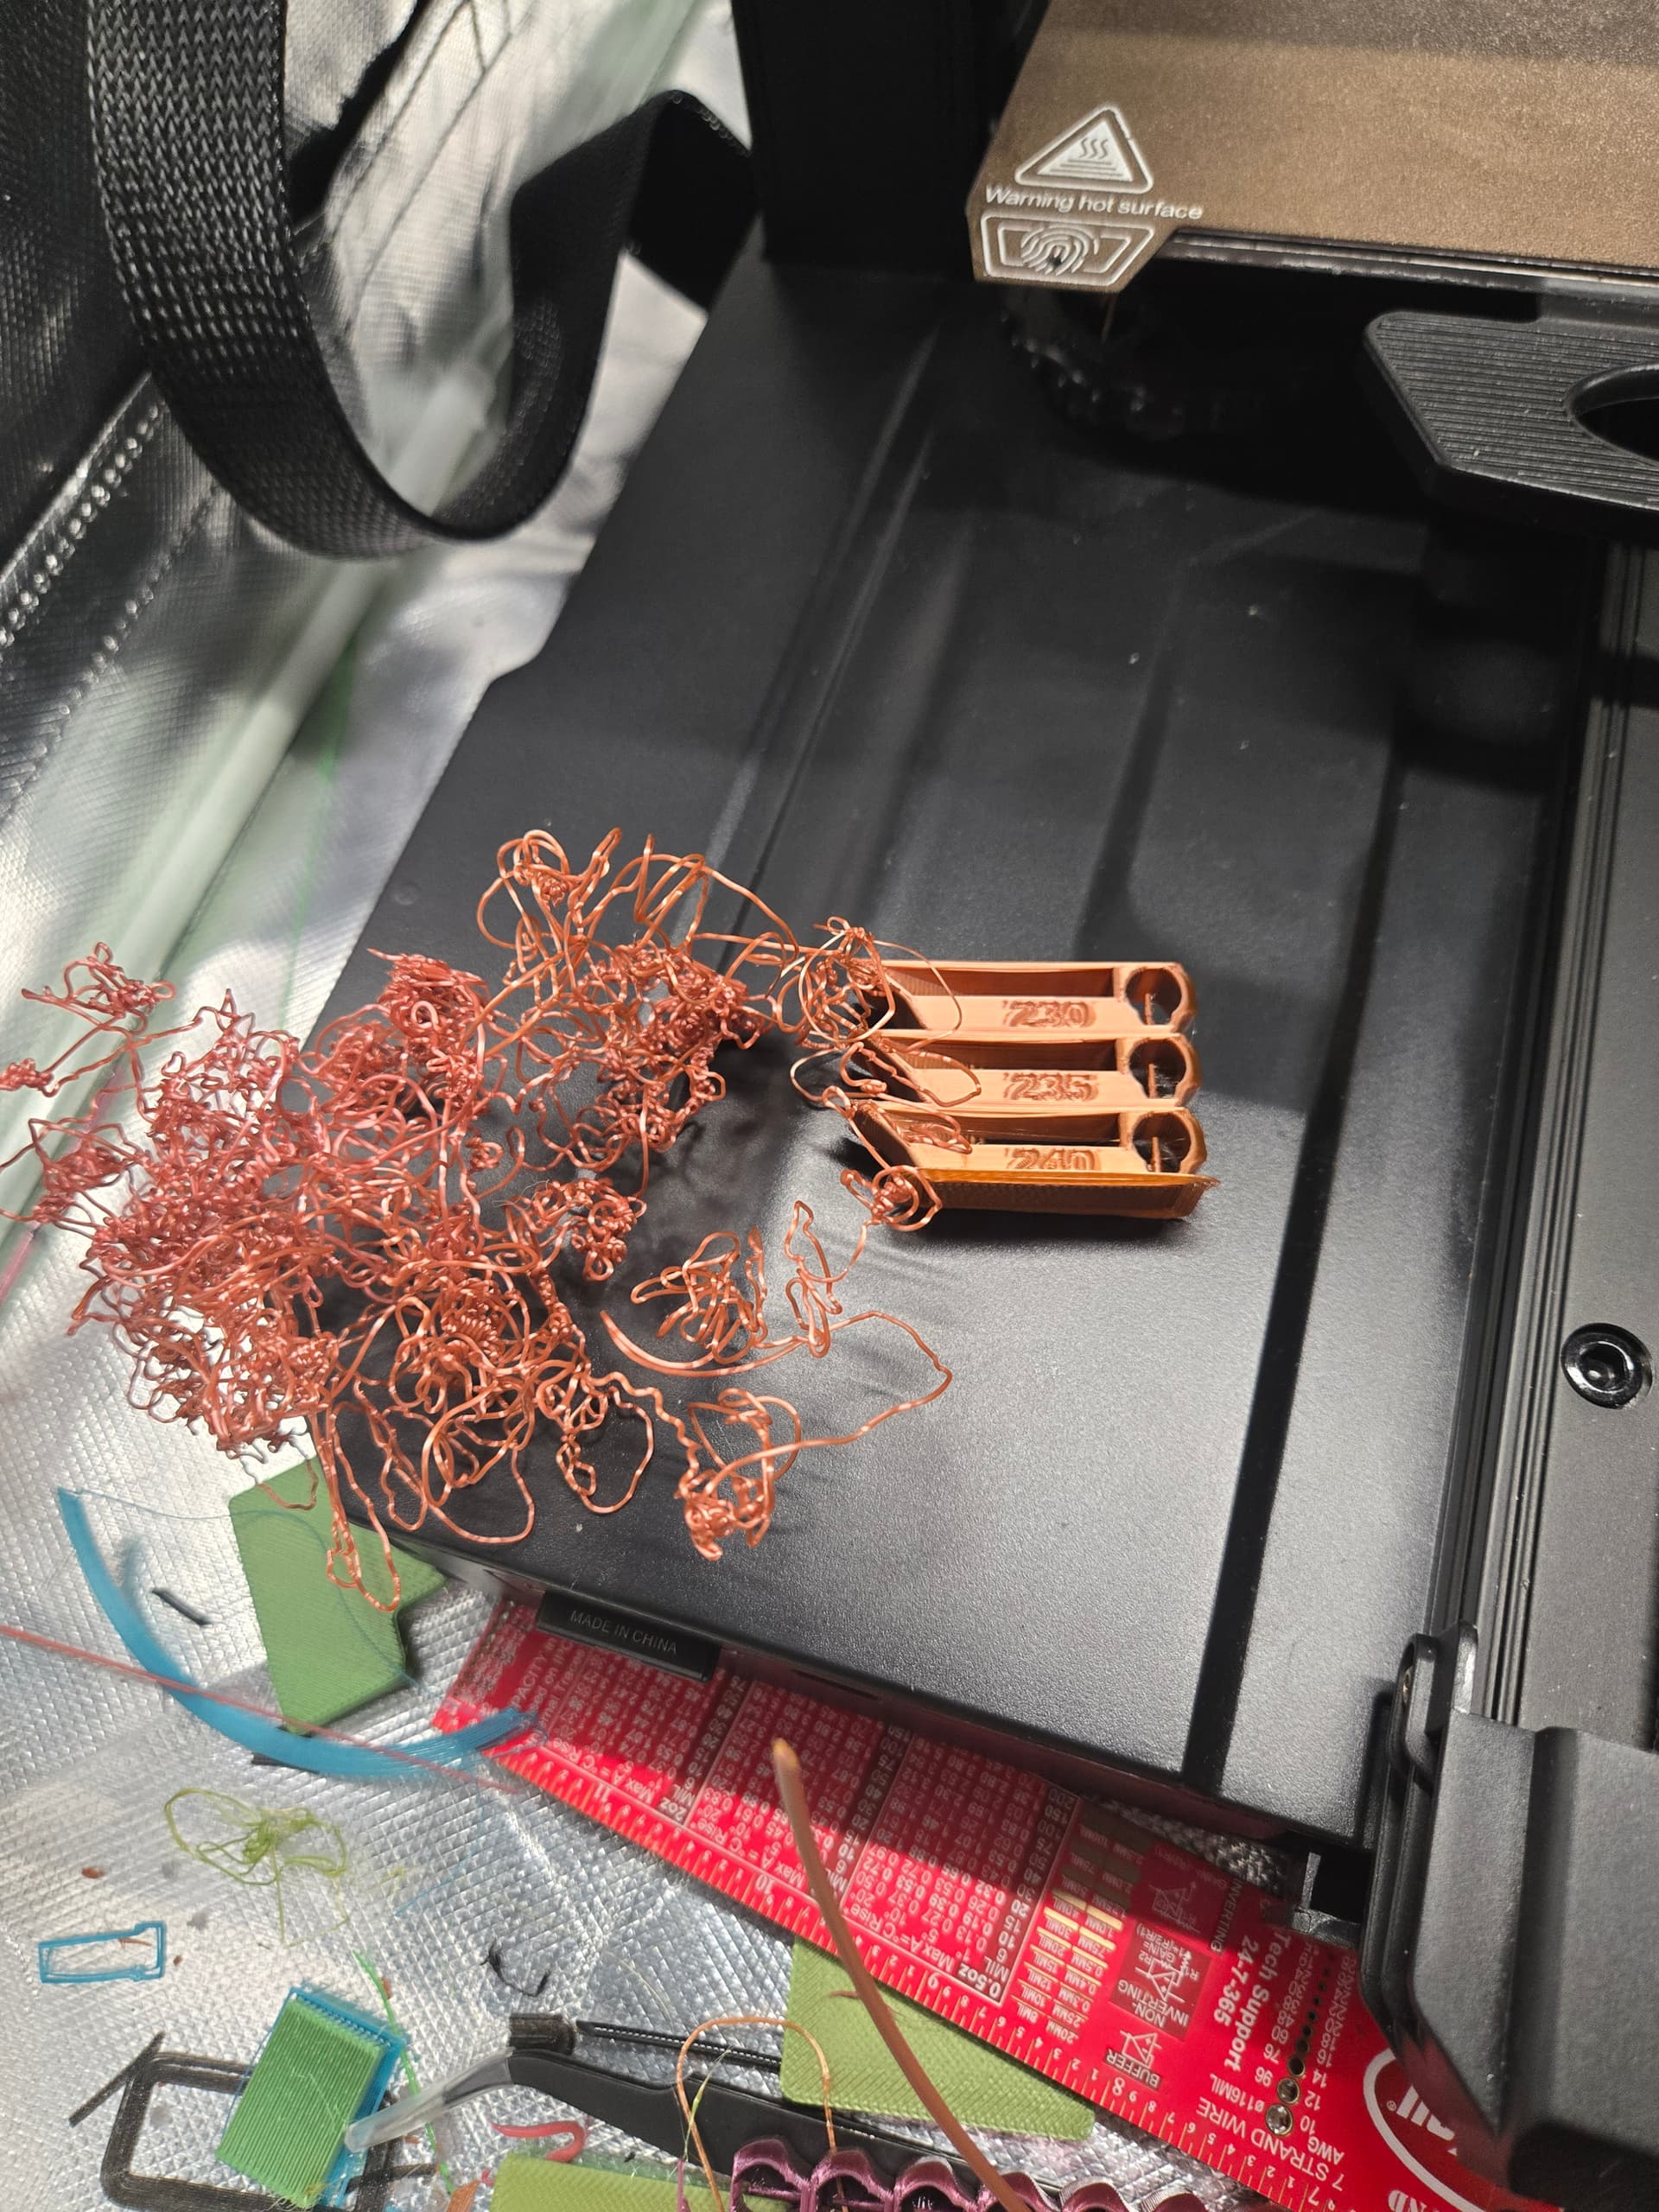
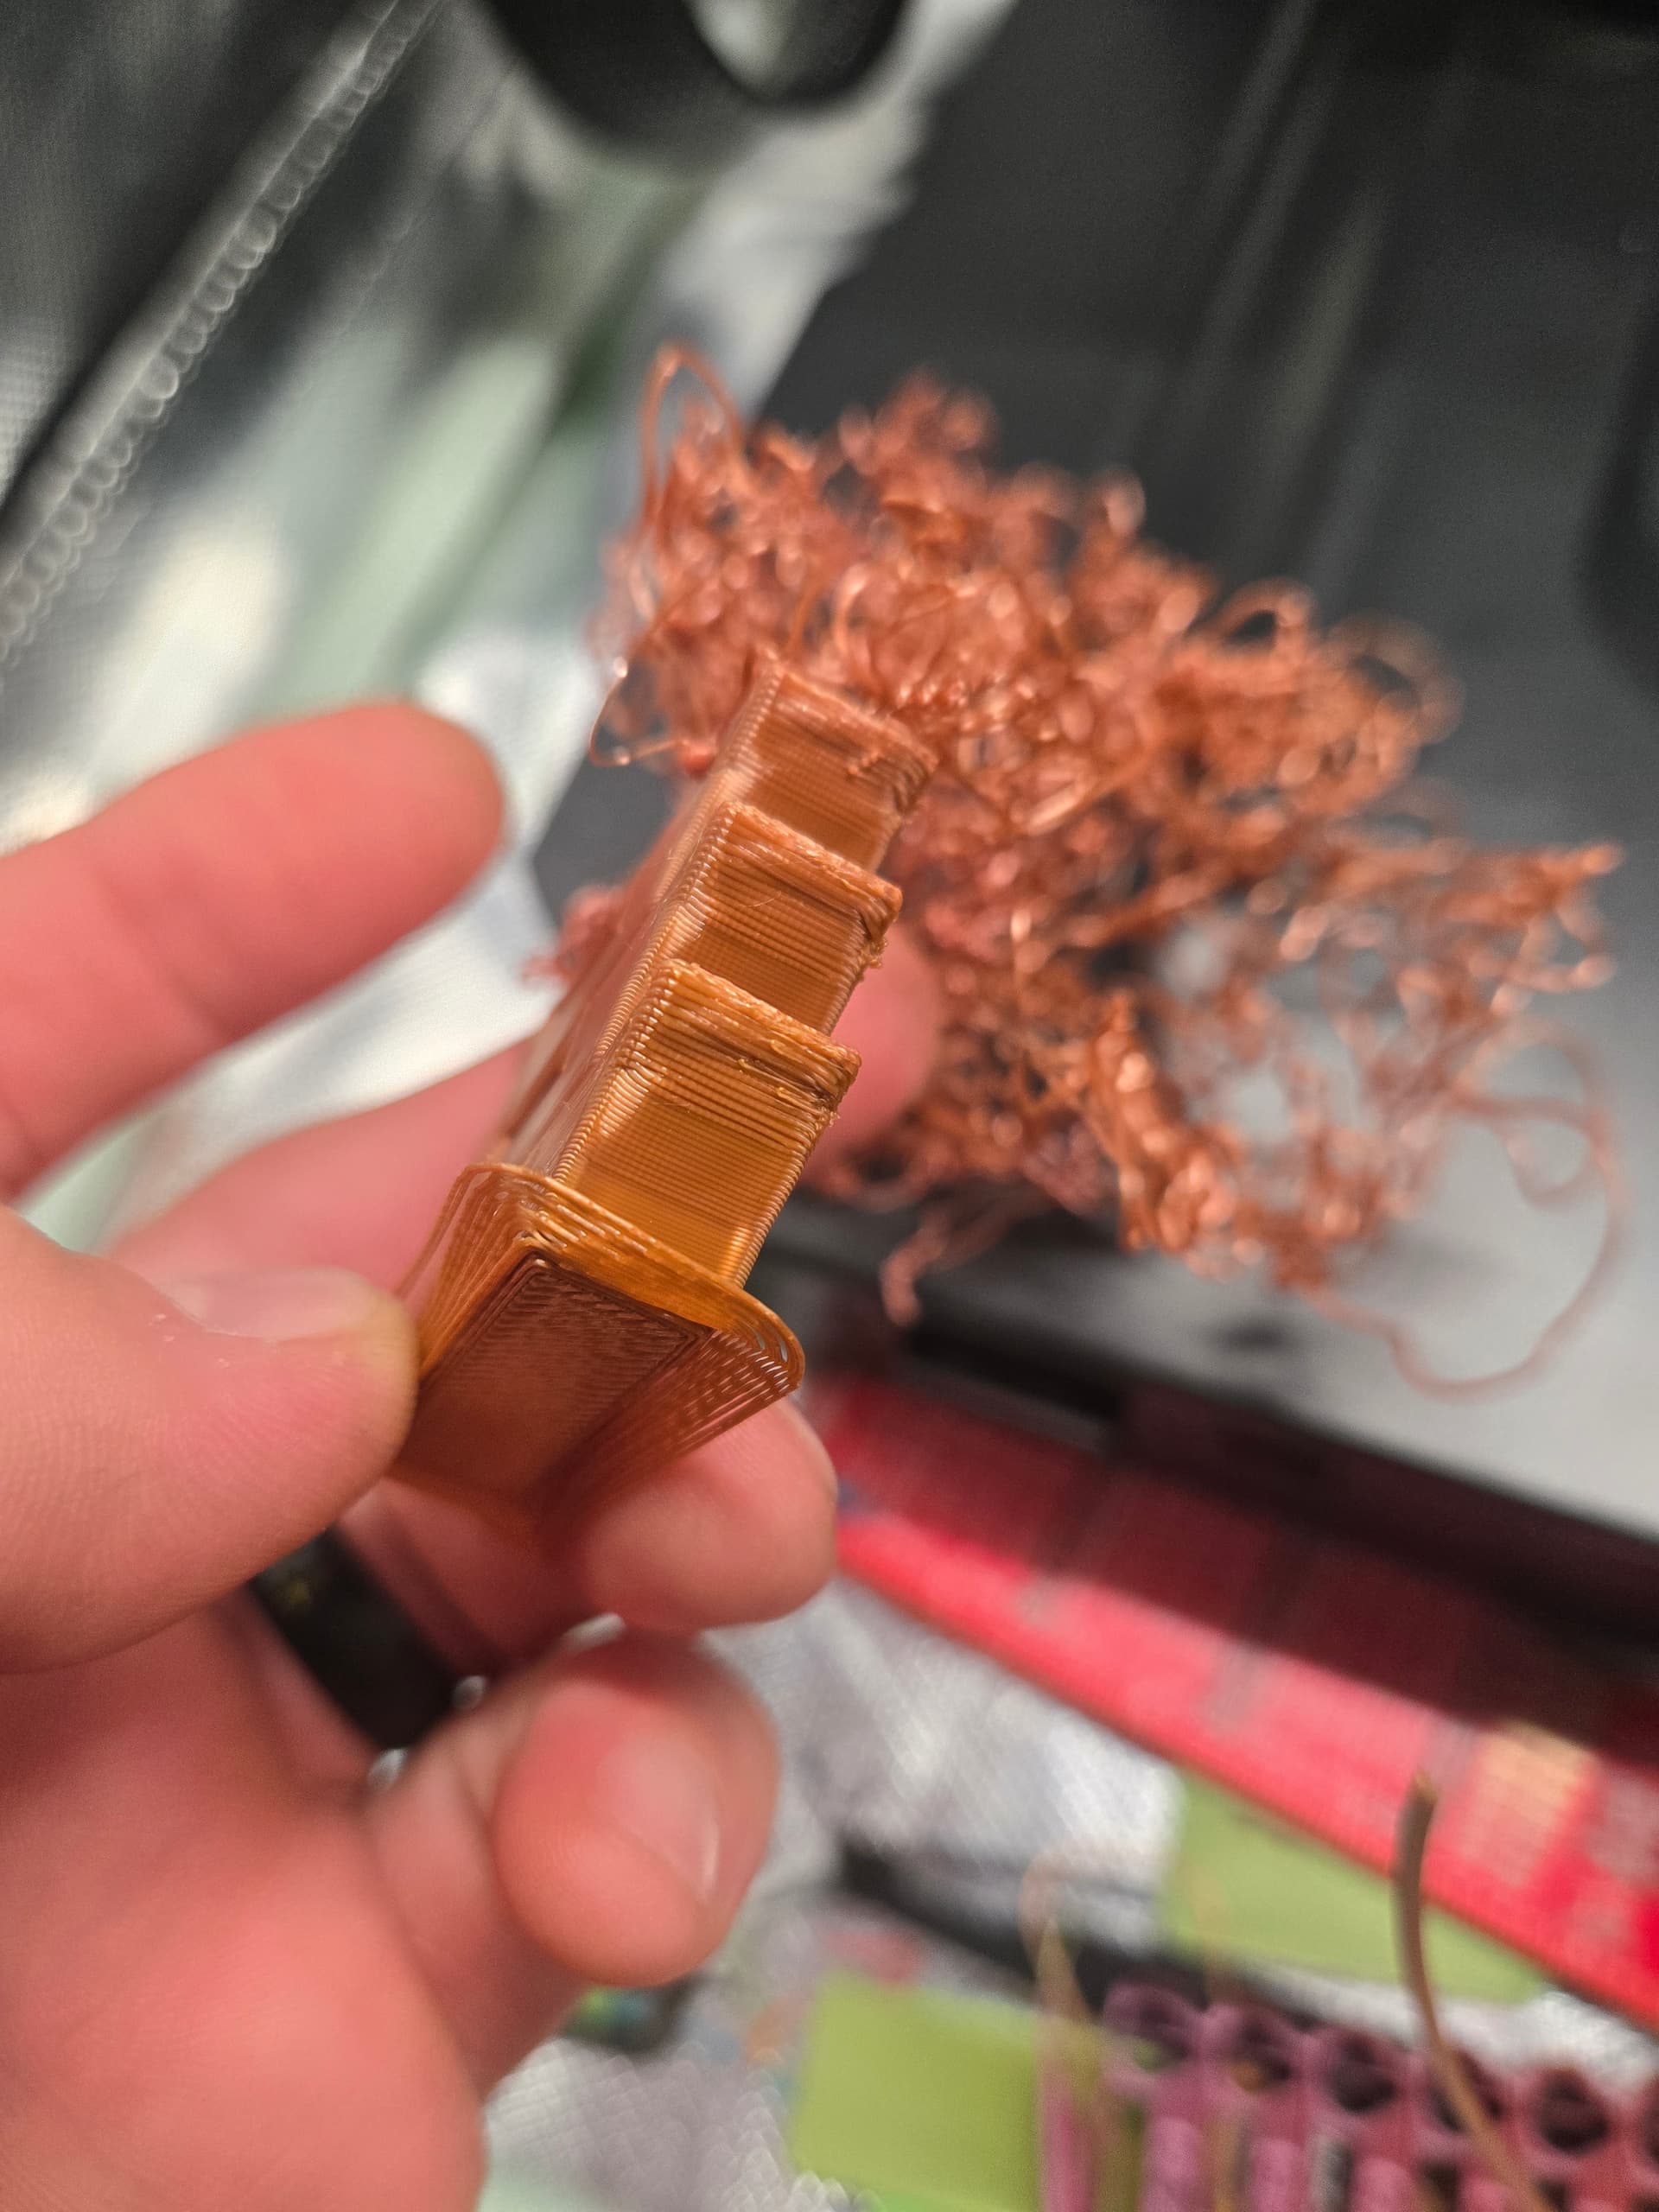
Tried it with a different temp range this time. Started at 240 instead of 230 and got a little farther.
Not sure what’s going on here.
Still not squishing into that bed quite enough to keep adhesion, please try the single layer square and dial in that z-offset. There is knack to getting this right and takes some practice.
Copy ok I will make one and print it out and get back to you tomorrow. What should I be looking for?
Printed this again just now because it was already loaded onto the sd card.


These 3 pictures are 0.05mm apart, the first at -0.16mm which for my printer is bad, -0.21mm is great (could be slightly better), the last one is -0.26mm, you can see it wrinkling as it is too close.
2 Likes
Wow, huge difference. So, I would just make a shape in CAD as you described it and have it print right?
I just add a primitive cube in the slicer and resize it, no need for CAD, feels strange saying that as a design engineer CAD is what pays the bills.
1 Like
Oh duh. Yeah that makes sense. Ok going to do it now!