Hello all, I love my V3 KE. Have printed like 6 jobs and they’ve turned out well. A couple of hiccups but would like to ask to better understand it.
Can the calibration (the Settings option) be done once when placing it in its intended print location? (I know it should be done again if I’m running into consistent print failures or I move the printer to a new location).
…related, is the calibration (the little check box) with each new print job/object the same as the system calibration I mentioned in #1?
What’s the procedure to remove the existing filament with a replacement one? (ie, I don’t know how to properly use the Extrude & Retract option when it comes to filament swaps).
It moves the nozzle on the Z axis during a print to compensate for the calibration data when the machine goes through auto leveling. I think the name is misleading because it doesn’t run a leveling calibration…
Hope that makes sense…
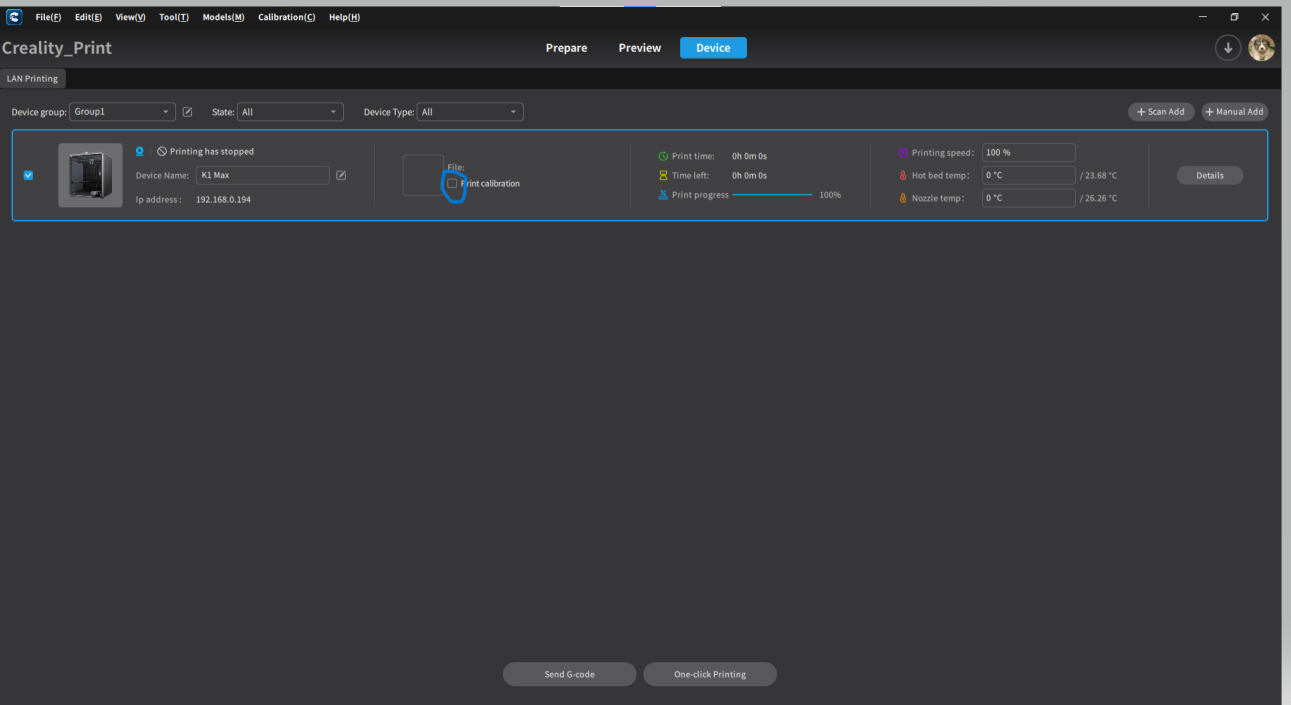
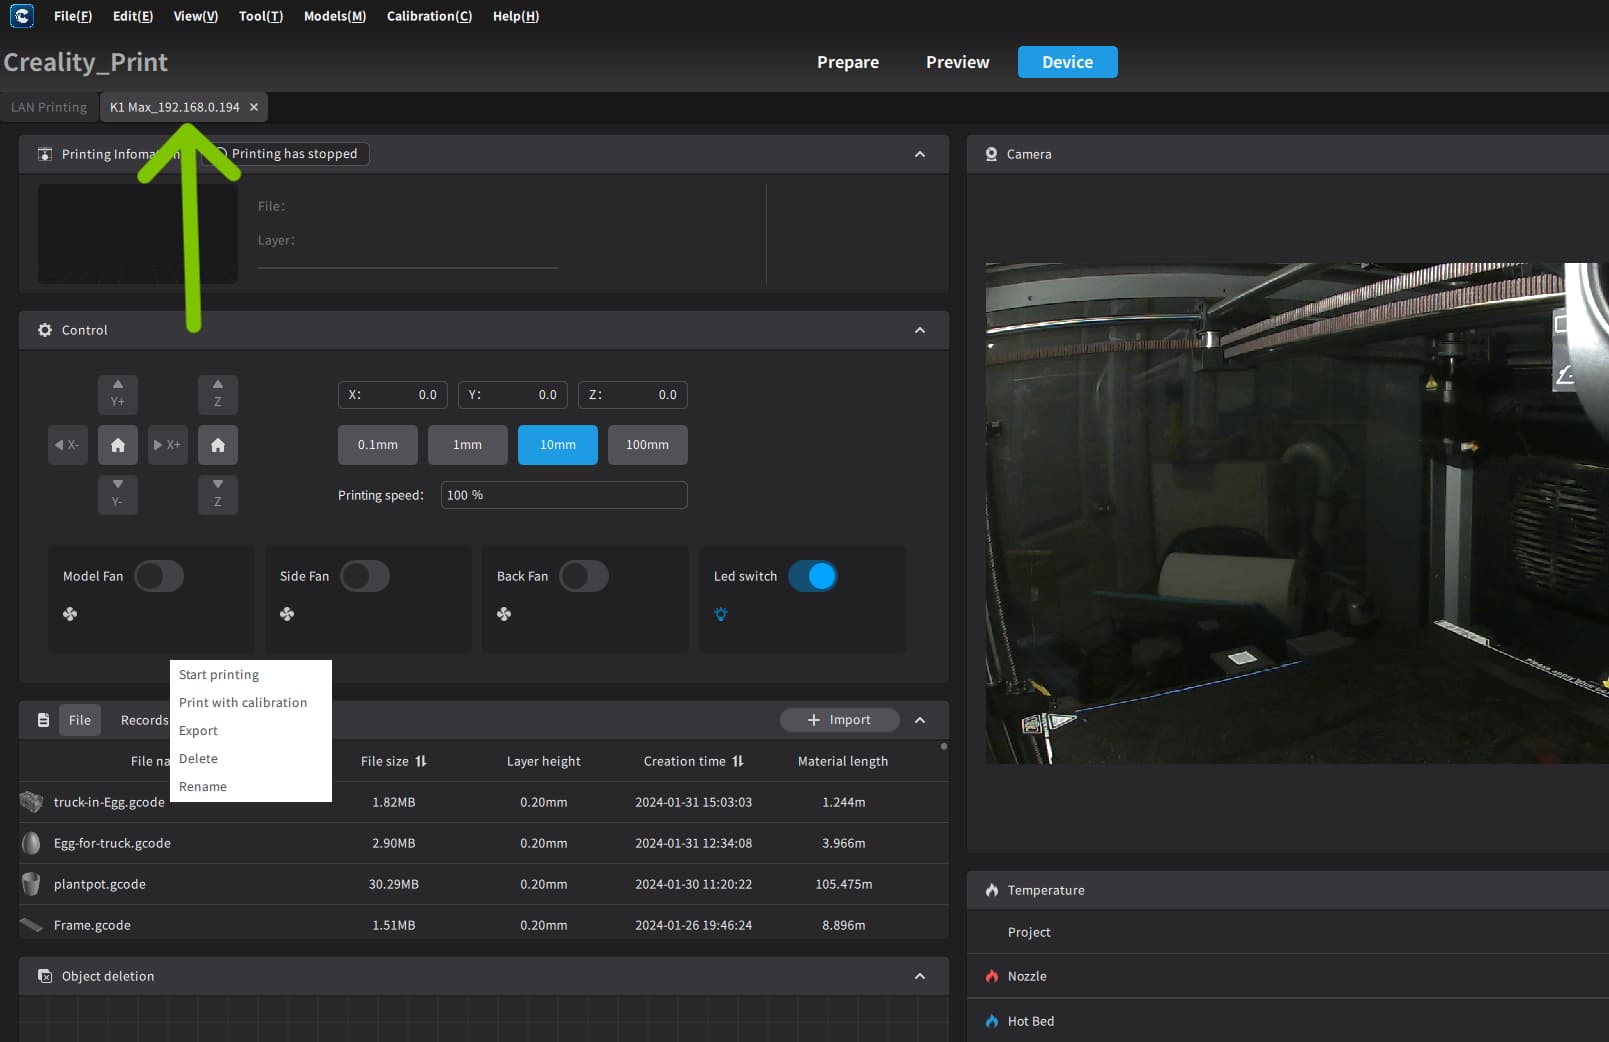
I do use Creality Print and I keep that one unchecked. I’m referring to those on the Nebula Pad. In SETTINGS, there’s a global setup/calibration and then separately on individual job/print-objects (there’s a checkbox asking to calibrate). What’s the difference and why would one choose to calibrate per job/object?
Can you elaborate? I’m not sure I understand what you’re trying to explain. And I don’t follow when you’d want to use this or not. I assumed it would run a bed mesh leveling before the print.
I think I get this right, there is the checkbox in Creality Print for calibration and there is also a checkbox on the Nebula pad touchscreen for calibration. Personally I don’t calibrate every print but possibly I should, it is only a couple of minutes extra per print.
@ArceezRC Hopefully someone familiar with the Nebula Pad has an answer for that…
@CoreyStup
As best as I understand it when you run the self check “Auto Leveling” in the K1 Max it doesn’t physically move the bed to level it. It creates a “mesh” of points of how far the nozzle actually is from the bed.
Before a print when you click that check box (Print Calibration) in Creality Print the printer uses that mesh data to move the nozzle on the Z axis according to that mesh during a print. It doesn’t run a calibration.
If your bed is perfectly level in relation to the nozzle then the printer doesn’t need to compensate or do any adjustments and you don’t really need to “check” that box. The K1 Max doesn’t have any adjustment wheels specifically made for the user to move and calibrate the bed so it uses this system.
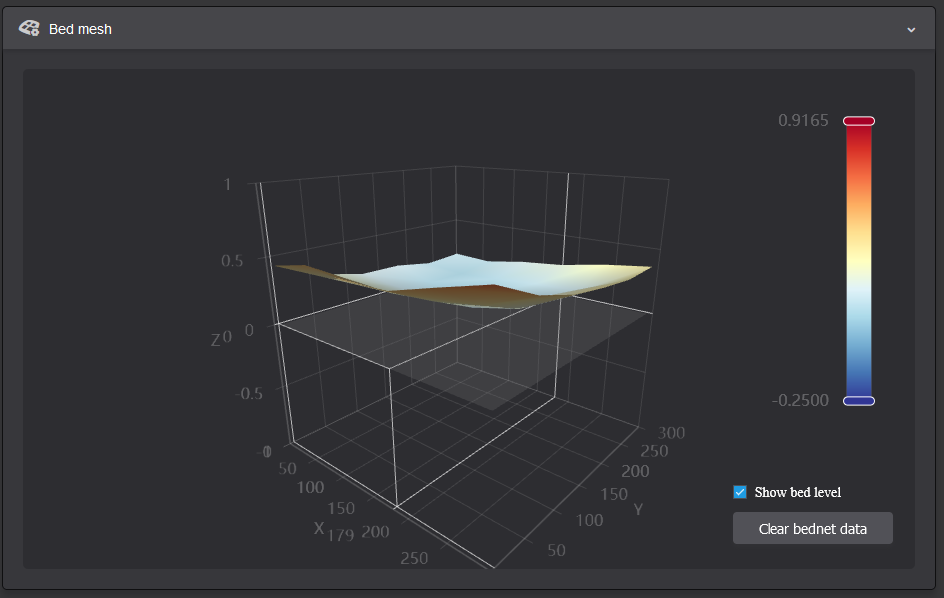
Picture of the Mesh data on mine. It was worse but I found tutorials online to make it closer to level. It’s kind of a pain to do so this system works pretty good.
If your K1 bed is not level (like most) you check that box and watch during the print as the Z axis will move up and down. If you look at the picture in the front left corner is higher than the rest of the bed. When the nozzle reaches that point during a print it will move up to compensate for that point. (If you have that Print Calibration box checked)
Not really sure. It’s not really a calibration since that’s already been done. Z Offset compensation is kind of what it does right…? I’m not the best word smith to give it a name I hope this makes a little more sense… More edits probably coming…
Hey guys thx for all the posts. Ignoring Creality Print app and strictly speaking in the printer’s Nebula Pad, what is the difference between the print job calibration versus the calibration done at the global/system setting? Thats really my question.
Print job calibration asks the printer to probe the bed before printing to create a new mesh of the bed. The one in the settings is likely the same on you would use to perform bed leveling in general and is only usually used for calibration/setup purposes.
Thank u Nikoli. If Im not moving my printer and I already ran both of those calibrations, it doesnt sound like i really need to do this for subsequent jobs.
(If I run into print issues then sure I will run those)
If you have the Z Gcode offset you might want to run the calibration each run. I have found that the offset seems to be cumulative. I ran 6 identical prints, the first 3 were great but slowly it would mangle itself to the point that the 6th print was rubbish. A recalibration and all was right again.
From what I see on my V3 KE, the “print calibration” checkbox when ticked appears to do what @Nikoli said above. Before the print starts, it does a bed probe (I think 5x5 points, I’ll need to count next time) to create an updated mesh, which it will then use for that print (and subsequent prints if not updated again). I would call that ABL. If you refresh the printers webpage, the mesh data will have changed right after it completes the ABL phase of the print job.
This is similar to what my Bambu A1 does when you check the “bed leveling” option before a print from Bambu Studio:
I find that ANYTIME I move the flexible build plates (like to pop off the previous print) and its replaced its not a bad idea to run these types of recalibrations before the next print. It only takes a minute.
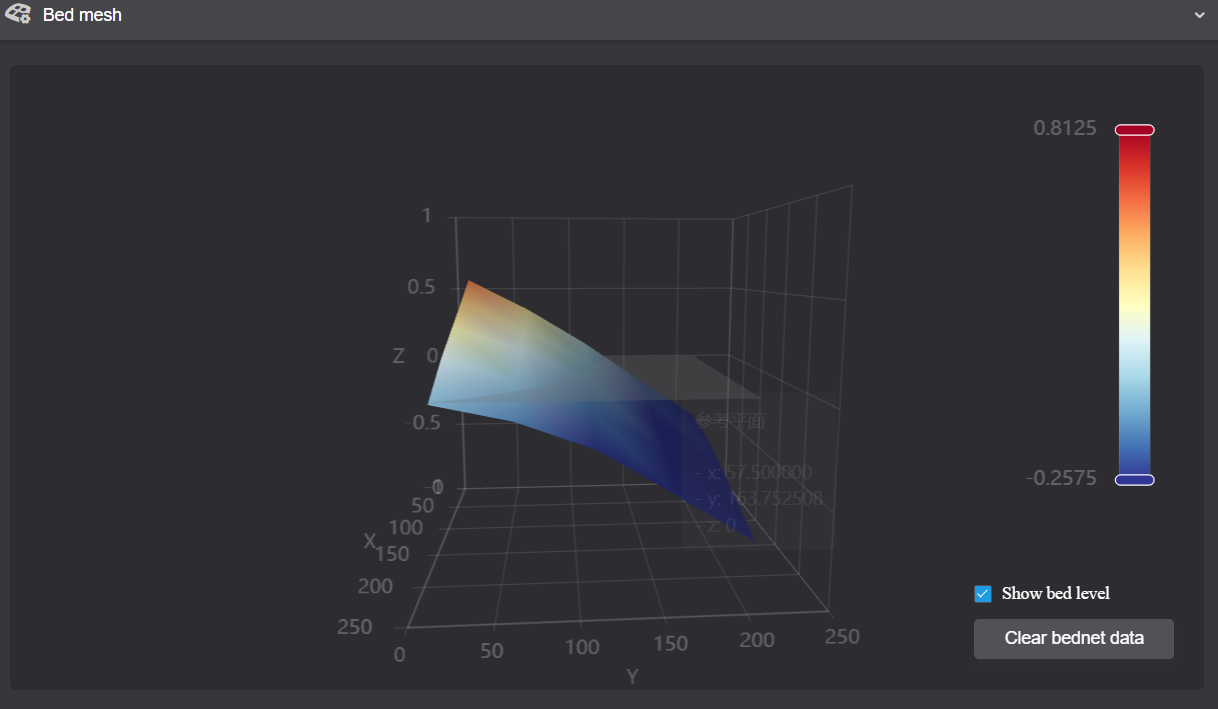
On another topic, this is what my KE’s mesh looks like visually. This looks pretty extreme to me.
That’s kind the lopsided look my K1 Max had until I followed the tutorial on how to manually adjust it… Involves some patience but can be done carefully.
Is there a way to manually adjust the bed on the KE. In your pic it looks like the back end of the plate is quite a bit lower… Can you manually adjust that and then run the calibration again…?
It looks like its two issues. The gantry isn’t equidistant to the bed left to right (left side is closer). And front to rear as you mentioned which would be the bed itself.
The swing of a full 1mm is pretty extreme I would think!
You could probably use the info from the V3 SE gantry leveling video to help with squaring up the gantry. Generally klipper based machines such as the V3 KE, K1, K1 Max and K1C are able to cancel out deviations in the build plate up to around 3mm without issue
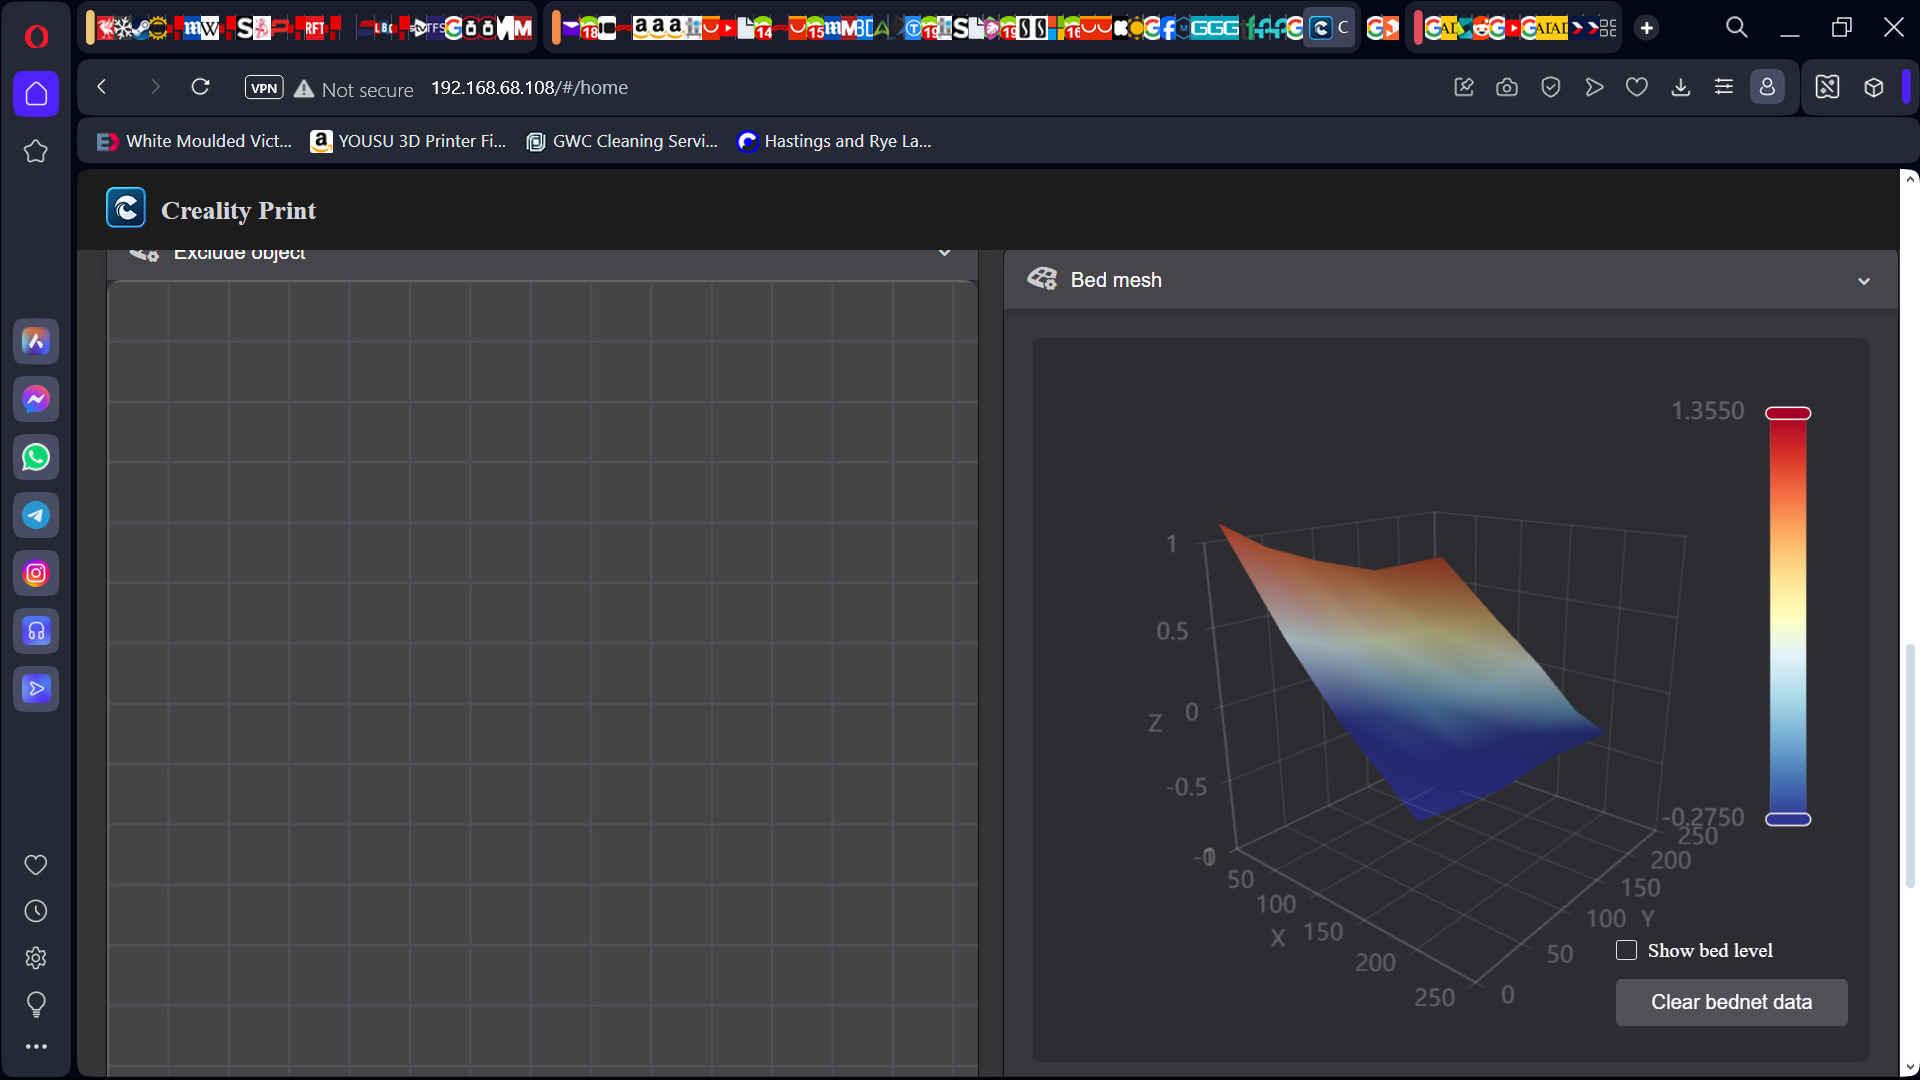
You can see a high point in @Bonfireman 's printer. During a print when the nozzle reaches that data point it will adjust the Zaxis to compensate for that high point.
That’s what this check box does in Creality Print. It doesn’t recalibrate but it uses that calibration data.
Wouldn’t it be great if the Creality Print interface and the web browser interface married up. Apologies for not giving you all the information Lensman.